Download to read offline
![Karthik Sai Reddy Cherlo Int. Journal of Engineering Research and Application www.ijera.com
ISSN : 2248-9622, Vol. 6, Issue 8, ( Part -2) August 2016, pp.32-36
www.ijera.com 32 | P a g e
Real-Time Load Monitoring By Microcontroller to Optimize
Electric Power Utilization
Karthik Sai Reddy Cherlo, Sai Bharadwaj Cheruvu
Department of Electronics and Communication Engineering, Priyadarshini College of Engineering and
Technology , Nellore, India, 524002.
ABSTRACT
This paper describes the design and working of a cost and energy efficient power meter that monitor the usage
of electrical energy consumed by any appliance or machine at any given time. The precise knowledge of the
consumption of each device will let us identify the devices that increases the cost of our electricity bill. The
circuit designed evaluates the consumption of the load of a particular device. As this is real-time monitoring, the
evaluation is instantaneous such that the user can monitor the readings at any given time. The load is displayed
in terms of Watts and the cost can be programmed according to tariff plan and slab rates.
Keywords: microcontroller, hall effect current sensor, energy audit, load monitoring, real-time, cost efficient,
energy efficient.
I. INTRODUCTION
The energy crisis is a broad and complex
issue that is being a real concern to the present day
situation. Most people don’t get connected to its
reality unless the price of the electricity or gas rises.
As limited natural resources that are used to power
industry are diminishing as the demand rises, the
cost of the electricity will also increase significantly.
Over consumption of electric power leads to the
situation of this crisis. The demand for electric
power in the world is ever increasing due to rapid
industrializaton. To meet the demand it is the
responsibility of every individual to reduce the
utilization.
Energy audit and management is the
technique that can be practiced to reduce the electric
consumption. An energy audit is an inspection and
analysis of energy consumption with possible
conservation in domestic sector or industrial
environment.
The advancement in the technology cutting
down the costs of manufacturing electronic devices.
With this advancement we can design an energy
meter per circuit than design an energy meter per
whole house. Through this implementation, we can
have better perception of energy that is being
utilized by each of the household electronic
appliances.
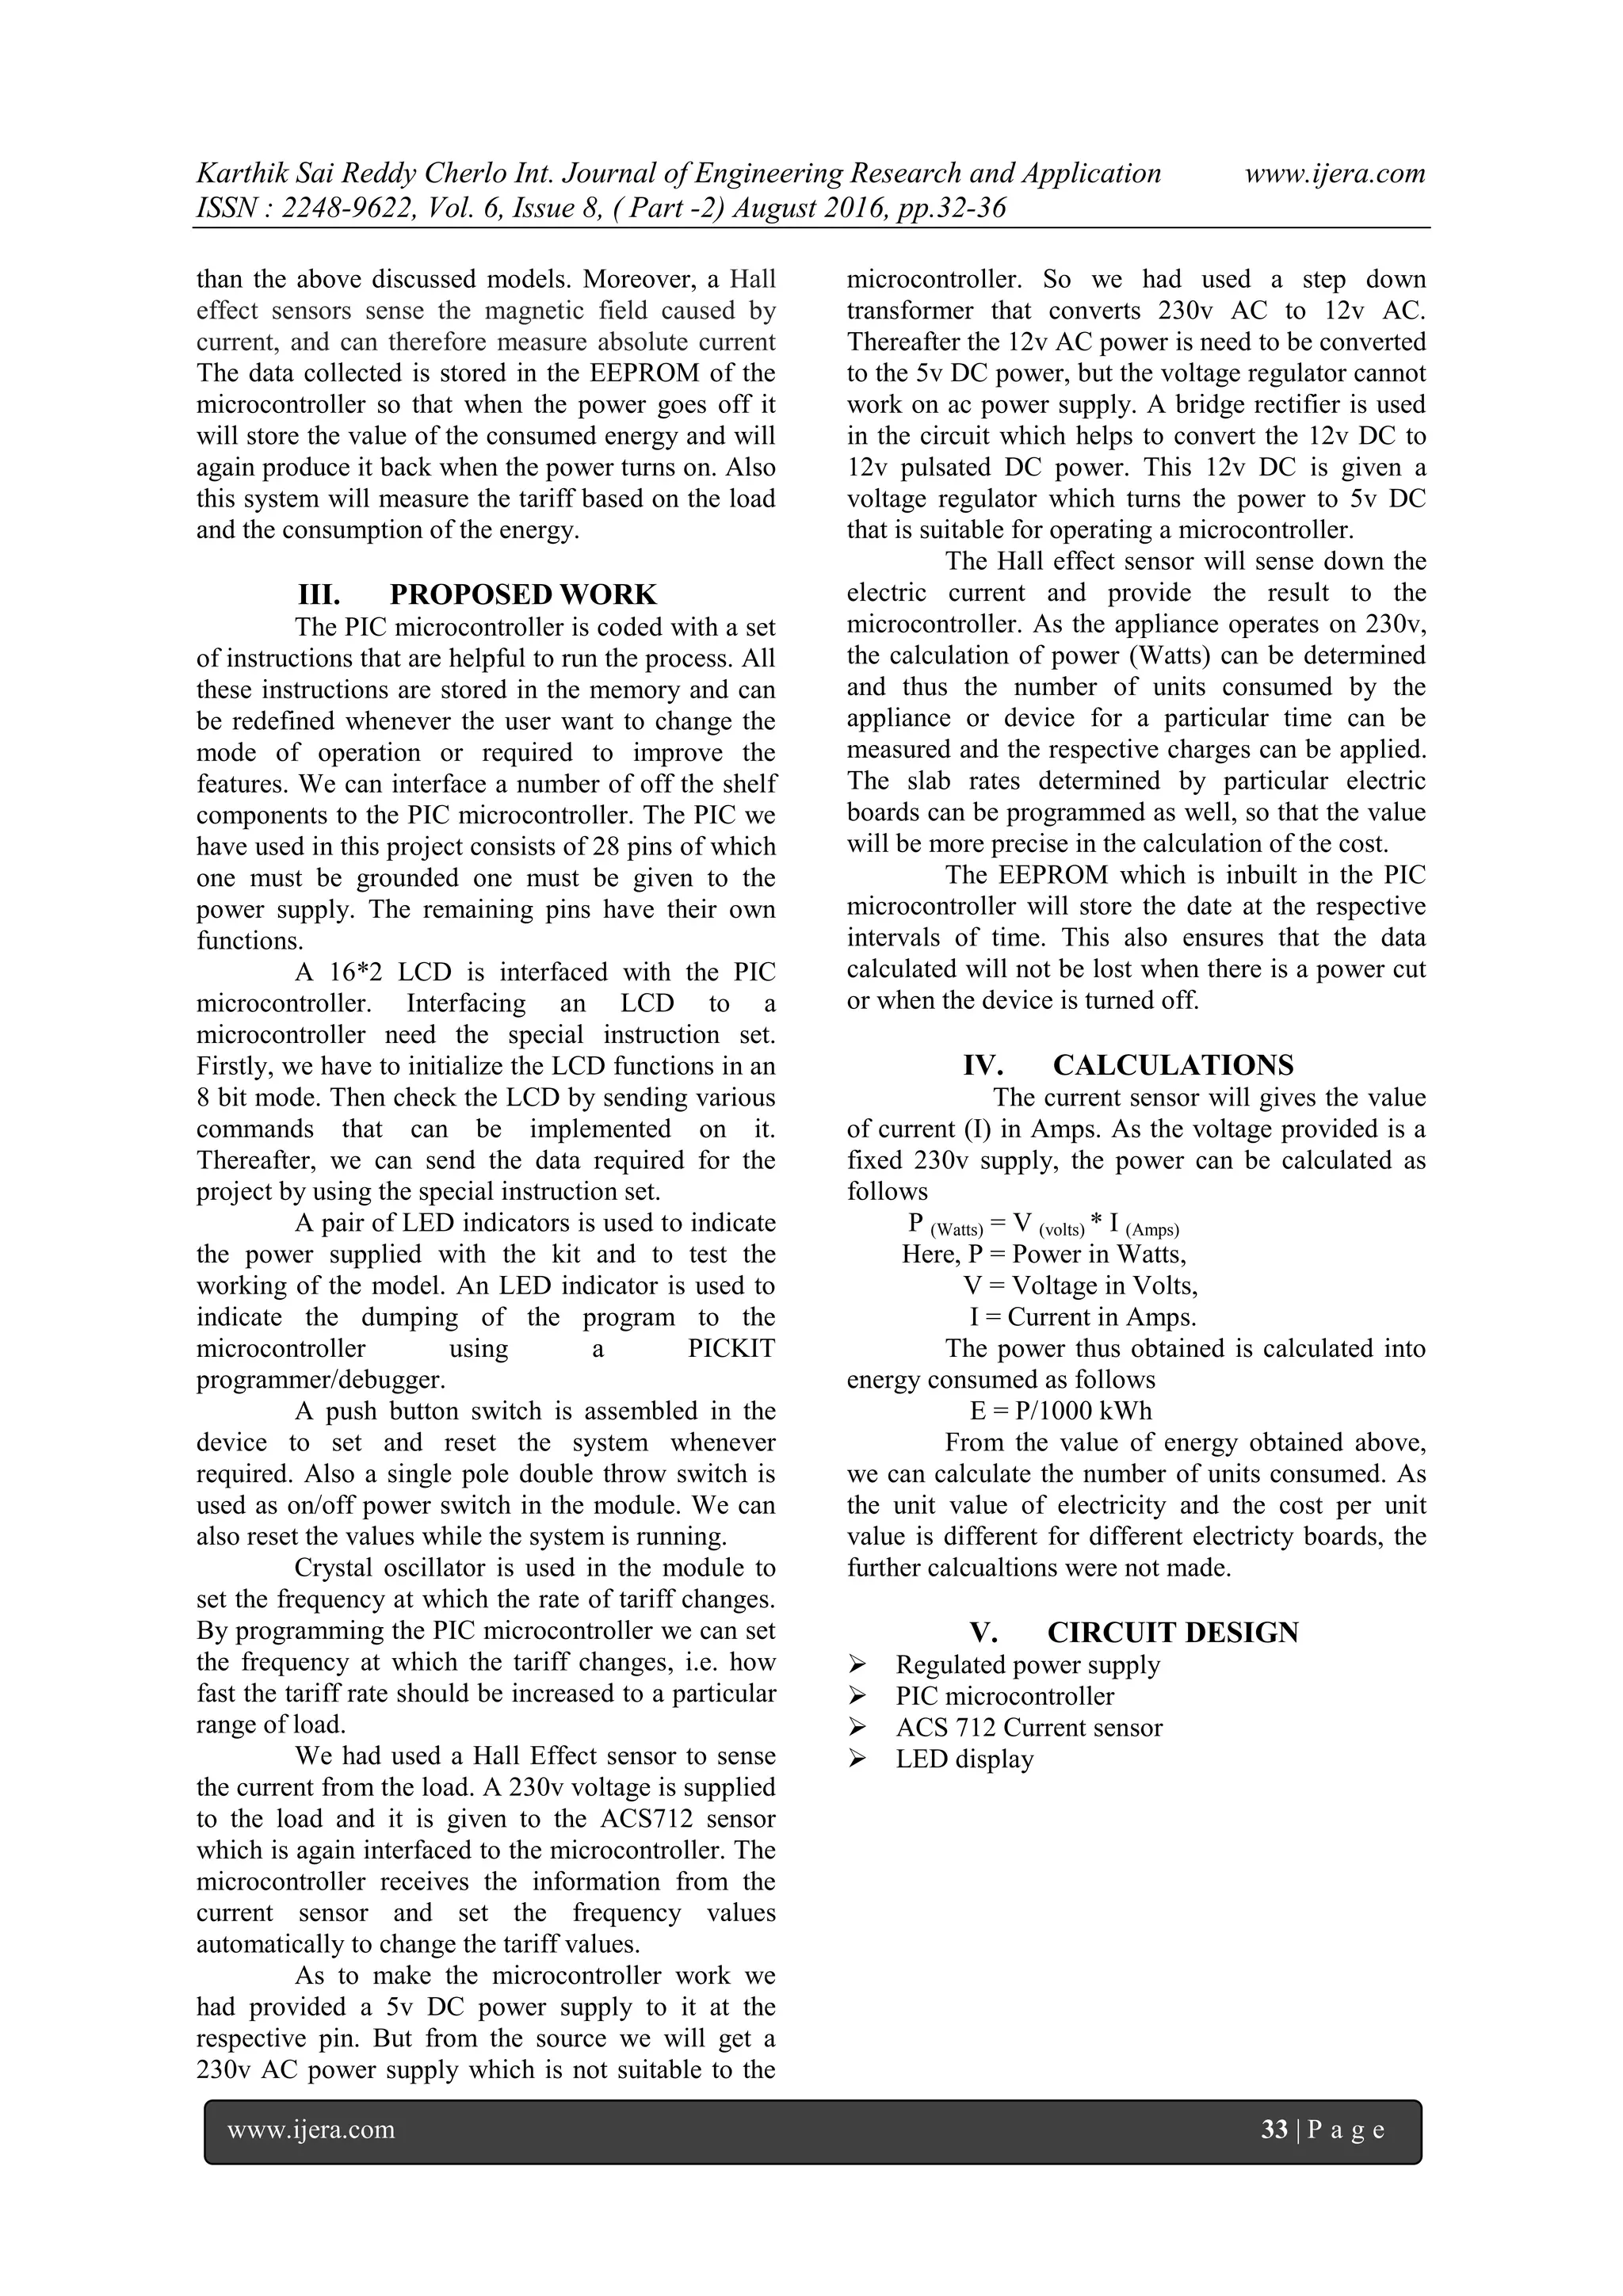
Our project consists of a Hall effect current
sensor which detects the electric current and
produces a signal according to it, a microcontroller
that is programmed to calculate the Wattage and
units, an LCD display that shows the instantaneous
values of the desired outputs.
This article is organized as follows: section
II presents the state of the art, section III presents the
proposed work, section IV is the calculations part,
section V will present the circuit design, section VI
will discuss the features, section VII & VIII are
future scope & conclusion respectively.
II. STATE OF THE ART
The usage of smart meters has come into
existence in the last decade. A smart meter is
an electronic device that records the consumption
of electric energy in intervals of an hour or less
and communicates that information at least daily
back to the utility for monitoring and billing. A
number of smart meters have been designed using
various platforms such as the case of the projects
referenced in [1] [2]. Both of these projects are
based on the arduino and a CT sensor. The second
project in which the Zigbee protocol was used is the
development of the first one. In [1], two sensors
were used to determine the current and voltage
individually.
The usage of arduino and a CT Sensor will
make the designing of the circuit costly. Moreover a
current transformer can only sense current down to
some minimum frequency below which gain falls off
rapidly. A current transformer can't sense a fixed
current. If you are measuring current of something
that is inherently AC, like the power line, then a
current transformer can be appropriate. If you really
need to sense DC current, then you can't use a
current transformer and a Hall effect sensor may be
appropriate.
The proposed project is developing a
prototype of energy meter without actually using the
conventional energy meter by using the PIC
microcontroller and a Hall Effect current sensor, so
that the cost of the product will be much cheaper
RESEARCH ARTICLE OPEN ACCESS](https://image.slidesharecdn.com/e0608023236-160823072138/75/Real-Time-Load-Monitoring-By-Microcontroller-to-Optimize-Electric-Power-Utilization-1-2048.jpg)

![Karthik Sai Reddy Cherlo Int. Journal of Engineering Research and Application www.ijera.com
ISSN : 2248-9622, Vol. 6, Issue 8, ( Part -2) August 2016, pp.32-36
www.ijera.com 36 | P a g e
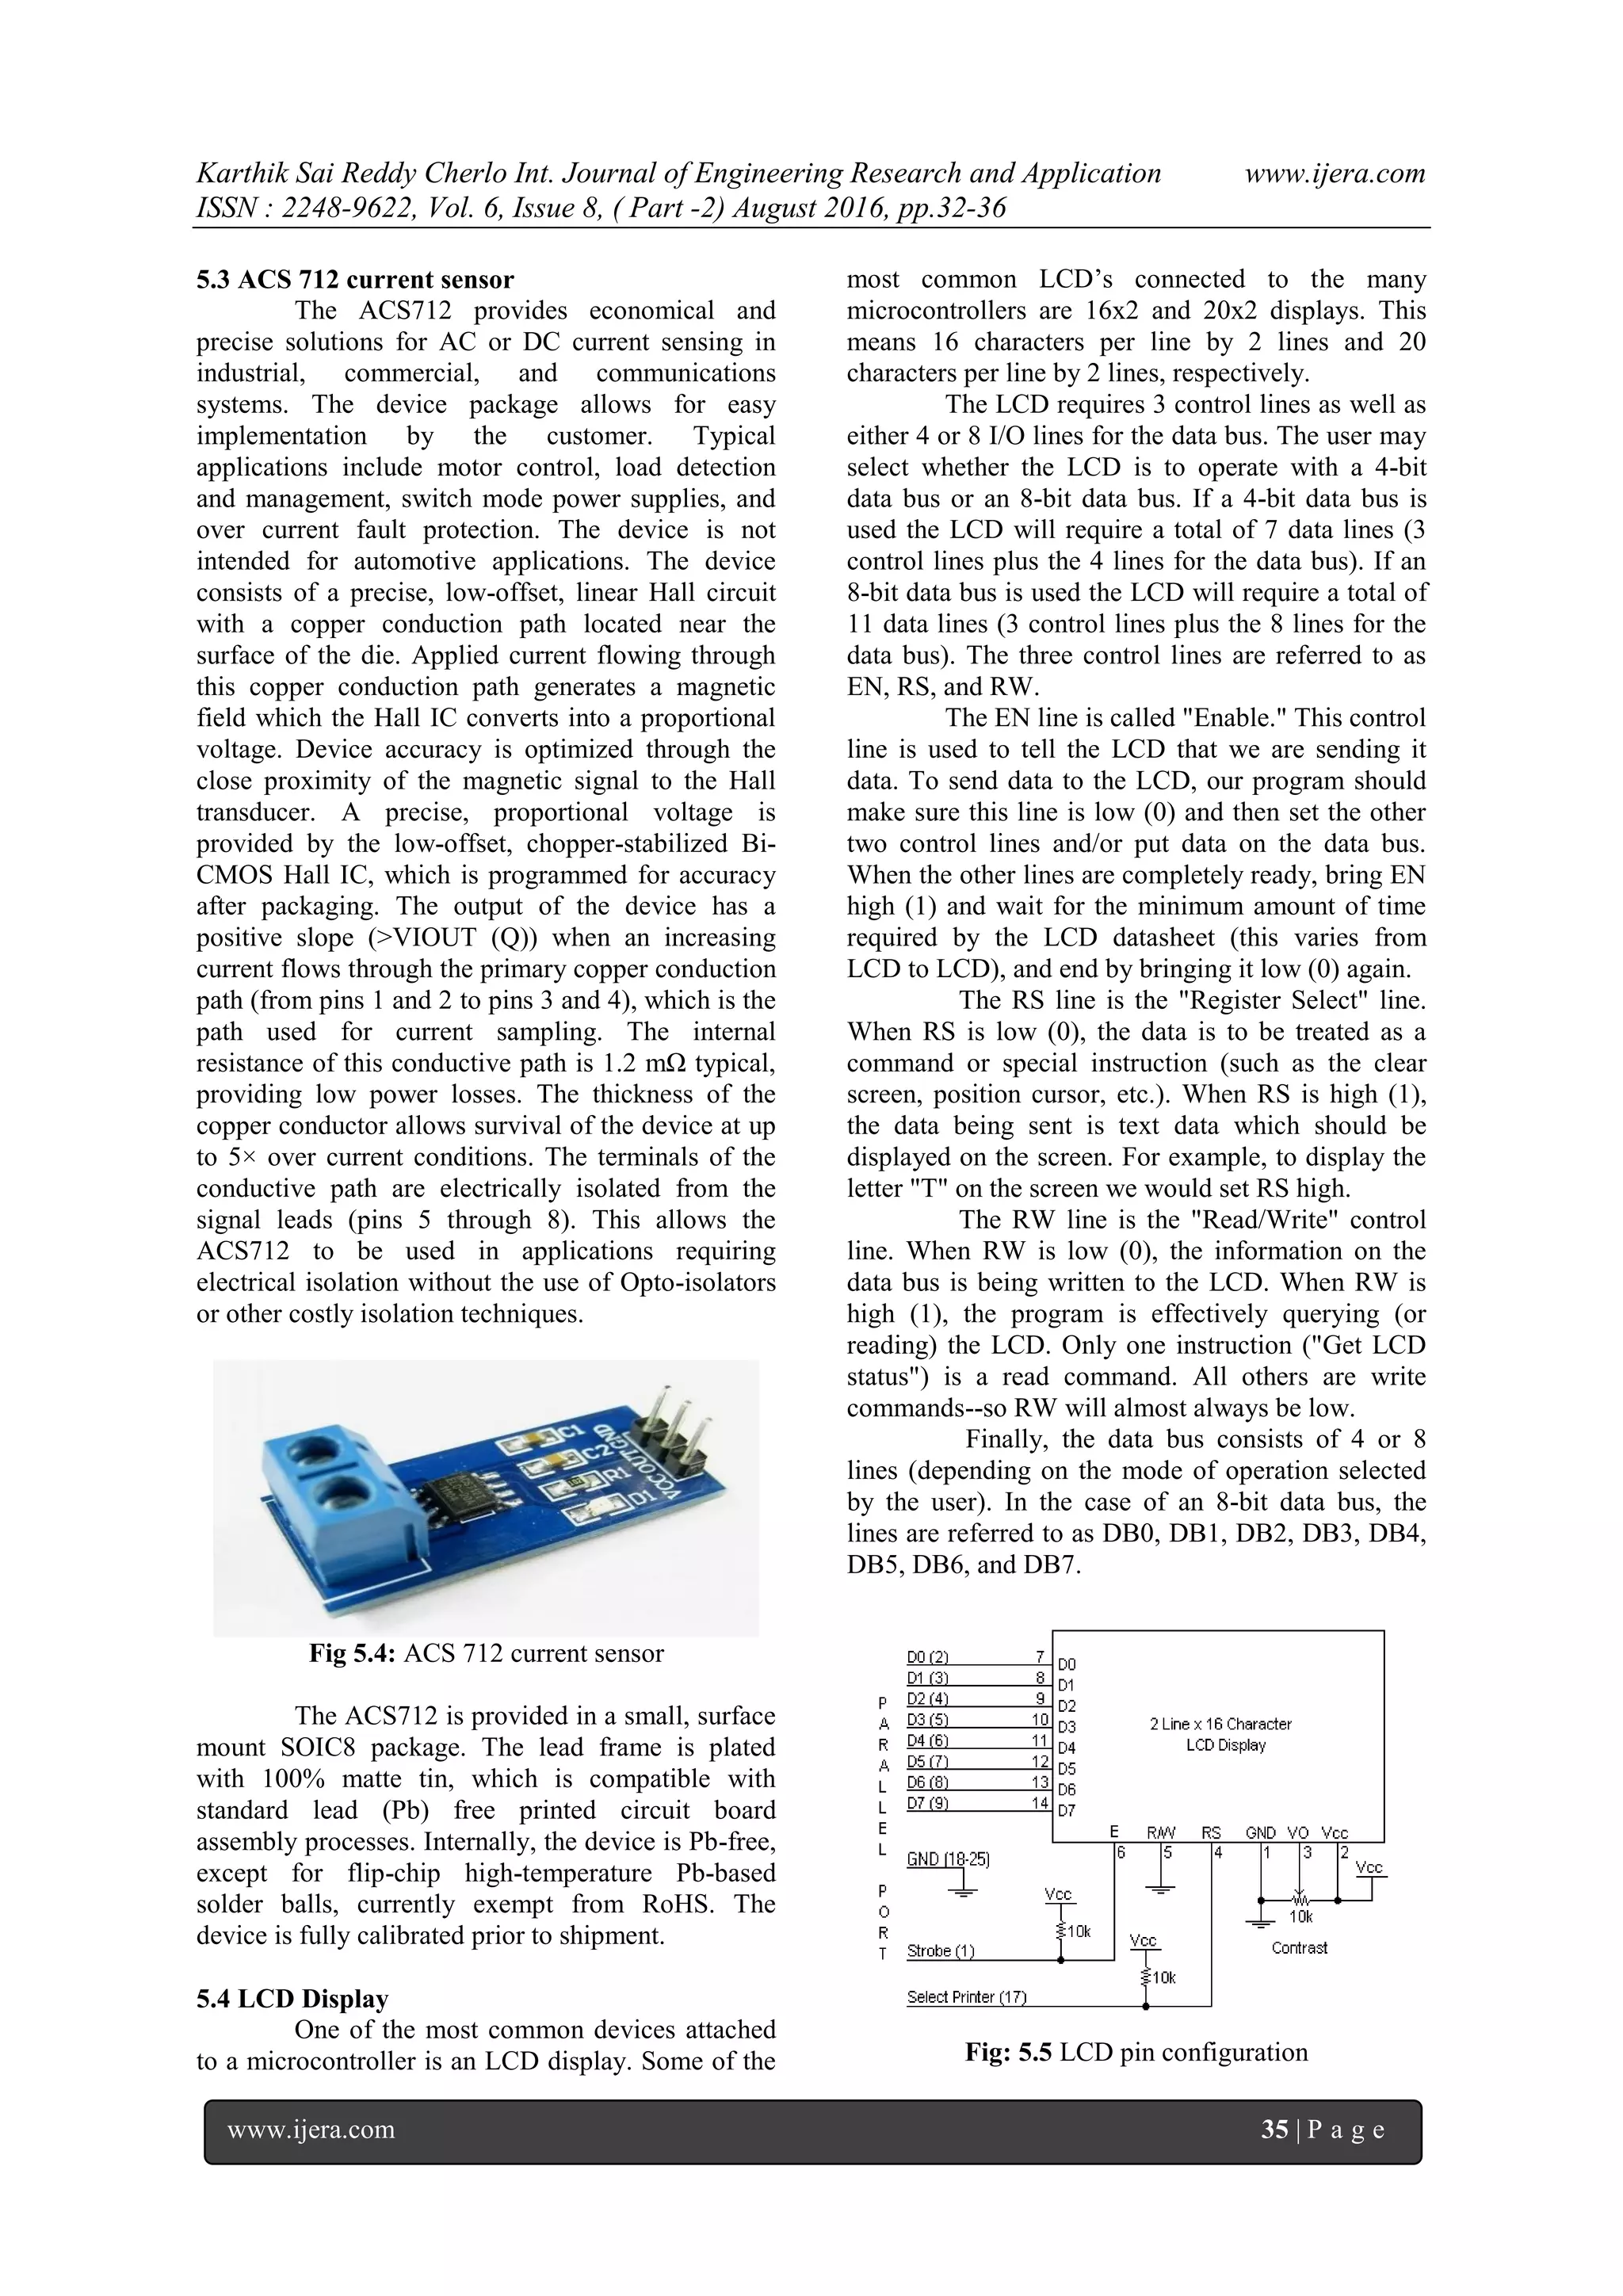
Fig: 5.6 LCD display
VI. FEATURES
a. Less expensive design
As we have used the PIC microcontroller
and Hall effect sensor respectively in the place of
Arduino and CT sensor, the design of the circuit will
be less expensive when compared to the before
model.
b. Low power consumption
The less complex design and usage of
minimal power consumption components, the energy
consumed by this device are very less.
6.3 Fast and accurate results
As it is a real-time operating system the
values will be displayed instantaneously with
minimal error.
VII. FUTURE SCOPE
This project is mainly intended to design a
system which helps in continuous monitoring of the
load connected to the device. This system has an
energy meter, load, and LCD interfaced to the
microcontroller. The microcontroller is programmed
in such a way that the energy meter always gives the
reading to the controller which is displayed on the
LCD.
As we are using the EEPROM to store the
data, we can interface a buzzer to the system so that
the system can alert the user after the tariff reaches
to a given set value. By using the EEPROM and the
inbuilt counter in the PIC microcontroller we can
also set the time so that the system works in between
the given period and then switch off automatically.
We can also use the
Zigbee/GSM/WAN/LAN module so that the system
can send the information directly to the users’
mobile or any other module that displays
information from the data received wirelessly
VIII. CONCLUSION
By implementing this kind of real-time
hardware projects successfully and providing the end
user with necessary information about the
consumption of energy by household appliances, the
electricity bills can be reduced to a great extent. The
usage of open software and open hardware
technology will help the future developers to modify
the circuit with the future technology and develop a
better device.
REFERENCES
[1]. Institute of Electrical and Electronics
Engineers (IEEE): Design and Construction
of a Power Meter to Optimize Electric
Power, M. Maryori Sabalza ; Fac. de Ing.,
Univ. Tecnol. De Bolivar, Cartagena,
Colombia ; J. D. Borré O. ; J. C. Martínez
Santos, 10.1109/CIIMA.2014.6983441.
[2]. International Journal of Engineering
Research and Technology (IJERT): Non-
Intrusive Appliance Load Monitoring
System Using Zigbee Protocol” (ISSN:
2278-0181, Vol 3, Issue 4 April 2014).]
Books:
[3]. Micro controllers Architecture,
Programming and Interfacing systems – Raj
Kamal
[4]. Introduction to Embedded Systems – Shibu
K V
[5]. Interfacing PIC Microcontroller: Embedded
design by interactive simulation- Martin P.
Bates
Thesis:
[6]. N. B. Mohamad, “Smart Power Meter for
Domestic Devices,” Master’s thesis,
Universiti Teknologi Malaysia, 2014.](https://image.slidesharecdn.com/e0608023236-160823072138/75/Real-Time-Load-Monitoring-By-Microcontroller-to-Optimize-Electric-Power-Utilization-5-2048.jpg)

This document summarizes a research paper that designed a real-time load monitoring system using a microcontroller. The system uses a Hall effect current sensor to detect current from an electrical load. The microcontroller then calculates the power usage in watts and the cost based on the tariff rates. The values are displayed on an LCD screen and stored in the microcontroller's memory. The goal is to provide users precise knowledge of how much each electrical device in their home contributes to their electricity bill.