To prepare technology for an online course, participants should:
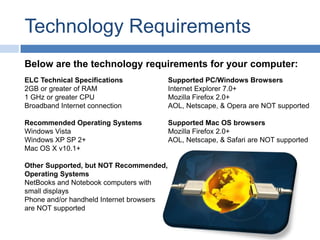
1) Ensure their computer meets minimum requirements including RAM, CPU, and operating system.
2) Download necessary plug-ins like Adobe Reader, Flash Player, and media players.
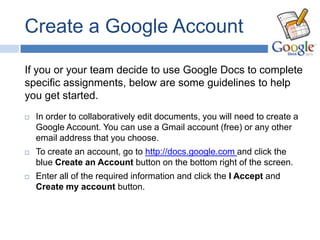
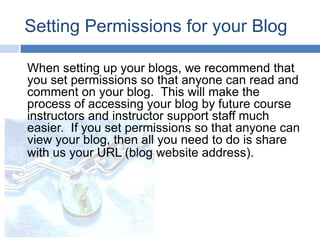
3) Create accounts with Google and set up a blog to share reflections.
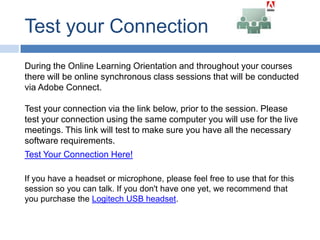
4) Test their internet connection for online meetings using Adobe Connect.