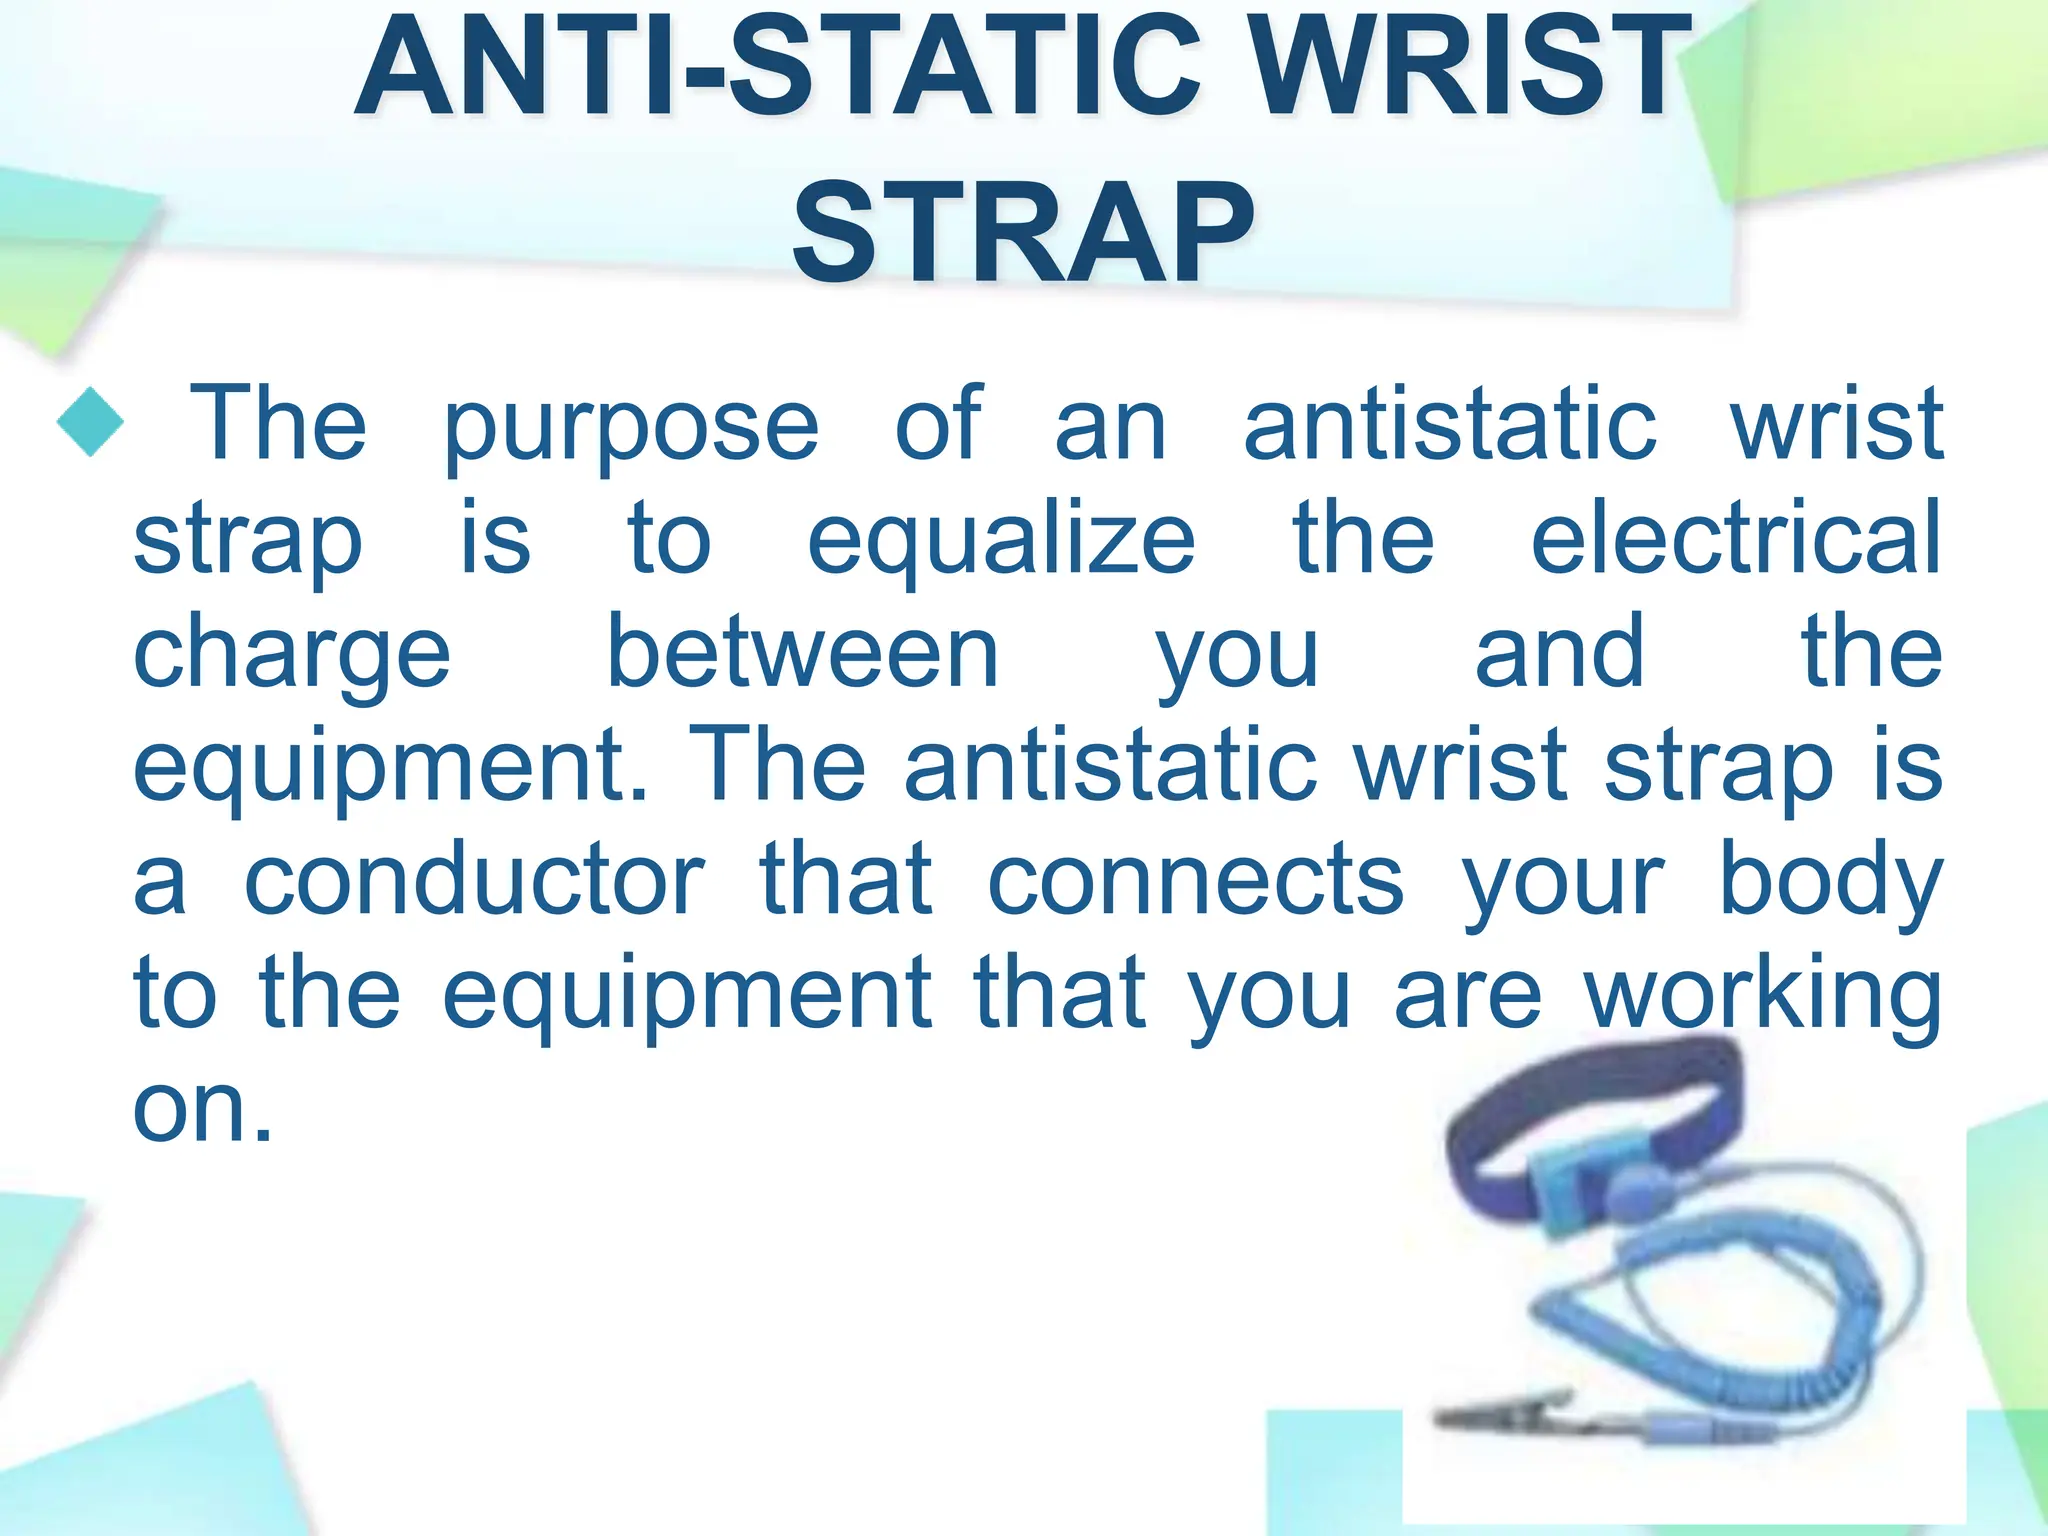
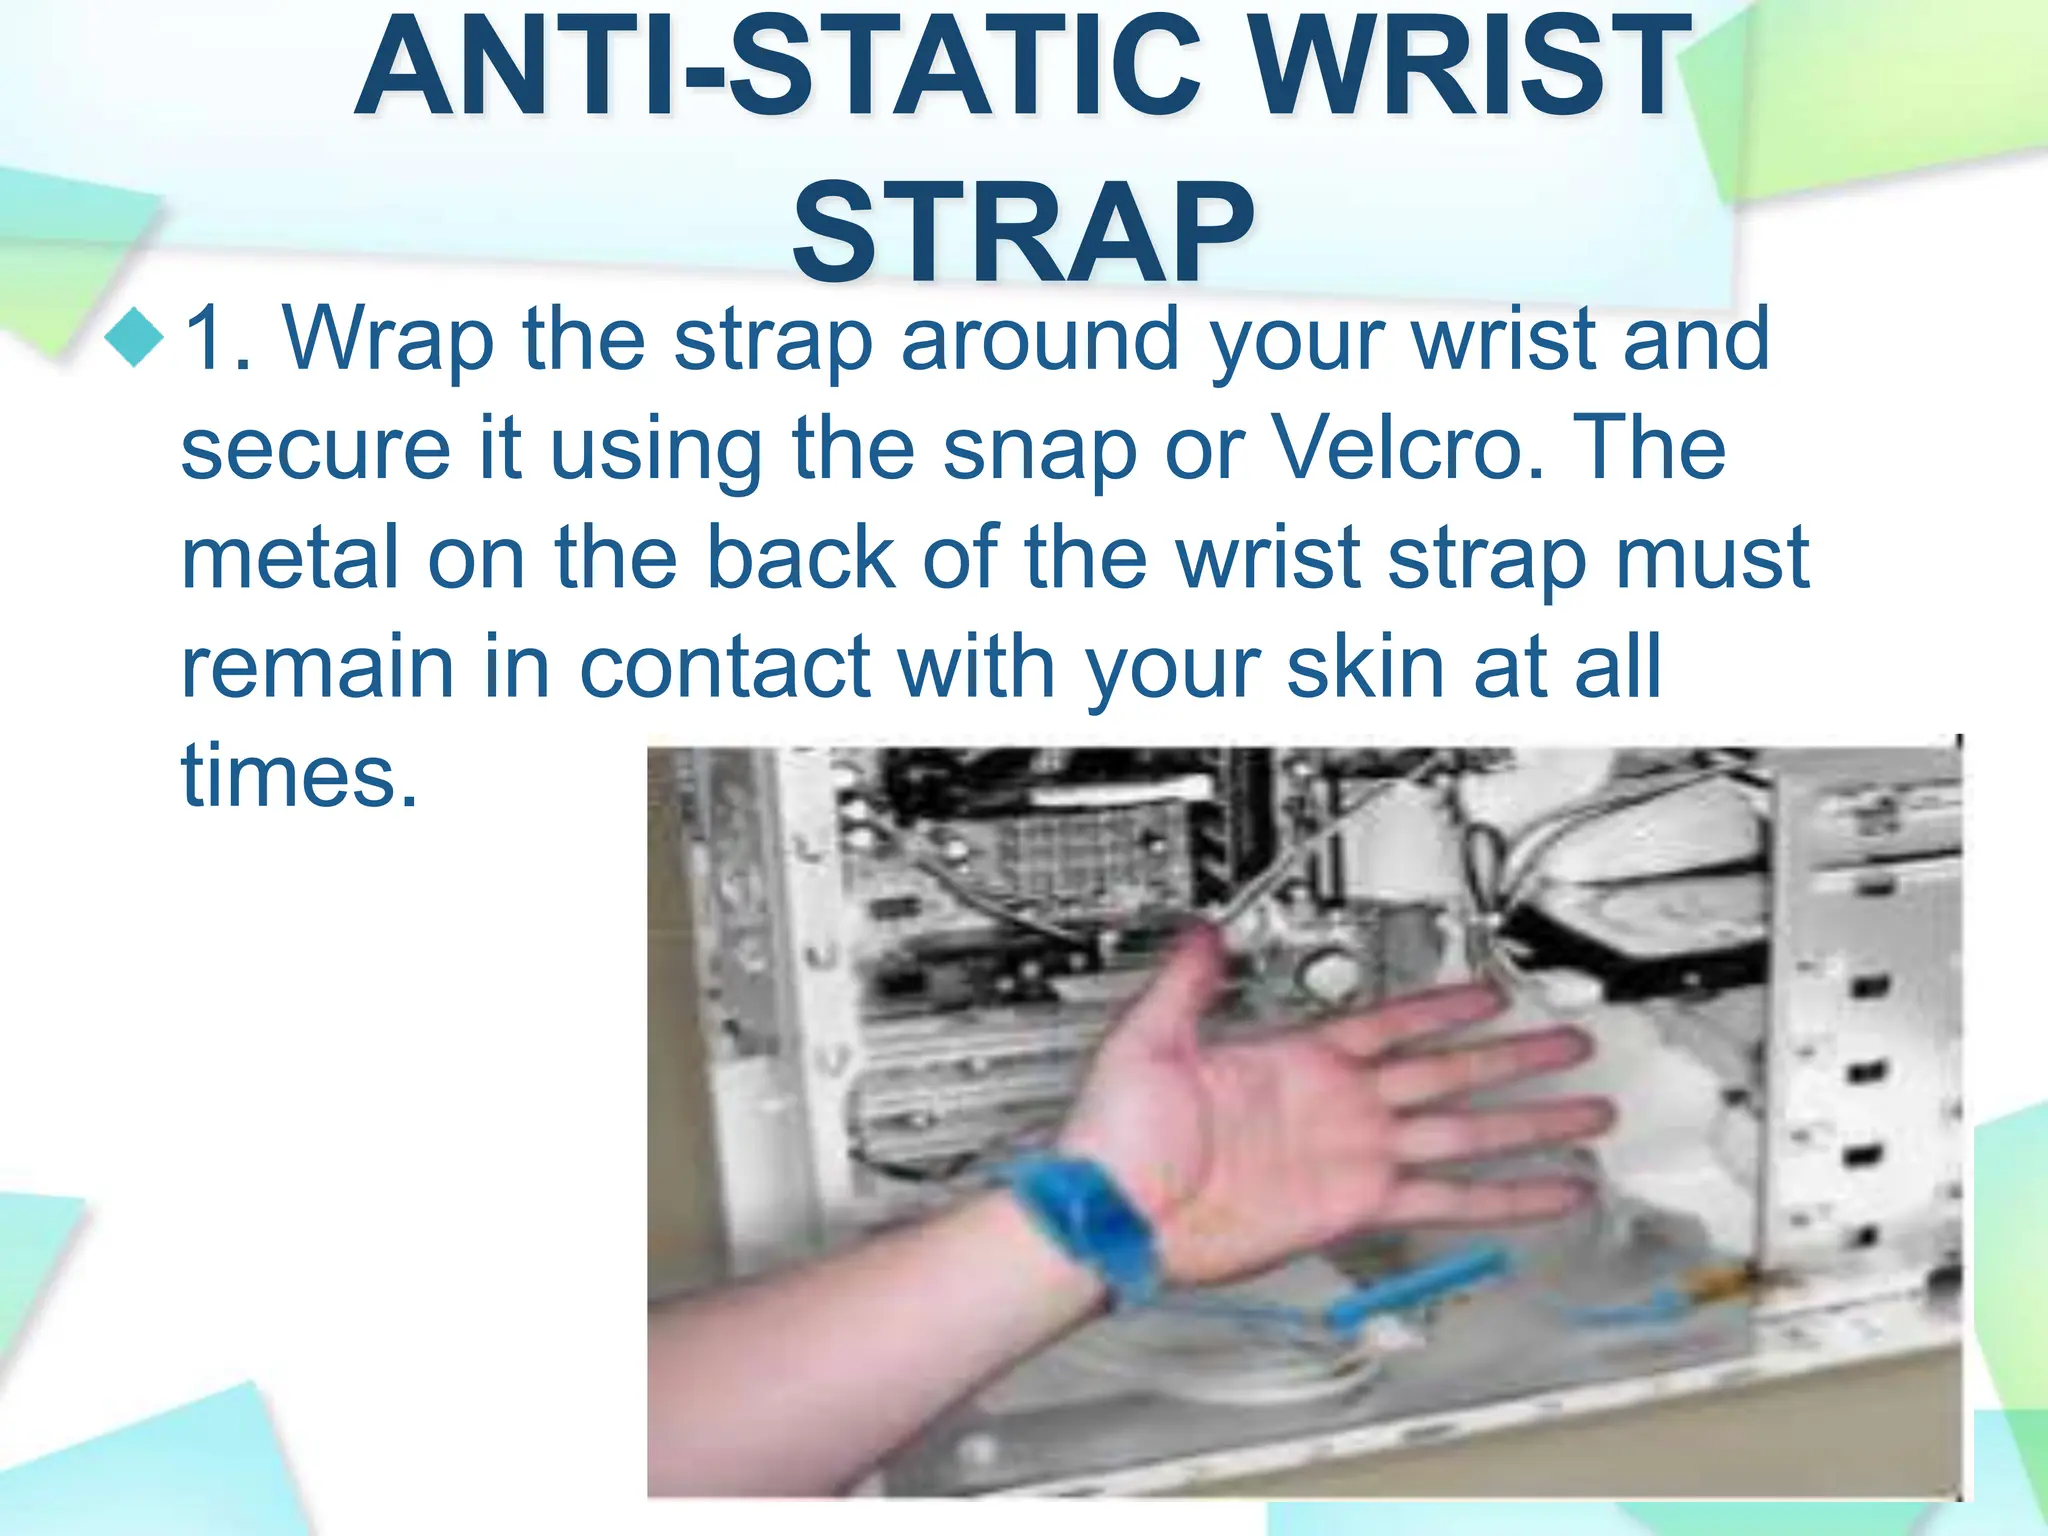
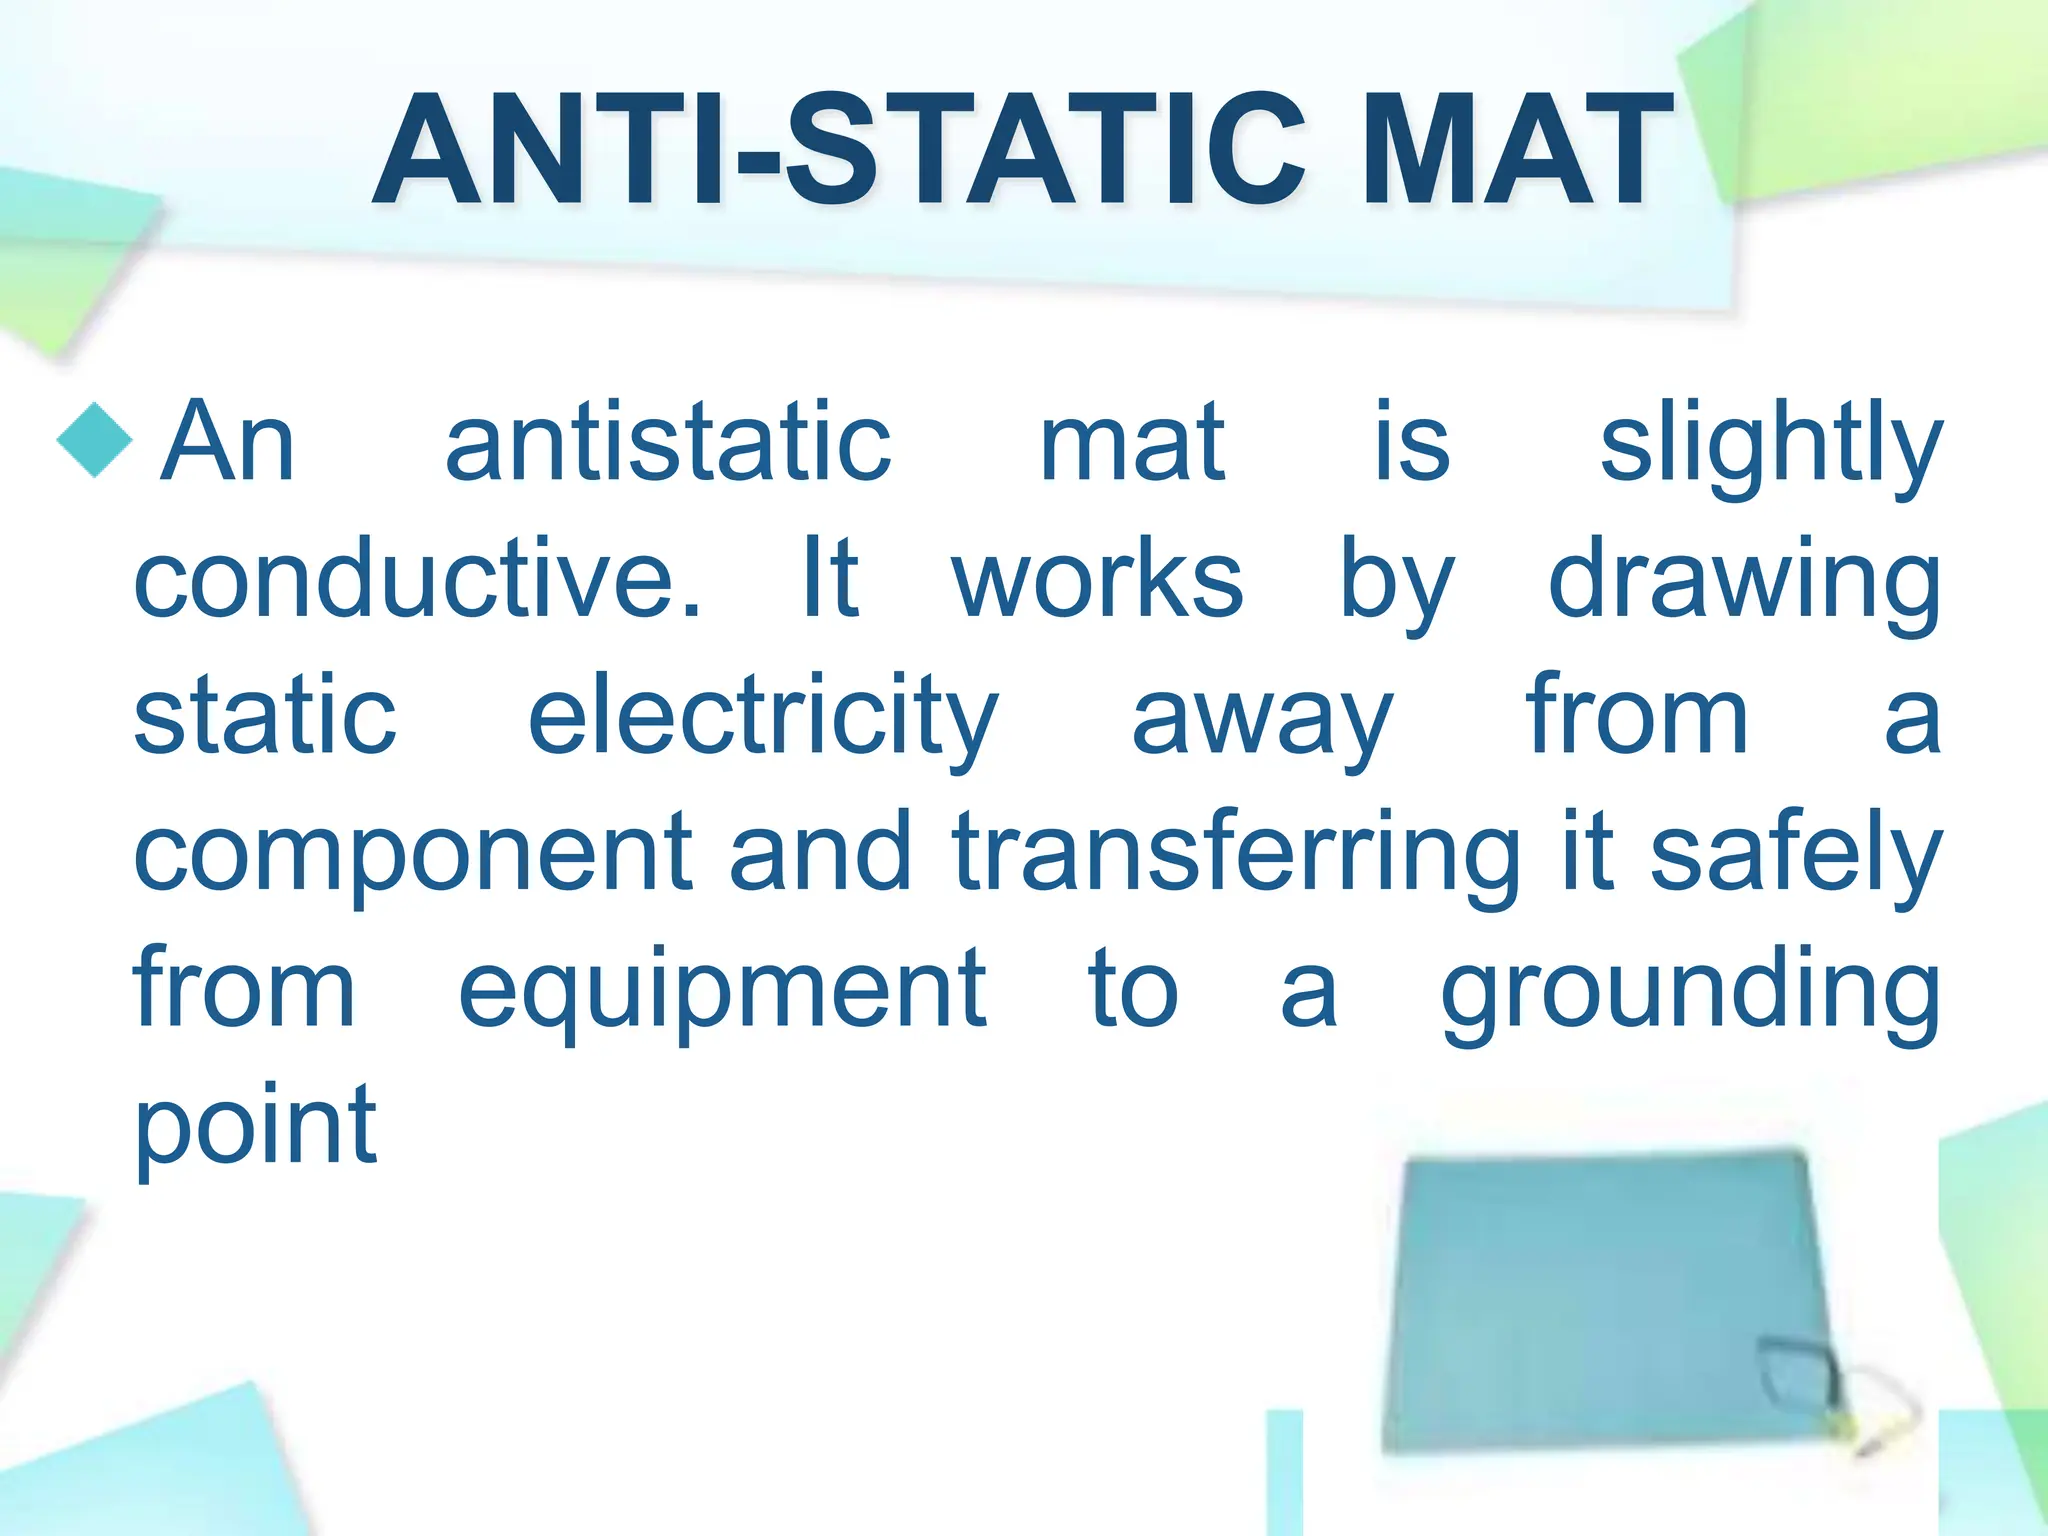
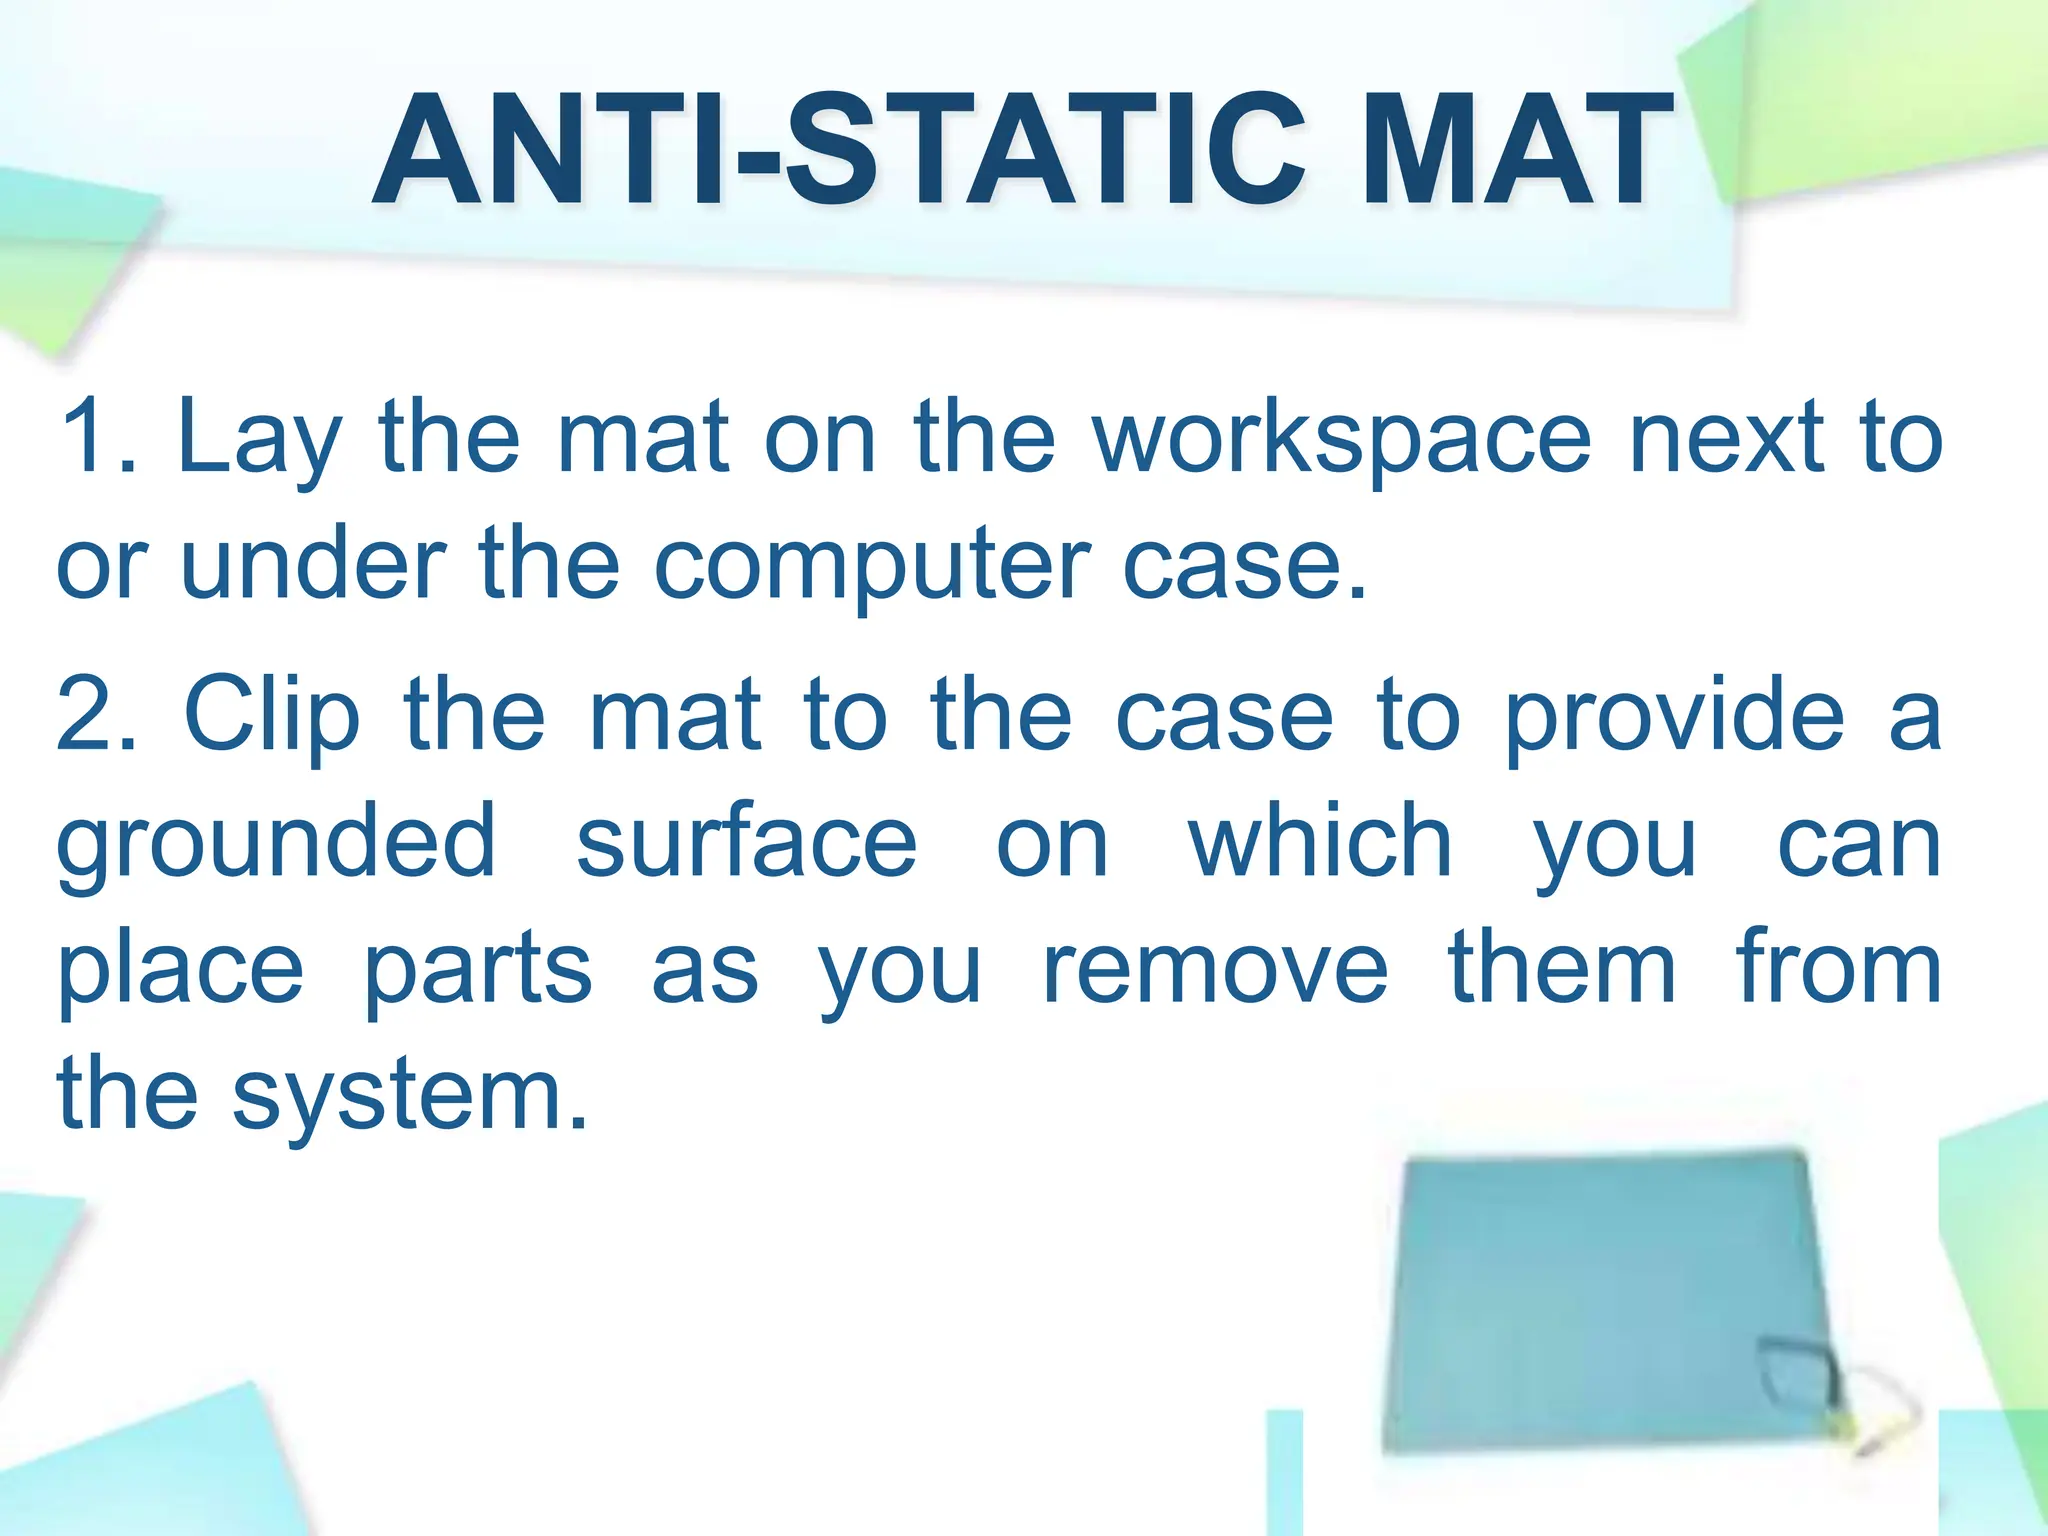
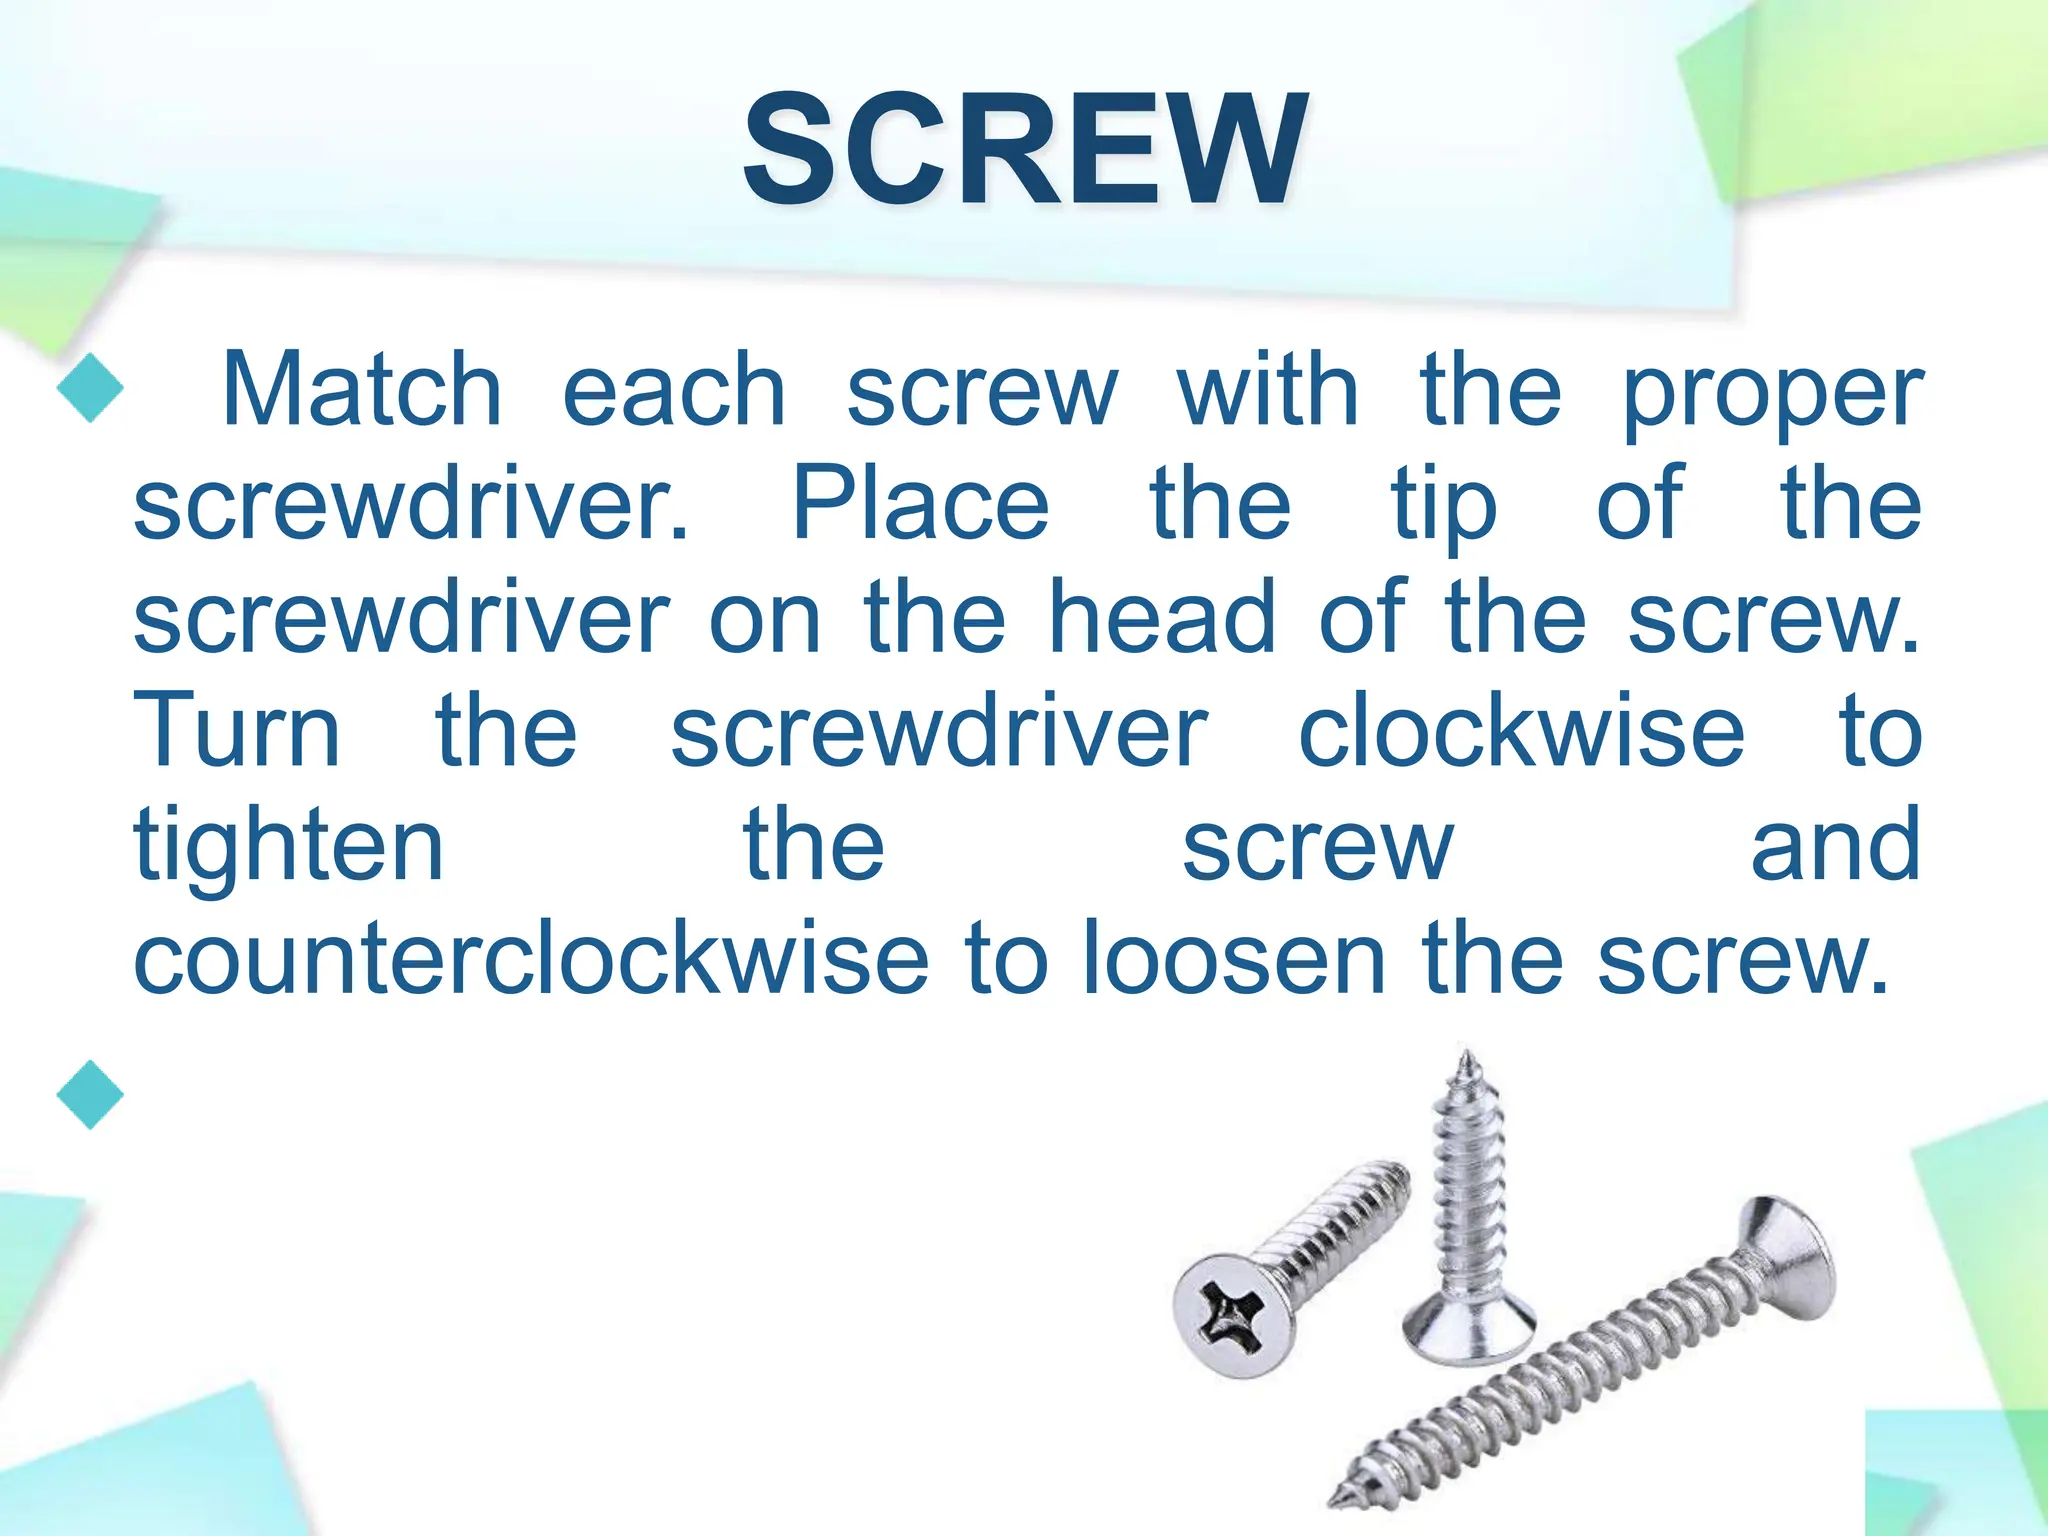
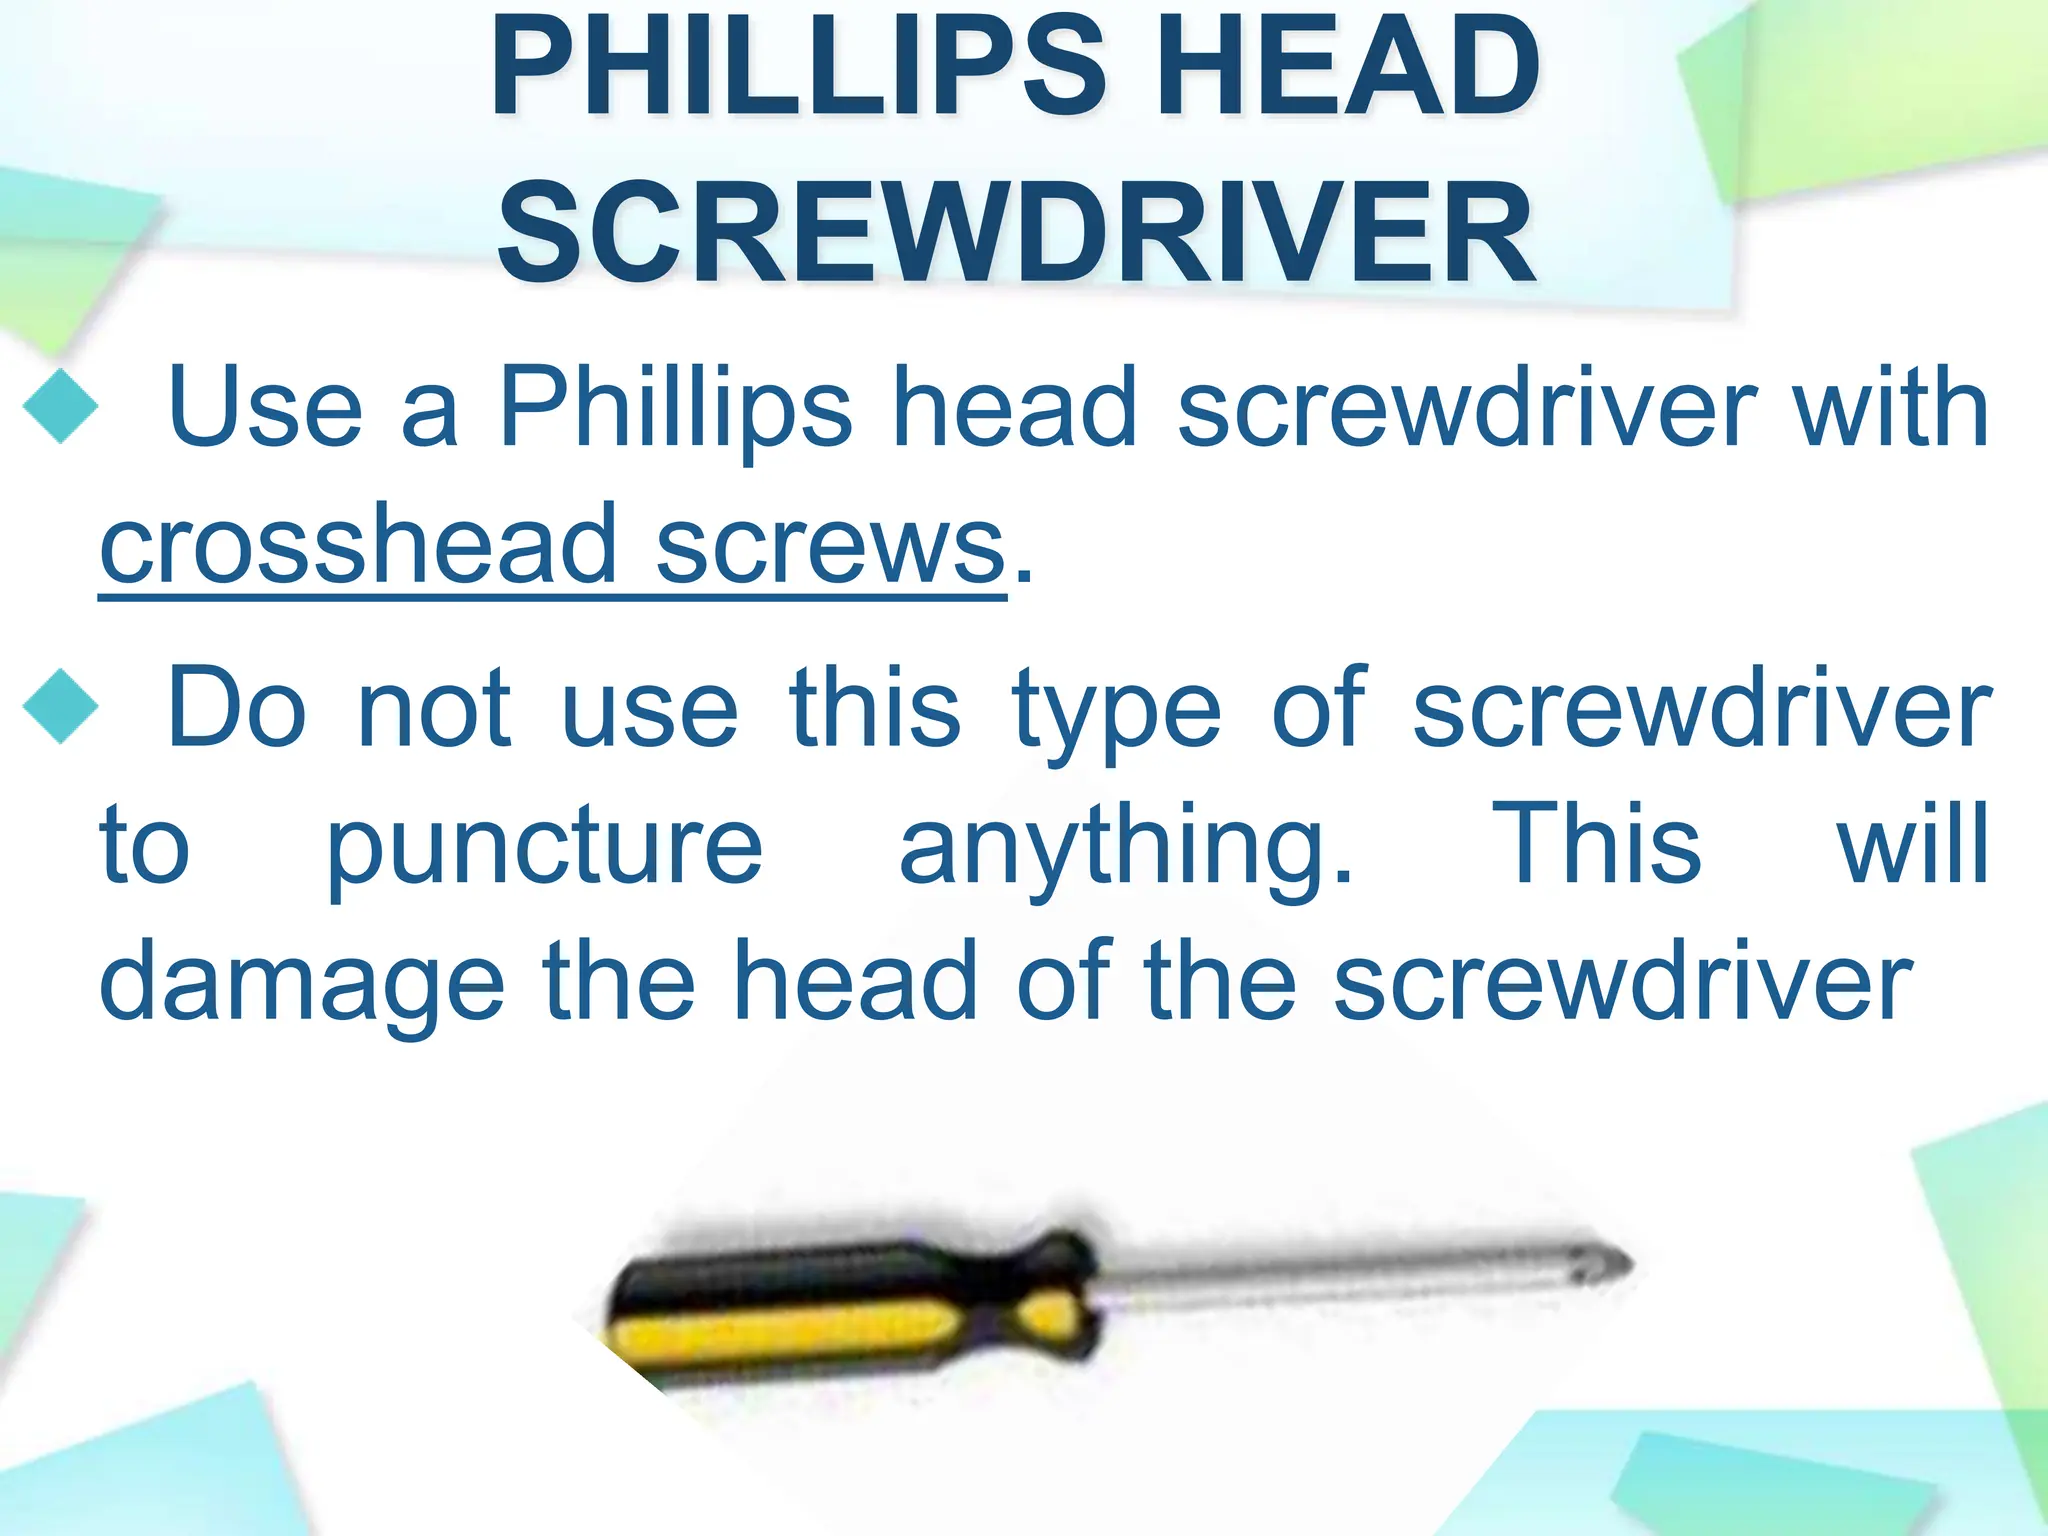
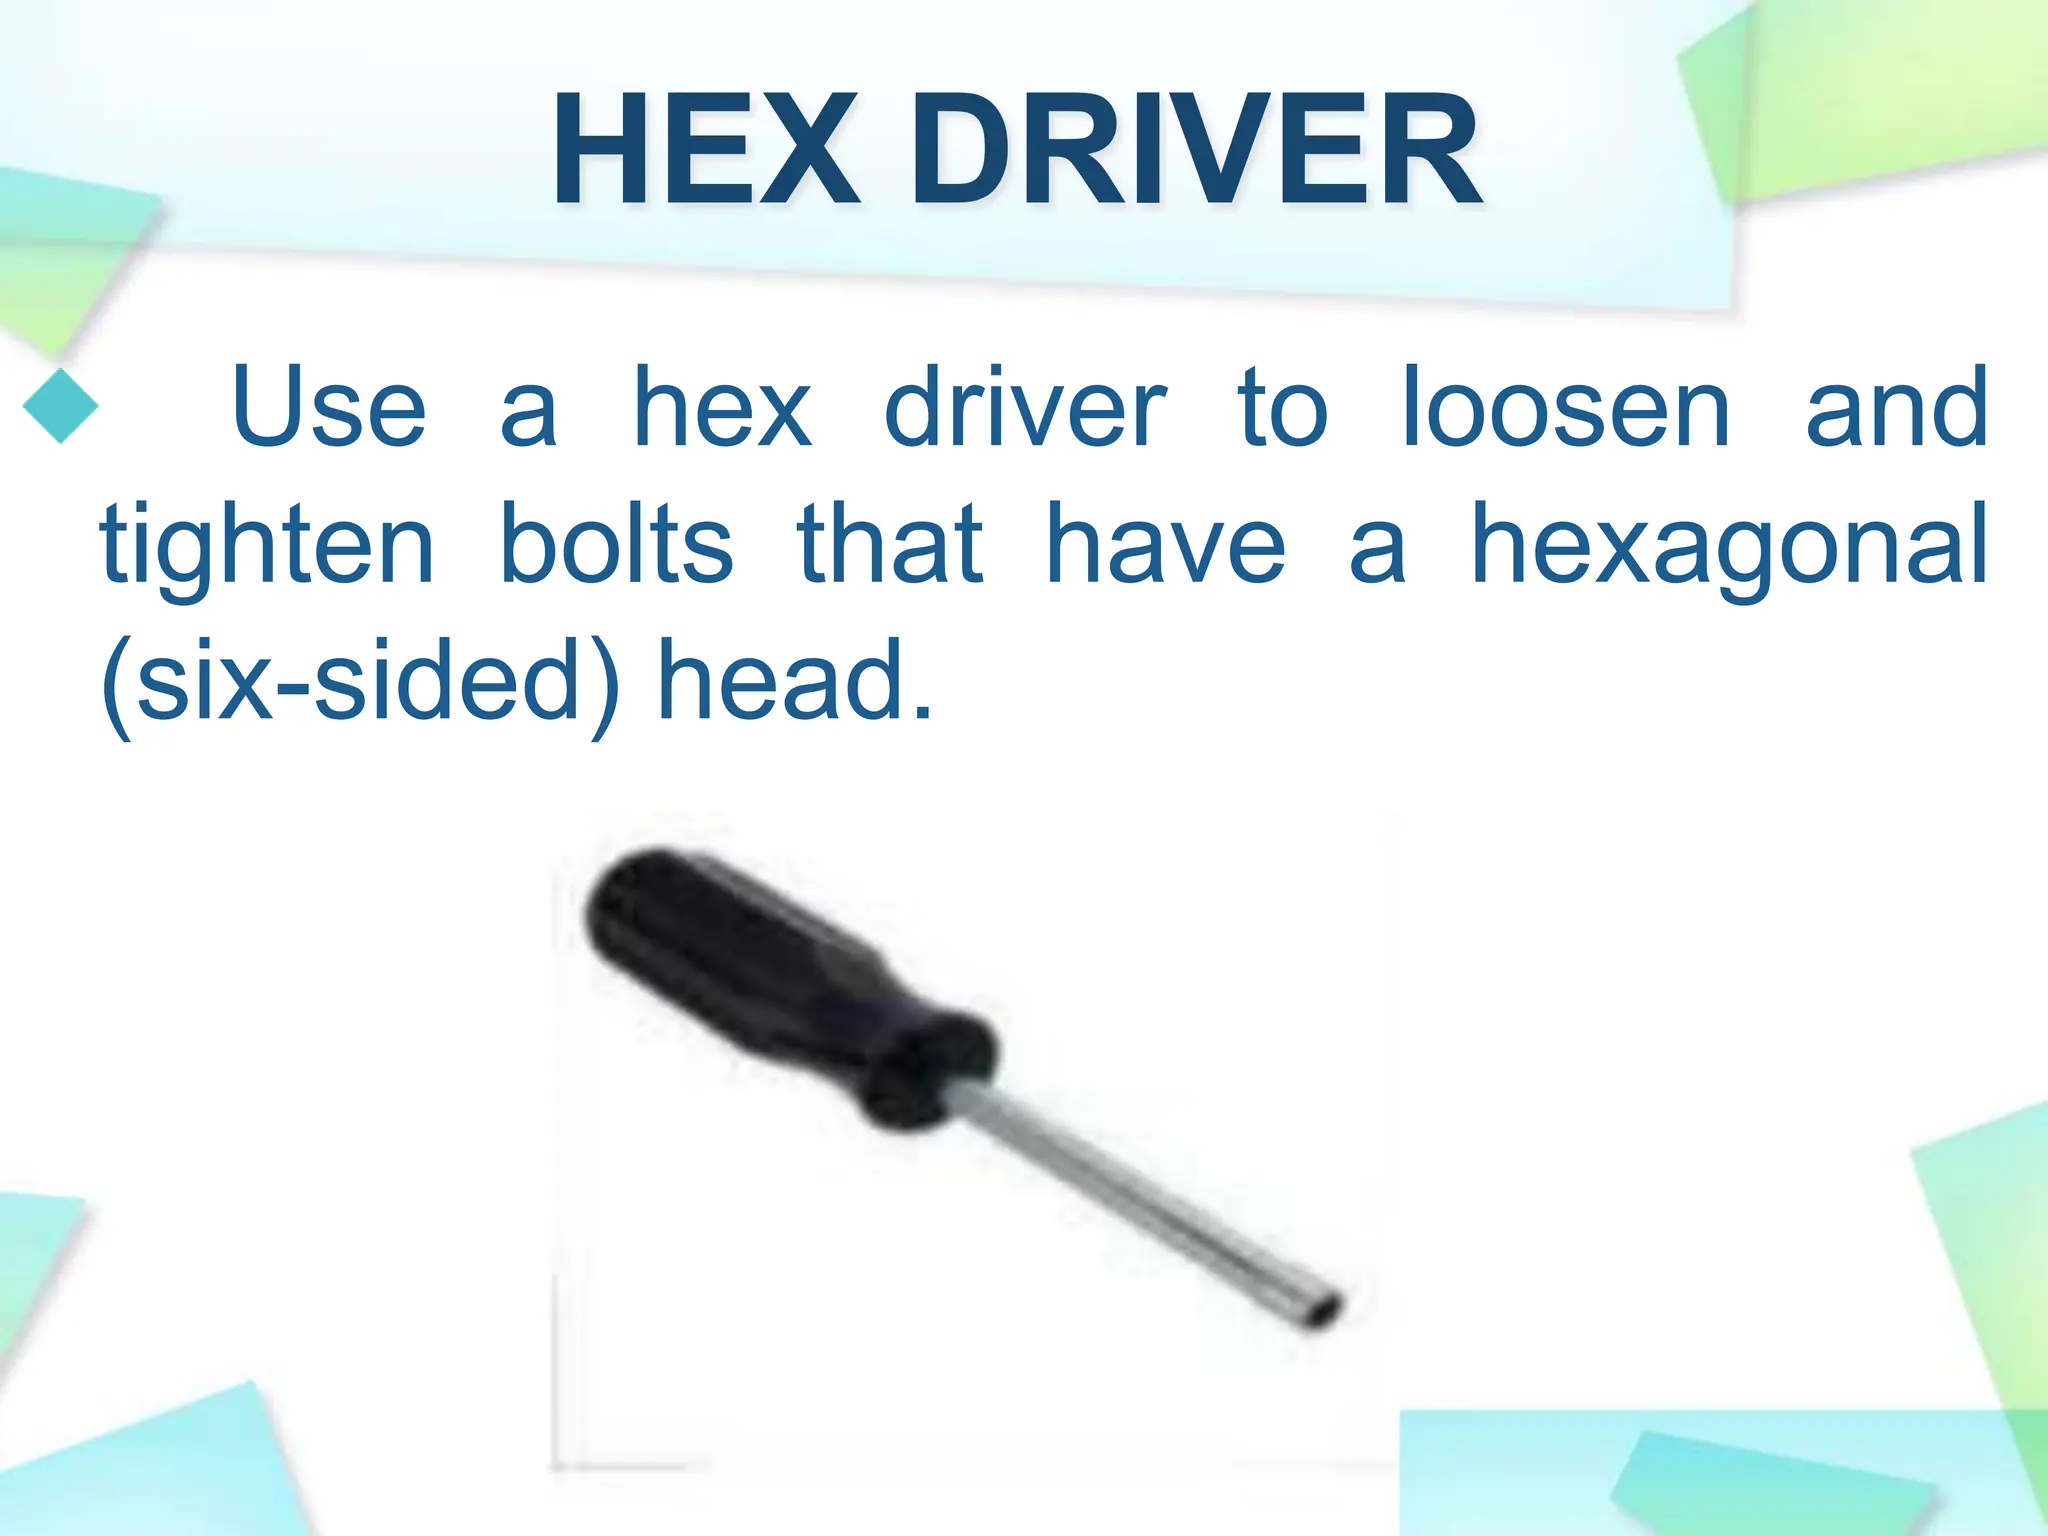
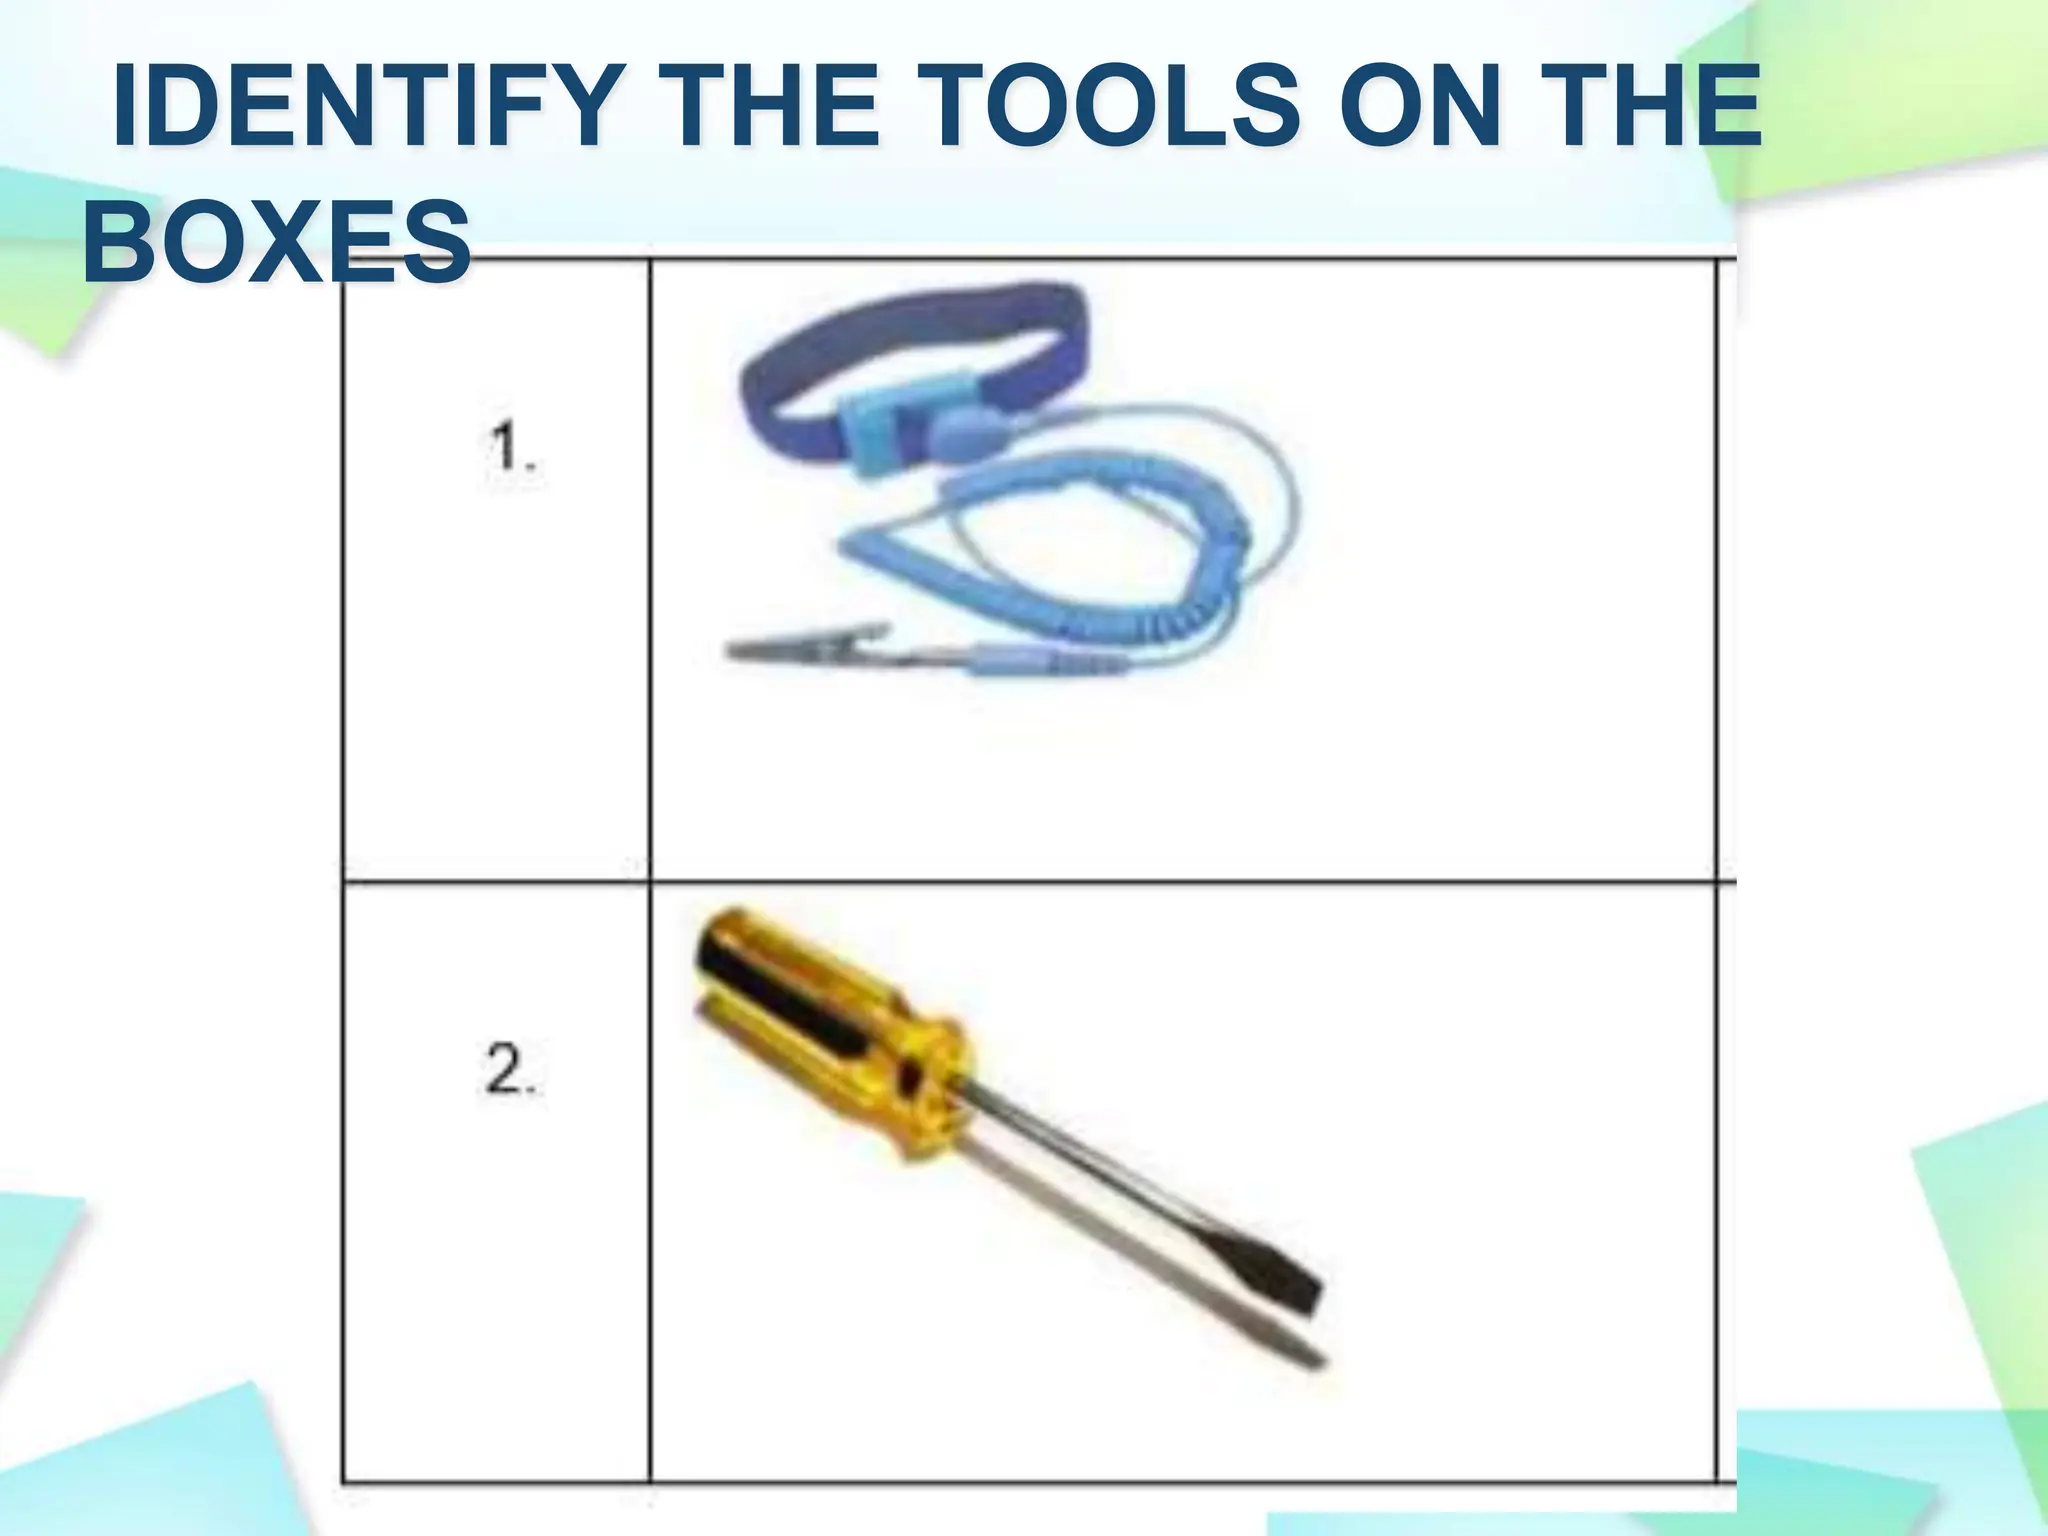
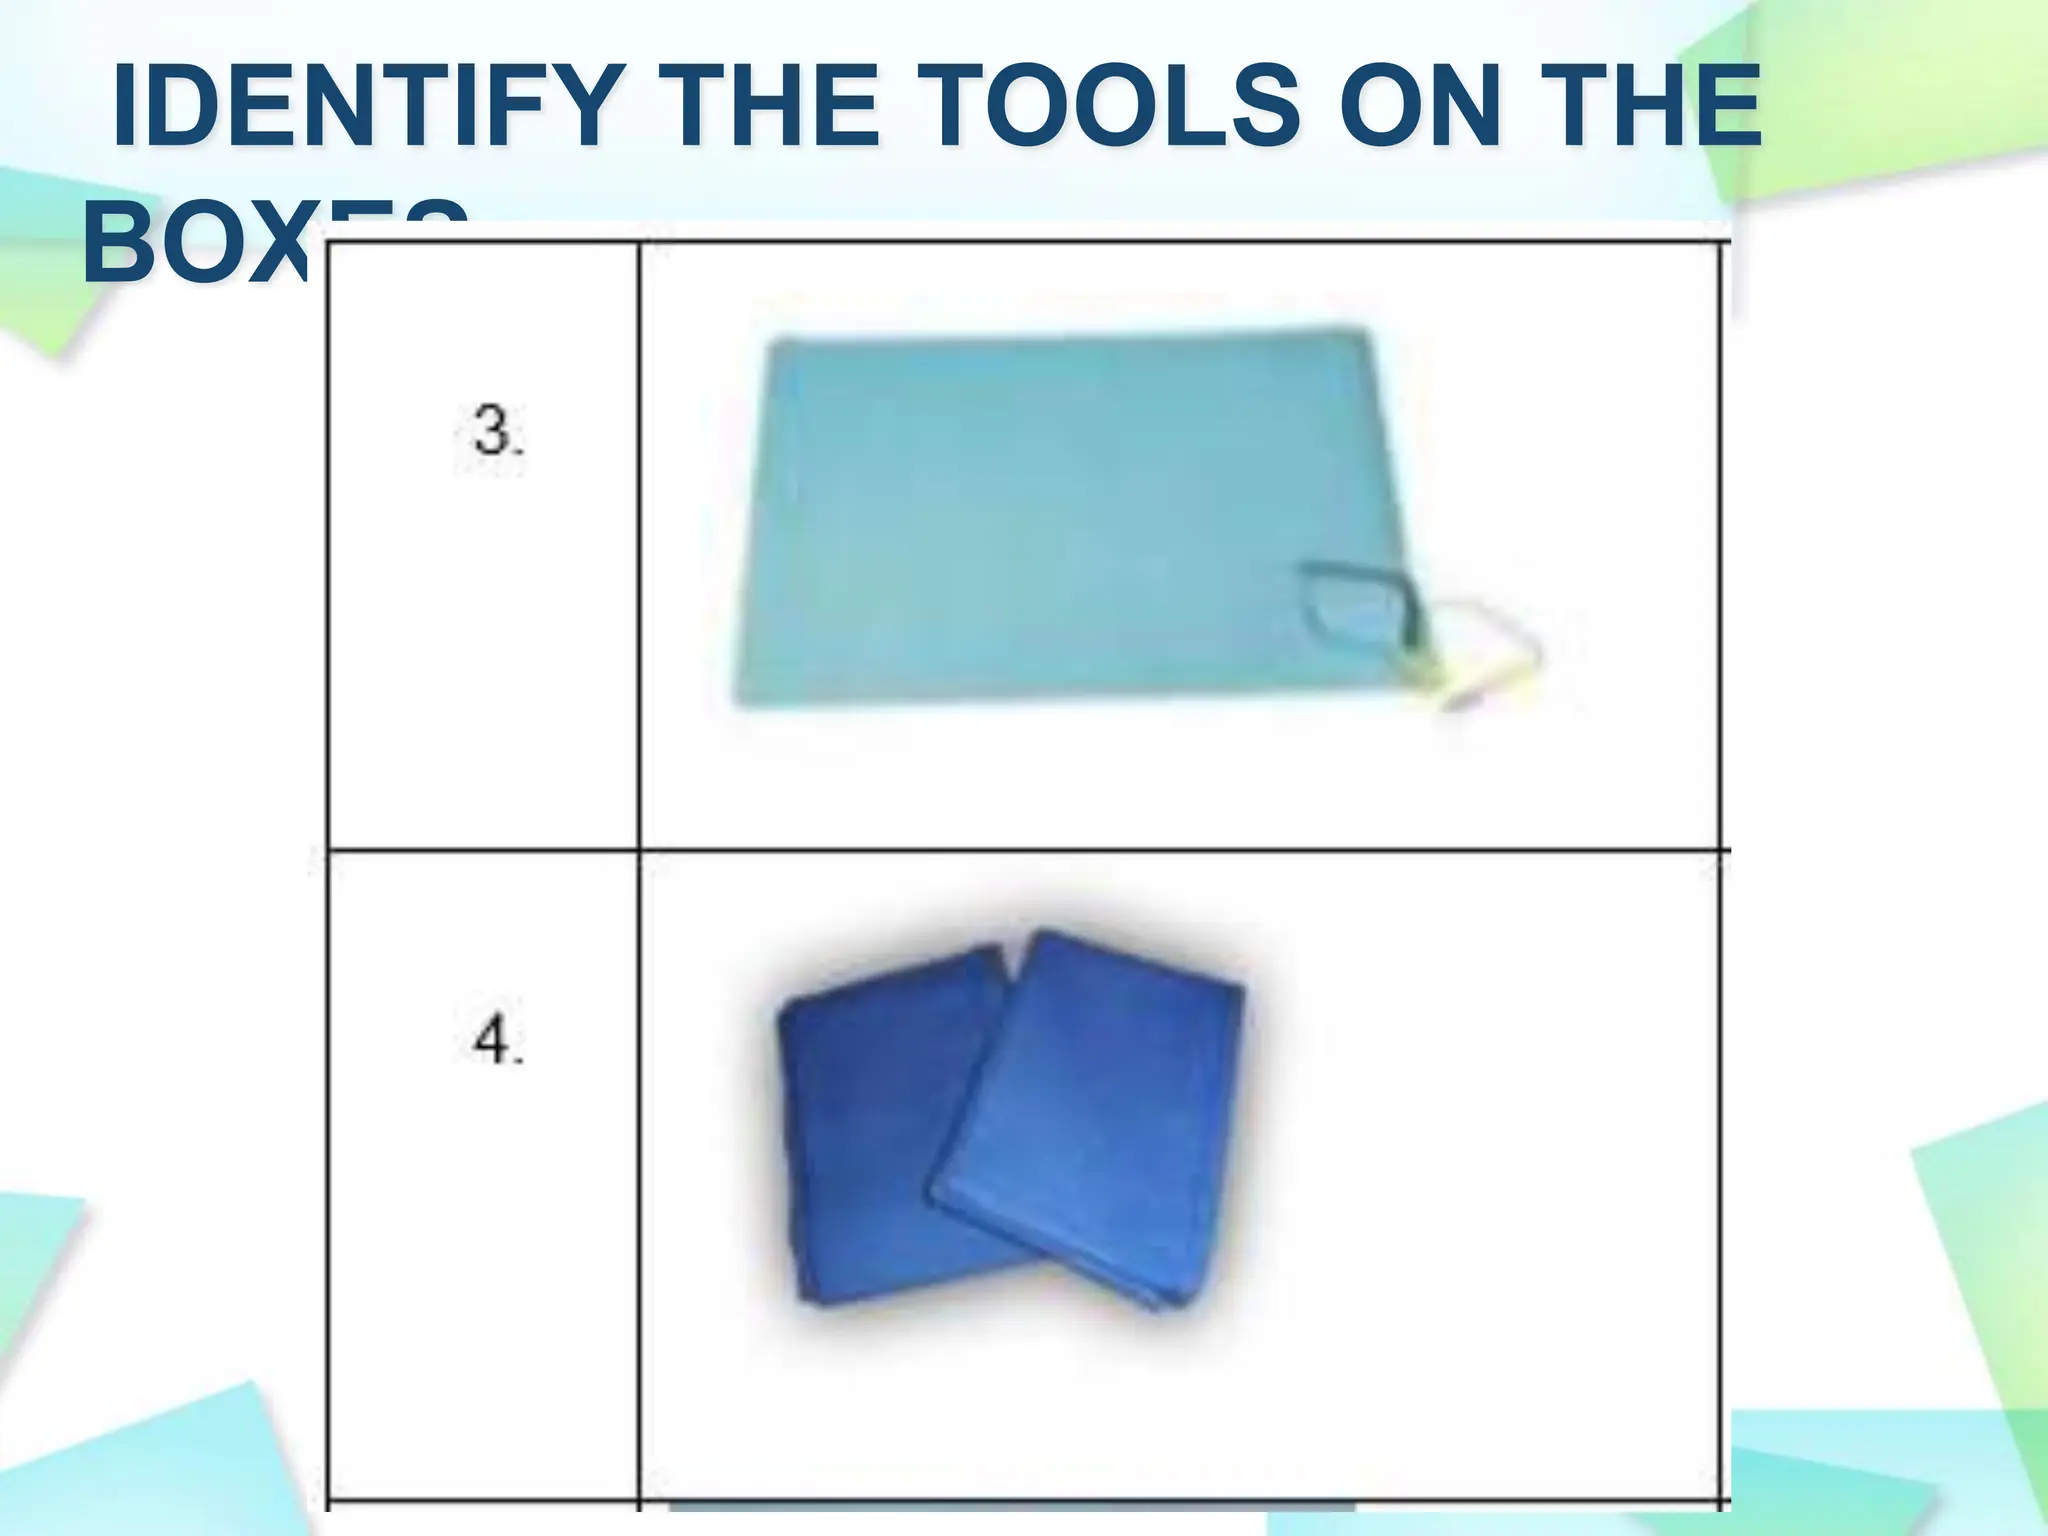
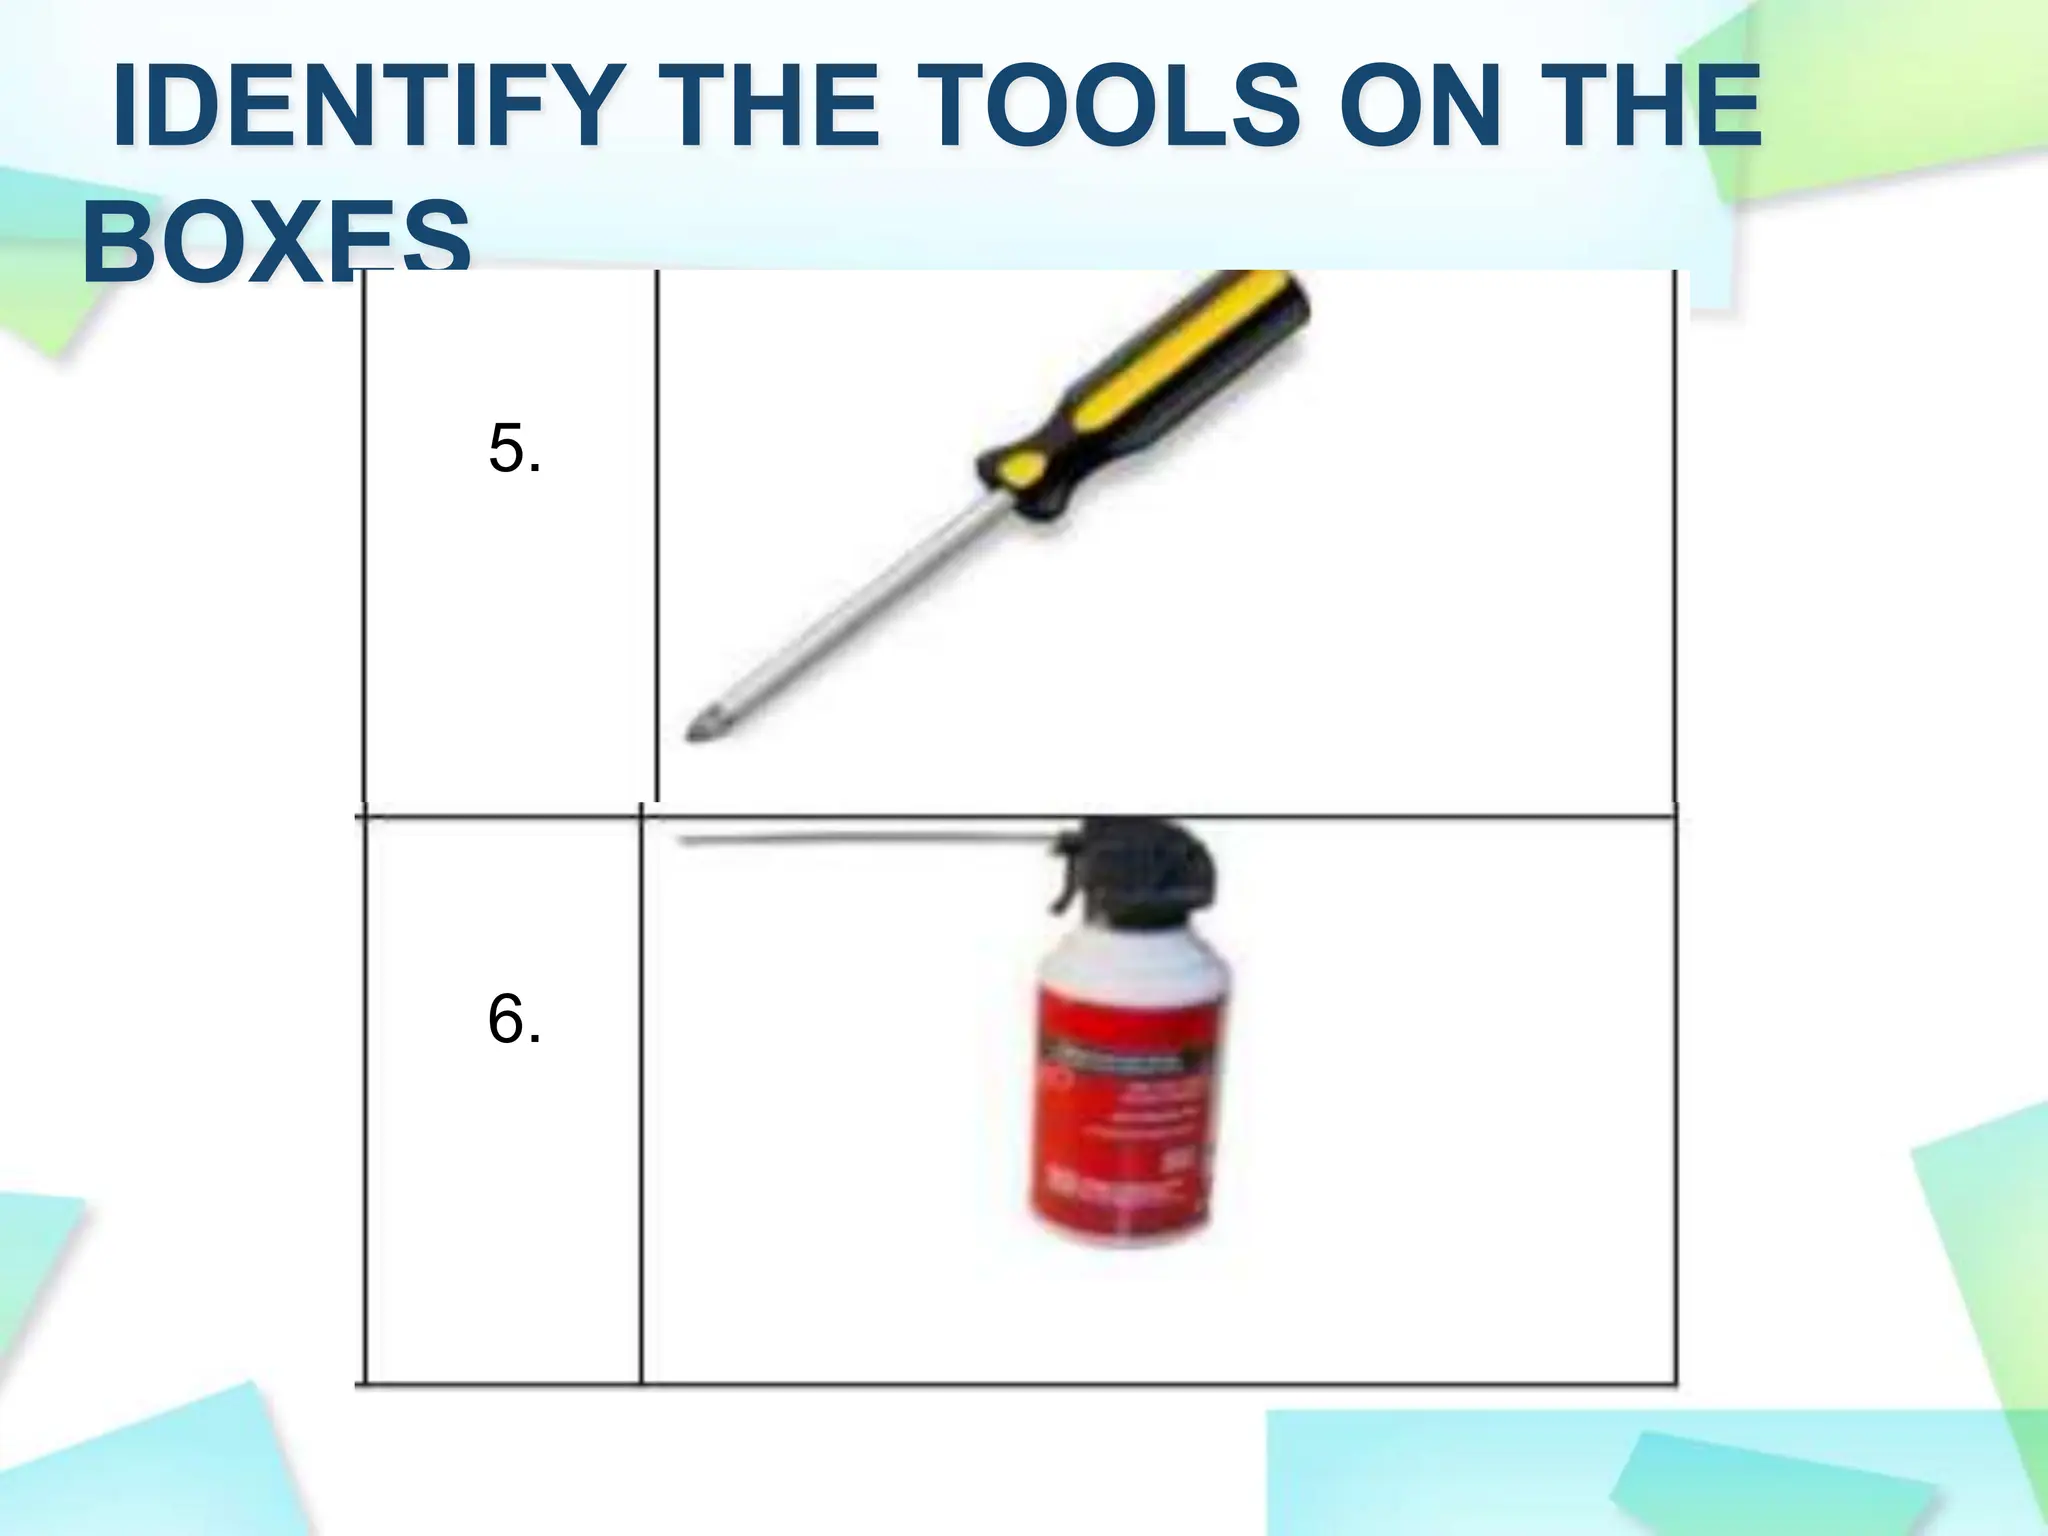
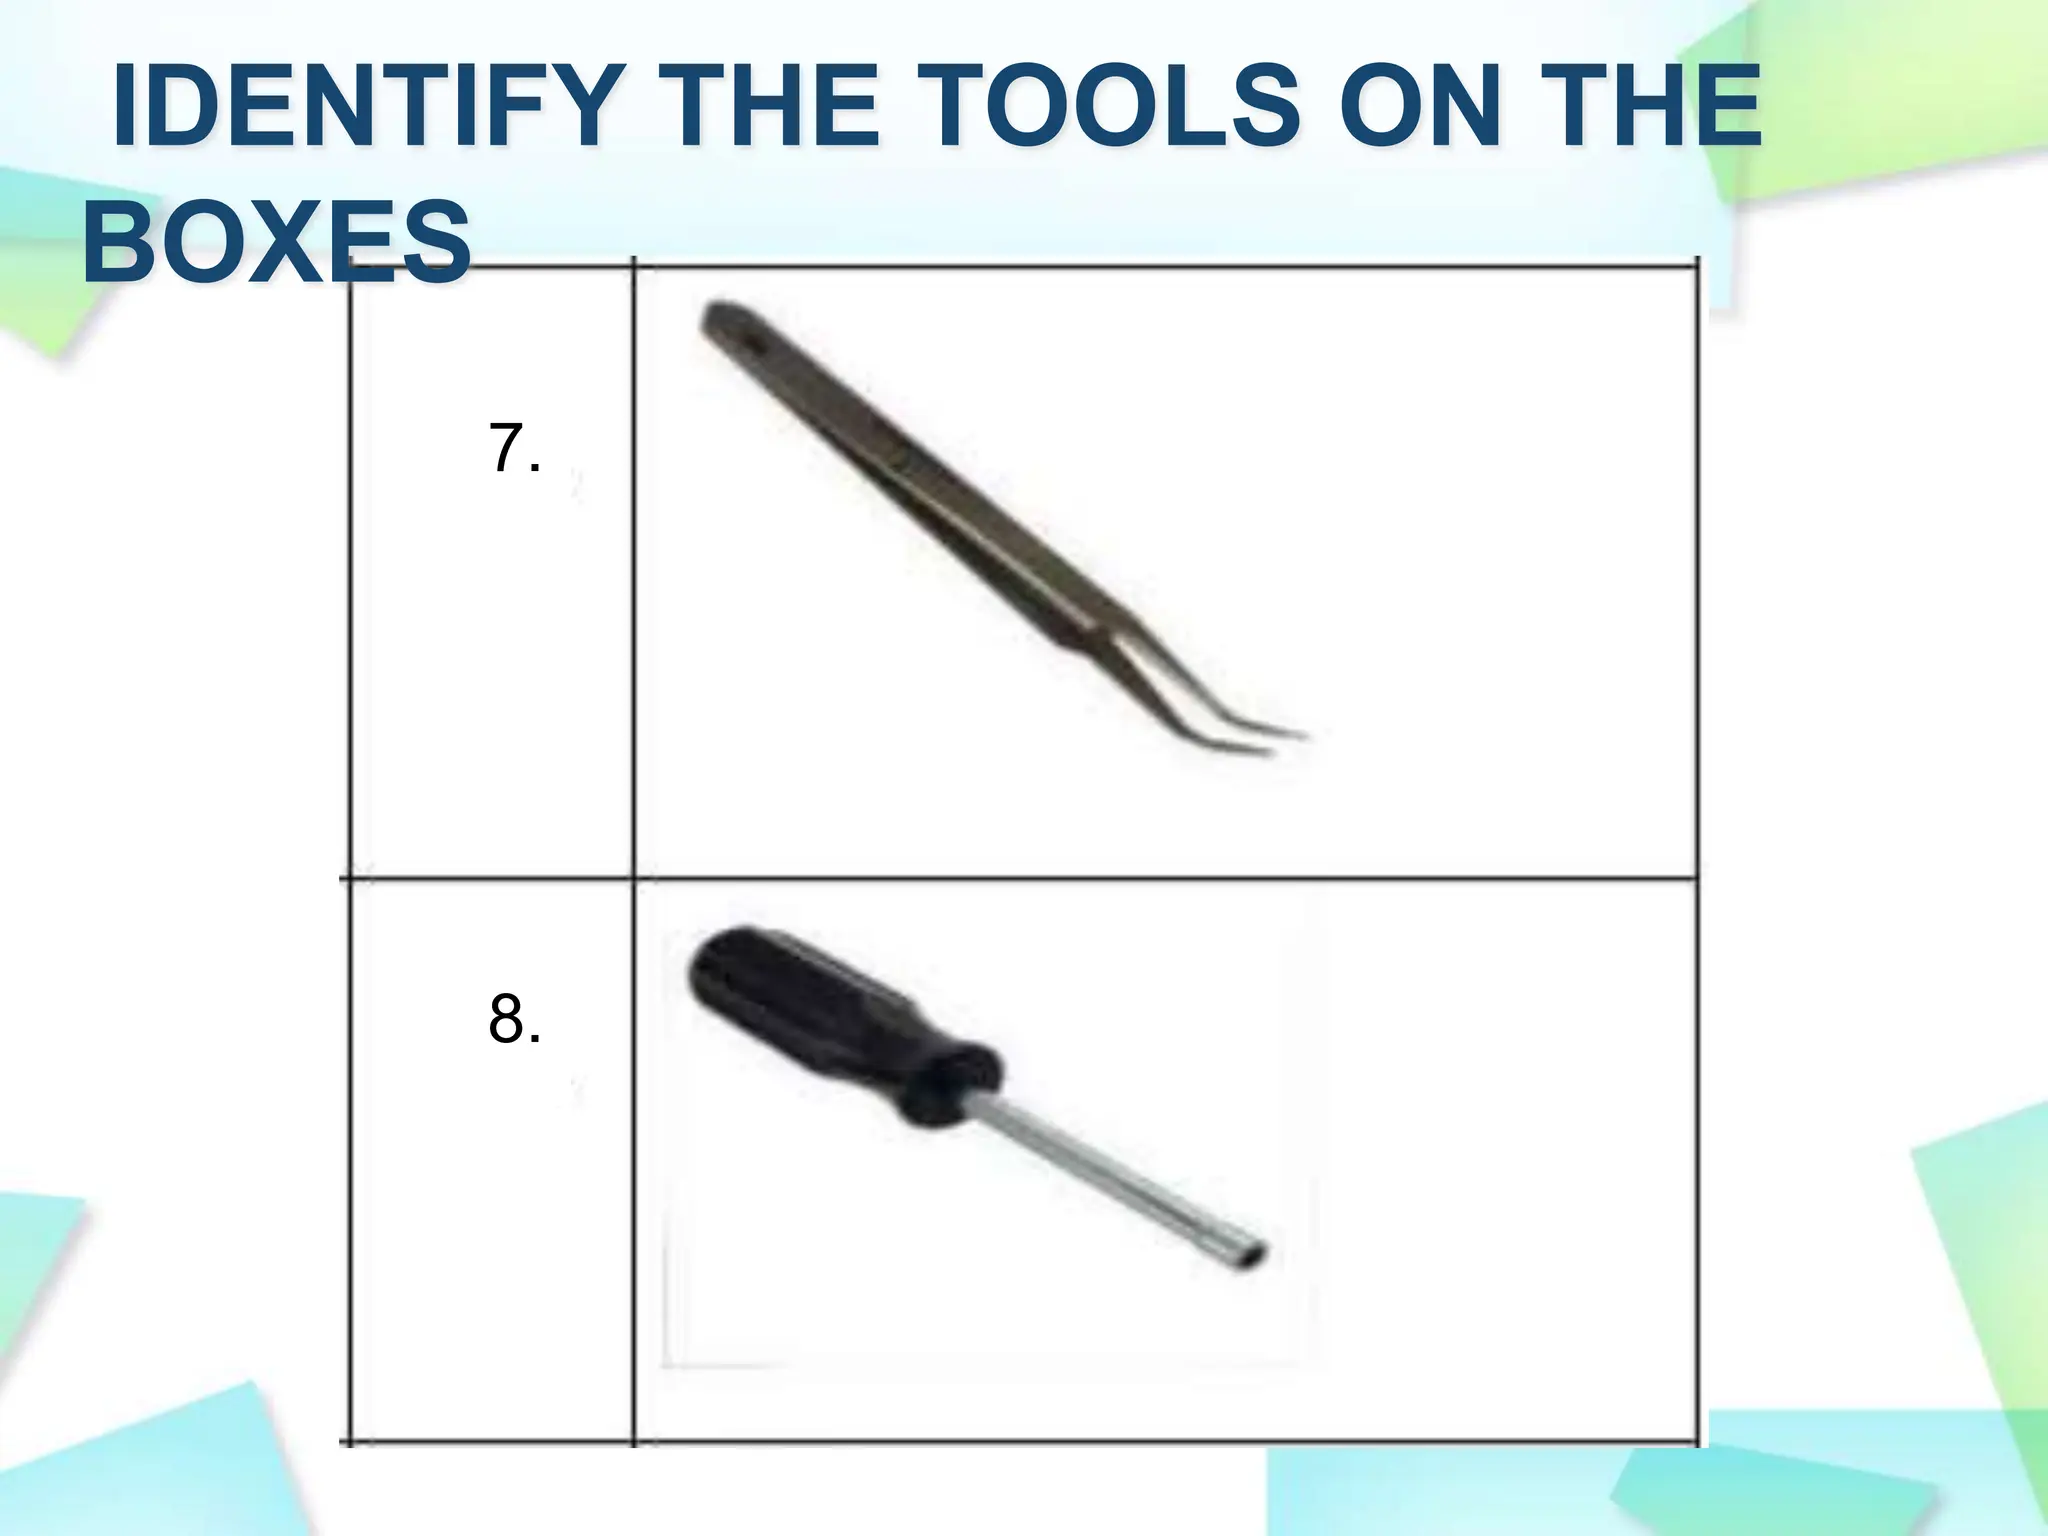
9. Topics of the Lesson
Proper use of hardware tools
Maintain hand tools
Familiarizing with the tools
10. REMEMBER!
For every job there is the
right tool. Skilled use of tools
makes the job less difficult
and ensures that tasks are
performed properly and safely.
13. ANTI-STATIC WRIST
STRAP
The purpose of an antistatic wrist
strap is to equalize the electrical
charge between you and the
equipment. The antistatic wrist strap is
a conductor that connects your body
to the equipment that you are working
on.
14. ANTI-STATIC WRIST
STRAP
1. Wrap the strap around your wrist and
secure it using the snap or Velcro. The
metal on the back of the wrist strap must
remain in contact with your skin at all
times.
15. ANTI-STATIC WRIST
STRAP
2. Snap the connector at the end of the wire
to the wrist strap, and connect the other end
either to the equipment or to the same
grounding point that the antistatic mat is
connected to. The metal skeleton of the case
is a good place to connect the wire. When
connecting the wire to equipment that you are
working on, choose an unpainted metal
surface. A painted surface does not conduct
the electricity as well as unpainted metal
16.
17. ANTI-STATIC MAT
An antistatic mat is slightly
conductive. It works by drawing
static electricity away from a
component and transferring it safely
from equipment to a grounding
point
18. ANTI-STATIC MAT
1. Lay the mat on the workspace next to
or under the computer case.
2. Clip the mat to the case to provide a
grounded surface on which you can
place parts as you remove them from
the system.
21. SCREW
Match each screw with the proper
screwdriver. Place the tip of the
screwdriver on the head of the screw.
Turn the screwdriver clockwise to
tighten the screw and
counterclockwise to loosen the screw.
22. SCREW
Screws can become stripped if
you over-tighten them with a
screwdriver. A stripped screw, may
get stuck in the screw hole, or it
may not tighten firmly. Discard
stripped screws.
23. FLAT HEAD
SCREWDRIVER
Use a flat head screwdriver when you
are working with a slotted screw.
Do not use a flat head screwdriver to
remove a Phillips head screw. Never use
a screwdriver as a pry bar.
If you cannot remove a component,
check to see if there is a clip or screw
that is securing the component in place.
24. PHILLIPS HEAD
SCREWDRIVER
Use a Phillips head screwdriver with
crosshead screws.
Do not use this type of screwdriver
to puncture anything. This will
damage the head of the screwdriver
25. HEX DRIVER
Use a hex driver to loosen and
tighten bolts that have a hexagonal
(six-sided) head.
26. Part retriever, Needle-nose
pliers, or tweezers
they can be used to place and
retrieve parts that may be hard to
reach with your fingers. Do not
scratch or hit any components when
using these tools.
27. CAUTION
Pencils should not be used
inside the computer to change
the setting of switches or to pry
off jumpers. The pencil lead can
act as a conductor and may
damage the computer
components.
29. REMEMBER!
Keeping computers clean
inside and out is a vital part of a
maintenance program. Dirt can
cause problems with the
physical operation of fans,
buttons, and other mechanical
components.
31. Computer Cases and
Monitors
Clean computer cases and the
outside of monitors with a mild
cleaning solution on a damp, lint-free
cloth.
32. Computer Cases and
Monitors
Mix one drop of dishwashing liquid
with four ounces of water to create the
cleaning solution. If any water drips
inside the case, allow enough time for
the liquid to dry before powering on the
computer
33. LCD Screens
Do not use ammoniated glass
cleaners or any other solution on an
LCD screen, unless the cleaner is
specifically designed for the purpose.
34. LCD Screens
There is no glass protecting these
screens, so be gentle when cleaning
them and do not press firmly on the
screen.
35. Keyboard
Clean a desktop keyboard with
compressed air or a small, hand-held
vacuum cleaner with a brush
attachment
36. CAUTION
When compressed air is used to
clean inside the computer, the
air should be blown around the
components with a minimum
distance of four inches from the
nozzle. The power supply and
the fan should be cleaned from
the back of the case.
37. Mouse
Use glass cleaner and a soft cloth
to clean the outside of the mouse.
Do not spray glass cleaner directly
on the mouse. Do not spray any
liquids inside the mouse.