Download as PDF, PPTX


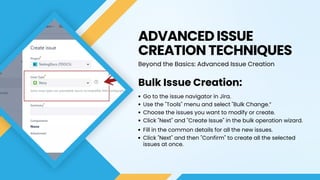
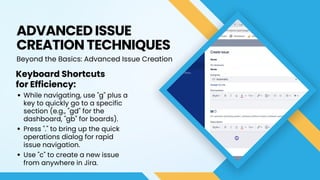


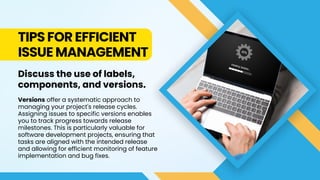


Jira, developed by Atlassian, is a robust project management tool that enhances collaboration through flexibility and advanced features like customizable workflows and issue tracking. The document outlines the process of creating issues, utilizing advanced techniques for bulk creation, and implementing efficient management strategies with labels, components, and versions. Overall, Jira provides essential tools for effective project tracking, prioritization, and execution.