Download to read offline
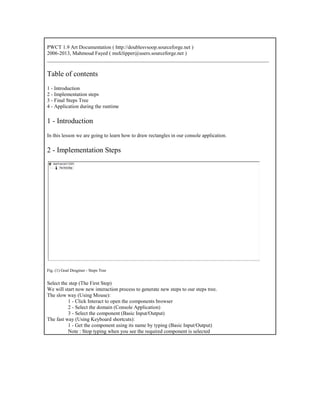
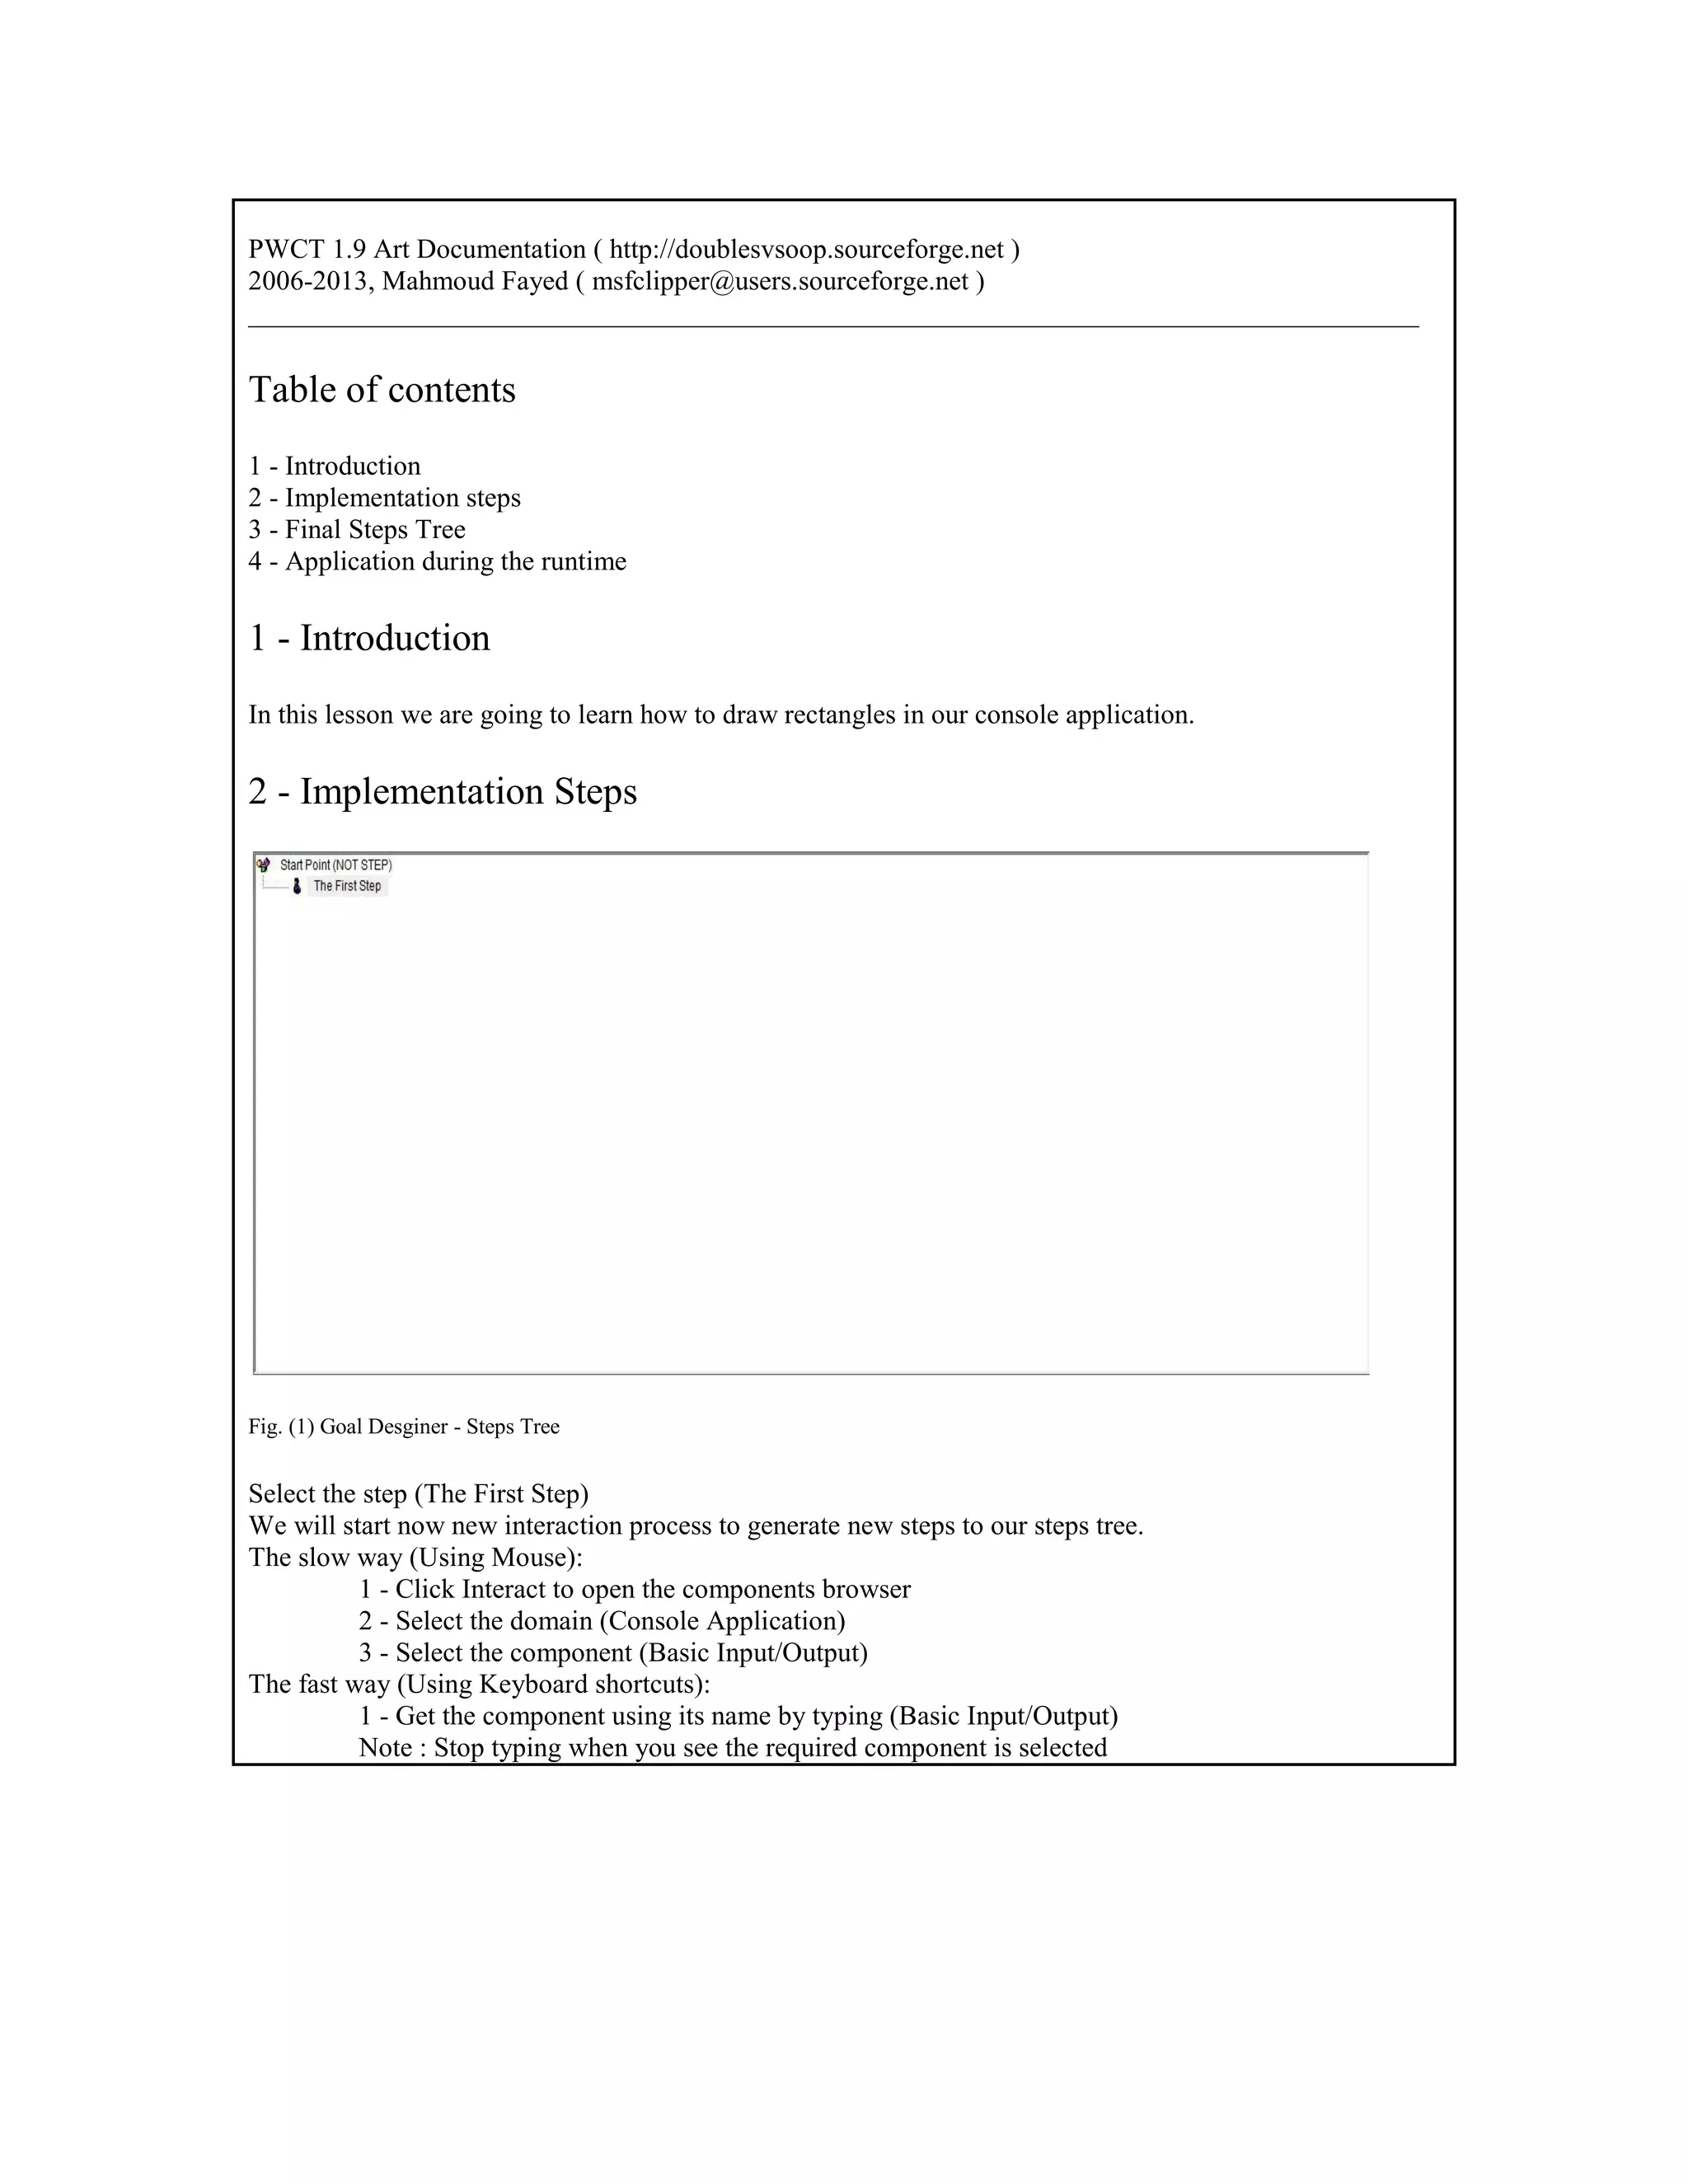


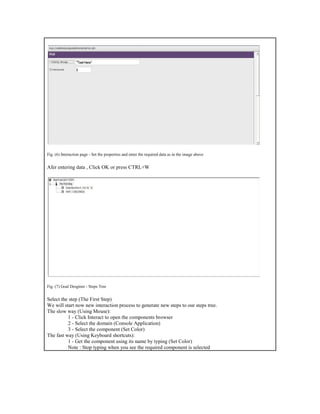


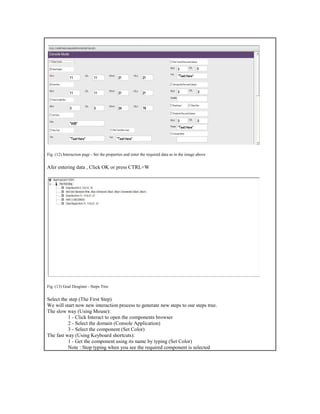


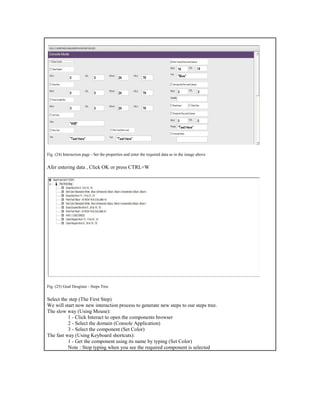


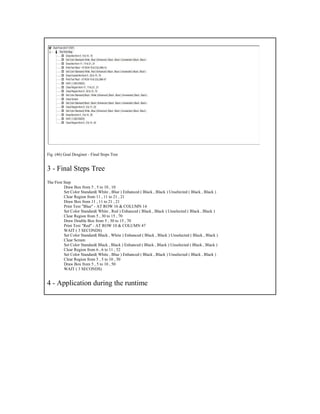
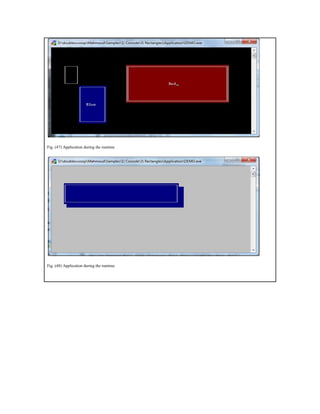

This document provides a detailed guide on using pwct 1.9 to draw rectangles in a console application through a series of implementation steps. It outlines both slow (mouse) and fast (keyboard shortcuts) methods for selecting components such as basic input/output and color settings. Additionally, it details the final steps for creating a graphical output and managing application runtime behavior.