Download to read offline

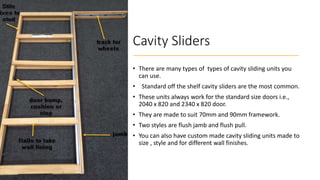
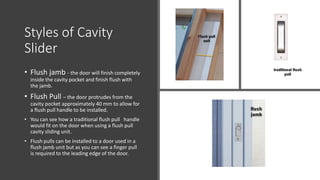
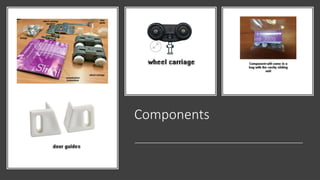
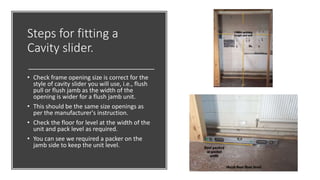
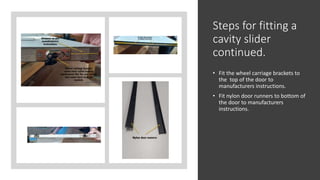

This document provides instructions for installing a cavity slider door unit. It discusses the different types of cavity slider units, including standard off-the-shelf units and custom units. It also describes the flush jamb and flush pull styles. The document then outlines the steps to fit a cavity slider unit, including checking frame sizes, leveling the floor, installing the door frame, fitting the door with wheel carriages and guides, installing the jamb and pelmet. Diagrams accompany the text to illustrate the installation process.


