Popup confirmation for Delete Button in GridView
•Download as DOCX, PDF•
0 likes•22 views

This displays a Confirmation message when the user clicks on Delete Button in GridView. This prevents accidental deletion of rows in a GridView.

Recommended
Recommended
More Related Content
Similar to Popup confirmation for Delete Button in GridView
Similar to Popup confirmation for Delete Button in GridView (20)
More from Dharma Raju
Recently uploaded
Recently uploaded (20)
Popup confirmation for Delete Button in GridView
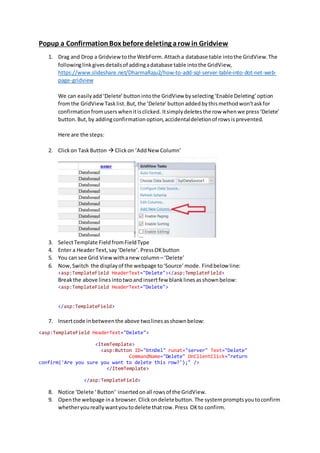
- 1. Popup a ConfirmationBox before deleting arow in Gridview 1. Drag and Drop a Gridviewtothe WebForm.Attacha database table intothe GridView.The followinglinkgivesdetailsof addingadatabase table intothe GridView, https://www.slideshare.net/DharmaRaju2/how-to-add-sql-server-table-into-dot-net-web- page-gridview We can easilyadd ‘Delete’ buttonintothe GridView byselecting‘Enable Deleting’option fromthe GridViewTasklist.But, the ‘Delete’buttonaddedbythismethodwon’taskfor confirmationfromuserswhenitisclicked. Itsimplydeletesthe row whenwe press‘Delete’ button.But,by addingconfirmationoption,accidentaldeletionof rowsisprevented. Here are the steps: 2. Clickon TaskButton Clickon ‘AddNew Column’ 3. SelectTemplate FieldfromFieldType 4. Enter a HeaderText,say‘Delete’.PressOKbutton 5. You can see Grid Viewwithanew column – ‘Delete’ 6. Now,Switch the displayof the webpage to‘Source’mode. Findbelow line: <asp:TemplateField HeaderText="Delete"></asp:TemplateField> Breakthe above linesintotwoandinsertfew blanklines asshownbelow: <asp:TemplateField HeaderText="Delete"> </asp:TemplateField> 7. Insertcode inbetweenthe above twolinesasshownbelow: <asp:TemplateField HeaderText="Delete"> <ItemTemplate> <asp:Button ID="btnDel" runat="server" Text="Delete" CommandName="Delete" OnClientClick="return confirm('Are you sure you want to delete this row?');" /> </ItemTemplate> </asp:TemplateField> 8. Notice ‘Delete ‘Button’ insertedonall rowsof the GridView. 9. Openthe webpage ina browser.Clickondeletebutton. The systempromptsyoutoconfirm whetheryoureallywantyoutodelete thatrow.Press OKto confirm.
- 2. 10: Insteadof Button,youcan adda linkbuttonbychanging<Asp:Buttonto<asp:LinkButtonas sownbelow: <ItemTemplate> <asp:LnkButton ID="btnDel" runat="server" Text="Delete" CommandName="Delete" OnClientClick="return confirm('Are you sure you want to delete the record?');" /> </ItemTemplate> In my opinion, LinkButton looks better than Button in a GridView. See the Figure above. === 0 ===