Download as PDF, PPTX


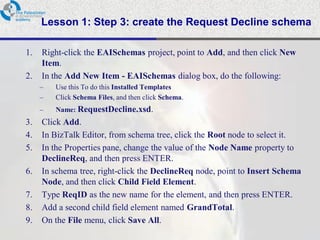
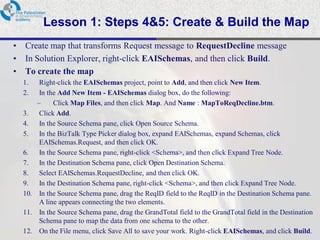
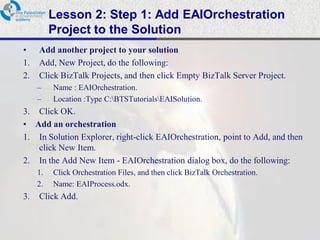
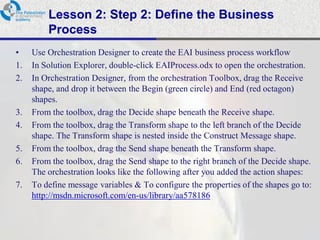
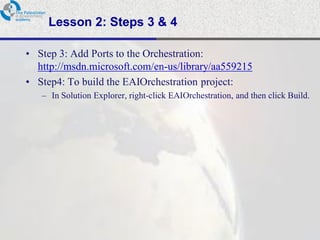
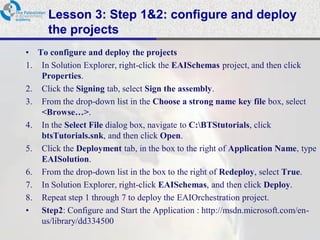

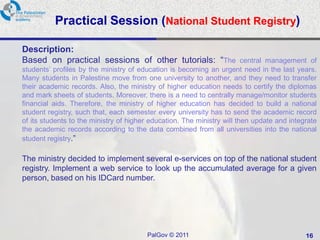


This document provides an overview and instructions for a practical session on implementing a web service to look up a student's accumulated average based on their ID card number from a national student registry system. Students will work in pairs to develop the web service using Microsoft Visual Studio. They are expected to create a project containing message schemas and a map, define a business process that routes messages and evaluates requests, and deploy, configure and test the solution. The goal is to gain hands-on experience developing an integrated service based on a centralized student records system managed by the Ministry of Higher Education.