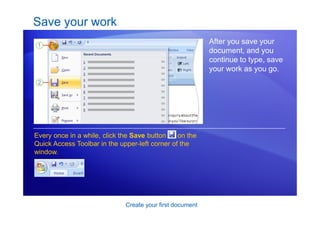
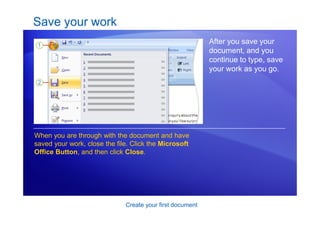
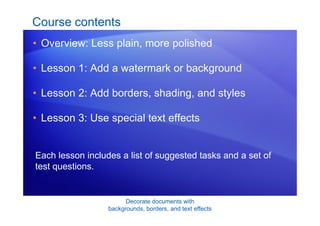
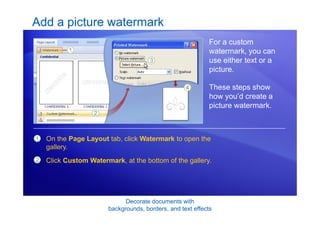
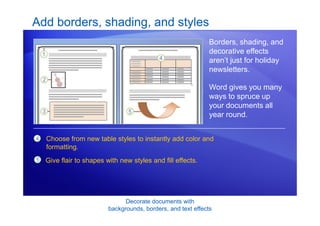
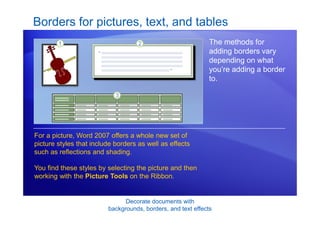
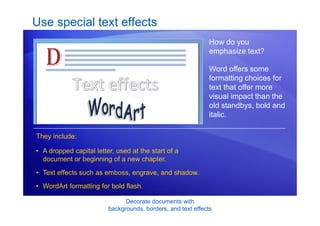
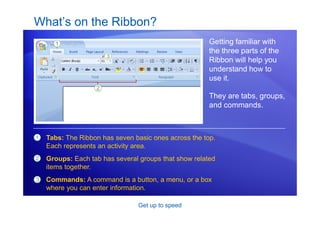
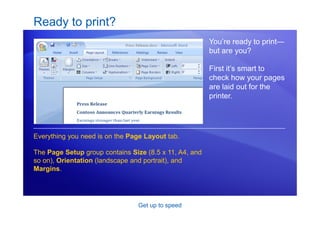
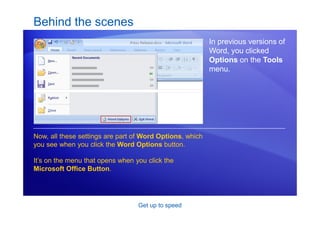
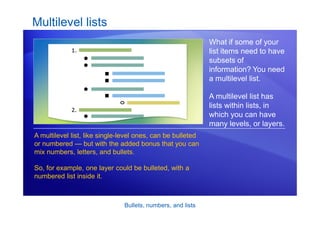
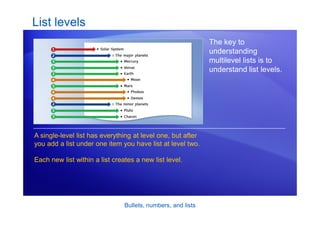
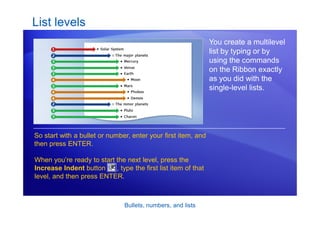
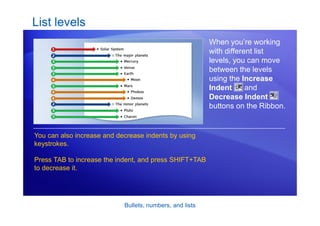
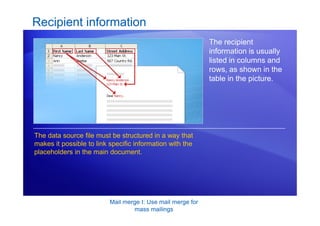
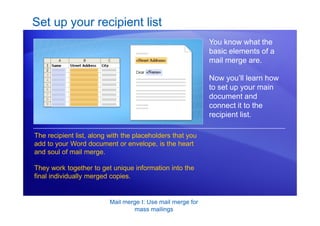
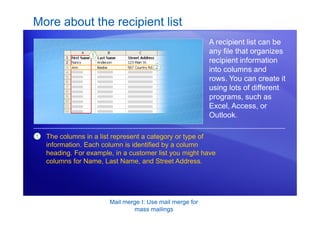
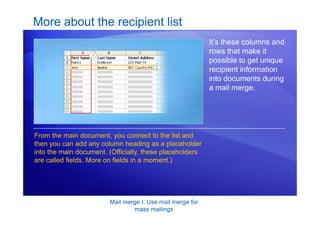
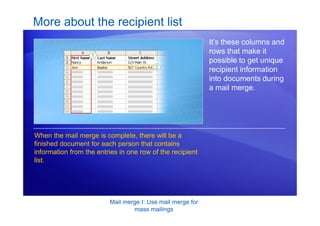
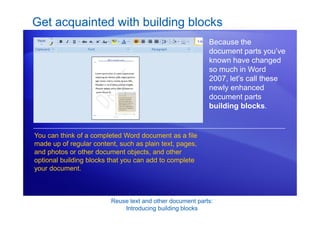
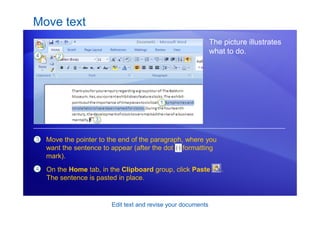
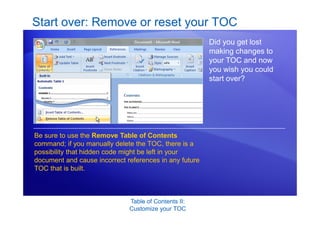
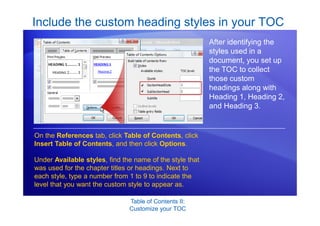
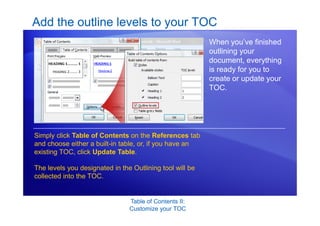
This document provides instructions for adding decorative elements like backgrounds, borders, and text effects in Microsoft Word 2007. It contains lessons on how to add a watermark or background, add borders and shading, and use special text effects. The goals are to add a custom watermark to printed documents, add a colorful background to web-based documents, add defining borders, use shading, and make headings more professional with effects and WordArt. The first lesson explains how to add a watermark or background to visually convey information about a document.


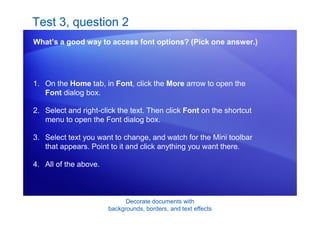
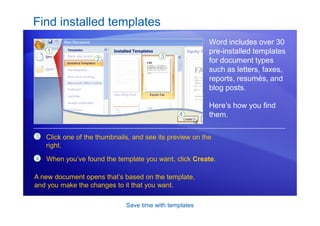
![Create your first document
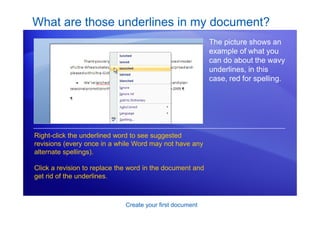
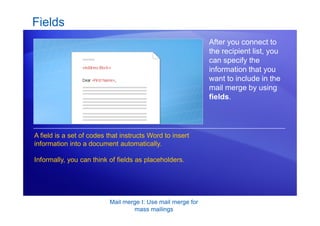
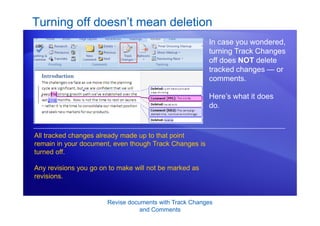
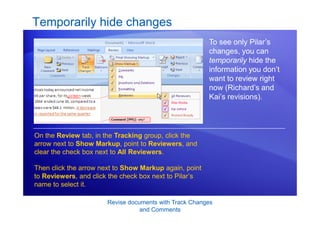
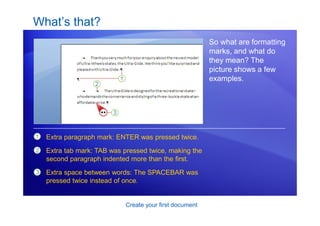
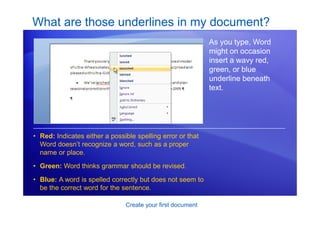
What are those underlines in my document?
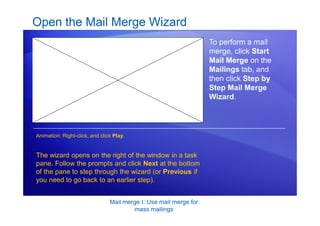
The animation shows
what you can do about
the wavy underlines.
Right-click an underlined word to see suggested
revisions (every once in a while Word may not have any
alternate spellings). Click a revision to replace the word
in the document and get rid of the underlines.
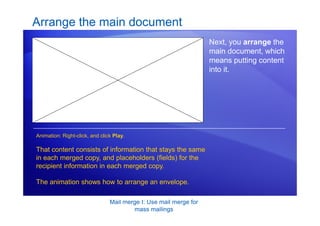
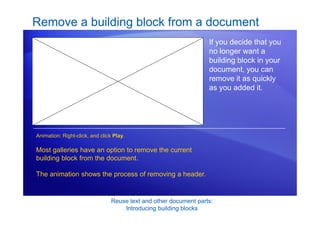
Animation: Right-click, and click Play.
[Author: .swf gets inserted here; delete this
placeholder before inserting .swf file.]](https://image.slidesharecdn.com/msword-220823064537-8cbf5566/85/ms_word-pdf-14-320.jpg)