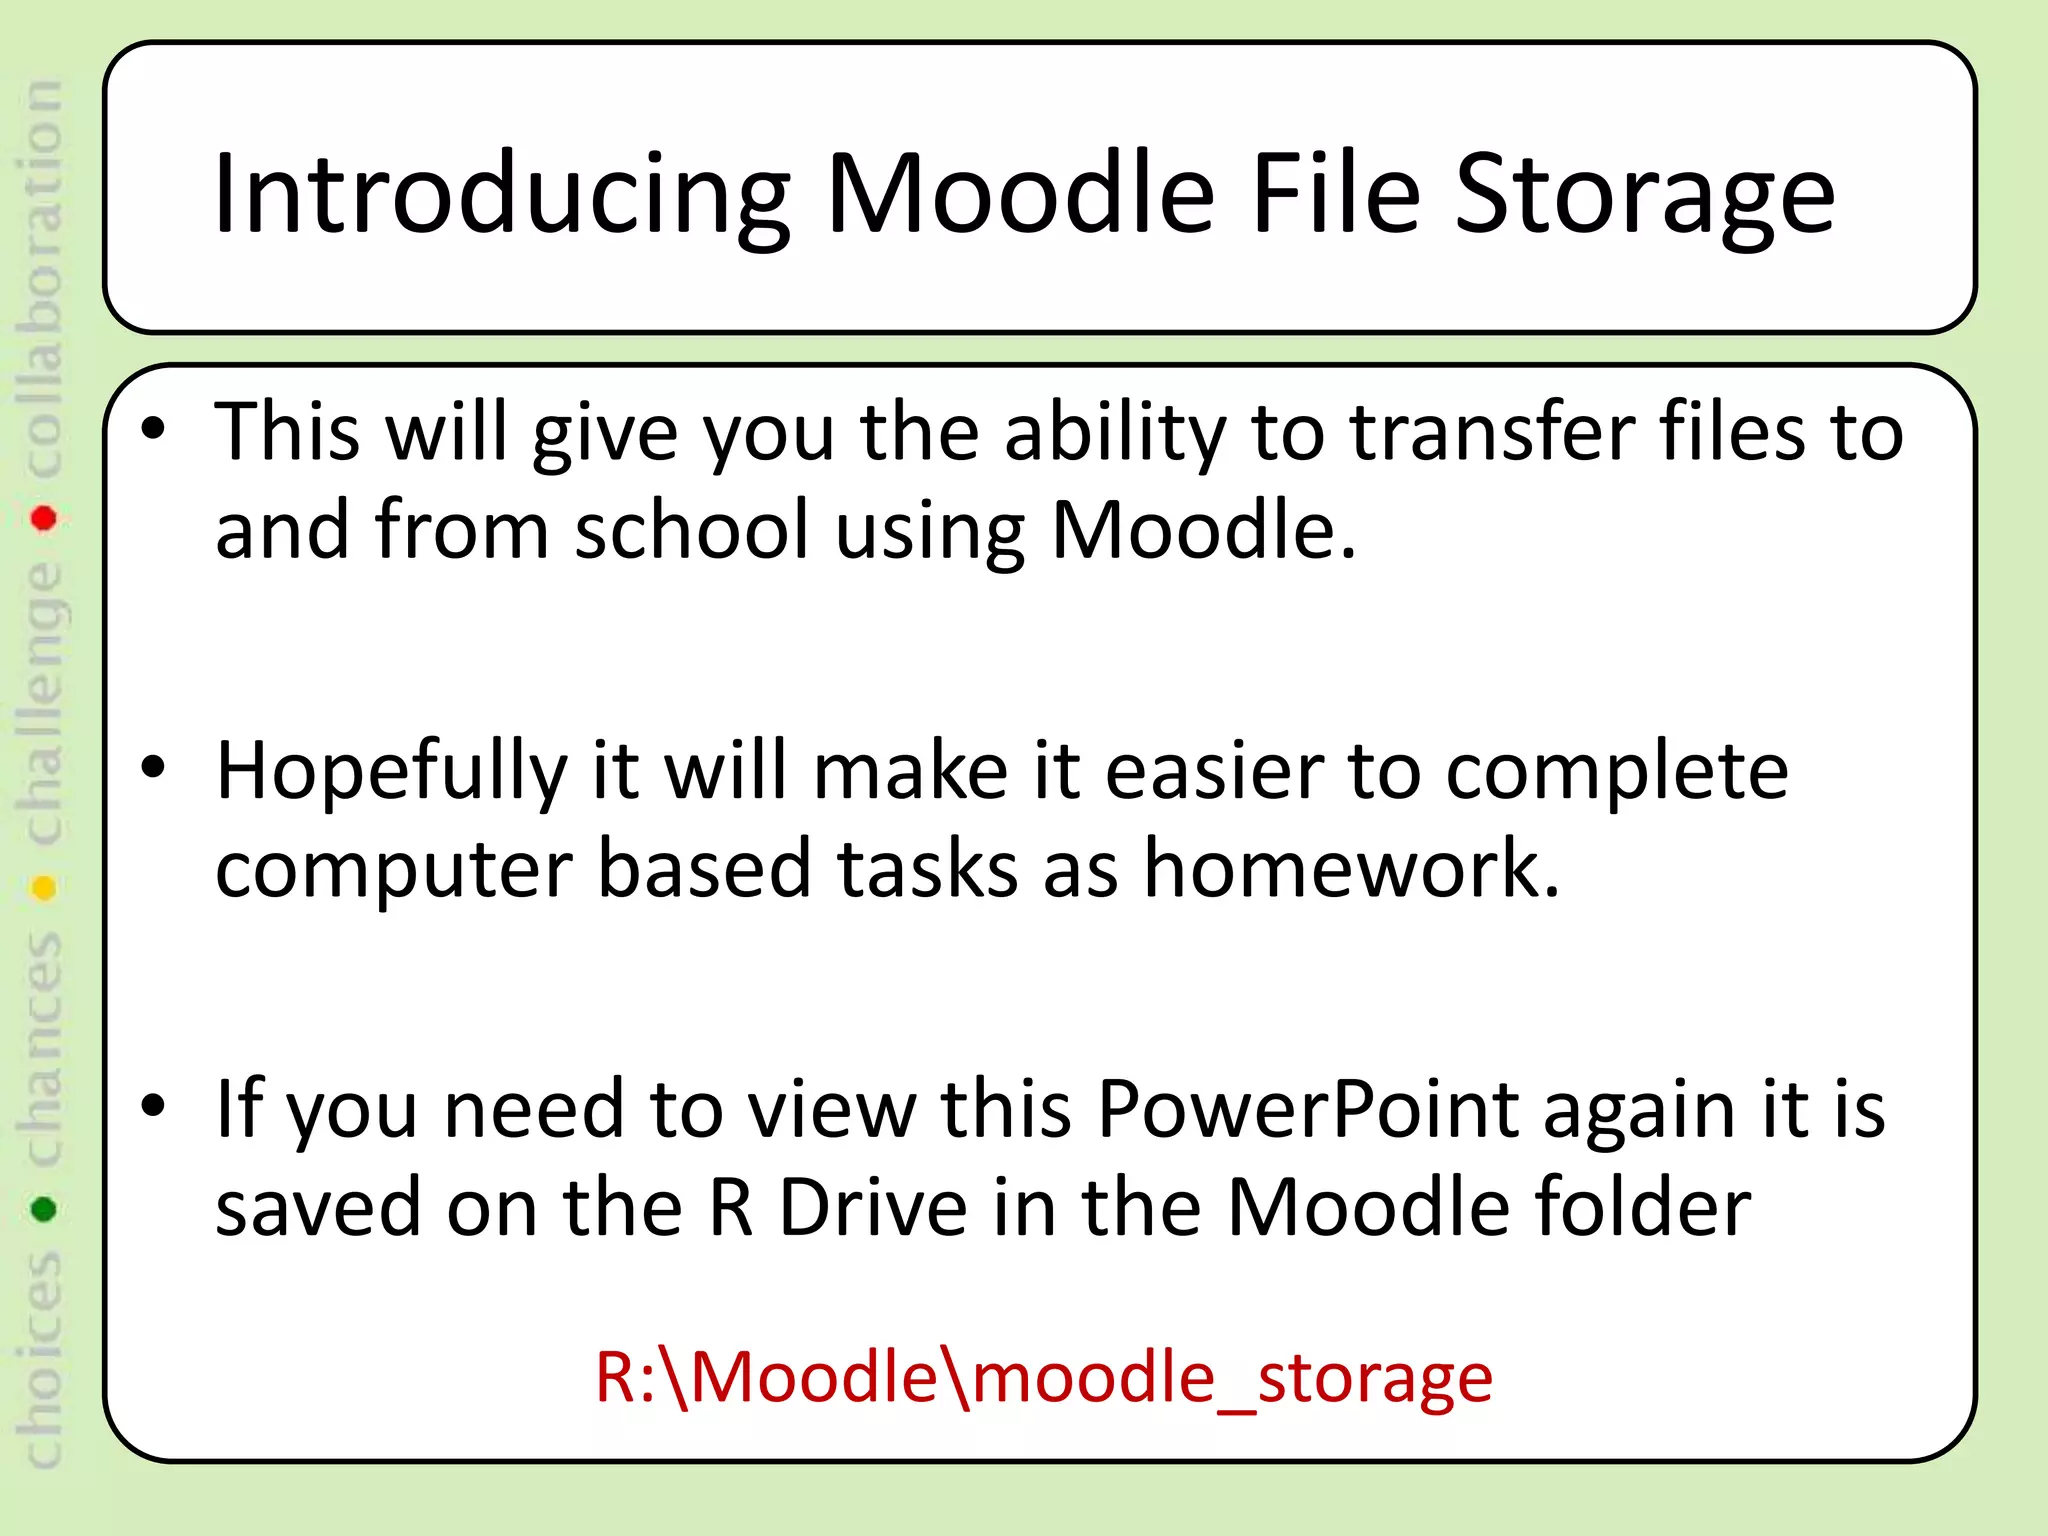
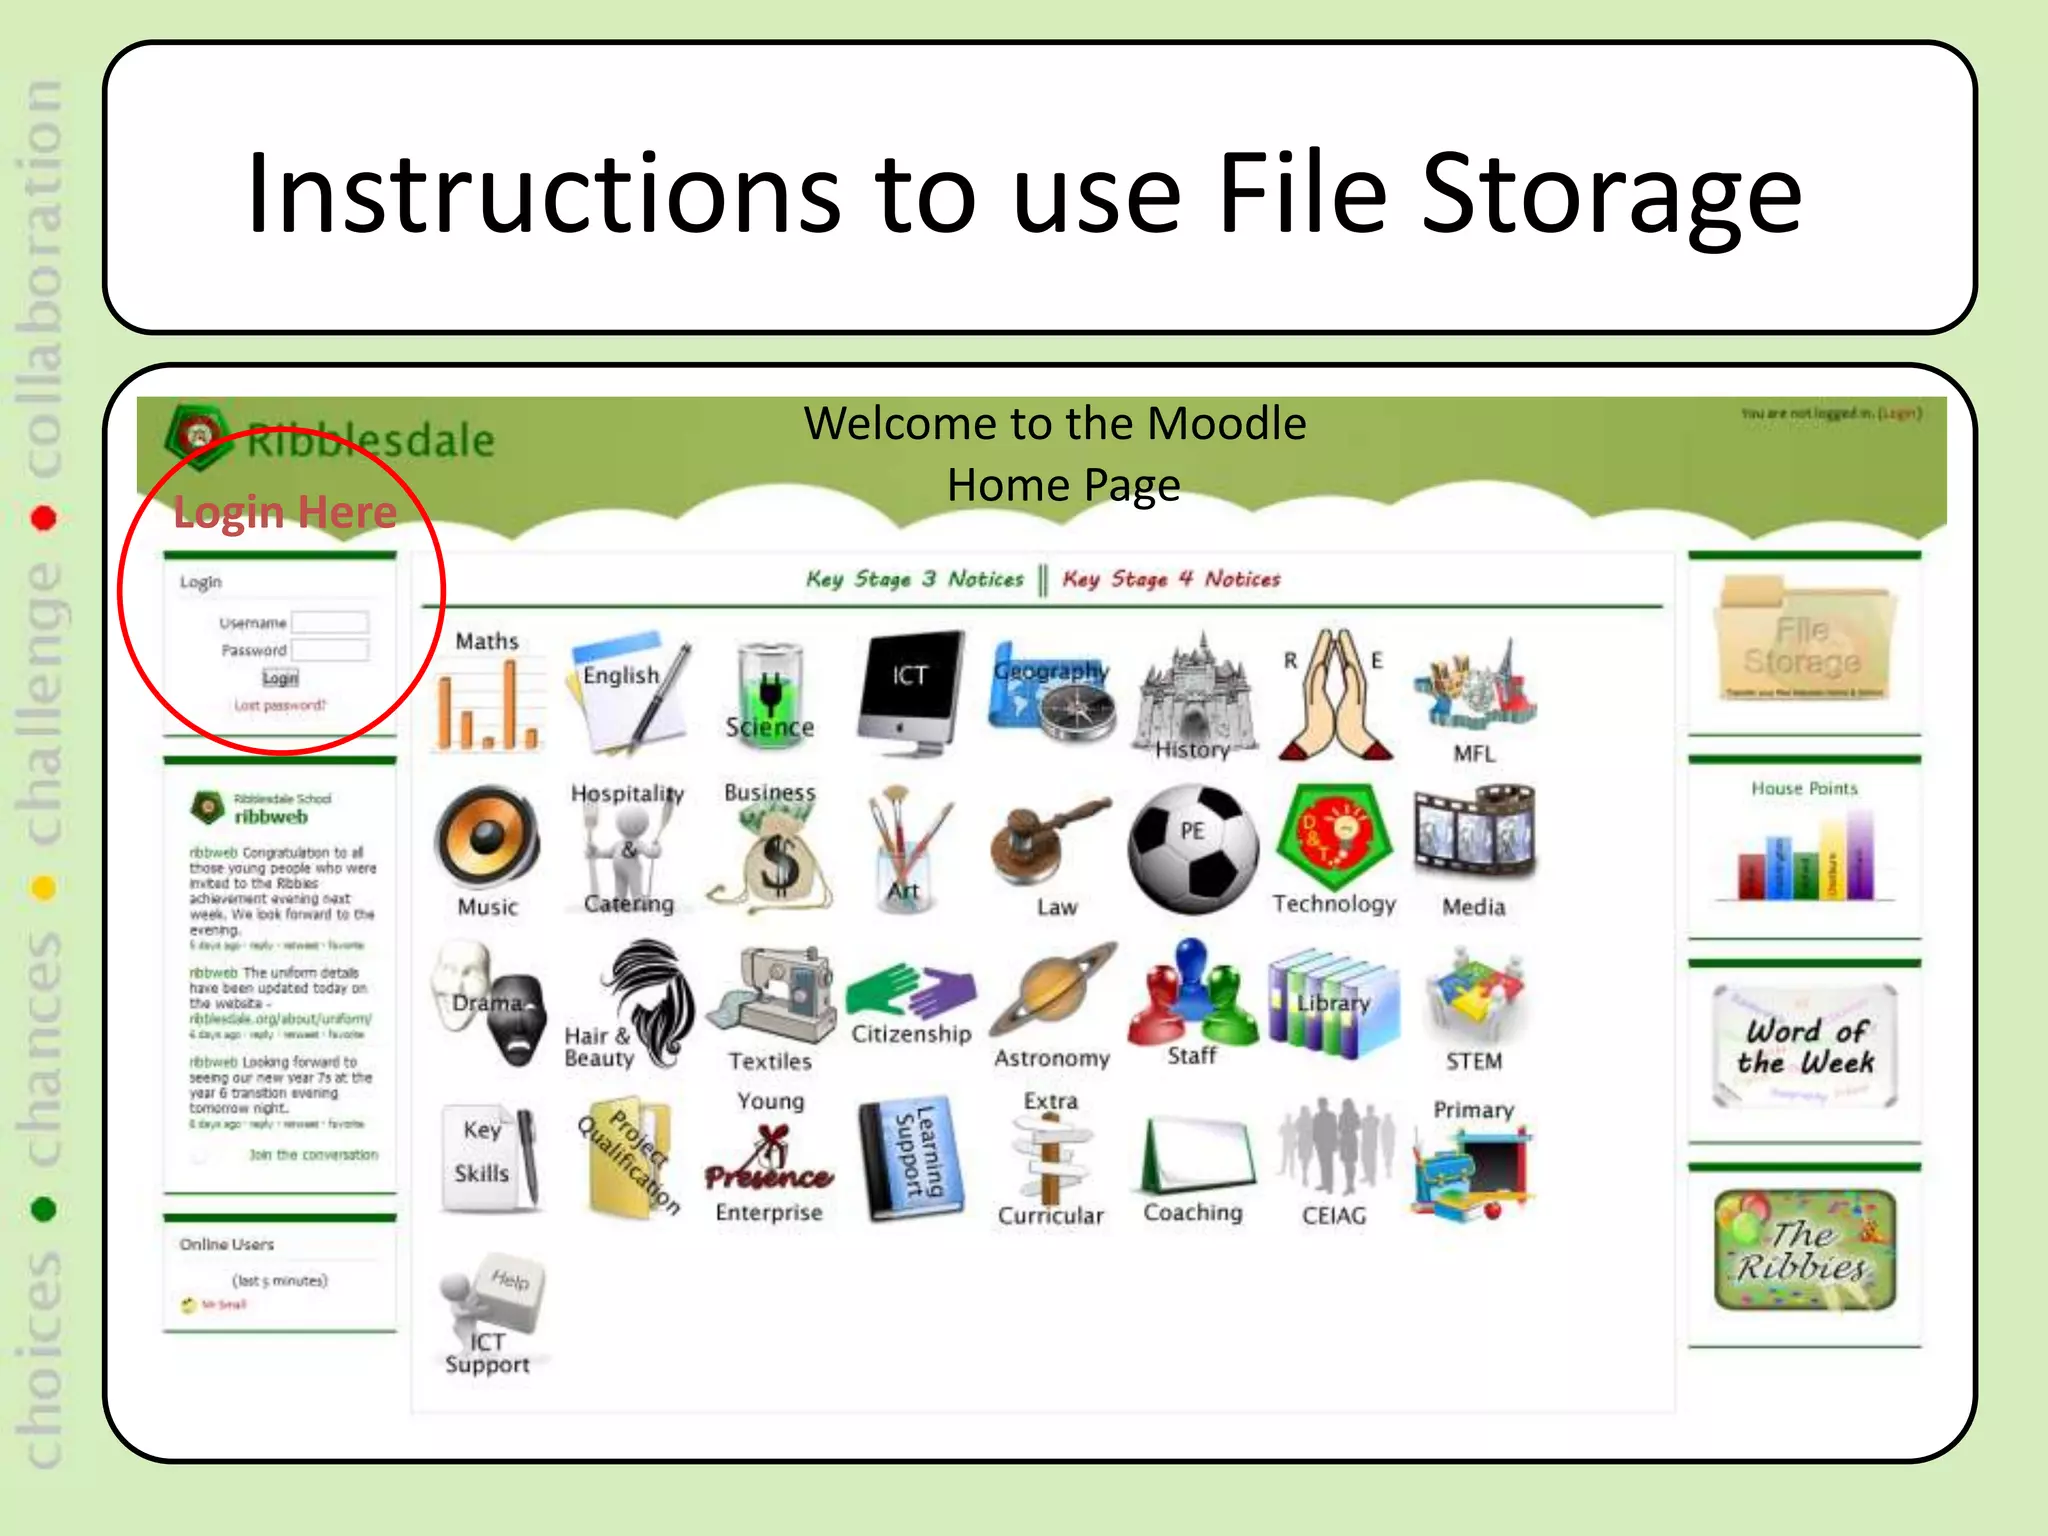
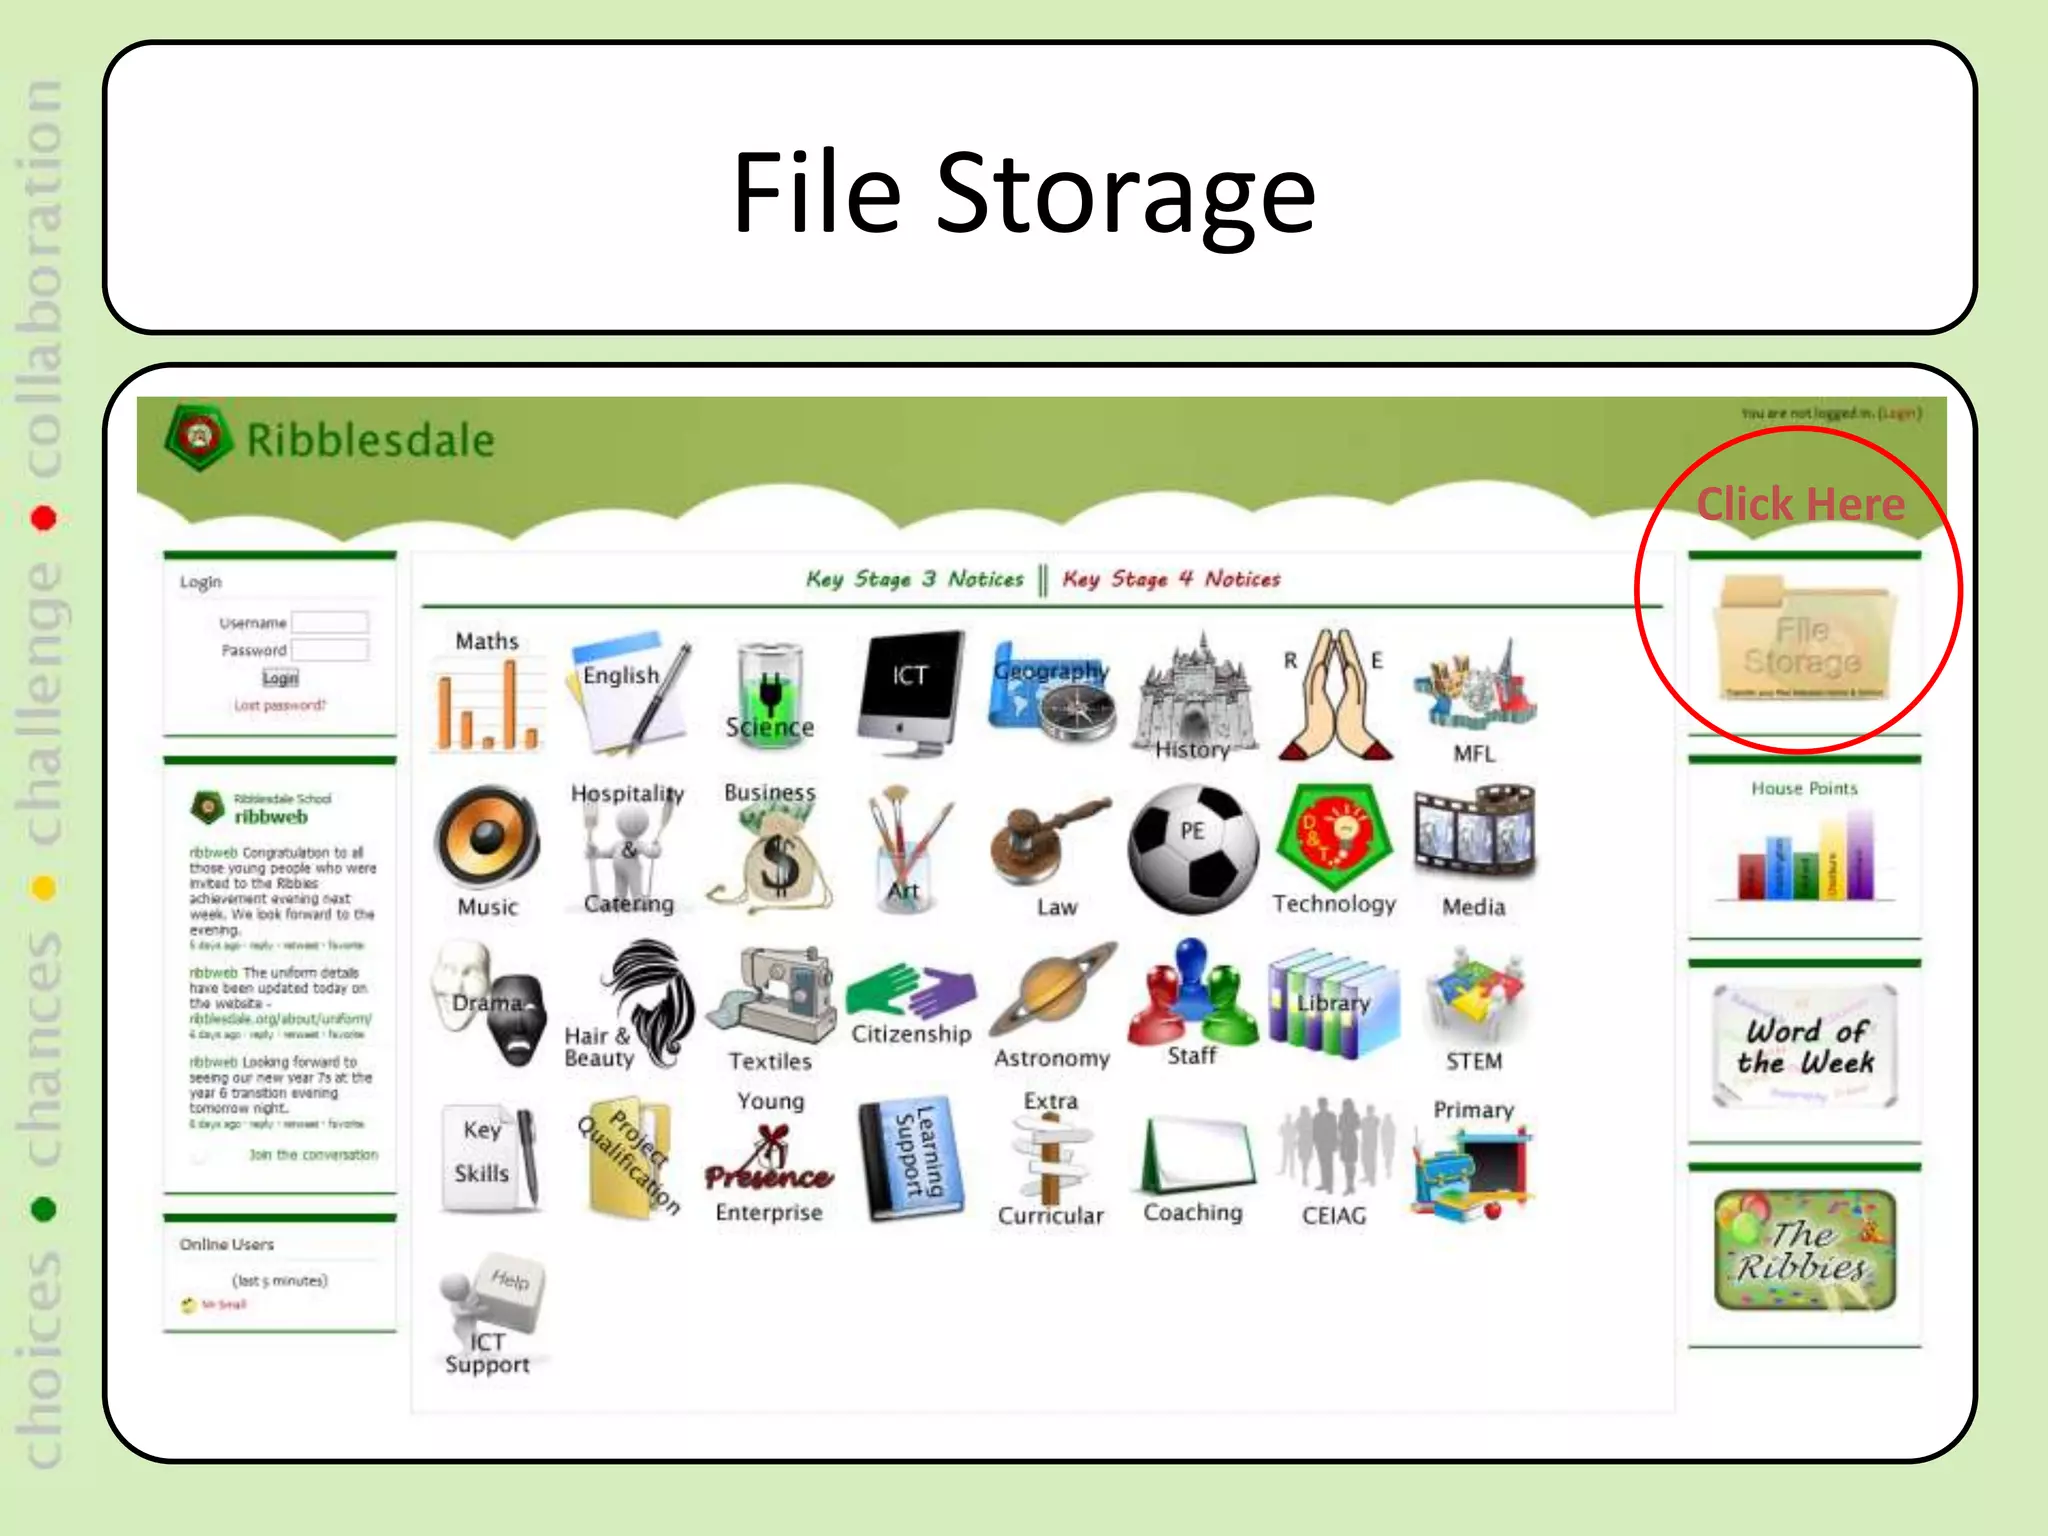
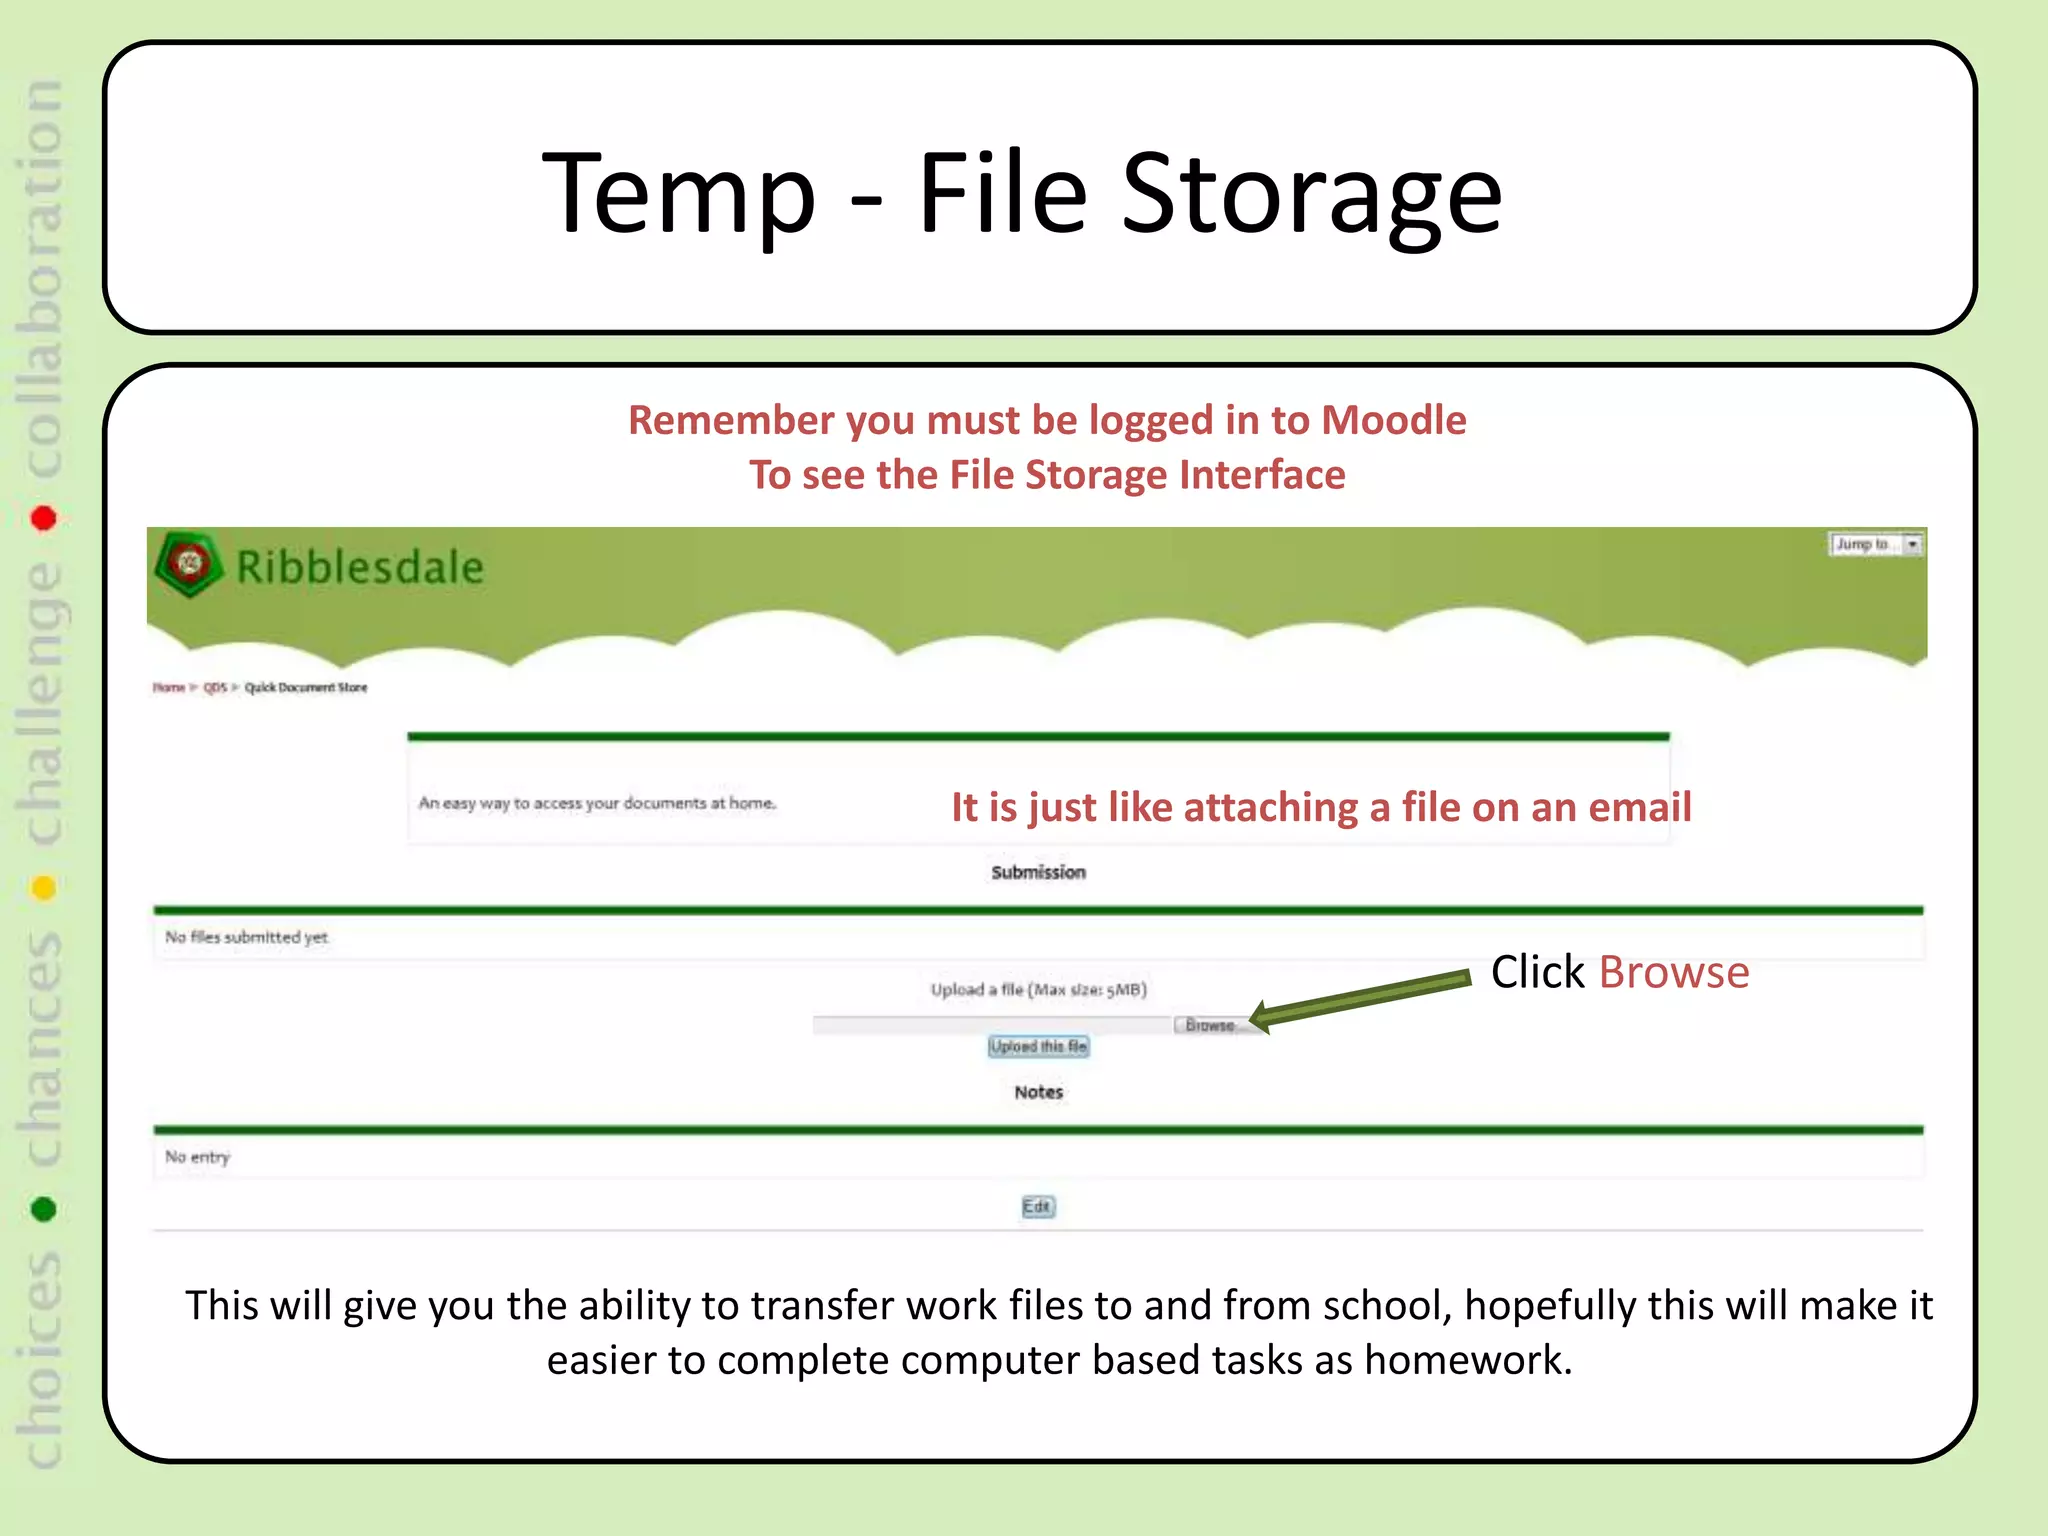
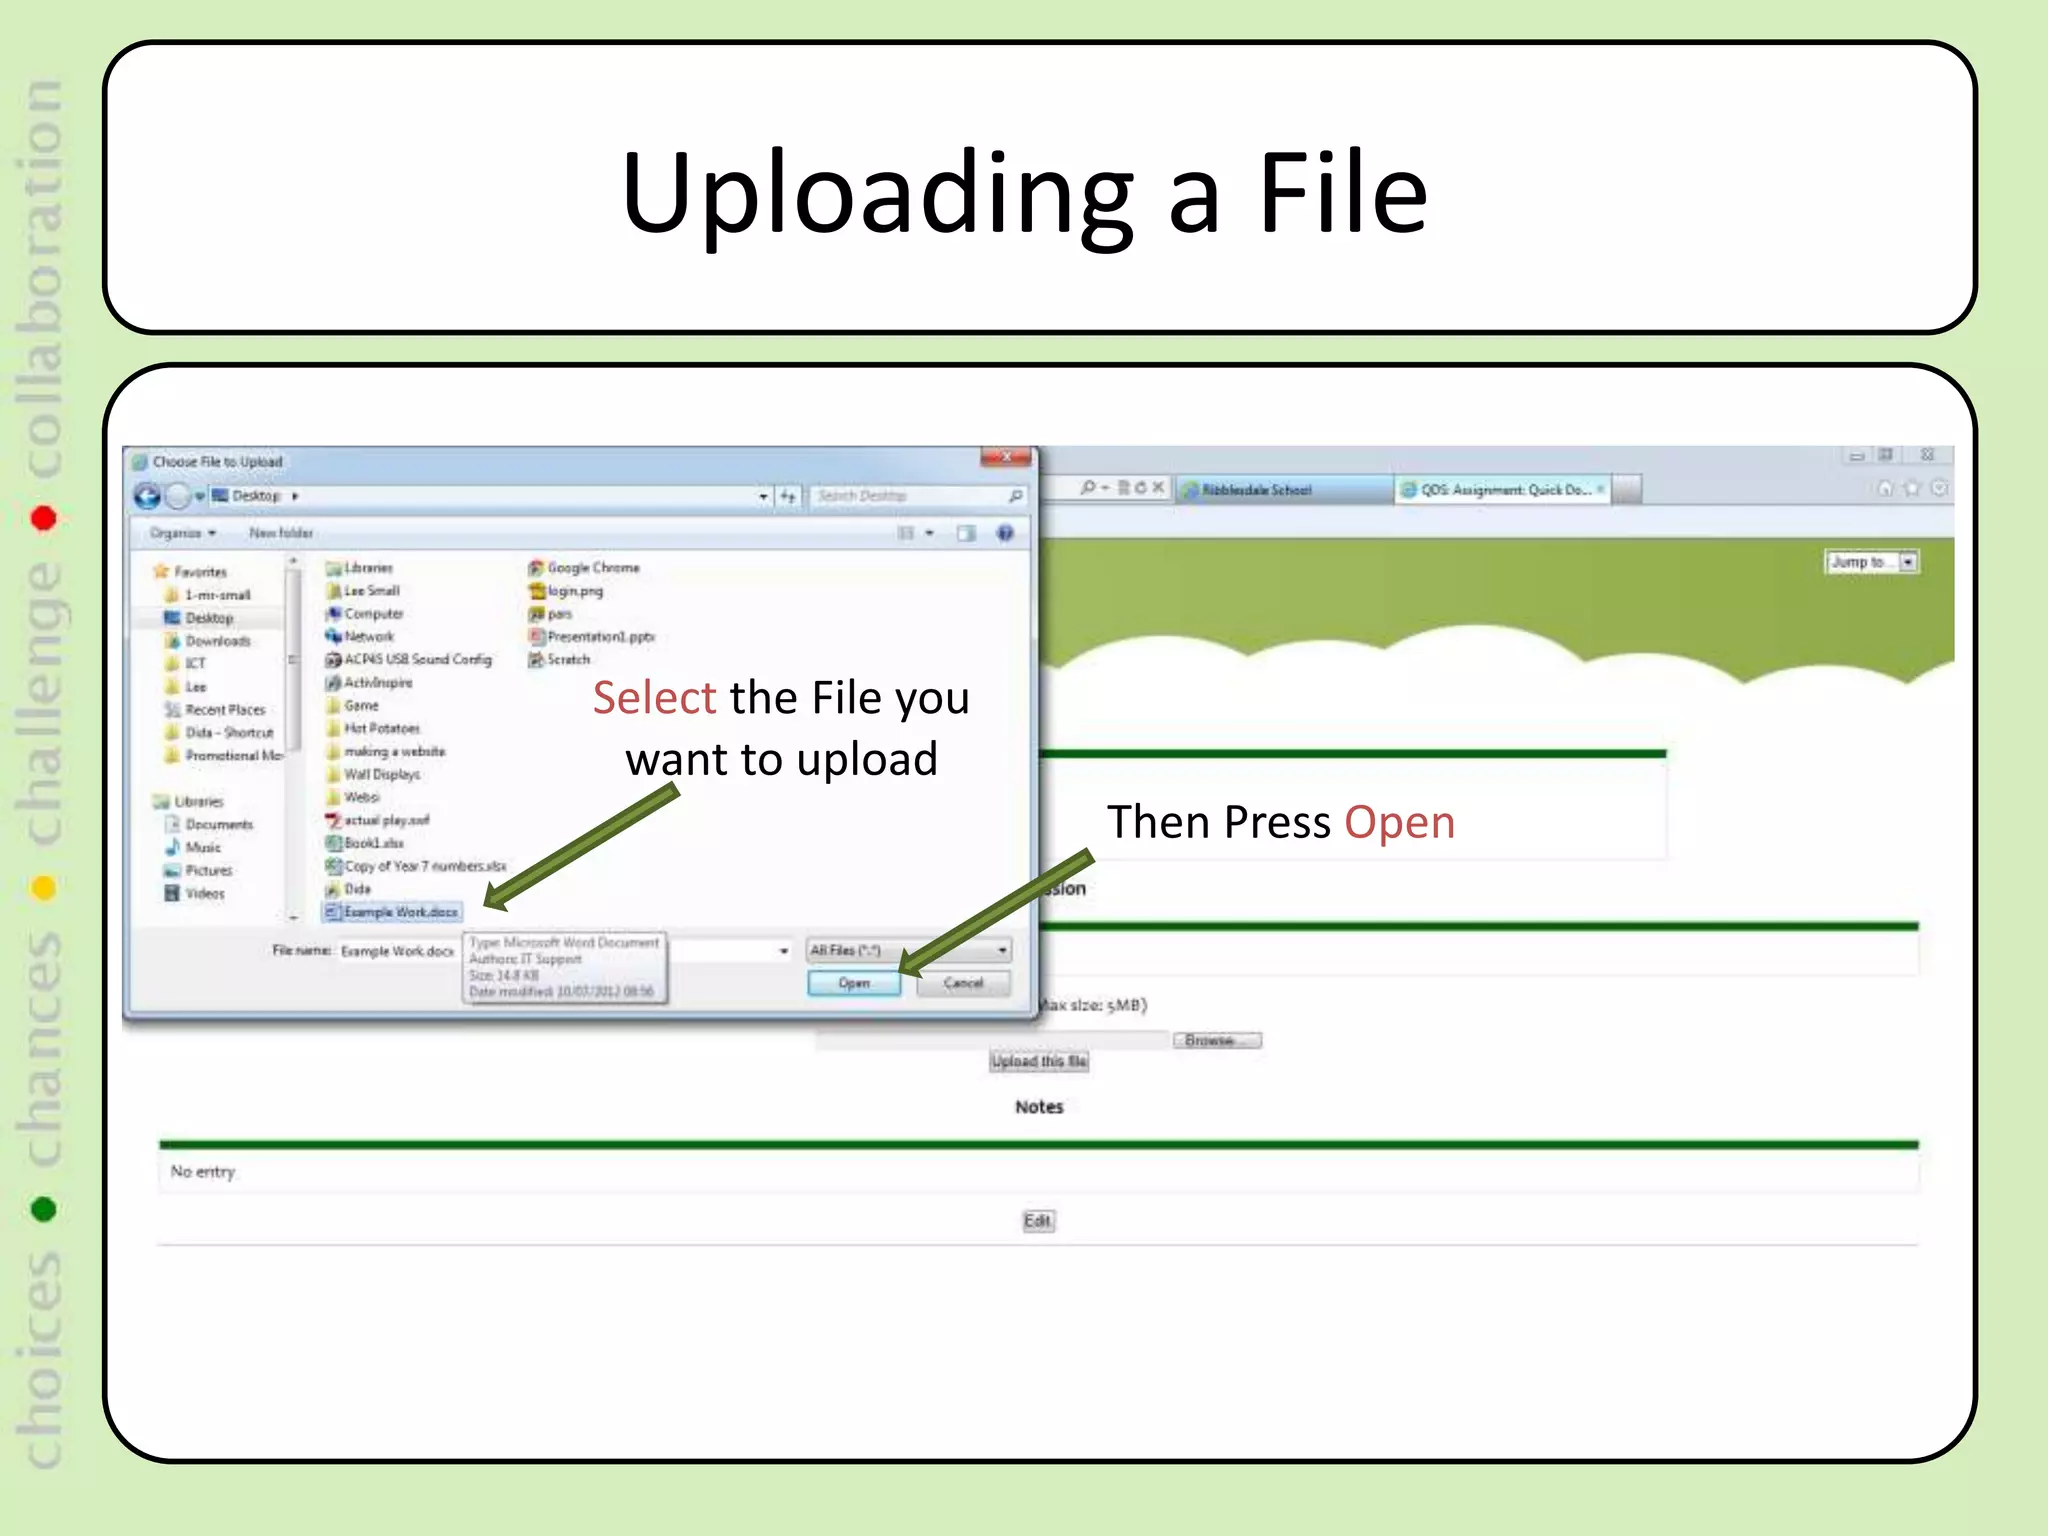
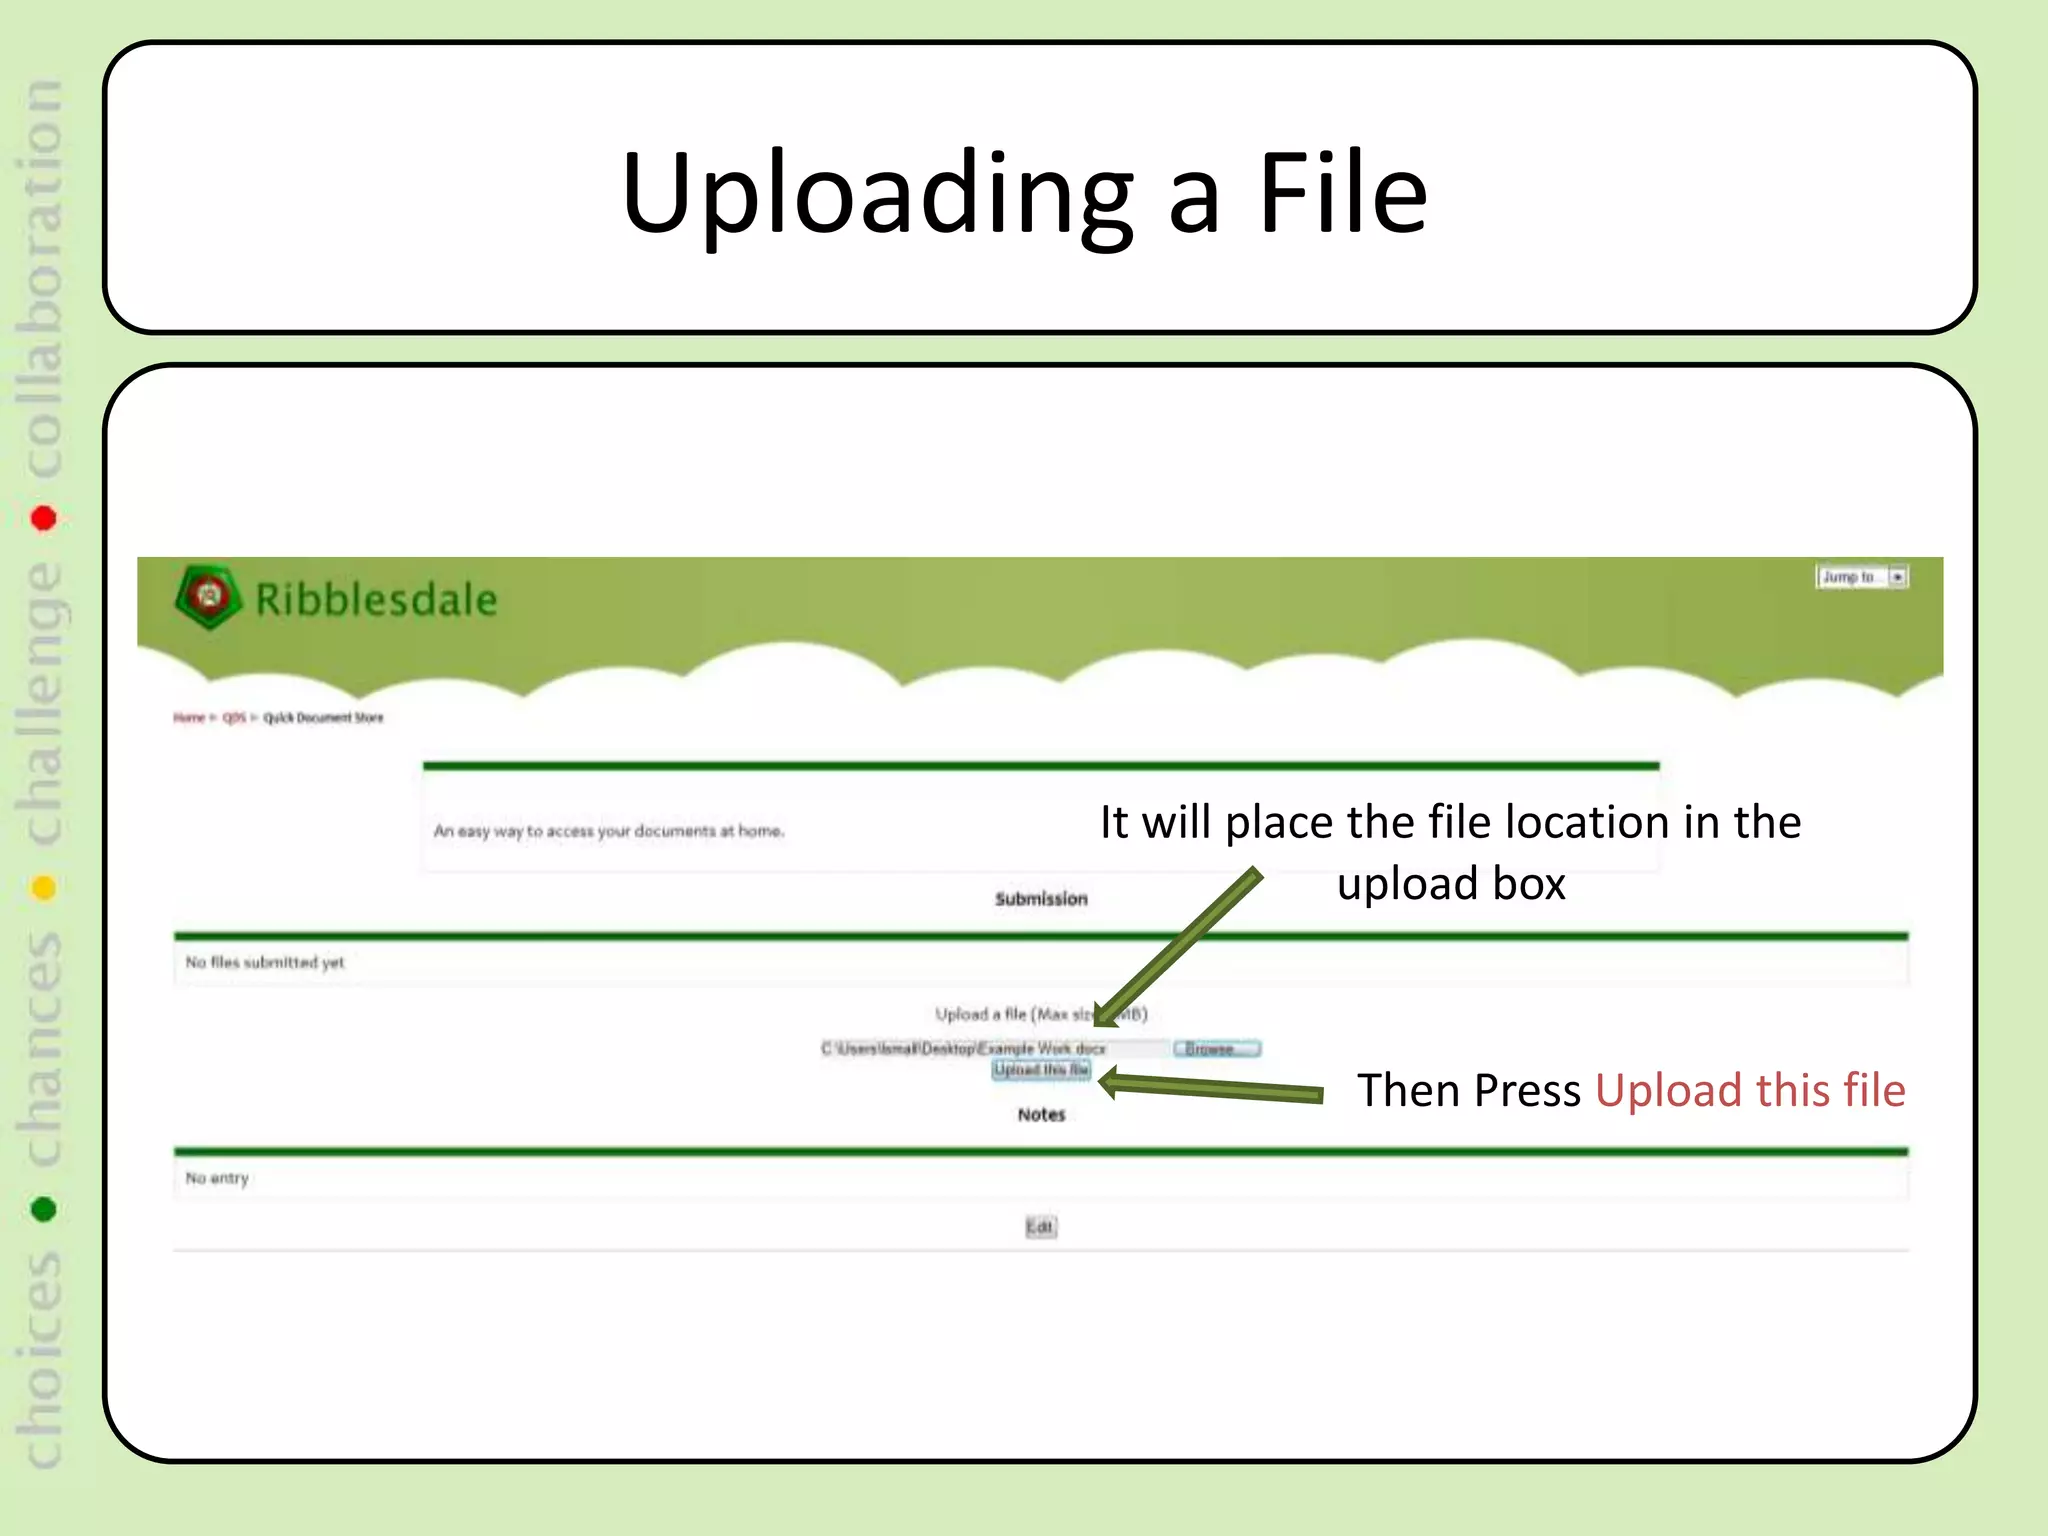
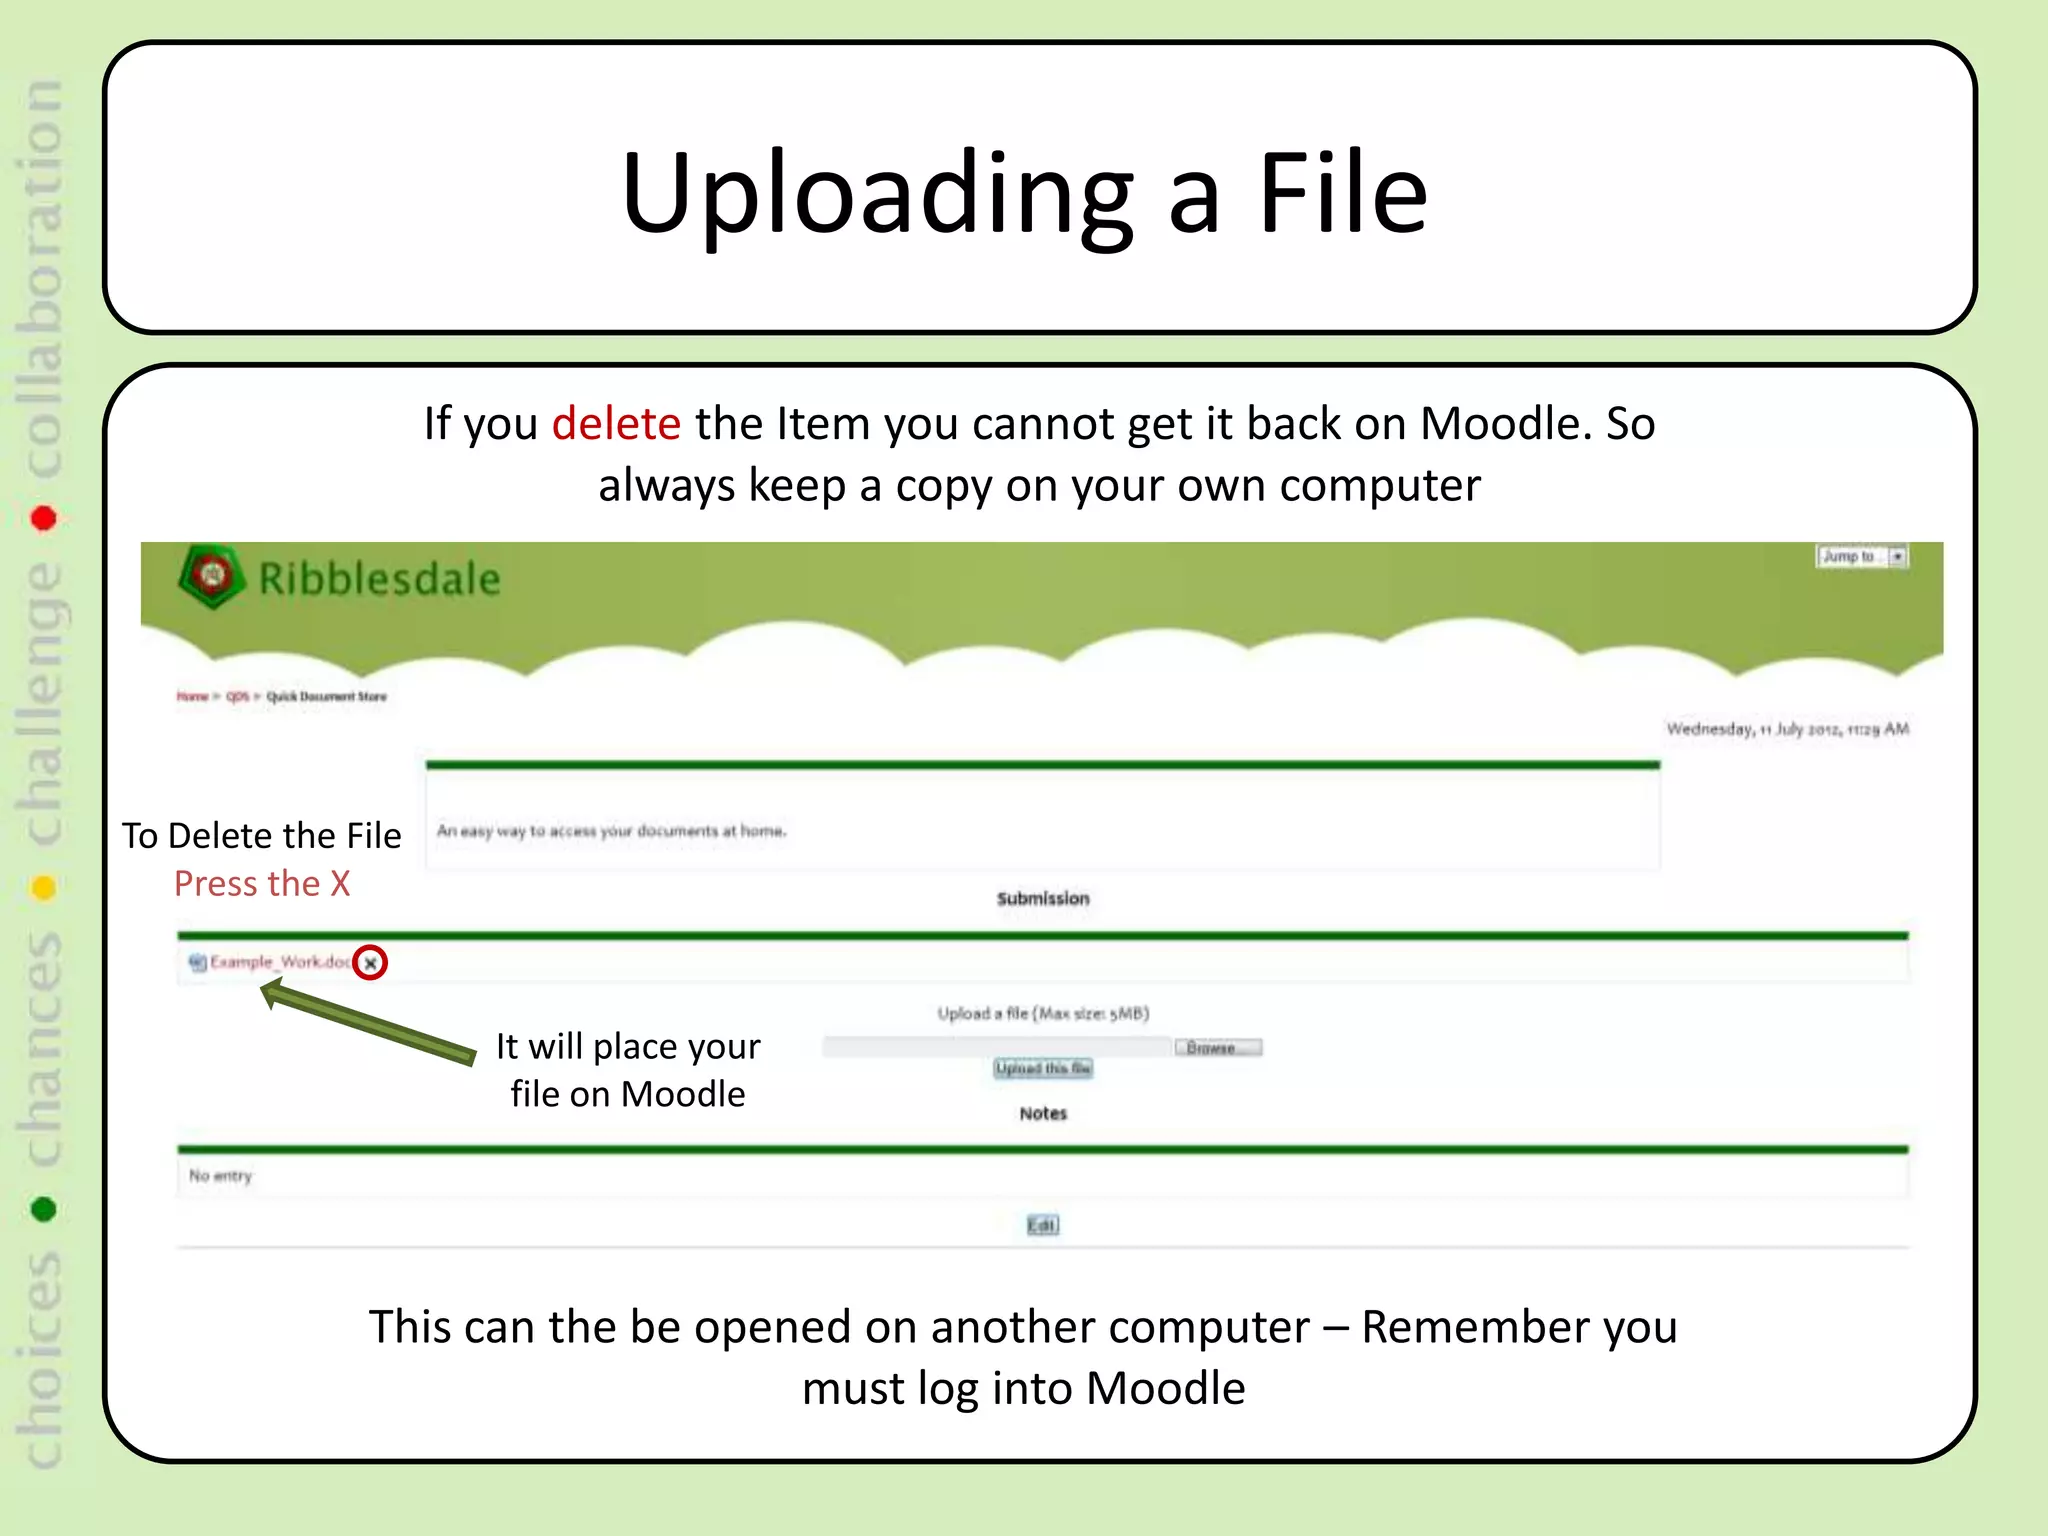
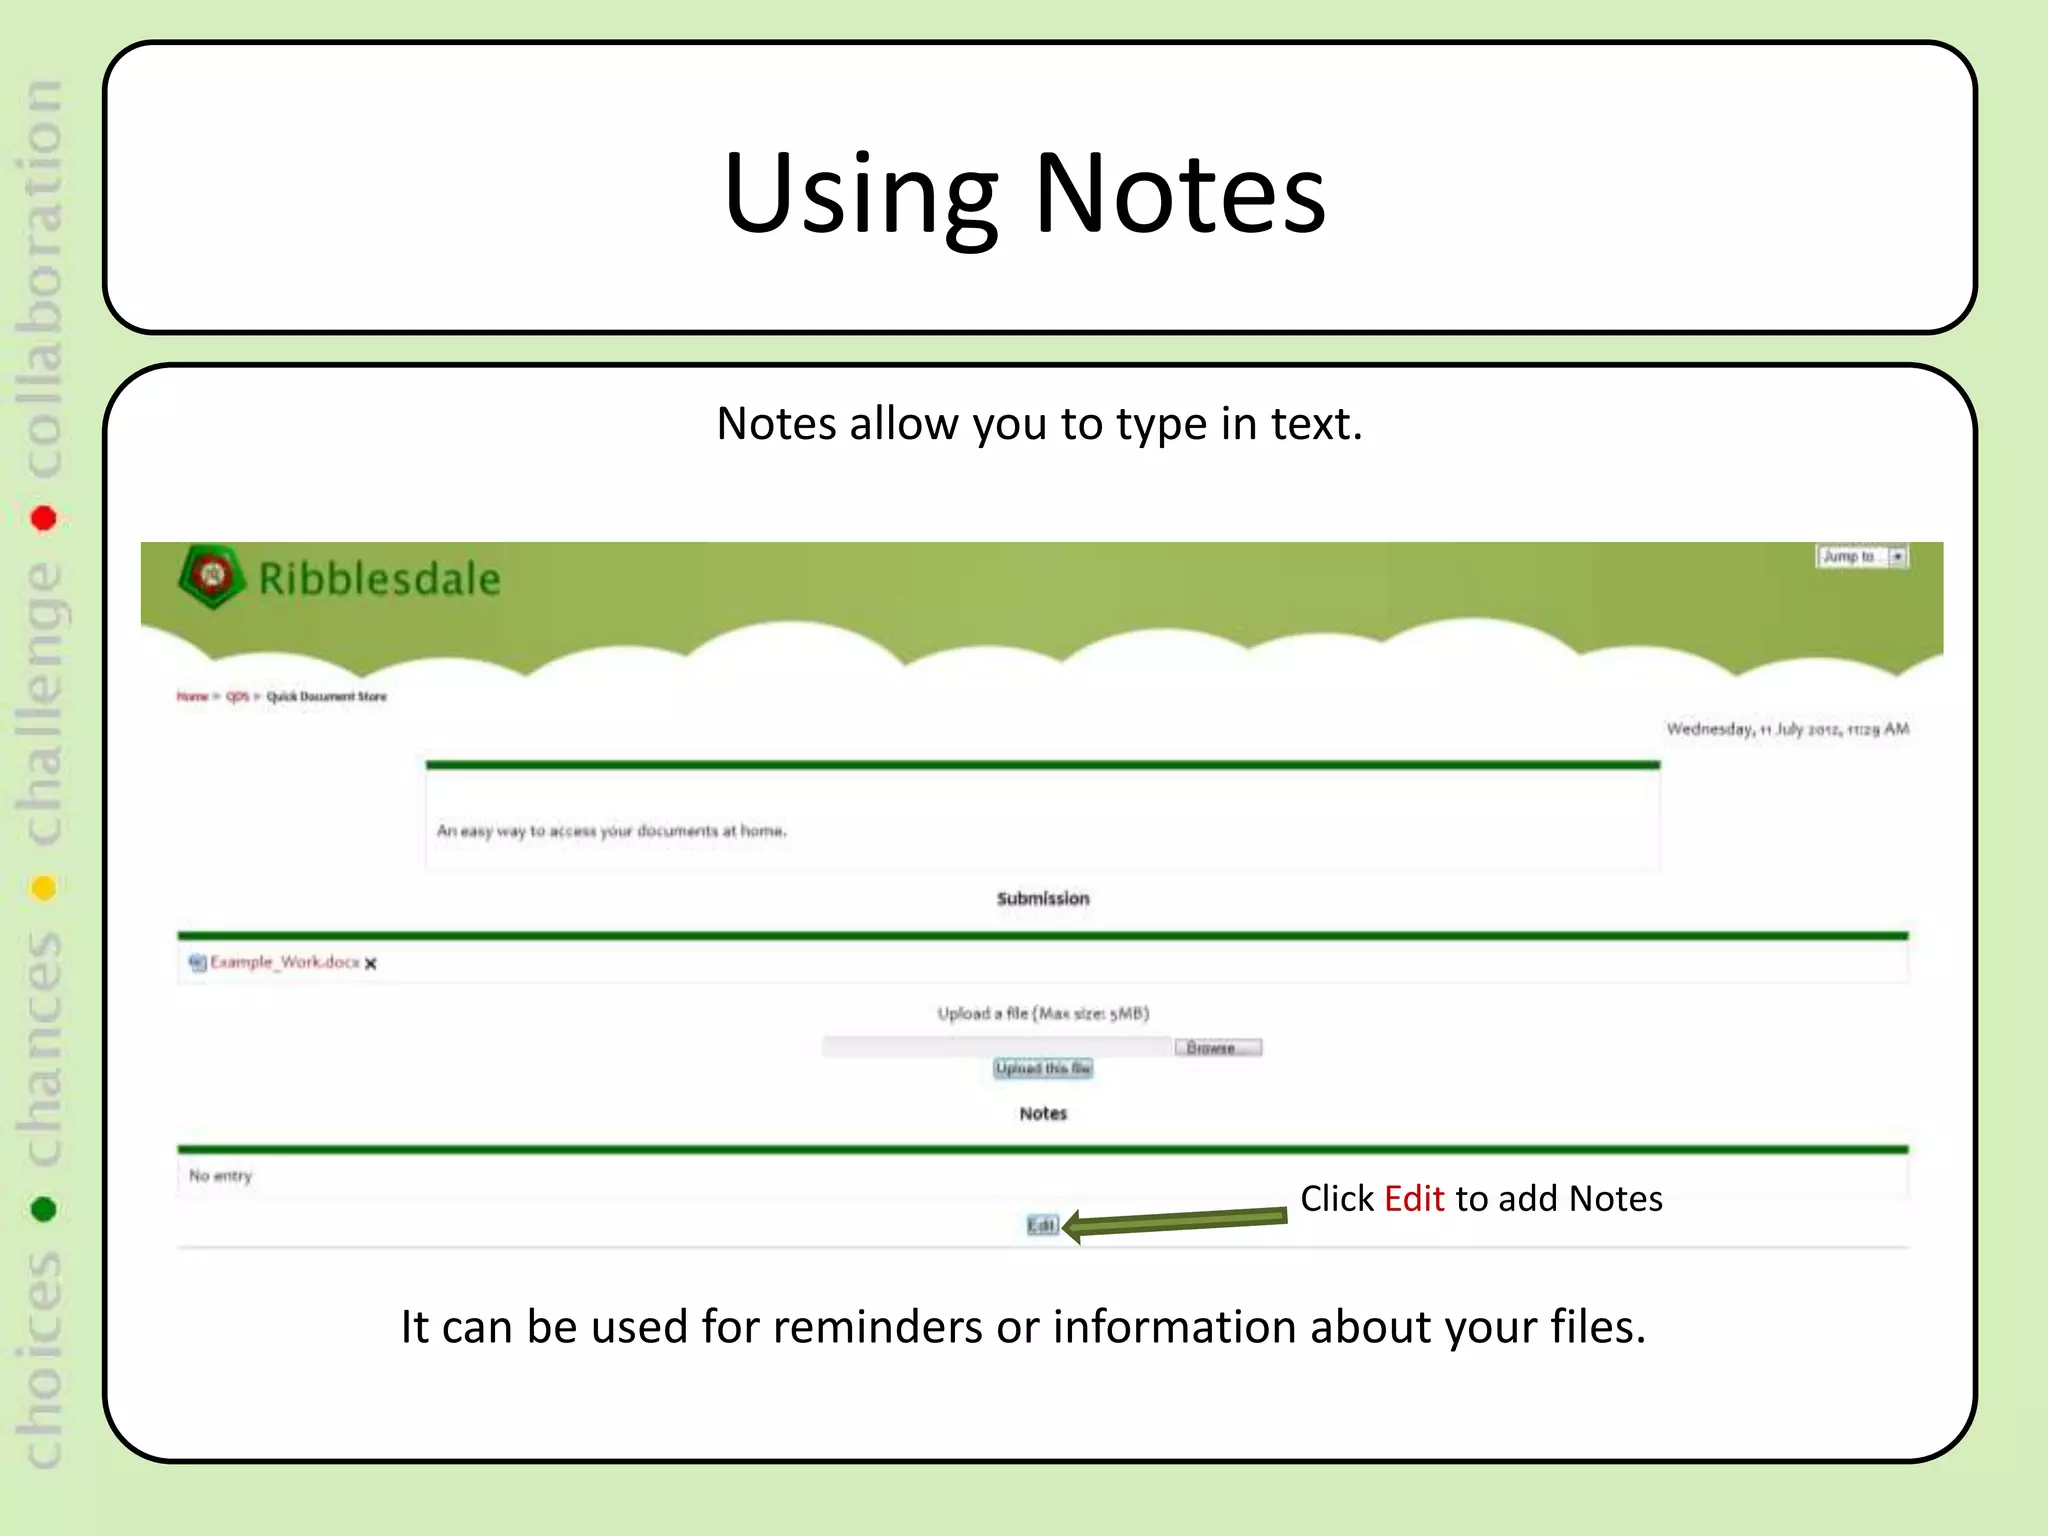
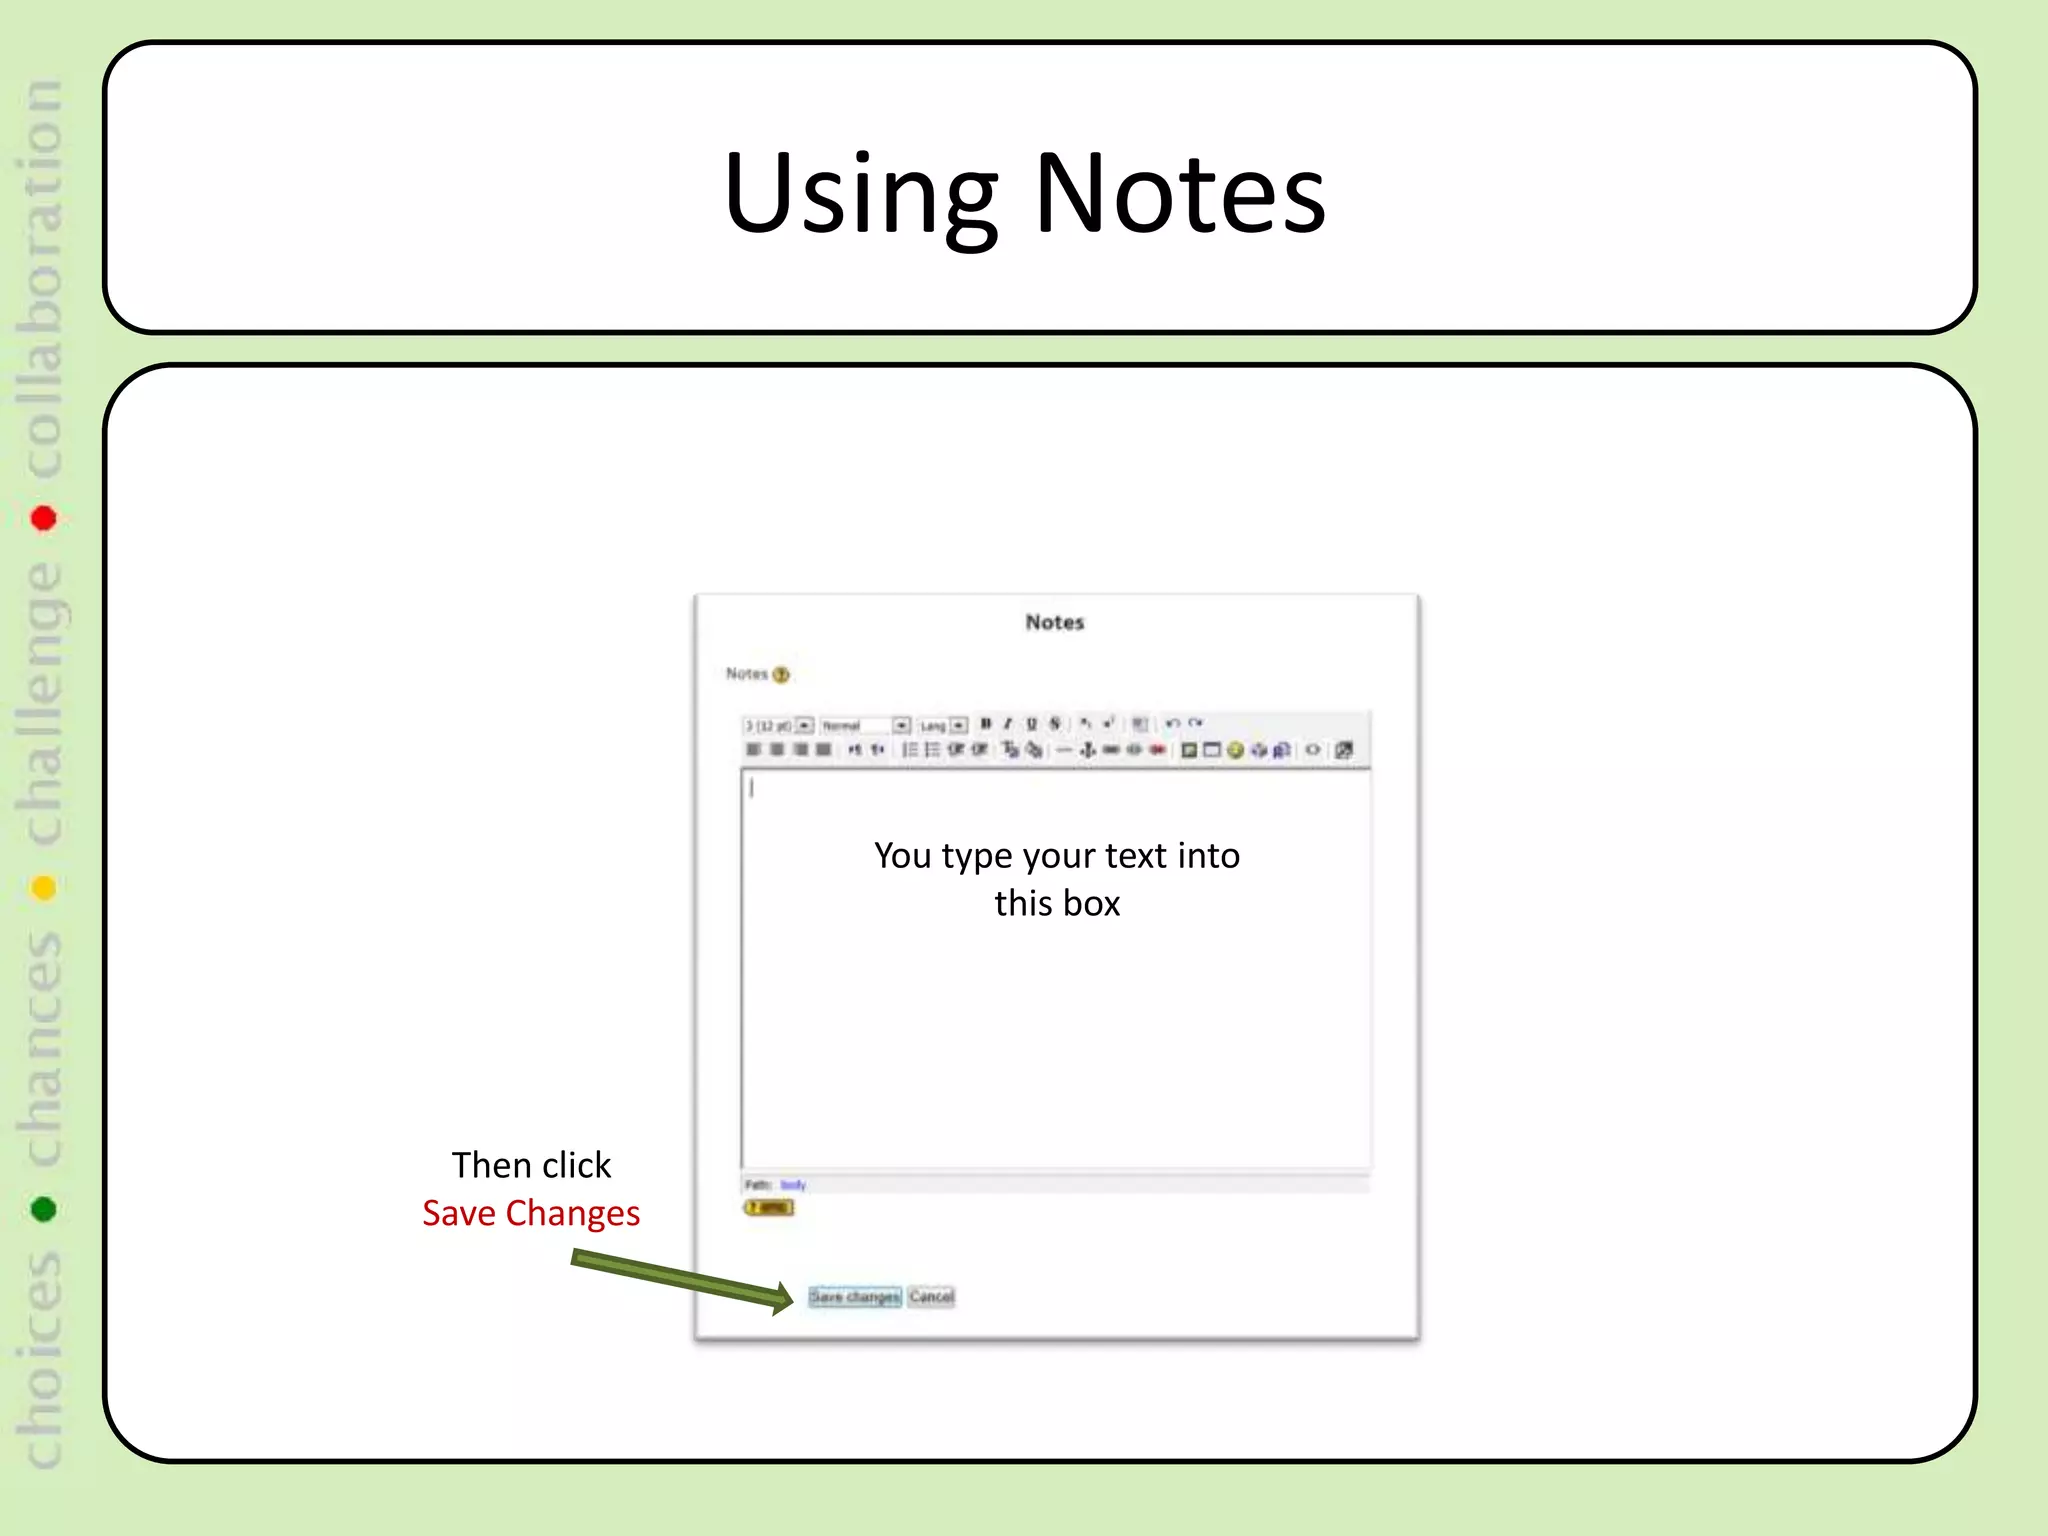
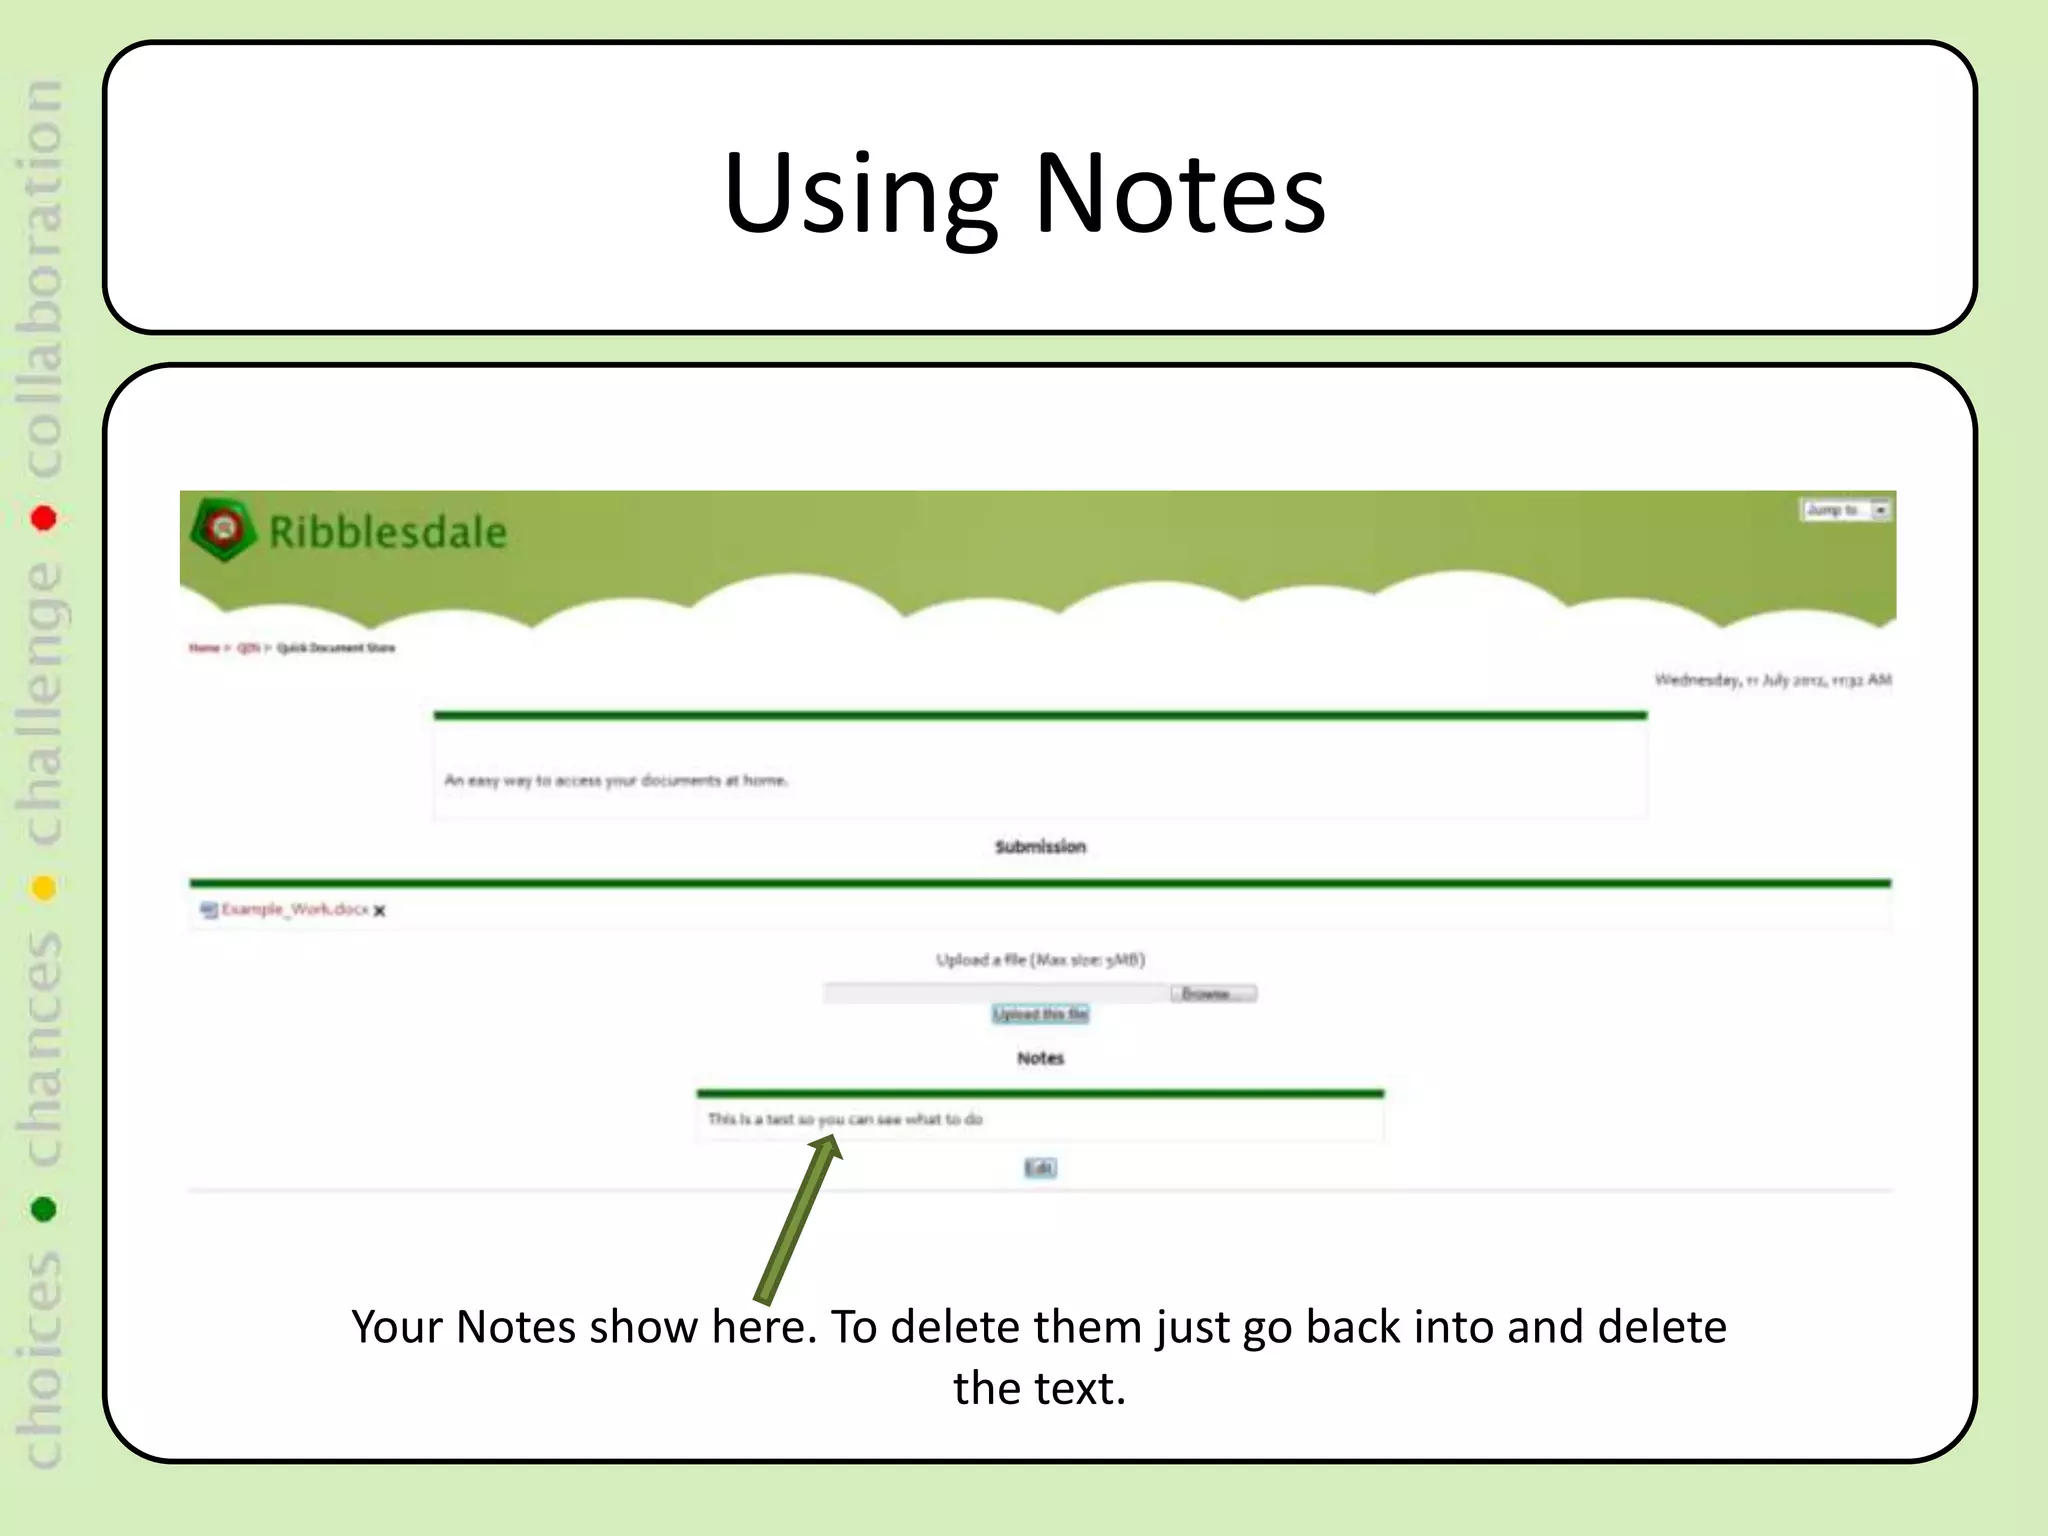
2. Introducing Moodle File Storage
• This will give you the ability to transfer files to
and from school using Moodle.
• Hopefully it will make it easier to complete
computer based tasks as homework.
• If you need to view this PowerPoint again it is
saved on the R Drive in the Moodle folder
R:Moodlemoodle_storage
5. Temp - File Storage
Remember you must be logged in to Moodle
To see the File Storage Interface
It is just like attaching a file on an email
Click Browse
This will give you the ability to transfer work files to and from school, hopefully this will make it
easier to complete computer based tasks as homework.
7. Uploading a File
It will place the file location in the
upload box
Then Press Upload this file
8. Uploading a File
If you delete the Item you cannot get it back on Moodle. So
always keep a copy on your own computer
To Delete the File
Press the X
It will place your
file on Moodle
This can the be opened on another computer – Remember you
must log into Moodle
9. Using Notes
Notes allow you to type in text.
Click Edit to add Notes
It can be used for reminders or information about your files.
10. Using Notes
You type your text into
this box
Then click
Save Changes
12. Rules and Regulations
• This can only be used to transfer work files to
and from school.
– Remember Moodle keeps a record of all actions
performed
– Misuse of the system will be investigated and will
result in sanctions
• If you have any issues using the system come
and see Mr Small (Top of H-block)