Download to read offline


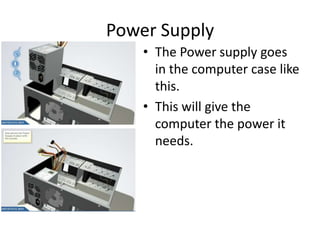
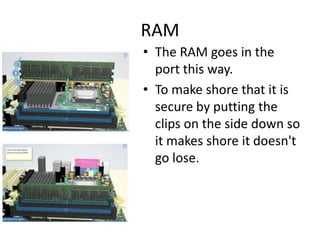
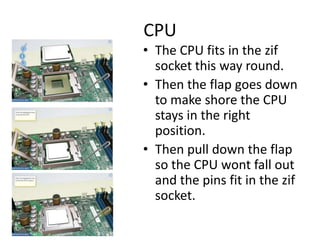
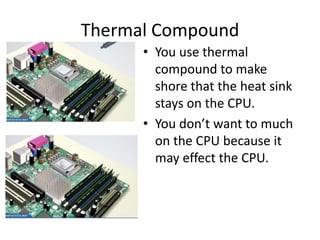
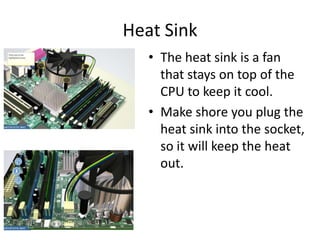
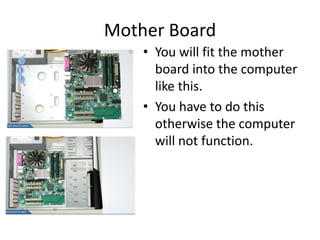
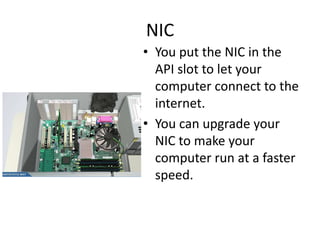
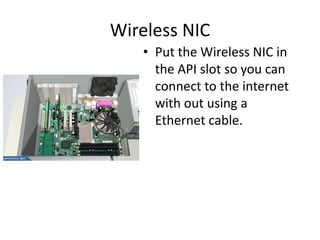
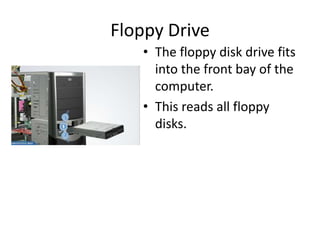
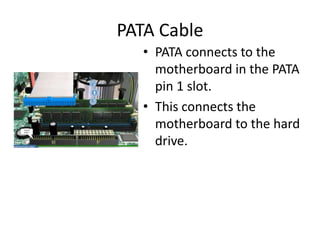
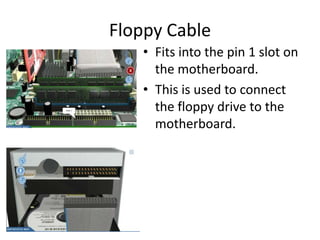
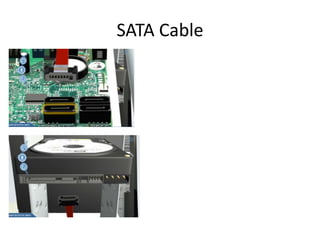
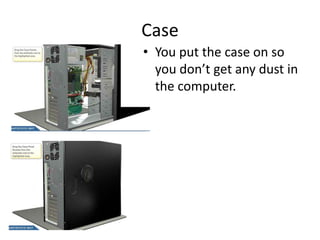
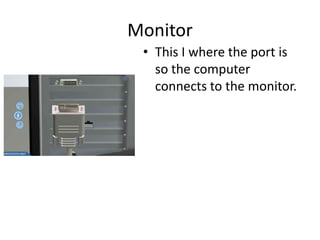
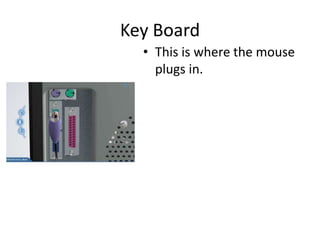
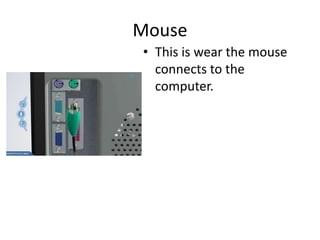
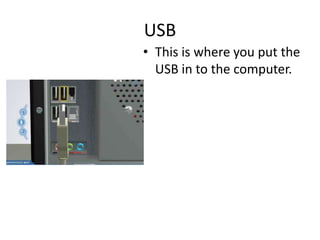
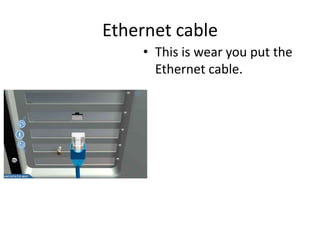
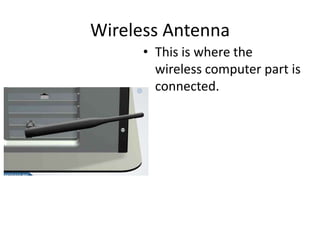
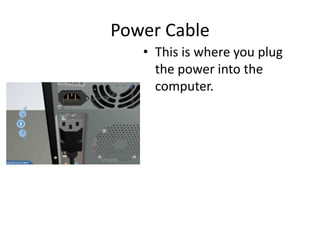


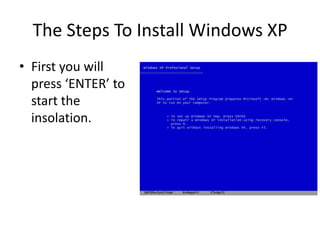

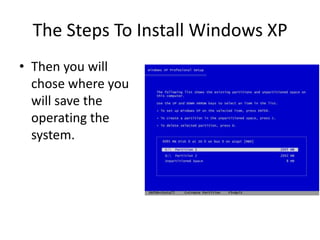
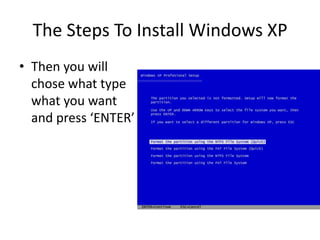
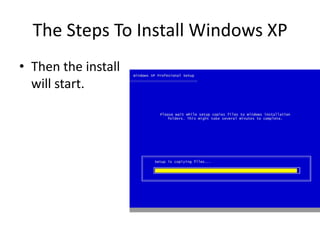
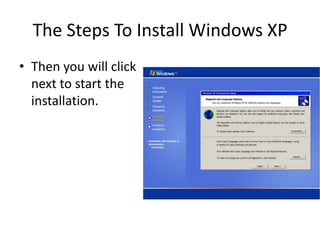
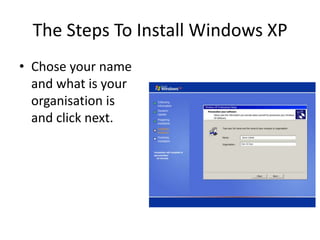
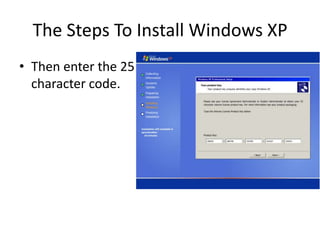

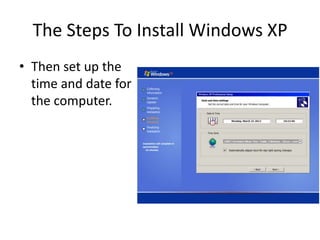
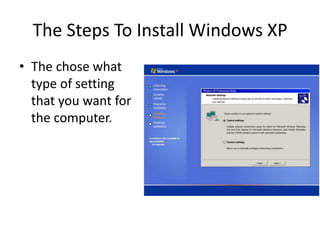
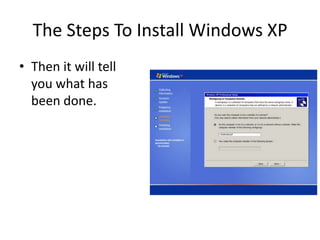
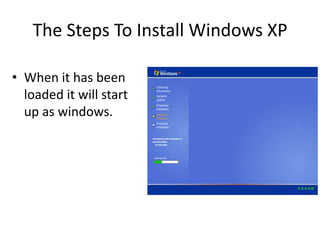

The document provides step-by-step instructions for assembling the basic components of a computer and installing Windows XP. It describes inserting the power supply, RAM, CPU, thermal compound, heat sink, motherboard, NIC, wireless NIC, video card, hard drive, optical drive, floppy drive, PATA cable, floppy cable, case, monitor, keyboard, mouse, USB ports, Ethernet cable, and wireless antenna. It then lists the steps for installing Windows XP, which include pressing enter to start, agreeing to conditions, selecting installation locations and settings, entering registration information, and completing setup.