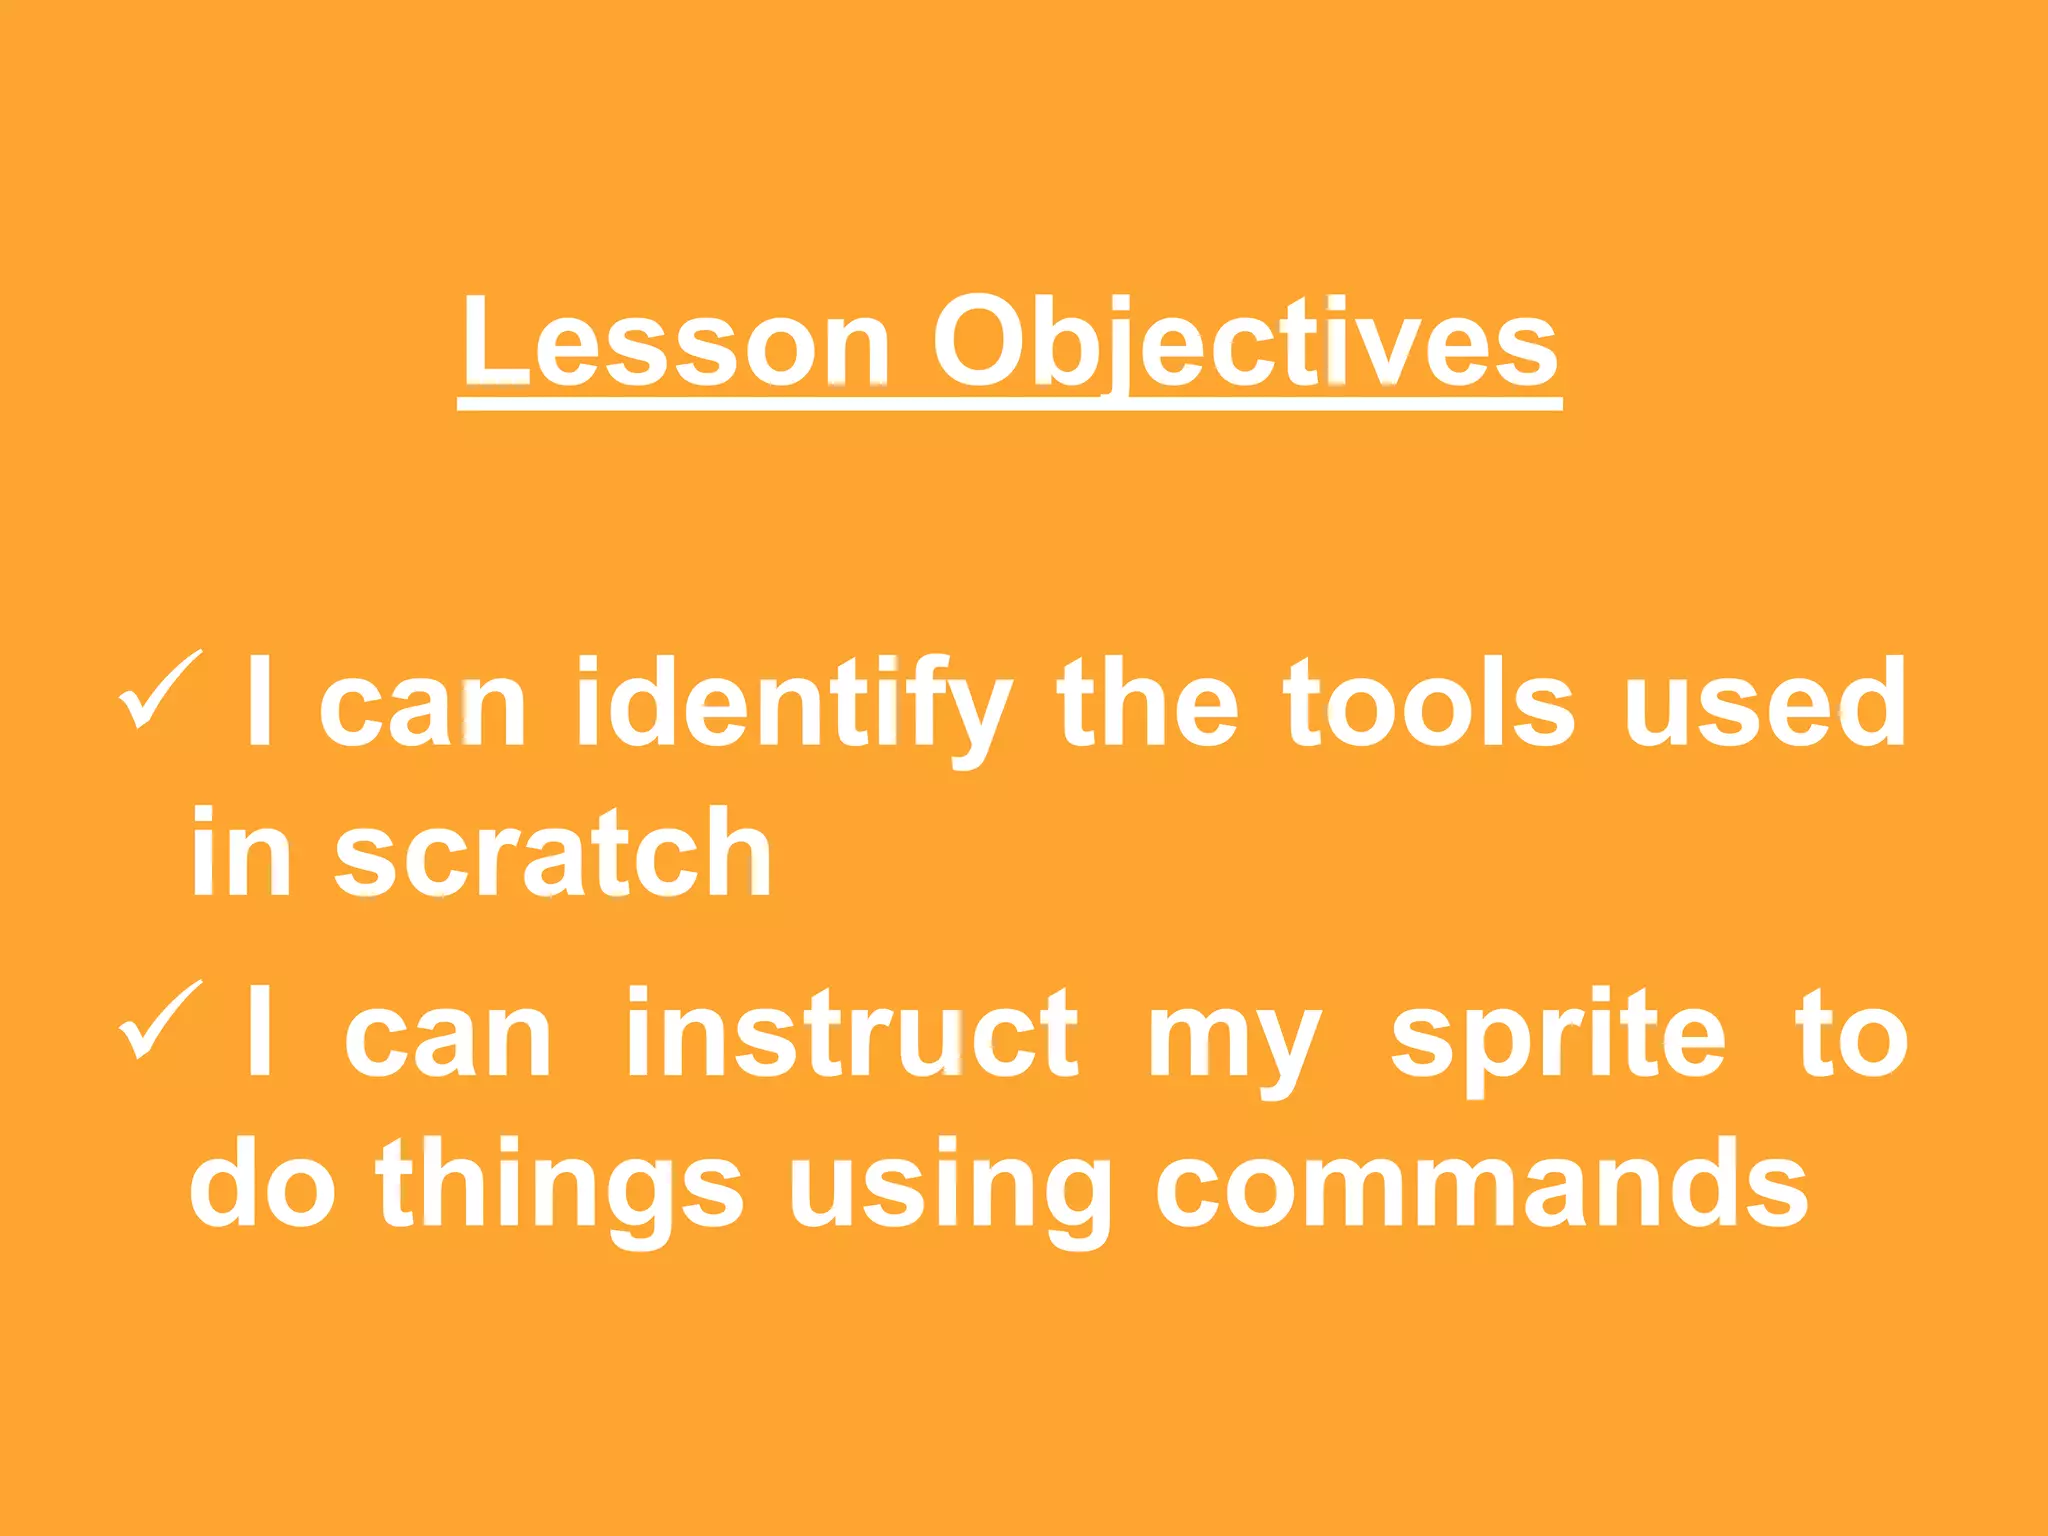
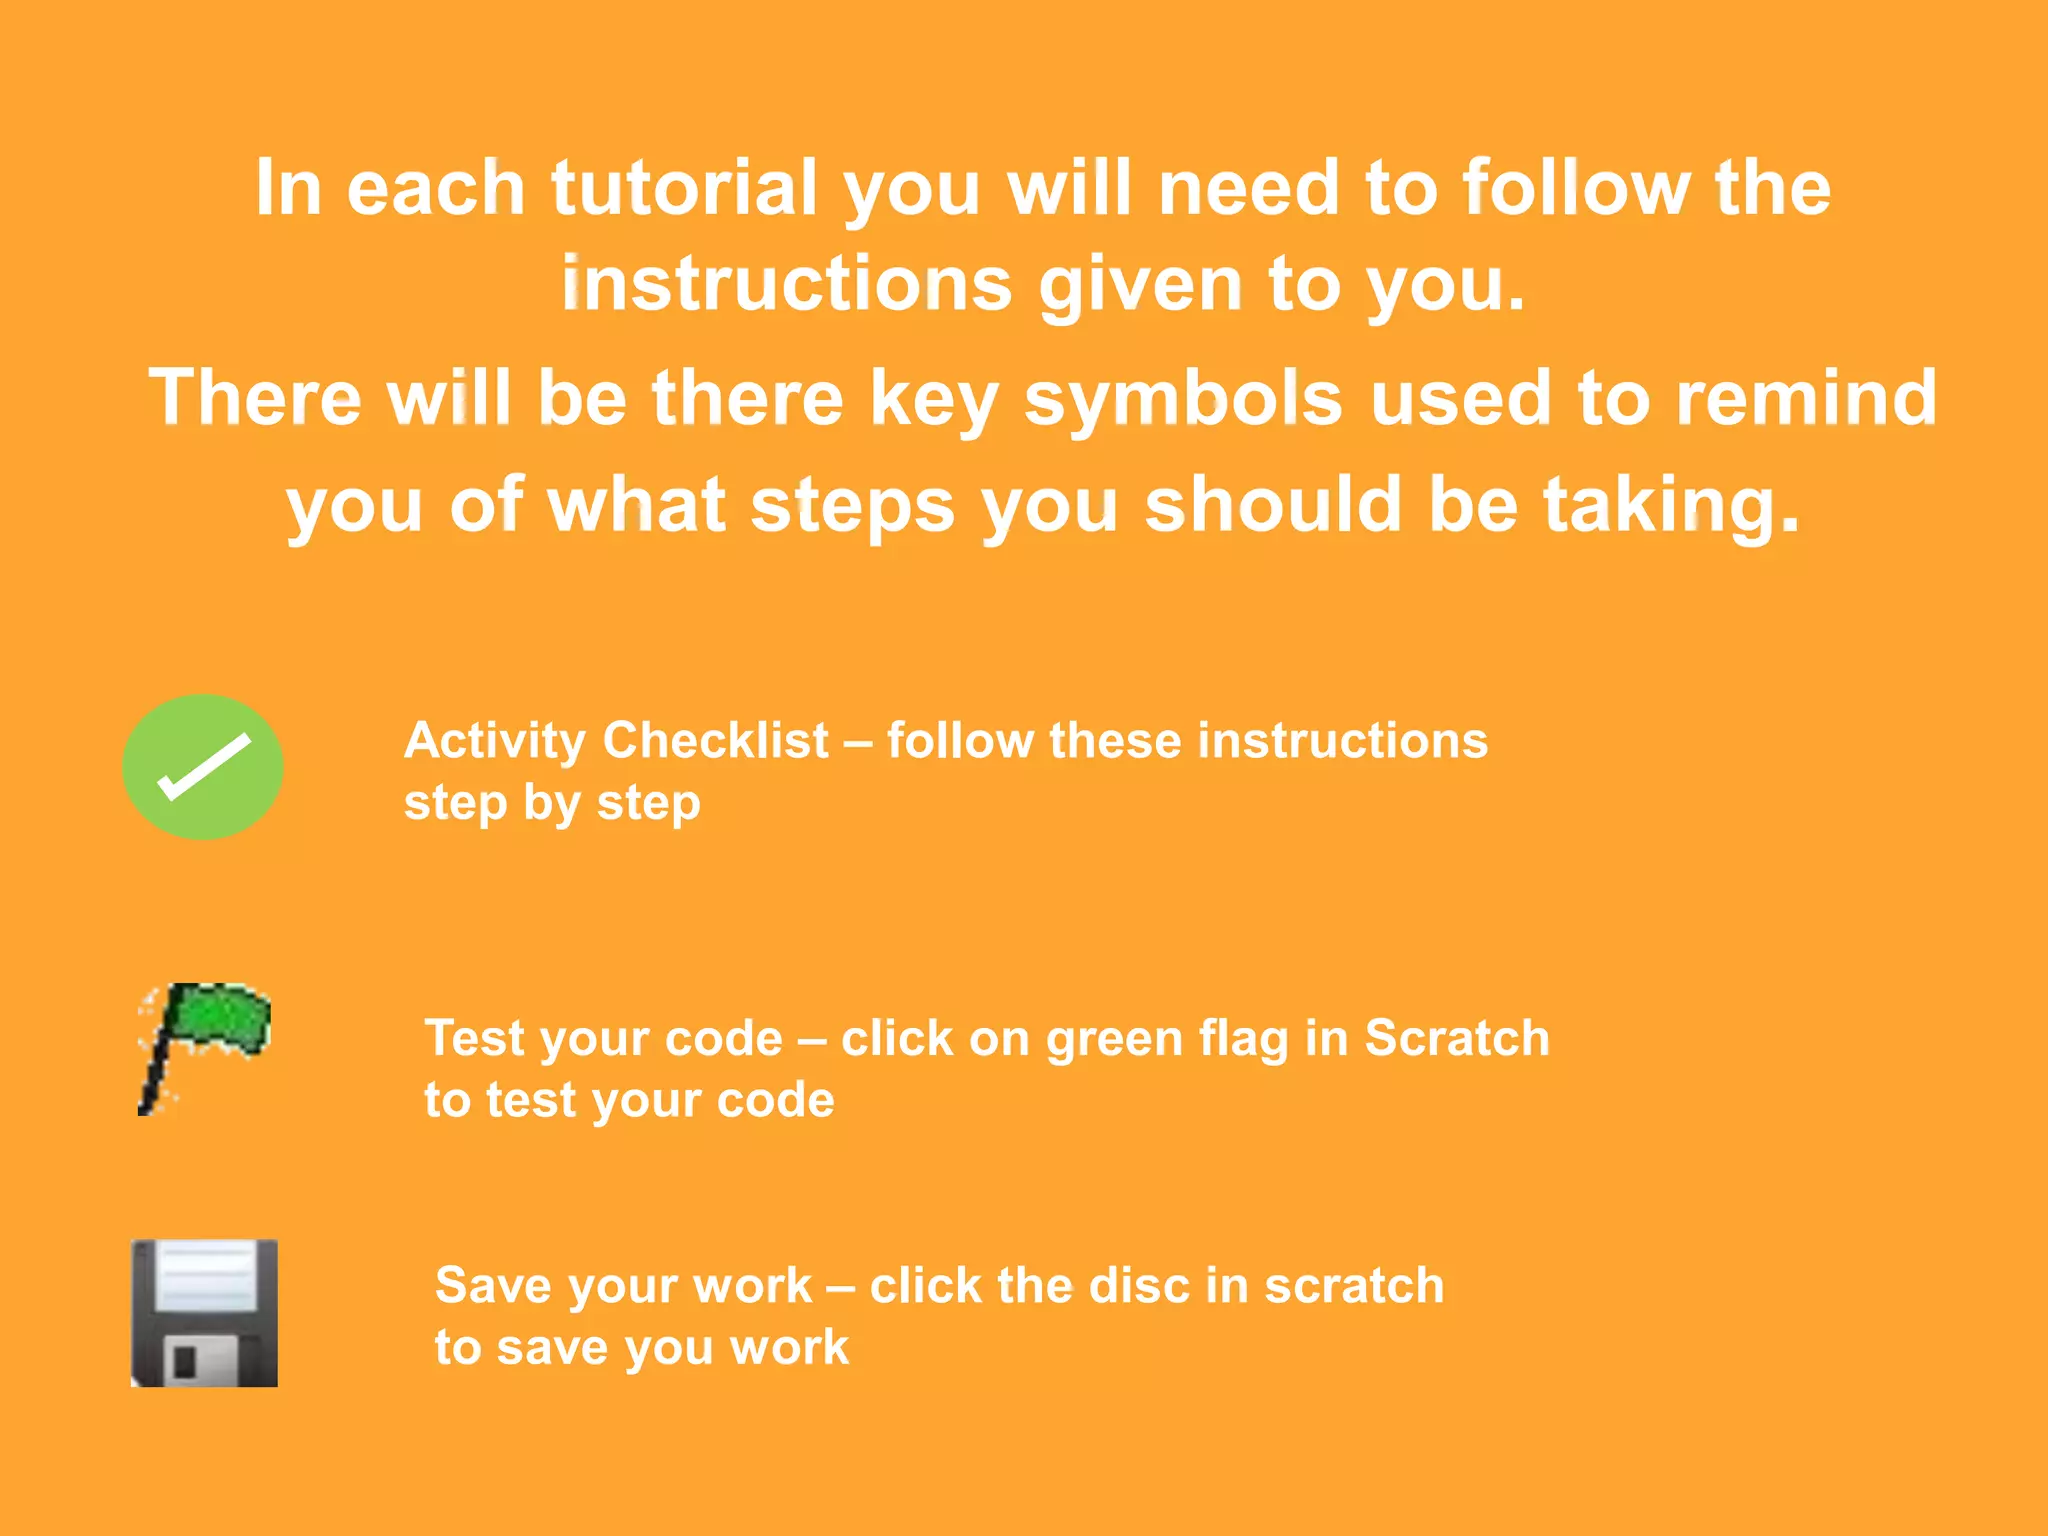
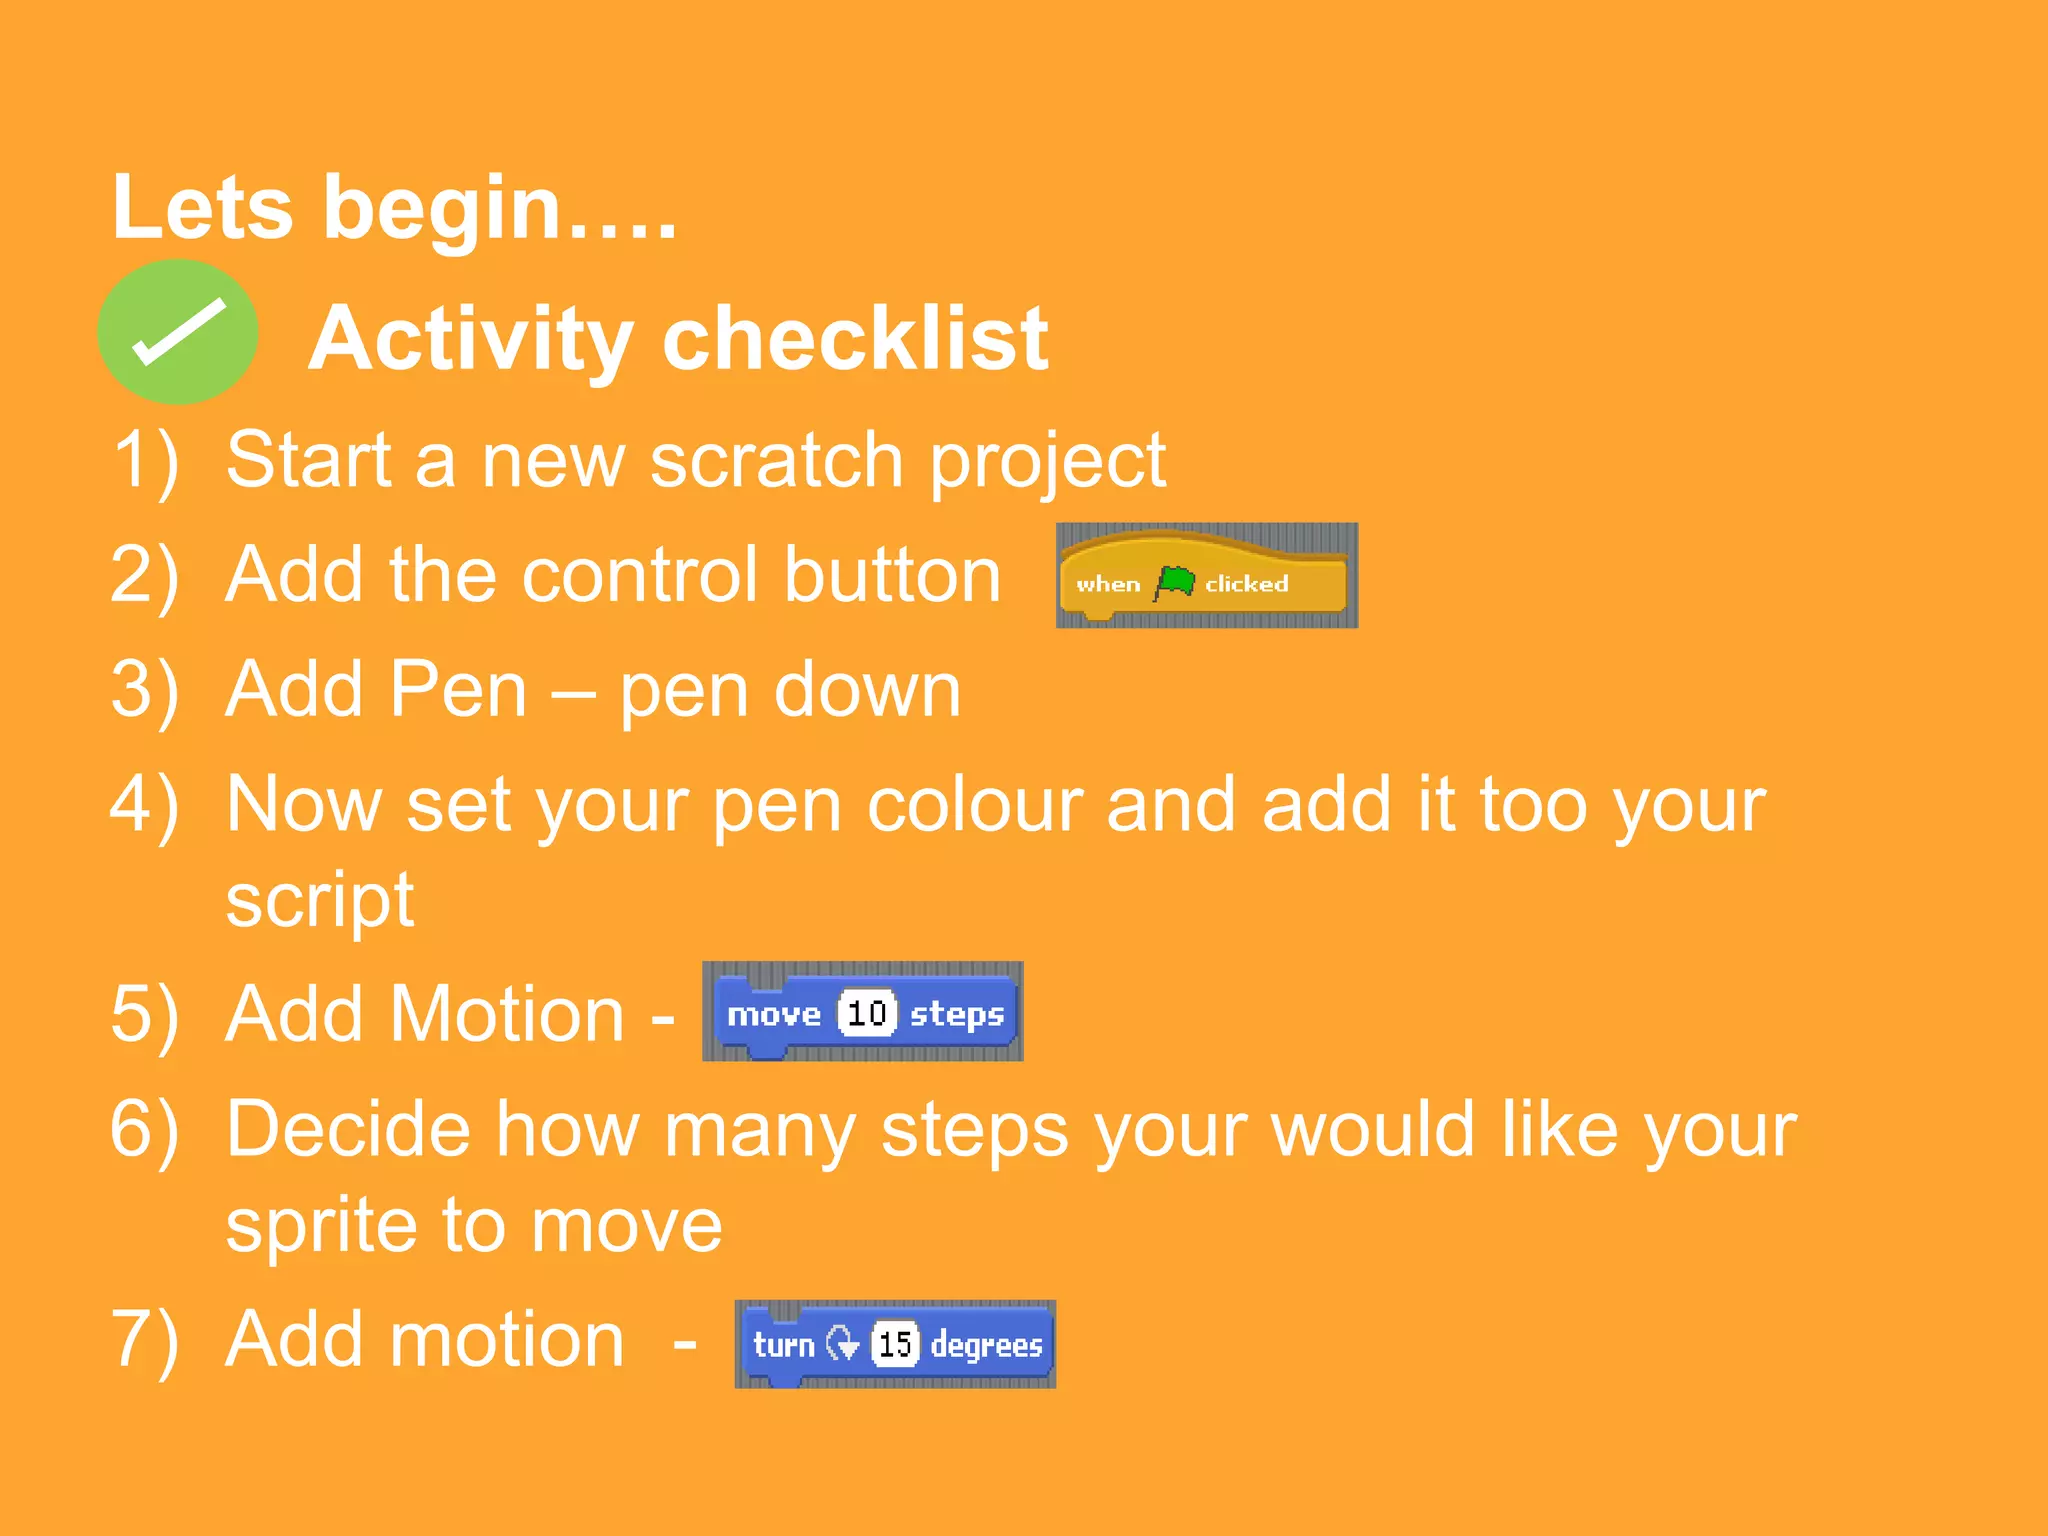
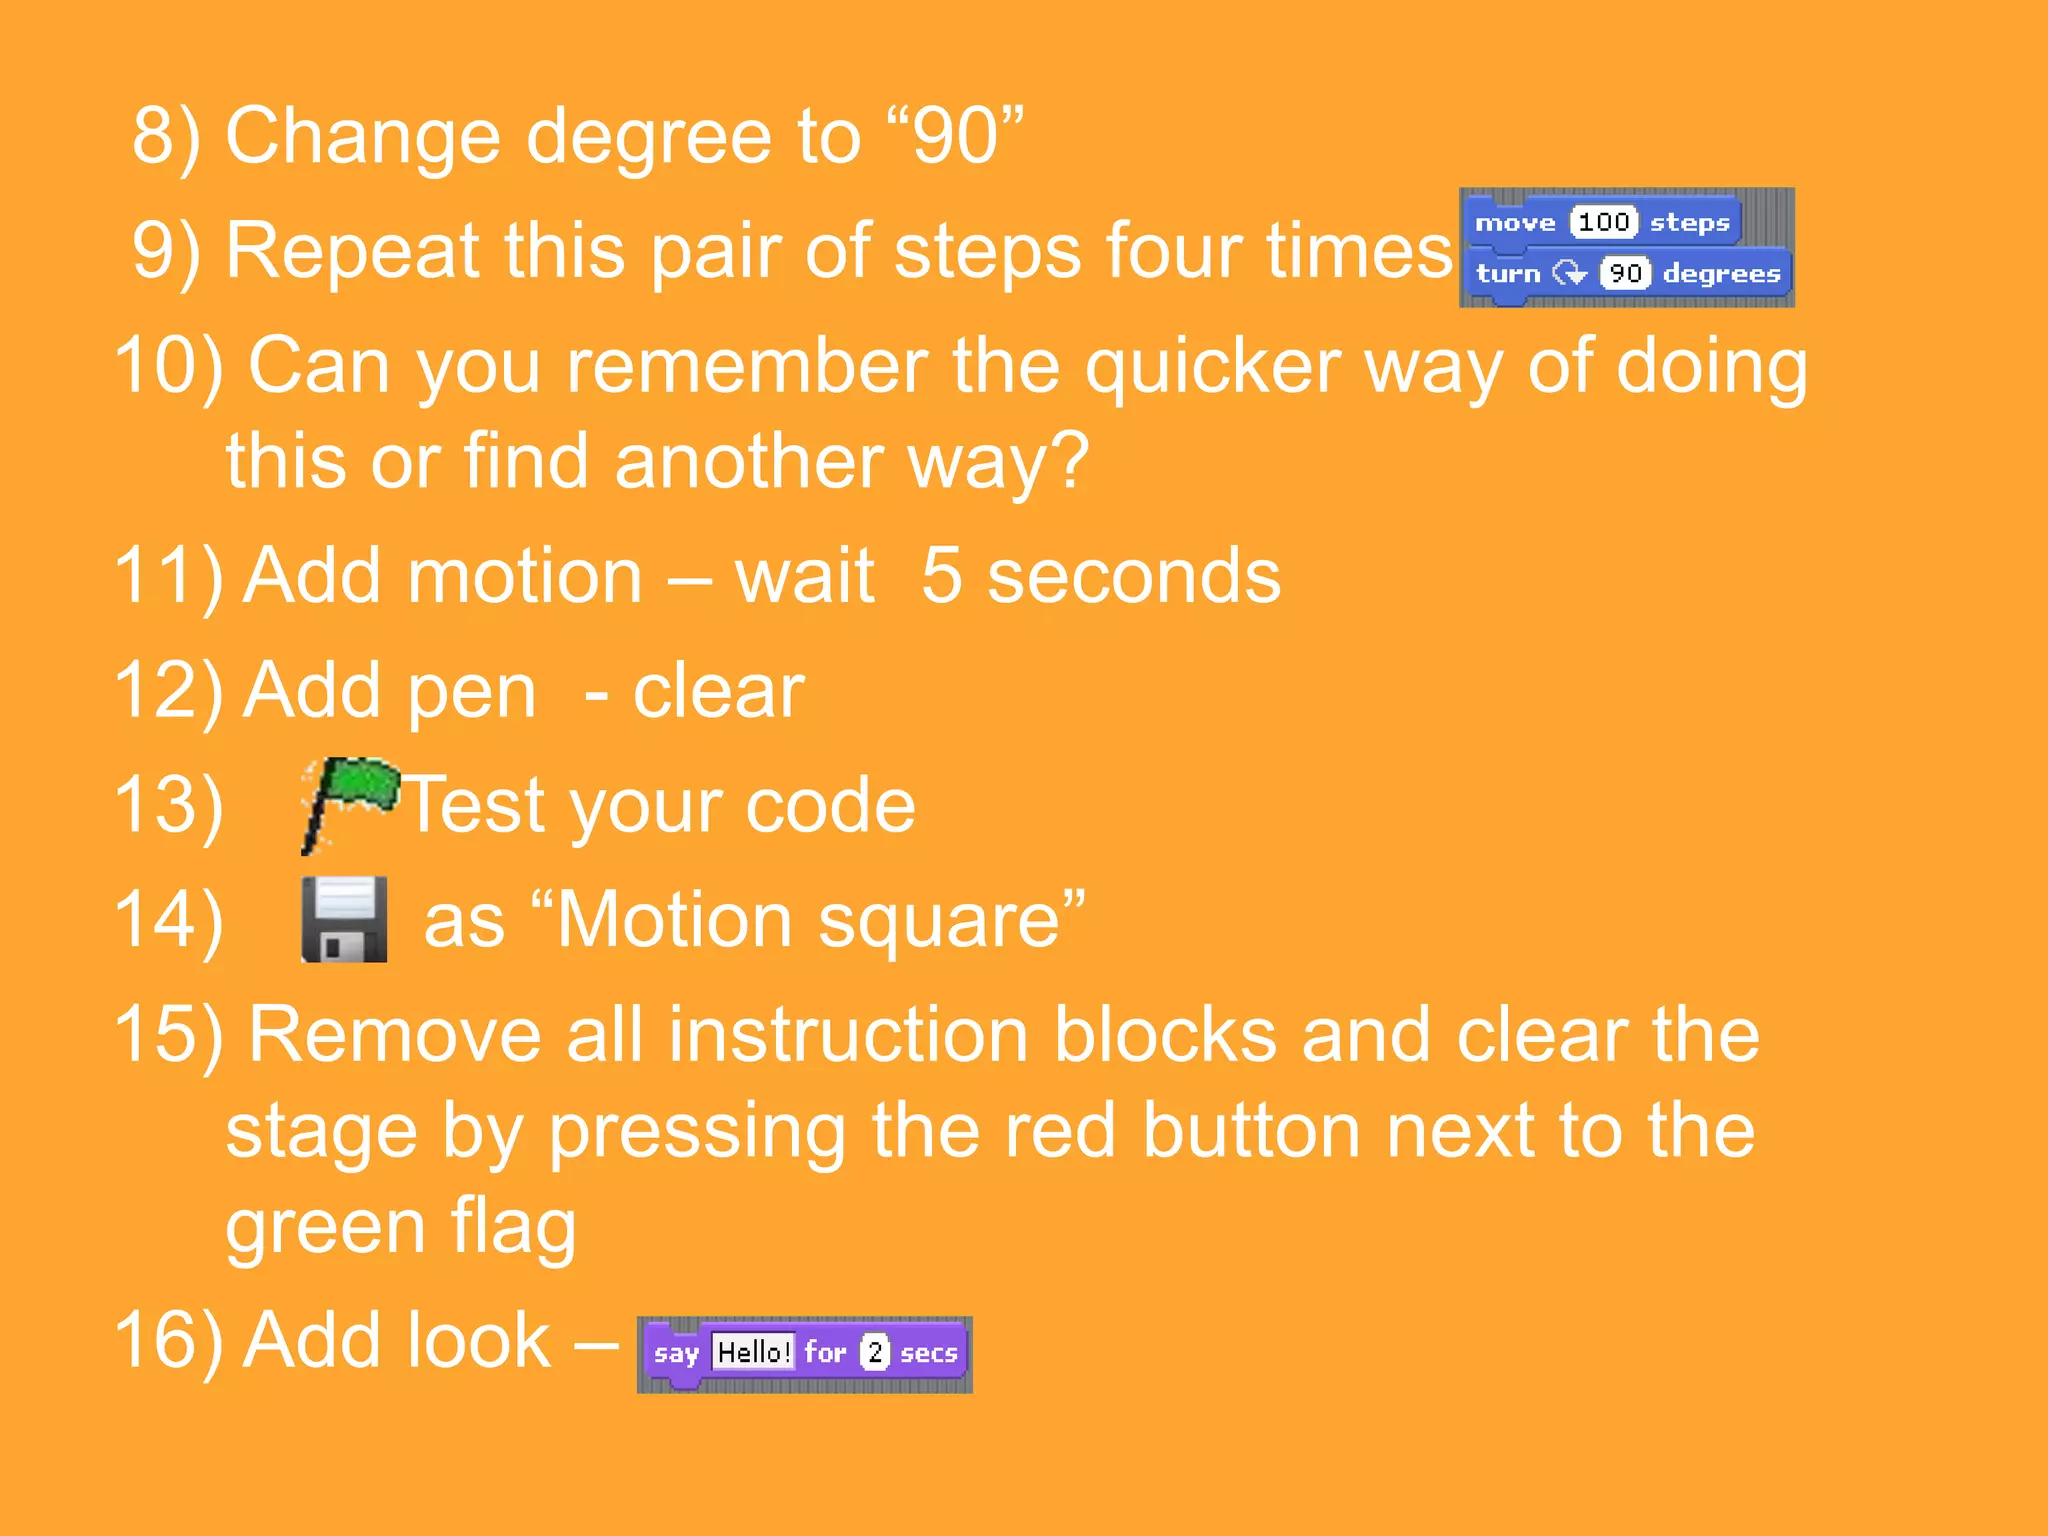
Lesson One
          The basics
(Recap on tools and commands)
Lesson Objectives

 I can identify the tools used
 in scratch
 I can instruct my sprite to
 do things using commands
In each tutorial you will need to follow the
           instructions given to you.
There will be there key symbols used to remind
   you of what steps you should be taking.

      Activity Checklist – follow these instructions
      step by step


       Test your code – click on green flag in Scratch
       to test your code


       Save your work – click the disc in scratch
       to save you work
Lets begin….
    Activity checklist
1) Start a new scratch project
2) Add the control button
3) Add Pen – pen down
4) Now set your pen colour and add it too your
   script
5) Add Motion -
6) Decide how many steps your would like your
   sprite to move
7) Add motion -
8) Change degree to “90”
9) Repeat this pair of steps four times
10) Can you remember the quicker way of doing
    this or find another way?
11) Add motion – wait 5 seconds
12) Add pen - clear
13)       Test your code
14)        as “Motion square”
15) Remove all instruction blocks and clear the
    stage by pressing the red button next to the
    green flag
16) Add look –
18) Change “hello” to your name
19) Add look –
20) change “hmm” to how your feeling now
21) Add look –
22) Change the colour of your sprite, see if you
    can get your sprite to be a different colour from
    the persons next to you
23) Add look -
24) Change the size of your sprite, see if you can
    increase and decrease the size.
25)      Test your code
26)      as “Colour and Size
Well done you have completed todays
lesson.
Next lesson we will be looking at
backgrounds and sprites.

Homework
For next lesson download Scratch at home
or use the school library computers and see
if you can find the different backgrounds
and sprites that you can use.

Lesson one

  • 1.
    Lesson One The basics (Recap on tools and commands)
  • 2.
    Lesson Objectives  Ican identify the tools used in scratch  I can instruct my sprite to do things using commands
  • 3.
    In each tutorialyou will need to follow the instructions given to you. There will be there key symbols used to remind you of what steps you should be taking. Activity Checklist – follow these instructions step by step Test your code – click on green flag in Scratch to test your code Save your work – click the disc in scratch to save you work
  • 4.
    Lets begin…. Activity checklist 1) Start a new scratch project 2) Add the control button 3) Add Pen – pen down 4) Now set your pen colour and add it too your script 5) Add Motion - 6) Decide how many steps your would like your sprite to move 7) Add motion -
  • 5.
    8) Change degreeto “90” 9) Repeat this pair of steps four times 10) Can you remember the quicker way of doing this or find another way? 11) Add motion – wait 5 seconds 12) Add pen - clear 13) Test your code 14) as “Motion square” 15) Remove all instruction blocks and clear the stage by pressing the red button next to the green flag 16) Add look –
  • 6.
    18) Change “hello”to your name 19) Add look – 20) change “hmm” to how your feeling now 21) Add look – 22) Change the colour of your sprite, see if you can get your sprite to be a different colour from the persons next to you 23) Add look - 24) Change the size of your sprite, see if you can increase and decrease the size. 25) Test your code 26) as “Colour and Size
  • 7.
    Well done youhave completed todays lesson. Next lesson we will be looking at backgrounds and sprites. Homework For next lesson download Scratch at home or use the school library computers and see if you can find the different backgrounds and sprites that you can use.