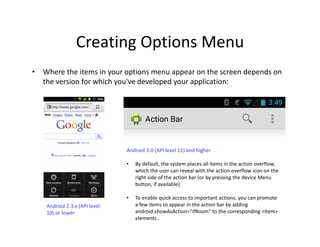
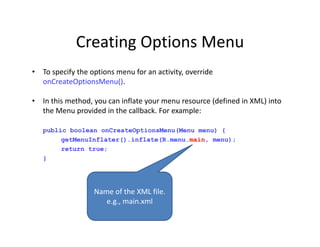
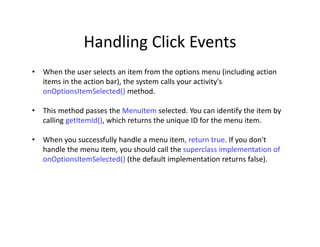
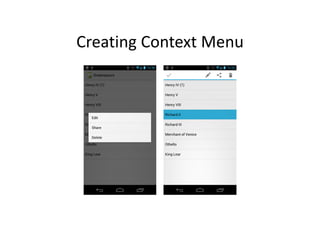
The document outlines the three fundamental types of Android menus: options menu, context menu, and popup menu. It explains how to create and implement these menus using XML resources, including key attributes for menu items and the methods required to handle click events. The document provides examples and instructions on inflating menu resources and managing user interactions within an Android application.


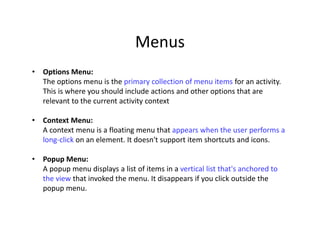


![Creating ListView
. . .
String[] aboutlist;
. . .
aboutlist = getResources().getStringArray(R.array.aboutlist);
ArrayAdapter<String> adapter=new
ArrayAdapter<String>(this,android.R.layout.simple_list_item_1,a
boutlist);
ListView listview = (ListView) findViewById(R.id.listView1);
listview.setAdapter(adapter);
. . .](https://image.slidesharecdn.com/lecture-10-menus-240727101508-8928472e/85/Lecture-10-Menus-pdf-of-Mobile-Application-Development-20-320.jpg)
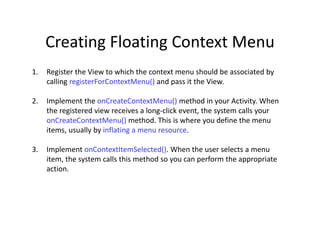
![1. Register the View
. . .
String[] aboutlist;
. . .
aboutlist = getResources().getStringArray(R.array.aboutlist);
ArrayAdapter<String> adapter=new
ArrayAdapter<String>(this,android.R.layout.simple_list_item_1,a
boutlist);
ListView listview = (ListView) findViewById(R.id.listView1);
listview.setAdapter(adapter);
. . .
registerForContextMenu(listview);](https://image.slidesharecdn.com/lecture-10-menus-240727101508-8928472e/85/Lecture-10-Menus-pdf-of-Mobile-Application-Development-22-320.jpg)