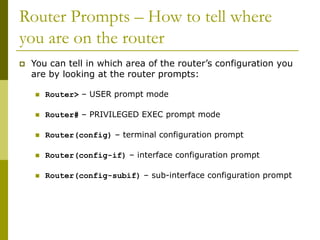
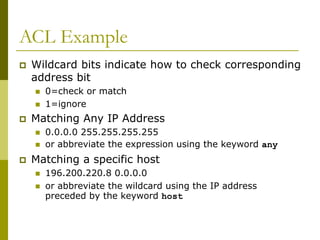
The document covers essential components and configurations of Cisco routers, starting with key elements like bootstrap, RAM, ROM, and various types of memory. It illustrates the process of configuring a router, including access modes, command usage, and security settings using access control lists (ACLs). Additionally, the document details the use of wildcard masks for filtering IP addresses in network configurations.
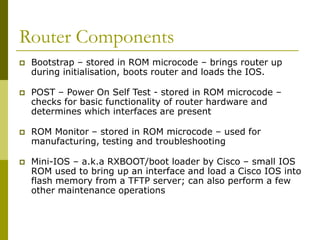
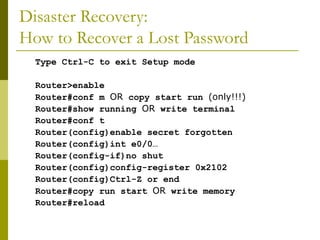
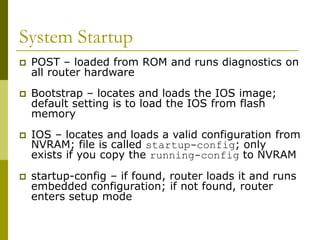
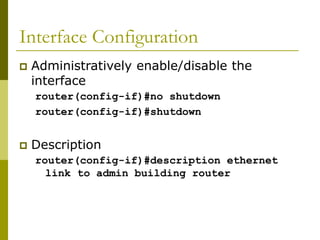
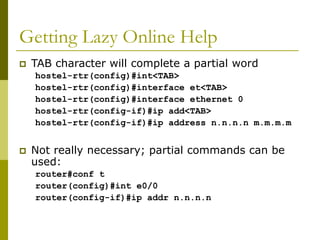
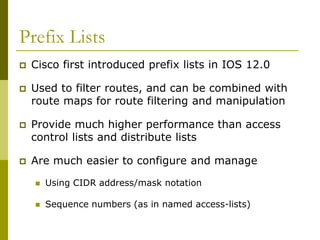
![Router Components
RAM – holds packet buffers, ARP cache, routing table,
software and data structure that allows the router to
function; running-config is stored in RAM, as well as the
decompressed IOS in later router models
ROM – starts and maintains the router
Flash memory – holds the IOS; is not erased when the
router is reloaded; is an EEPROM [Electrically Erasable
Programmable Read-Only Memory] created by Intel, that
can be erased and reprogrammed repeatedly through an
application of higher than normal electric voltage
NVRAM – Non-Volatile RAM - holds router configuration; is
not erased when router is reloaded](https://image.slidesharecdn.com/introduction-to-cisco-routers-240426124202-f2cc1899/85/introduction-to-cisco-routers-basic-ppt-3-320.jpg)
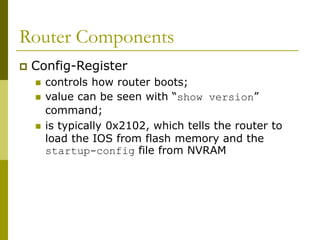
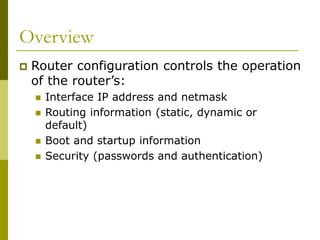

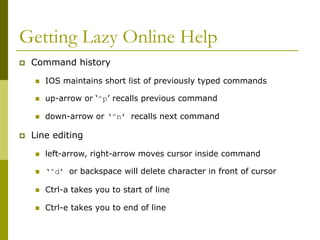
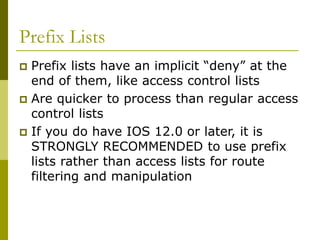
![Storing the Configuration on a Remote
System
Requires: ‘tftpd’ on a unix host; destination file
must exist before the file is written and must be
world writable...
router#copy run tftp
Remote host []? n.n.n.n
Name of configuration file to write [hoste2-rtr-
confg]? hoste2-rtr-confg
Write file hoste2-rtr-confg on Host n.n.n.n?
[confirm]
Building configuration...
Writing hoste2-rtr-confg !![OK]
router#](https://image.slidesharecdn.com/introduction-to-cisco-routers-240426124202-f2cc1899/85/introduction-to-cisco-routers-basic-ppt-31-320.jpg)
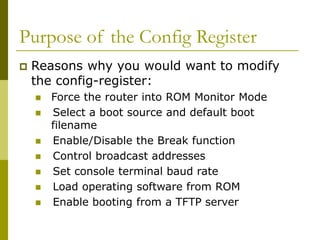
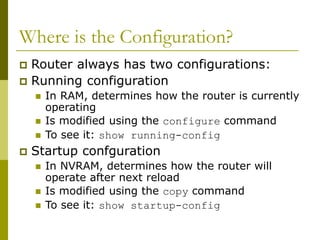
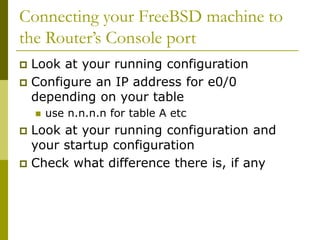
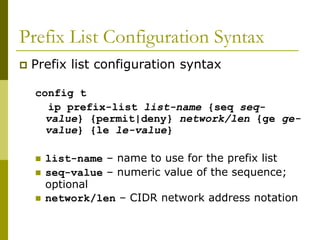
![Restoring the Configuration from a
Remote System
Use ‘tftp’ to pull file from UNIX host, copying to running
config or startup
router#copy tftp start
Address of remote host [255.255.255.255]? n.n.n.n
Name of configuration file [hoste2-rtr-confg]?
Configure using hostel-rtr-confg from n.n.n.n?
[confirm]
Loading hoste2-rtr-confg from n.n.n.n (via
Ethernet0/0): !
[OK - 1005/128975 bytes]
[OK]
hoste2-rtr# reload](https://image.slidesharecdn.com/introduction-to-cisco-routers-240426124202-f2cc1899/85/introduction-to-cisco-routers-basic-ppt-32-320.jpg)
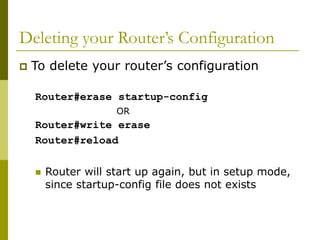

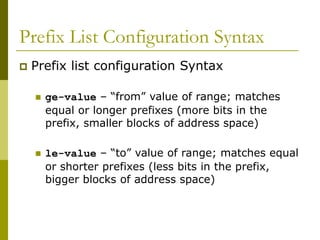
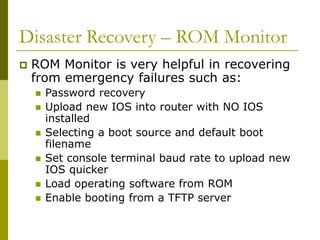
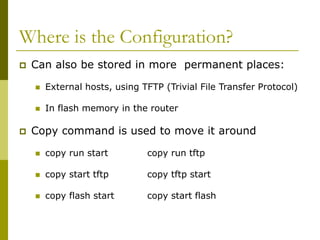
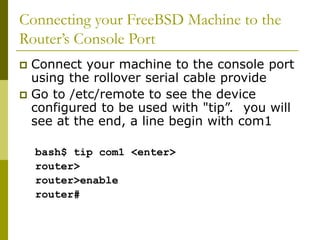
![Getting to the ROM Monitor
Windows using HyperTerminal for the console
session
Ctrl-Break
FreeBSD/UNIX using Tip for the console session
<Enter>, then ~# OR
Ctrl-], then Break or Ctrl-C
Linux using Minicom for the console session
Ctrl-A F](https://image.slidesharecdn.com/introduction-to-cisco-routers-240426124202-f2cc1899/85/introduction-to-cisco-routers-basic-ppt-60-320.jpg)