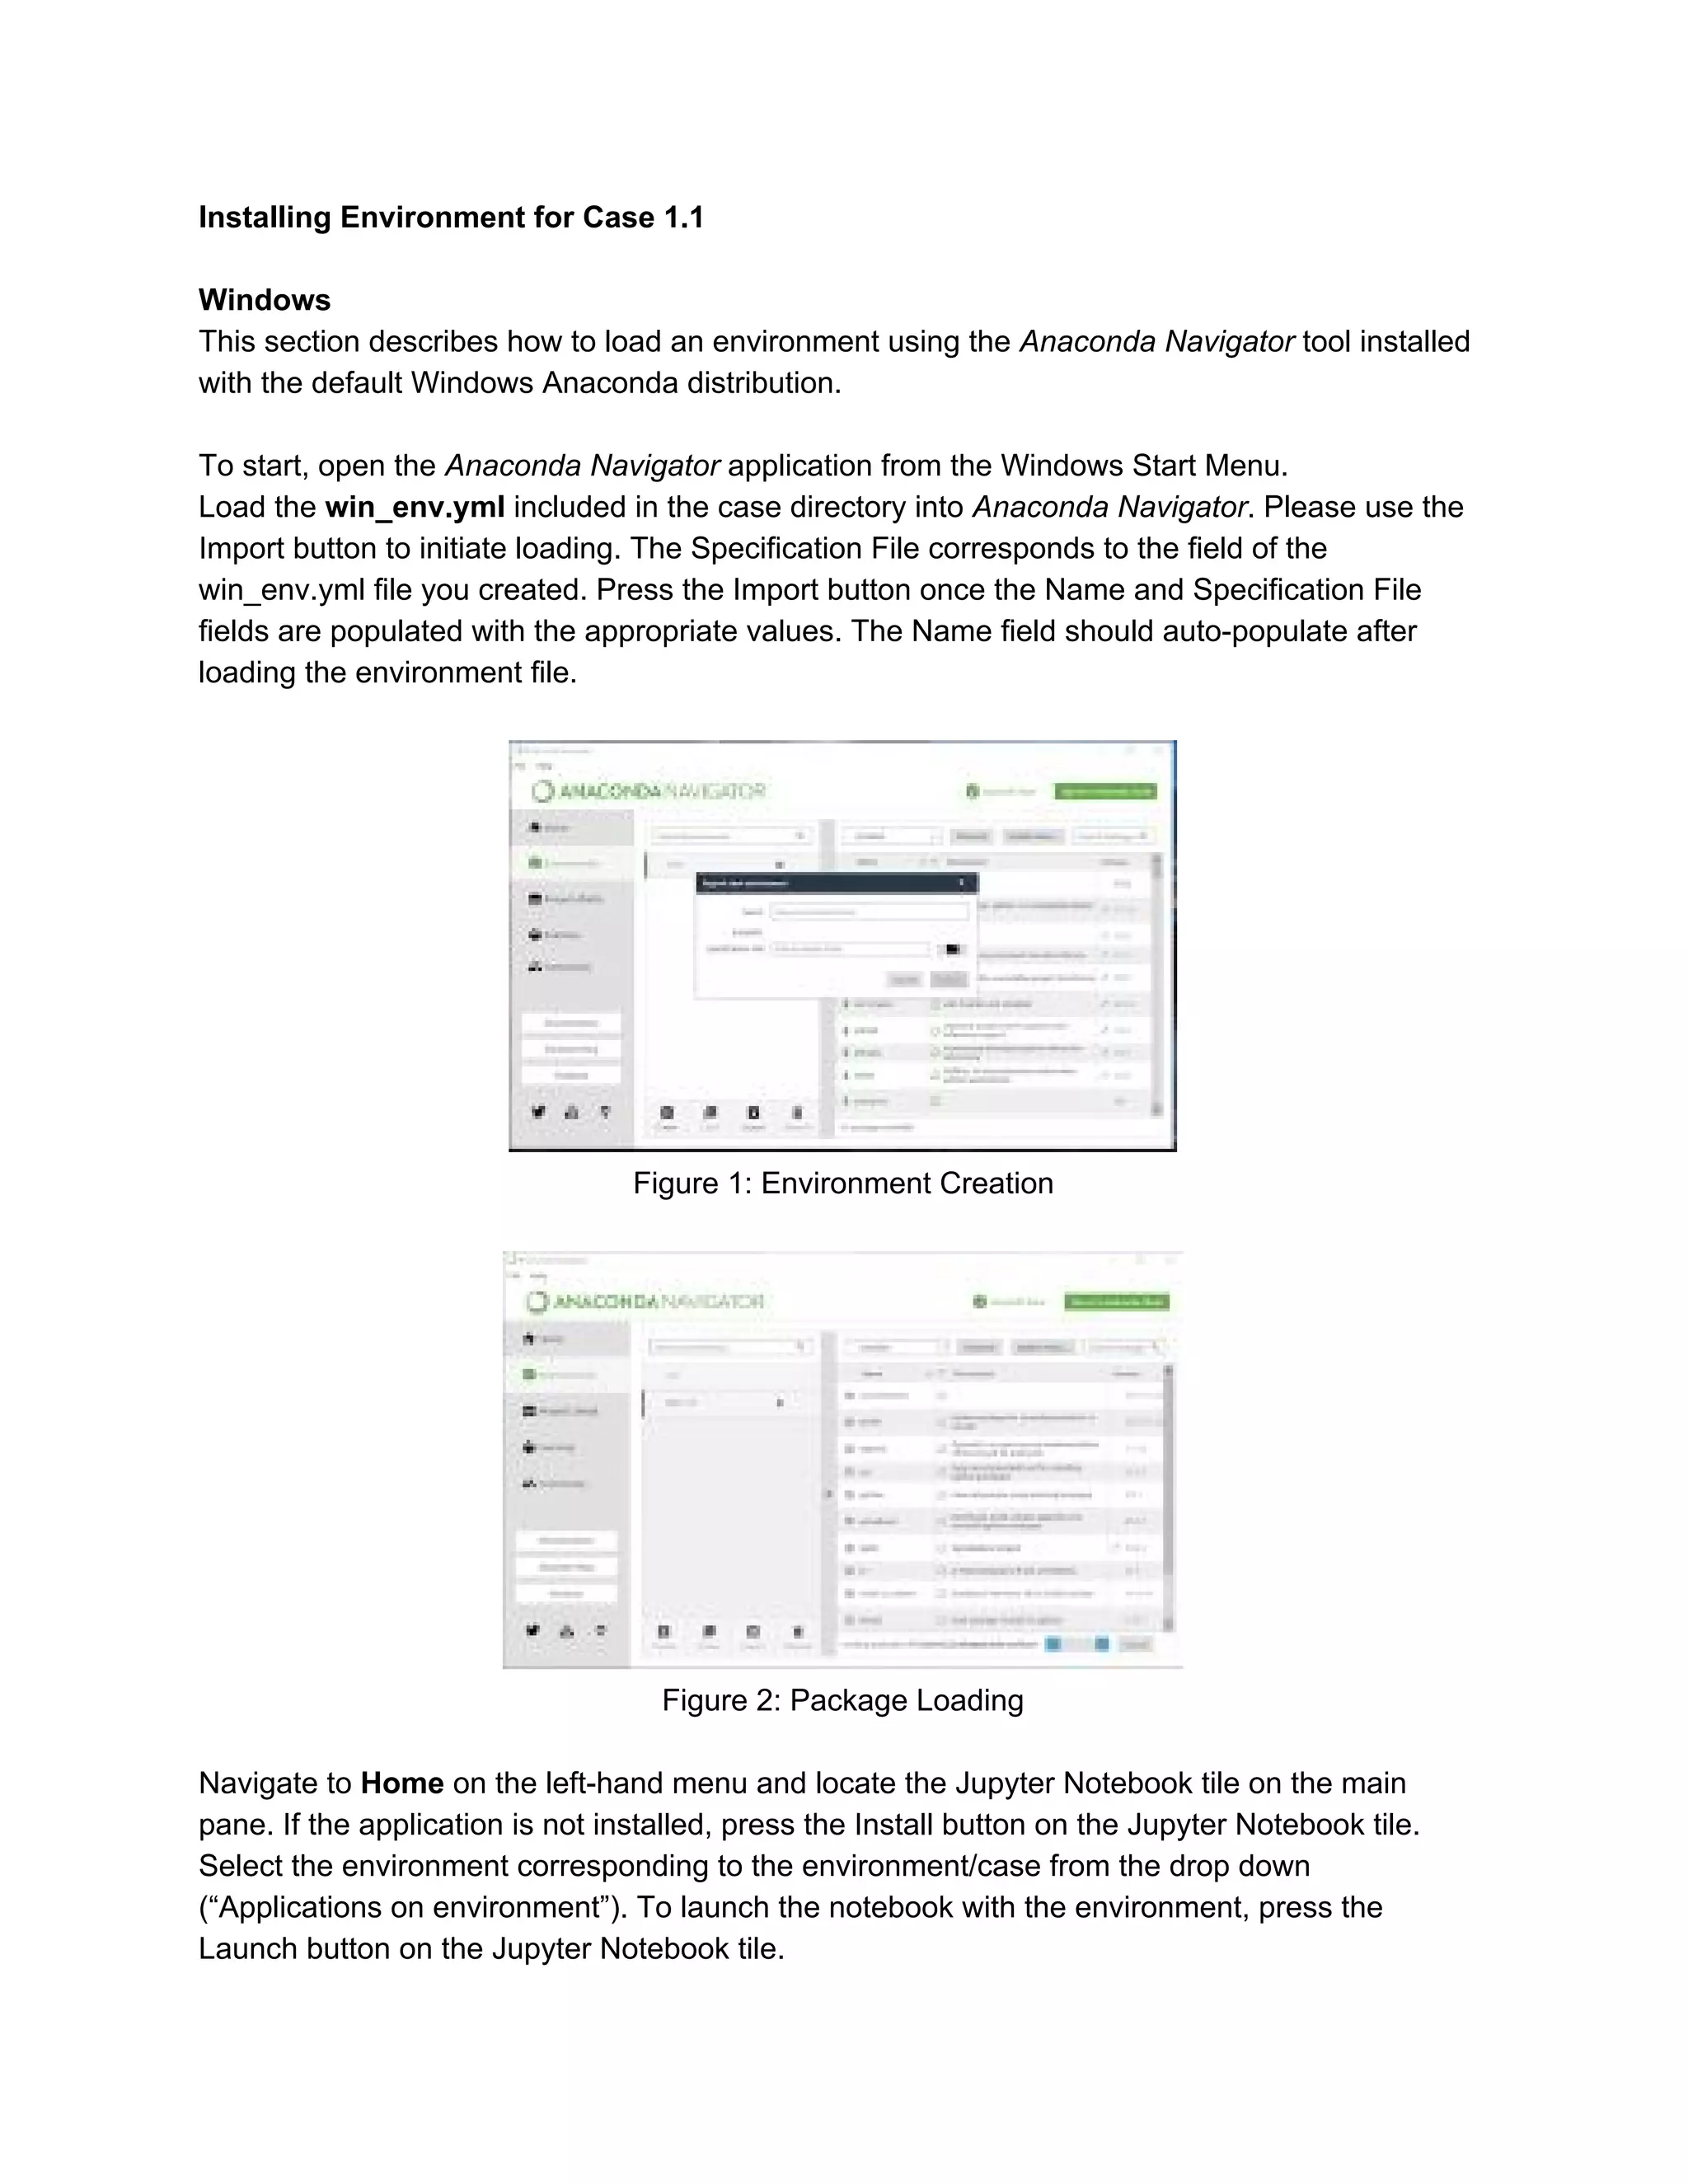
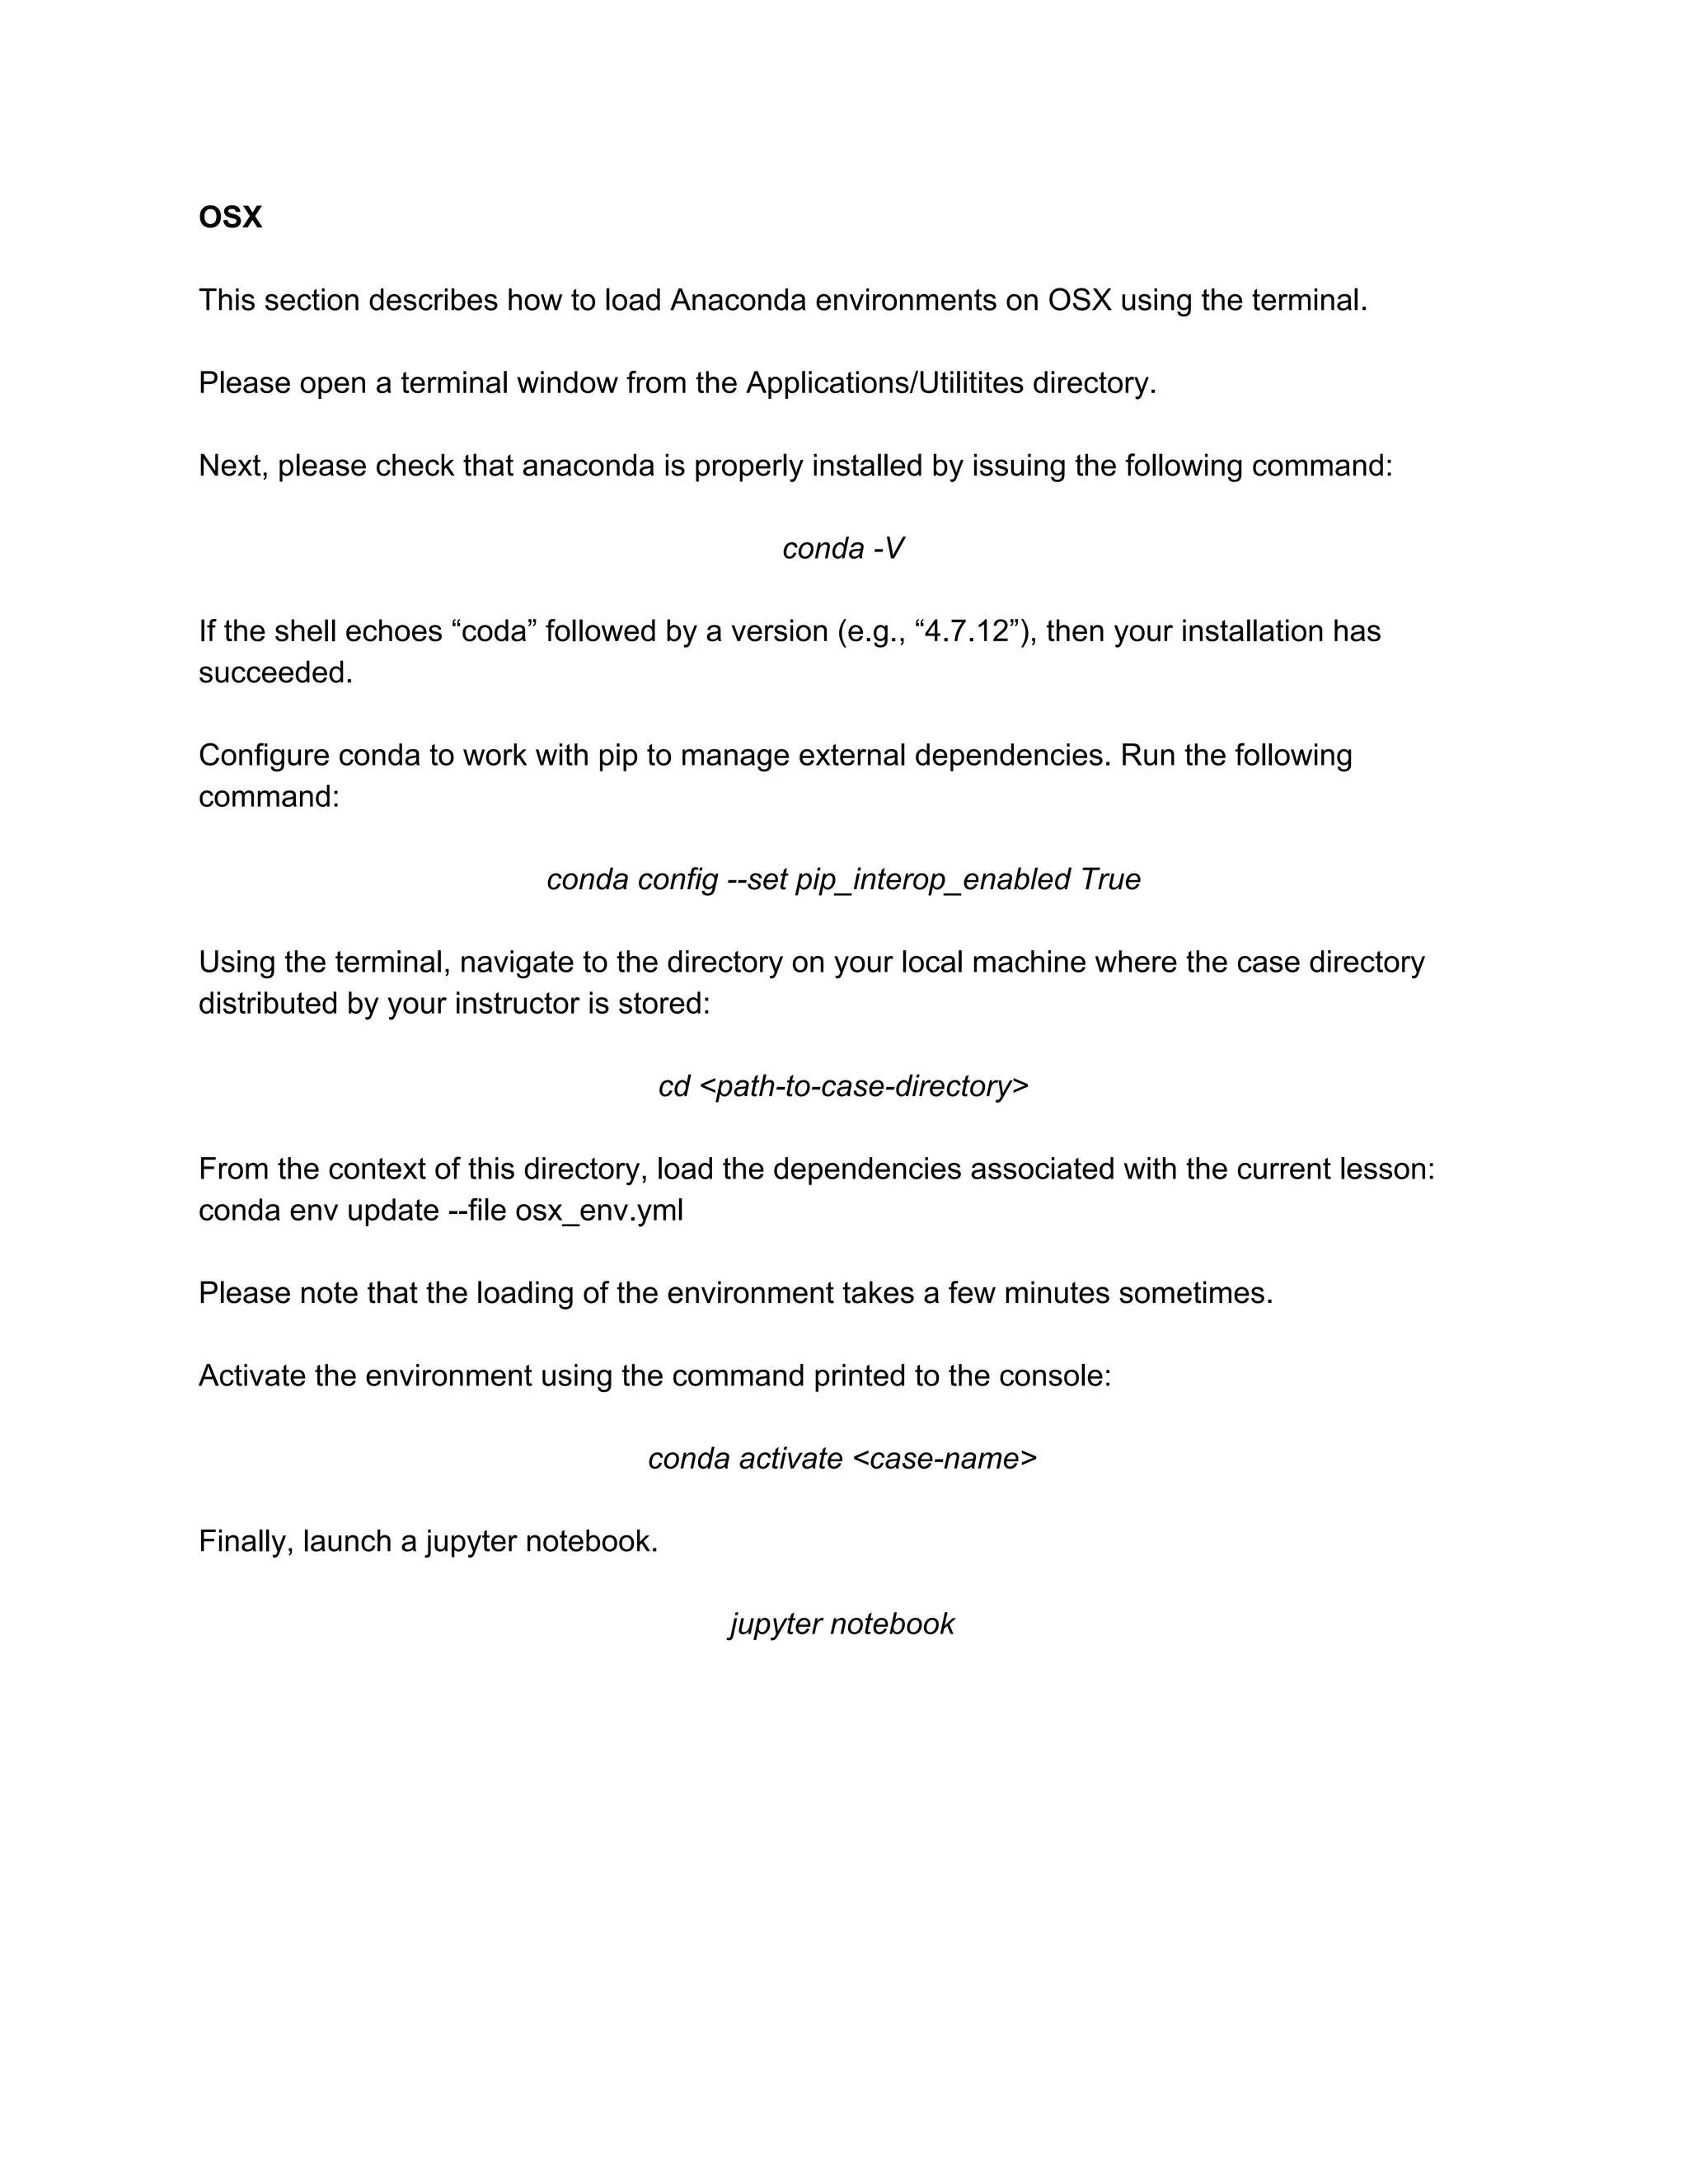
Case 1.1 - Python and Jupyter setup
Python and Jupyter
Python is a general purpose programming language that allows for both simple and complex
data analysis. Python is incredibly versatile, allowing analysts, consultants, engineers, and
managers to obtain and analyze information for insightful decision-making.
The ​Jupyter Notebook​ is an open-source web application that allows for Python code
development. Jupyter further allows for inline plotting and provides useful mechanisms for
viewing data that make it an excellent resource for a variety of projects and disciplines.
The following section will outline how to install and begin working with Python and Juypter.
Installing Python
Instruction guides for Windows and MacOS are included below. Follow the one that
corresponds with your operating system.
Windows Install
1. Open your browser and go to https://www.anaconda.com/distribution/
2. Click on "Windows" and then "Download" for Python 3.7 64-bit installer
3. Run the downloaded file found in the downloads section from Step 2
4. Click through the install prompts
5. Go to menu (or Windows Explorer), find the Anaconda3 folder, and double-click to run
MacOS Install
1. Open your browser and go to https://www.anaconda.com/distribution/
2. Click on "MacOS" and then "Download" for Python 3.7 64-bit installer
3. Run the downloaded file found in the downloads section from Step 2
4. Click through the install prompts
5. In Finder (or Launchpad), browse to the Anaconda3 folder to find the Jupyter program, and
double-click to run. Note that MacOS also comes with Python pre-installed, but you should
_not_ use this version, which is used by the system. Anaconda will run a second installation of
Python and you should ensure that you only use this second installation for all tasks.
Installing Environment for Case 1.1
Windows
This section describes how to load an environment using the ​Anaconda Navigator​ tool installed
with the default Windows Anaconda distribution.
To start, open the ​Anaconda Navigator​ application from the Windows Start Menu.
Load the ​win_env.yml​ included in the case directory into ​Anaconda Navigator​. Please use the
Import button to initiate loading. The Specification File corresponds to the eld of the
win_env.yml le you created. Press the Import button once the Name and Specification File
elds are populated with the appropriate values. The Name eld should auto-populate after
loading the environment le.
Figure 1: Environment Creation
Figure 2: Package Loading
Navigate to ​Home​ on the left-hand menu and locate the Jupyter Notebook tile on the main
pane. If the application is not installed, press the Install button on the Jupyter Notebook tile.
Select the environment corresponding to the environment/case from the drop down
(“Applications on environment”). To launch the notebook with the environment, press the
Launch button on the Jupyter Notebook tile.
OSX
This section describes how to load Anaconda environments on OSX using the terminal.
Please open a terminal window from the Applications/Utilitites directory.
Next, please check that anaconda is properly installed by issuing the following command:
conda -V
If the shell echoes “coda” followed by a version (e.g., “4.7.12”), then your installation has
succeeded.
Congure conda to work with pip to manage external dependencies. Run the following
command:
conda config --set pip_interop_enabled True
Using the terminal, navigate to the directory on your local machine where the case directory
distributed by your instructor is stored:
cd <path-to-case-directory>
From the context of this directory, load the dependencies associated with the current lesson:
conda env update --file osx_env.yml
Please note that the loading of the environment takes a few minutes sometimes.
Activate the environment using the command printed to the console:
conda activate <case-name>
Finally, launch a jupyter notebook.
jupyter notebook

Instructions+for+case1 1

  • 1.
    Case 1.1 -Python and Jupyter setup Python and Jupyter Python is a general purpose programming language that allows for both simple and complex data analysis. Python is incredibly versatile, allowing analysts, consultants, engineers, and managers to obtain and analyze information for insightful decision-making. The ​Jupyter Notebook​ is an open-source web application that allows for Python code development. Jupyter further allows for inline plotting and provides useful mechanisms for viewing data that make it an excellent resource for a variety of projects and disciplines. The following section will outline how to install and begin working with Python and Juypter. Installing Python Instruction guides for Windows and MacOS are included below. Follow the one that corresponds with your operating system. Windows Install 1. Open your browser and go to https://www.anaconda.com/distribution/ 2. Click on "Windows" and then "Download" for Python 3.7 64-bit installer 3. Run the downloaded file found in the downloads section from Step 2 4. Click through the install prompts 5. Go to menu (or Windows Explorer), find the Anaconda3 folder, and double-click to run MacOS Install 1. Open your browser and go to https://www.anaconda.com/distribution/ 2. Click on "MacOS" and then "Download" for Python 3.7 64-bit installer 3. Run the downloaded file found in the downloads section from Step 2 4. Click through the install prompts 5. In Finder (or Launchpad), browse to the Anaconda3 folder to find the Jupyter program, and double-click to run. Note that MacOS also comes with Python pre-installed, but you should _not_ use this version, which is used by the system. Anaconda will run a second installation of Python and you should ensure that you only use this second installation for all tasks.
  • 2.
    Installing Environment forCase 1.1 Windows This section describes how to load an environment using the ​Anaconda Navigator​ tool installed with the default Windows Anaconda distribution. To start, open the ​Anaconda Navigator​ application from the Windows Start Menu. Load the ​win_env.yml​ included in the case directory into ​Anaconda Navigator​. Please use the Import button to initiate loading. The Specification File corresponds to the eld of the win_env.yml le you created. Press the Import button once the Name and Specification File elds are populated with the appropriate values. The Name eld should auto-populate after loading the environment le. Figure 1: Environment Creation Figure 2: Package Loading Navigate to ​Home​ on the left-hand menu and locate the Jupyter Notebook tile on the main pane. If the application is not installed, press the Install button on the Jupyter Notebook tile. Select the environment corresponding to the environment/case from the drop down (“Applications on environment”). To launch the notebook with the environment, press the Launch button on the Jupyter Notebook tile.
  • 3.
    OSX This section describeshow to load Anaconda environments on OSX using the terminal. Please open a terminal window from the Applications/Utilitites directory. Next, please check that anaconda is properly installed by issuing the following command: conda -V If the shell echoes “coda” followed by a version (e.g., “4.7.12”), then your installation has succeeded. Congure conda to work with pip to manage external dependencies. Run the following command: conda config --set pip_interop_enabled True Using the terminal, navigate to the directory on your local machine where the case directory distributed by your instructor is stored: cd <path-to-case-directory> From the context of this directory, load the dependencies associated with the current lesson: conda env update --file osx_env.yml Please note that the loading of the environment takes a few minutes sometimes. Activate the environment using the command printed to the console: conda activate <case-name> Finally, launch a jupyter notebook. jupyter notebook