Download as PDF, PPTX
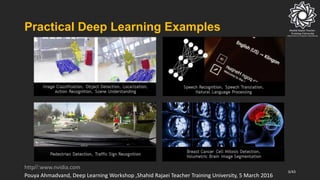


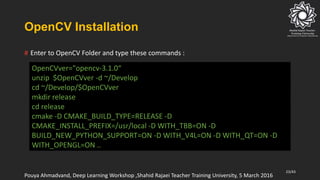


![Step :
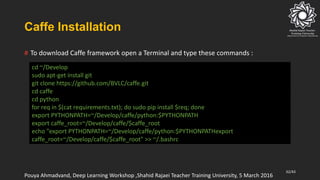
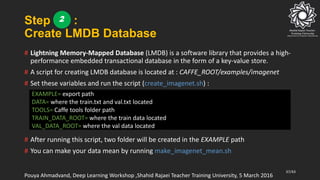
Train the network
# Run Train.py for training the network :
41/43
solverPath = './solver.prototxt‘
wightsPath = './bvlc_reference_caffenet.caffemodel‘
niter = 1000
caffe.set_device(0)
caffe.set_mode_gpu()
solver = caffe.SGDSolver(solverPath)
solver.net.copy_from(wightsPath)
for it in range(niter):
solver.step(1)
print 'iter %d, finetune_loss=%f' % (it, solver.net.blobs['loss'].data)
print 'done'
Pouya Ahmadvand, Deep Learning Workshop ,Shahid Rajaei Teacher Training University, 5 March 2016
6](https://image.slidesharecdn.com/caffe-170226054757/85/instruction-of-install-Caffe-on-ubuntu-41-320.jpg)
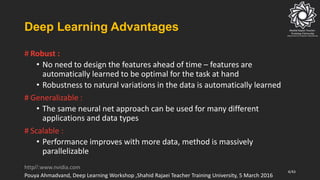
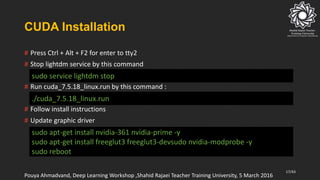
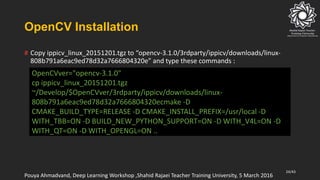
![Step :
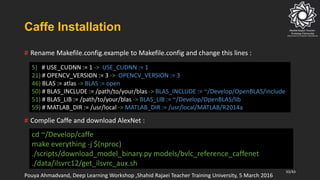
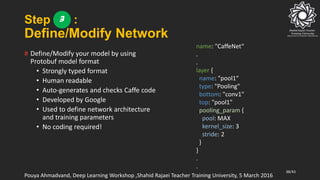
Test the network
# Run Test.py for testing the network :
42/43
….
net = caffe.Classifier(MODEL_FILE, PRETRAINED,
mean=np.load(PROJECT_PATH + 'ilsvrc_2012_mean.npy').mean(1).mean(1),
channel_swap=(2,1,0),
raw_scale=255,
image_dims=(256, 256))
caffe.set_mode_gpu()
…
input_image = caffe.io.load_image(TEST_FOLDER+files[i])
prediction = net.predict([input_image])
print 'class :', classes[i],' predicted class:', prediction[0].argmax()
Pouya Ahmadvand, Deep Learning Workshop ,Shahid Rajaei Teacher Training University, 5 March 2016
7](https://image.slidesharecdn.com/caffe-170226054757/85/instruction-of-install-Caffe-on-ubuntu-42-320.jpg)


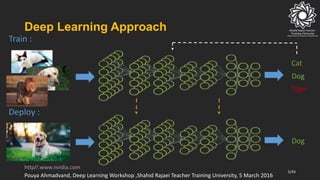
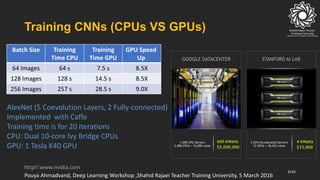
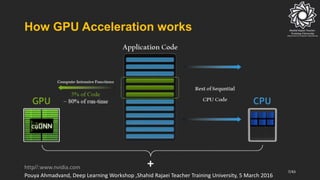
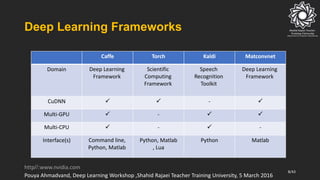
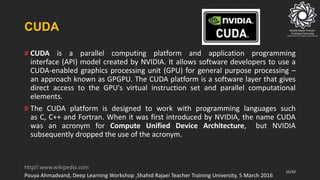
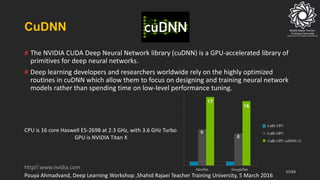
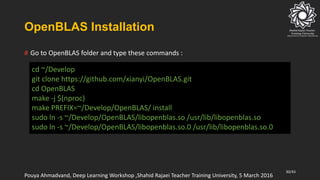
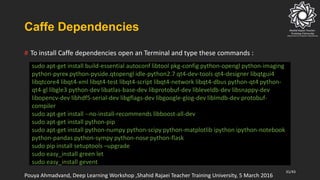
The document outlines a deep learning workshop conducted by Pouya Ahmadvand, focusing on the advantages and practical applications of deep learning technologies. It covers essential topics such as GPU acceleration, various deep learning frameworks (like Caffe), installation instructions for various related tools (including Ubuntu, CUDA, cuDNN, OpenCV), and the necessary dependencies for setting up an efficient deep learning environment. The content aims to educate participants about implementing deep learning effectively in real-world situations.


![[Harvard CS264] 06 - CUDA Ninja Tricks: GPU Scripting, Meta-programming & Aut...](https://cdn.slidesharecdn.com/ss_thumbnails/cs264201106-cudaninjasharetmp-110301171948-phpapp01-thumbnail.jpg?width=640&height=640&fit=bounds)


![[Harvard CS264] 03 - Introduction to GPU Computing, CUDA Basics](https://cdn.slidesharecdn.com/ss_thumbnails/cs264201103-cudabasicsshare-110209024624-phpapp02-thumbnail.jpg?width=640&height=640&fit=bounds)