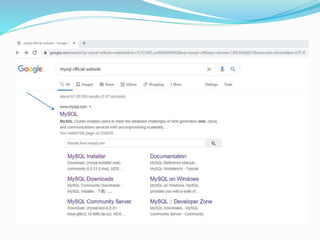
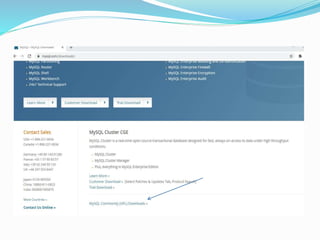
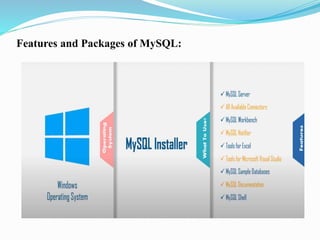
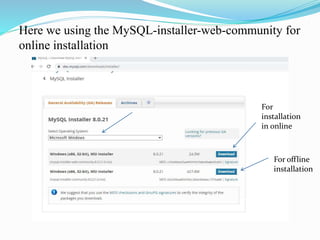
1) The document provides step-by-step instructions for downloading and installing MySQL community server on a Windows PC. It describes downloading the MySQL installer from the official website and selecting the appropriate installer package for online or offline installation.
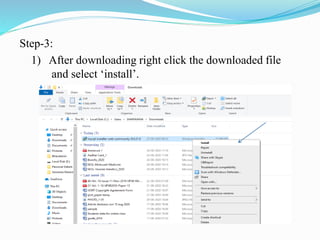
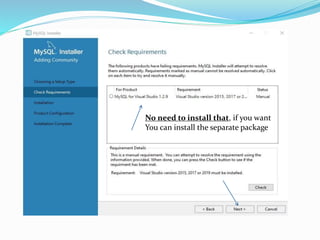
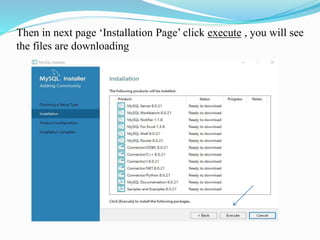
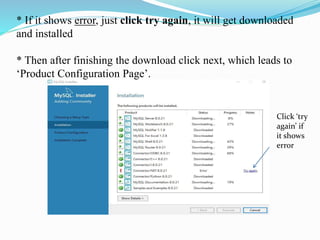
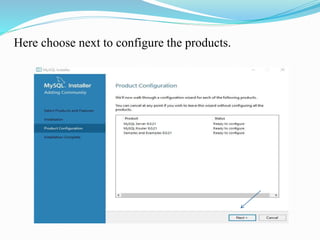
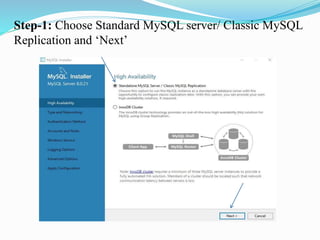
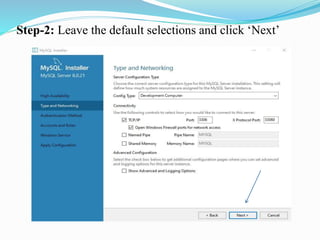
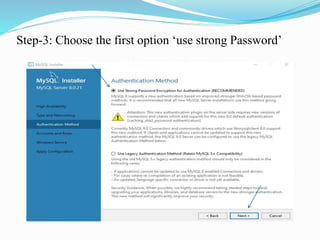
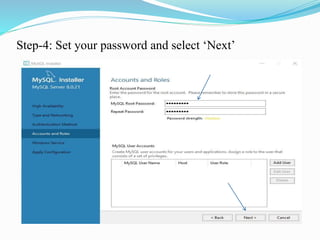
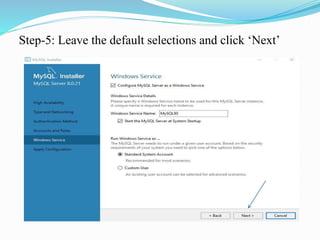
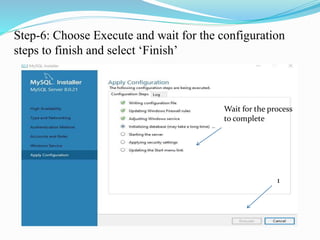
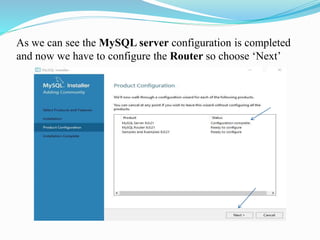
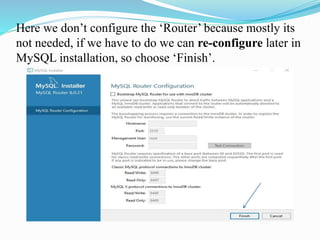
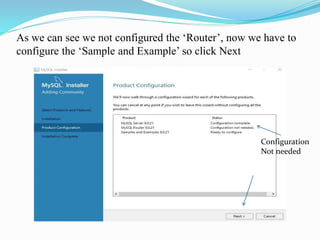
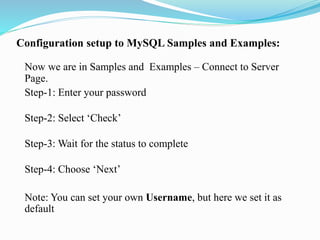
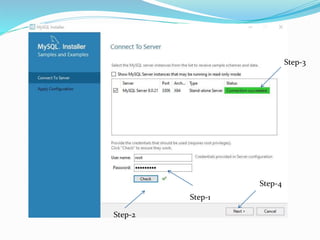
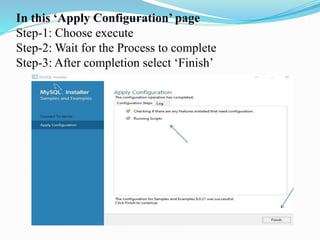
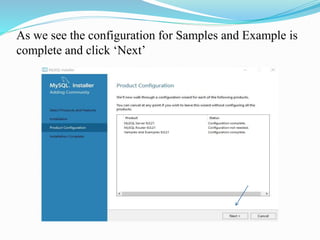
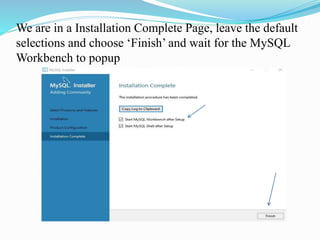
2) The steps include running the installer, selecting options to install all requirements, setting the root password, and configuring the standard MySQL server. Additional optional configurations like the router are described.
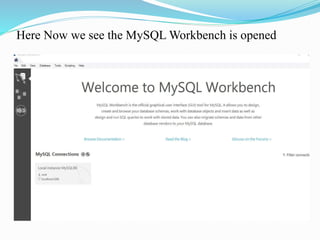
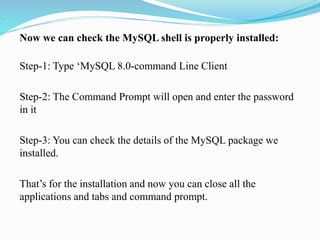
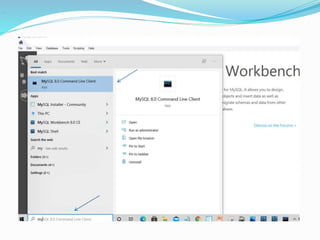
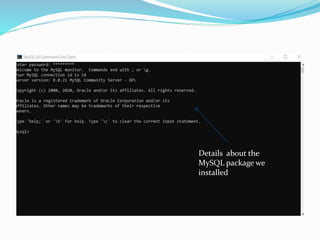
3) Finally, it verifies that MySQL has been successfully installed by opening the MySQL shell and checking the details of the installed package.


![20260201 [FOSDEM] gomodjail - library sandboxing for Go modules.pdf](https://cdn.slidesharecdn.com/ss_thumbnails/20260201fosdemgomodjail-librarysandboxingforgomodules-260201225659-76609ec4-thumbnail.jpg?width=640&height=640&fit=bounds)


