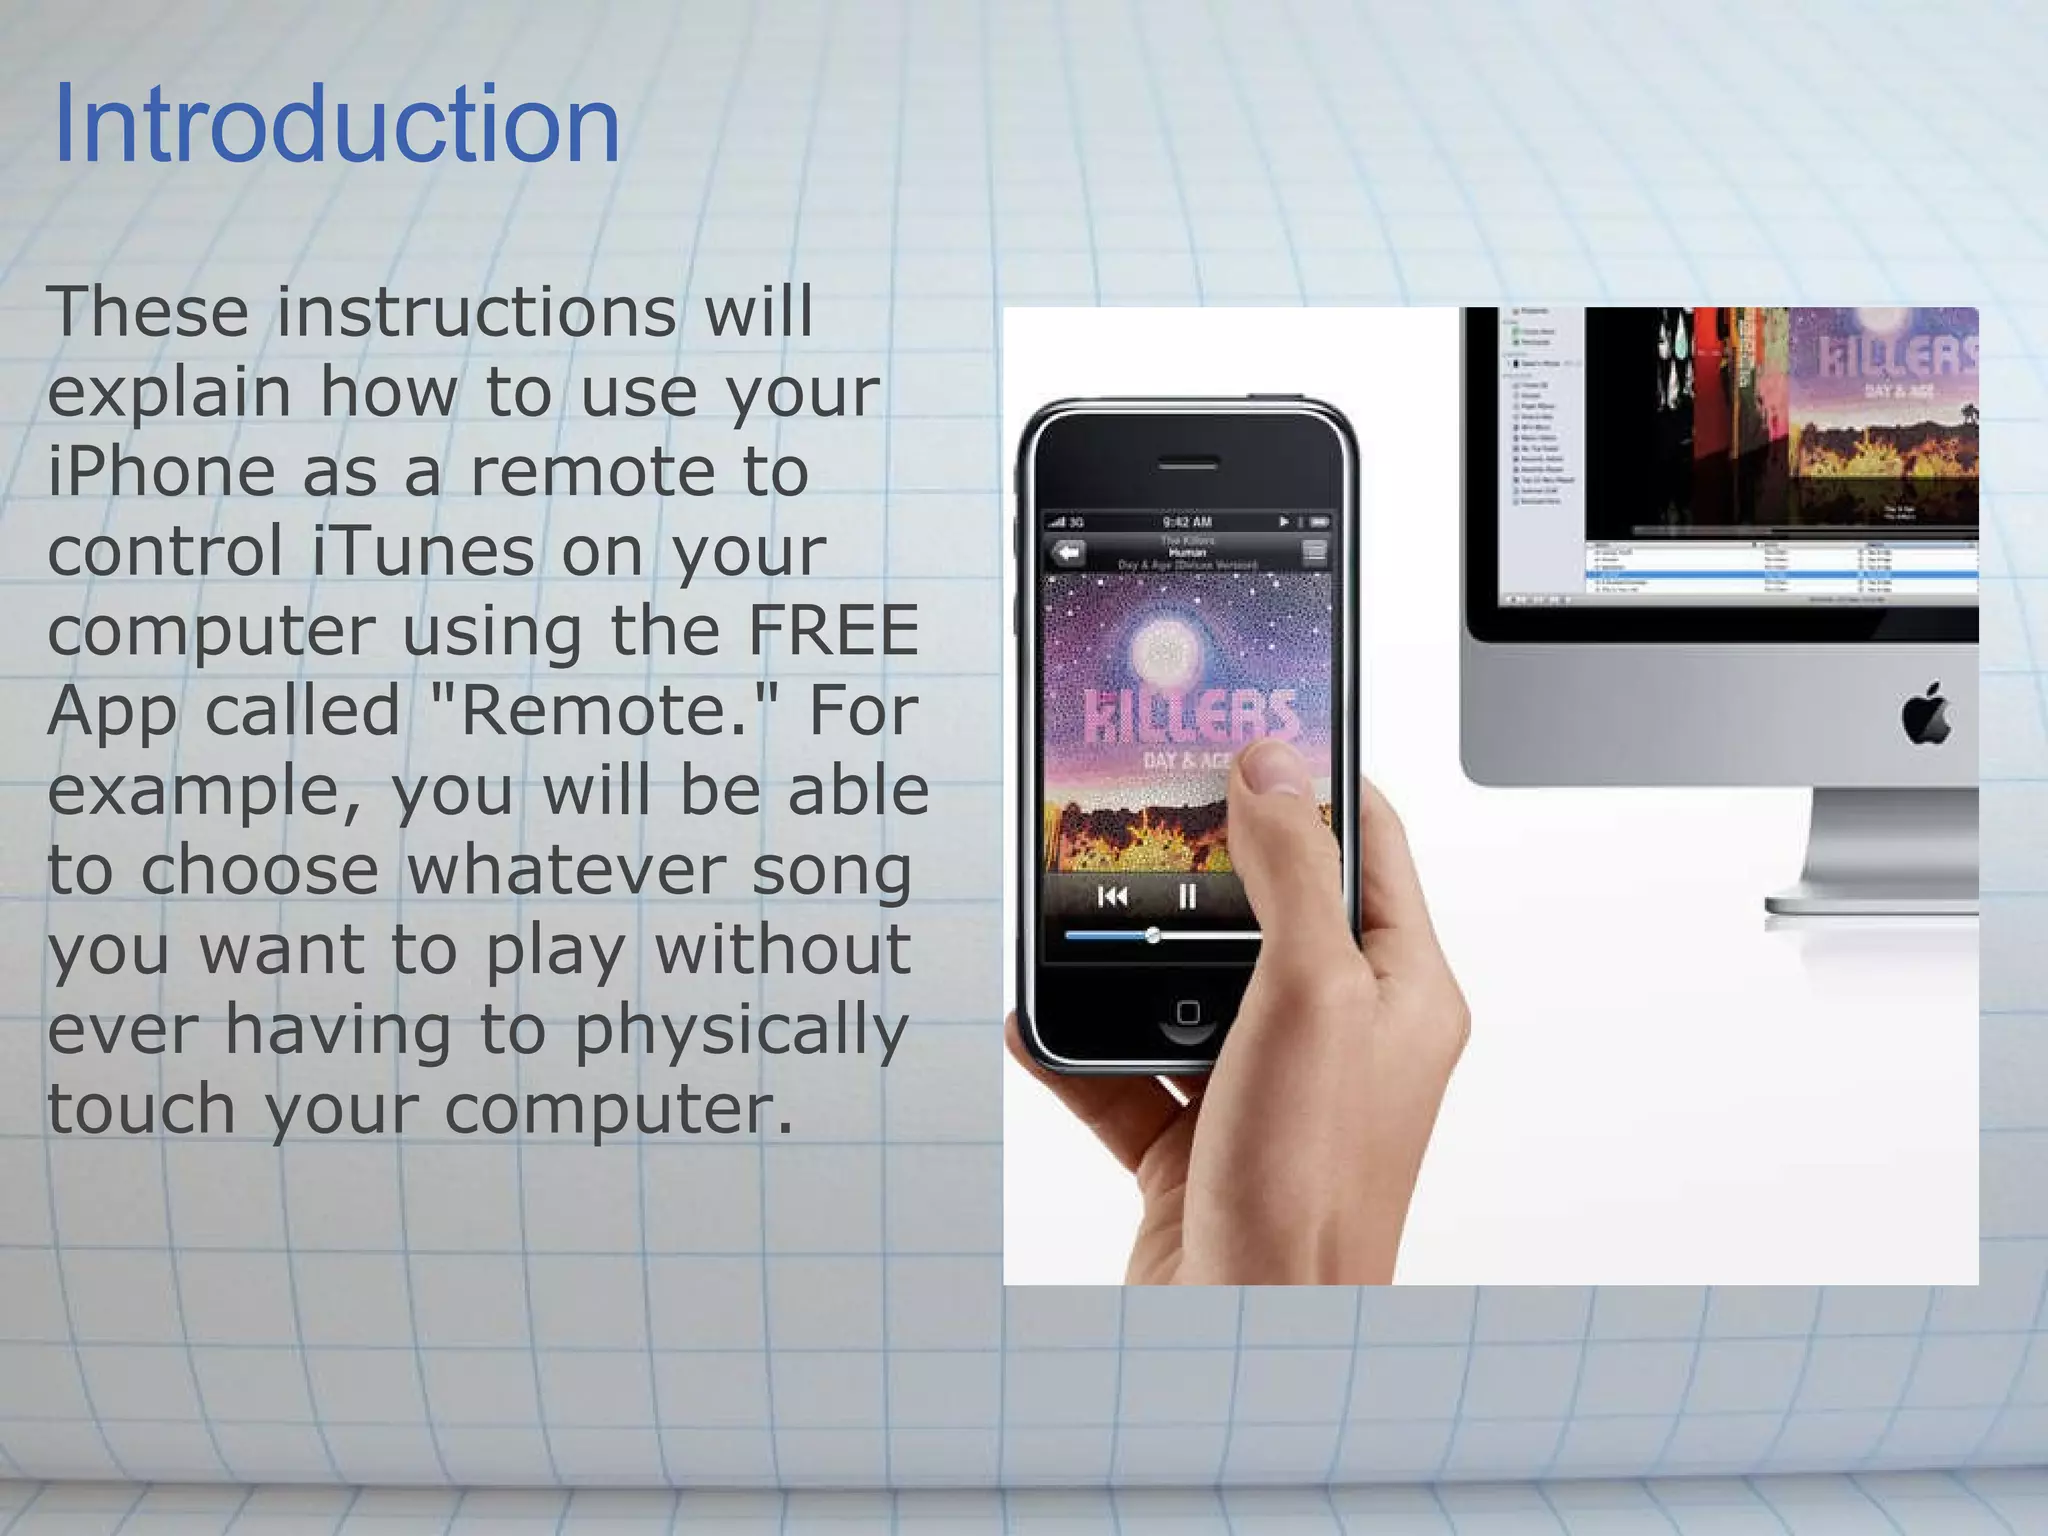
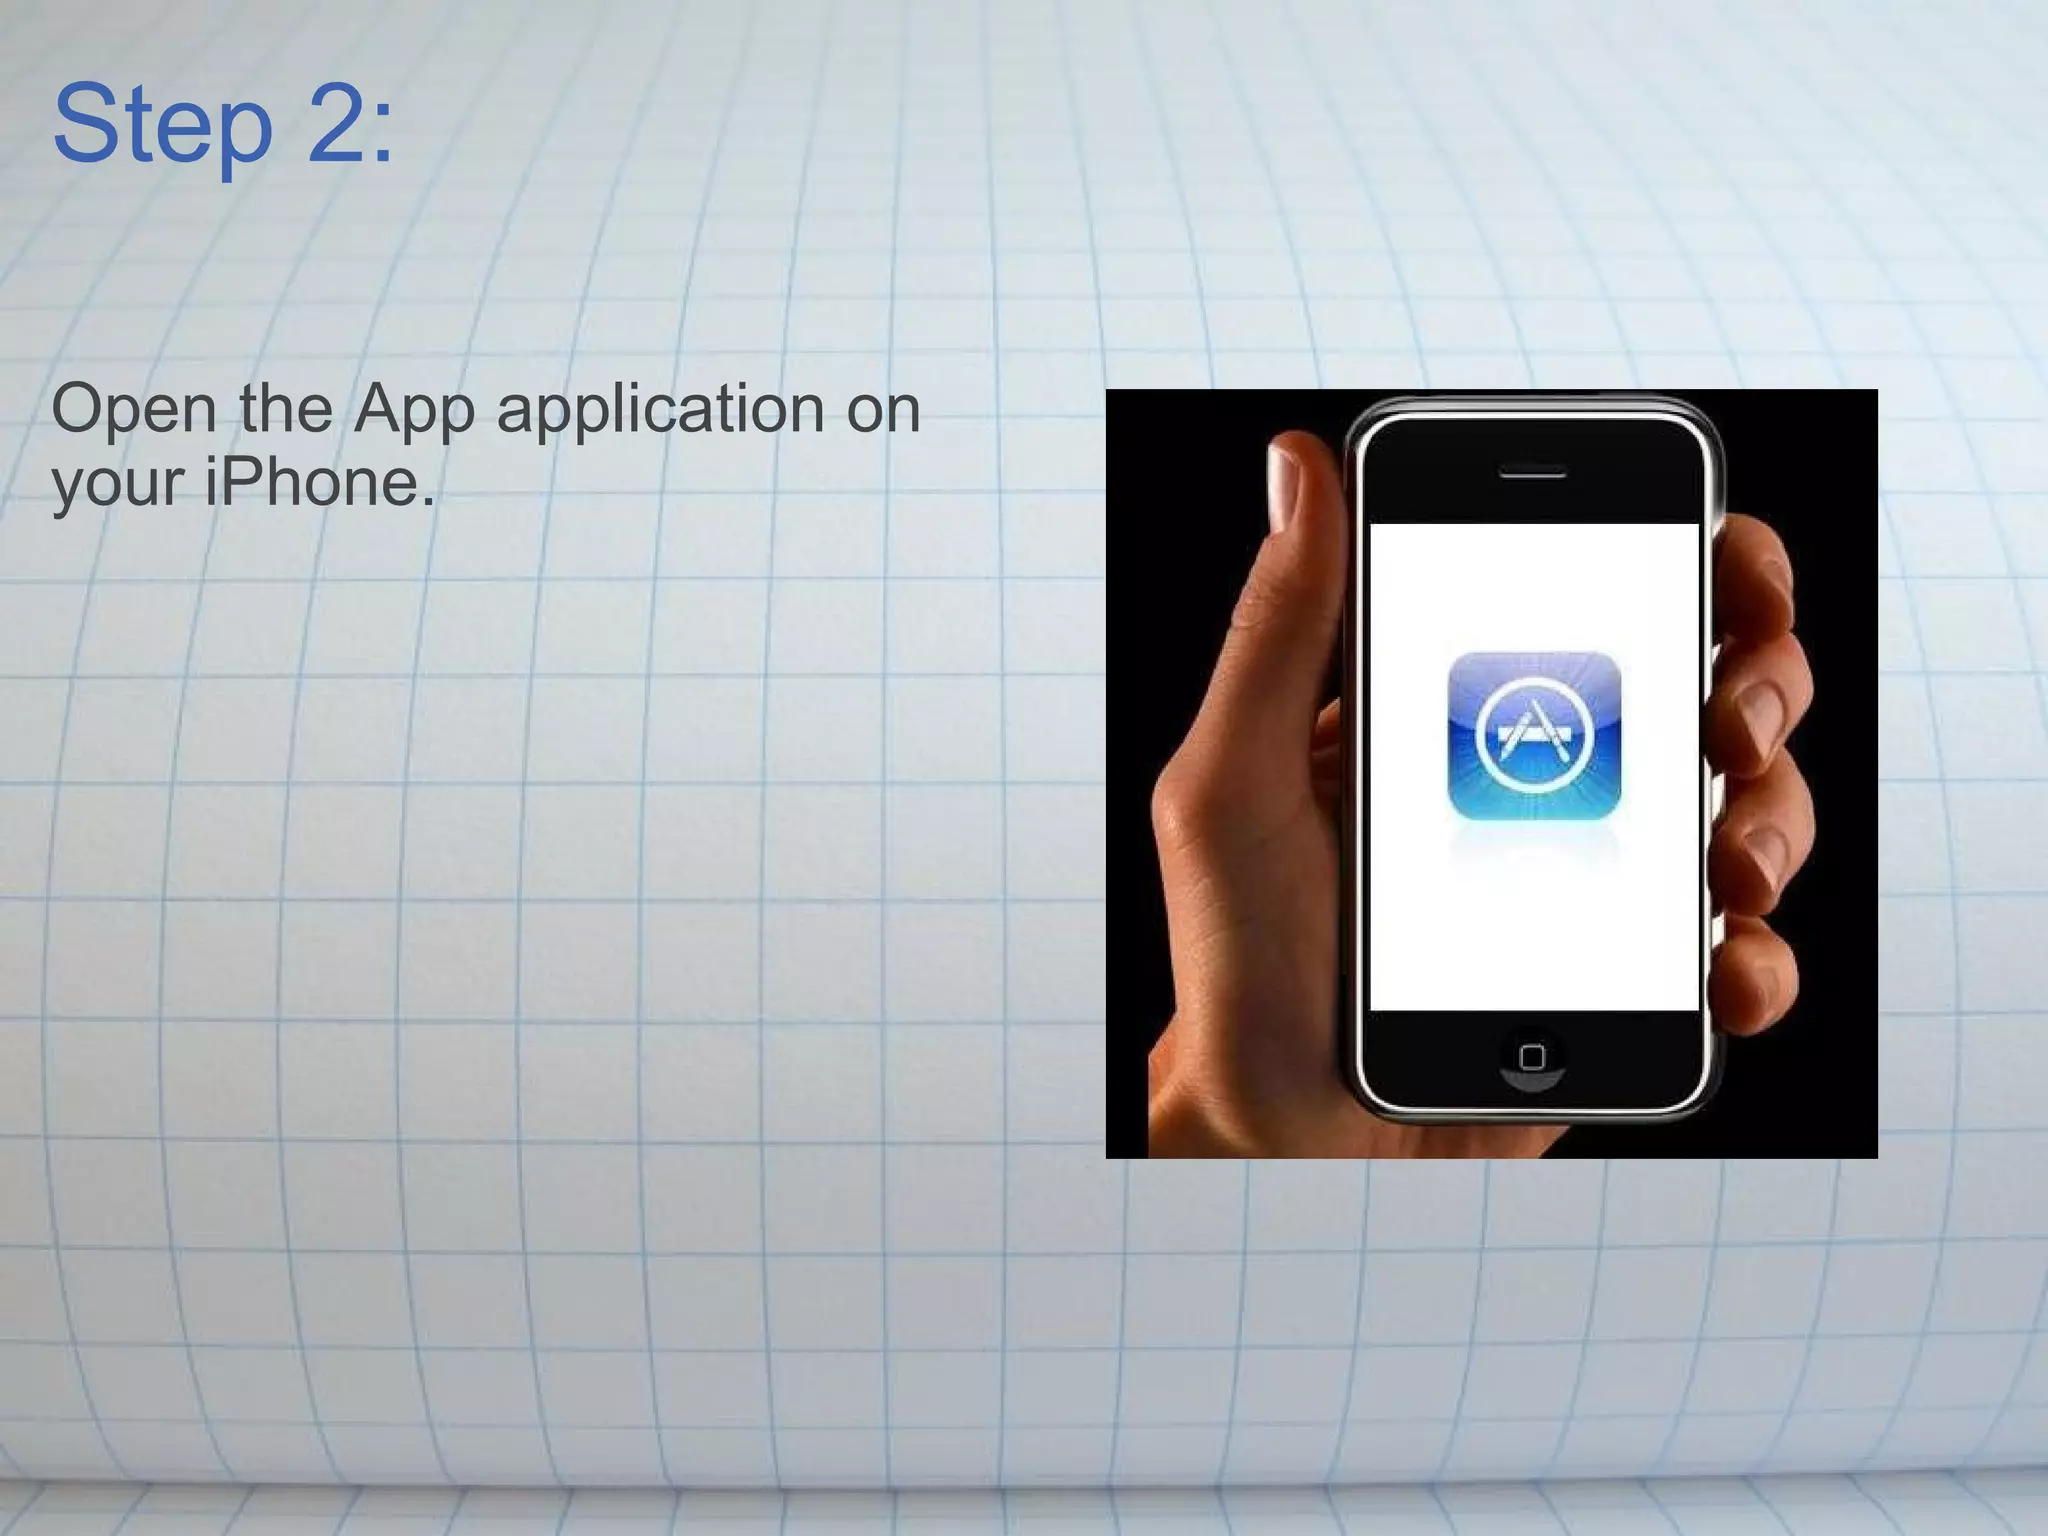
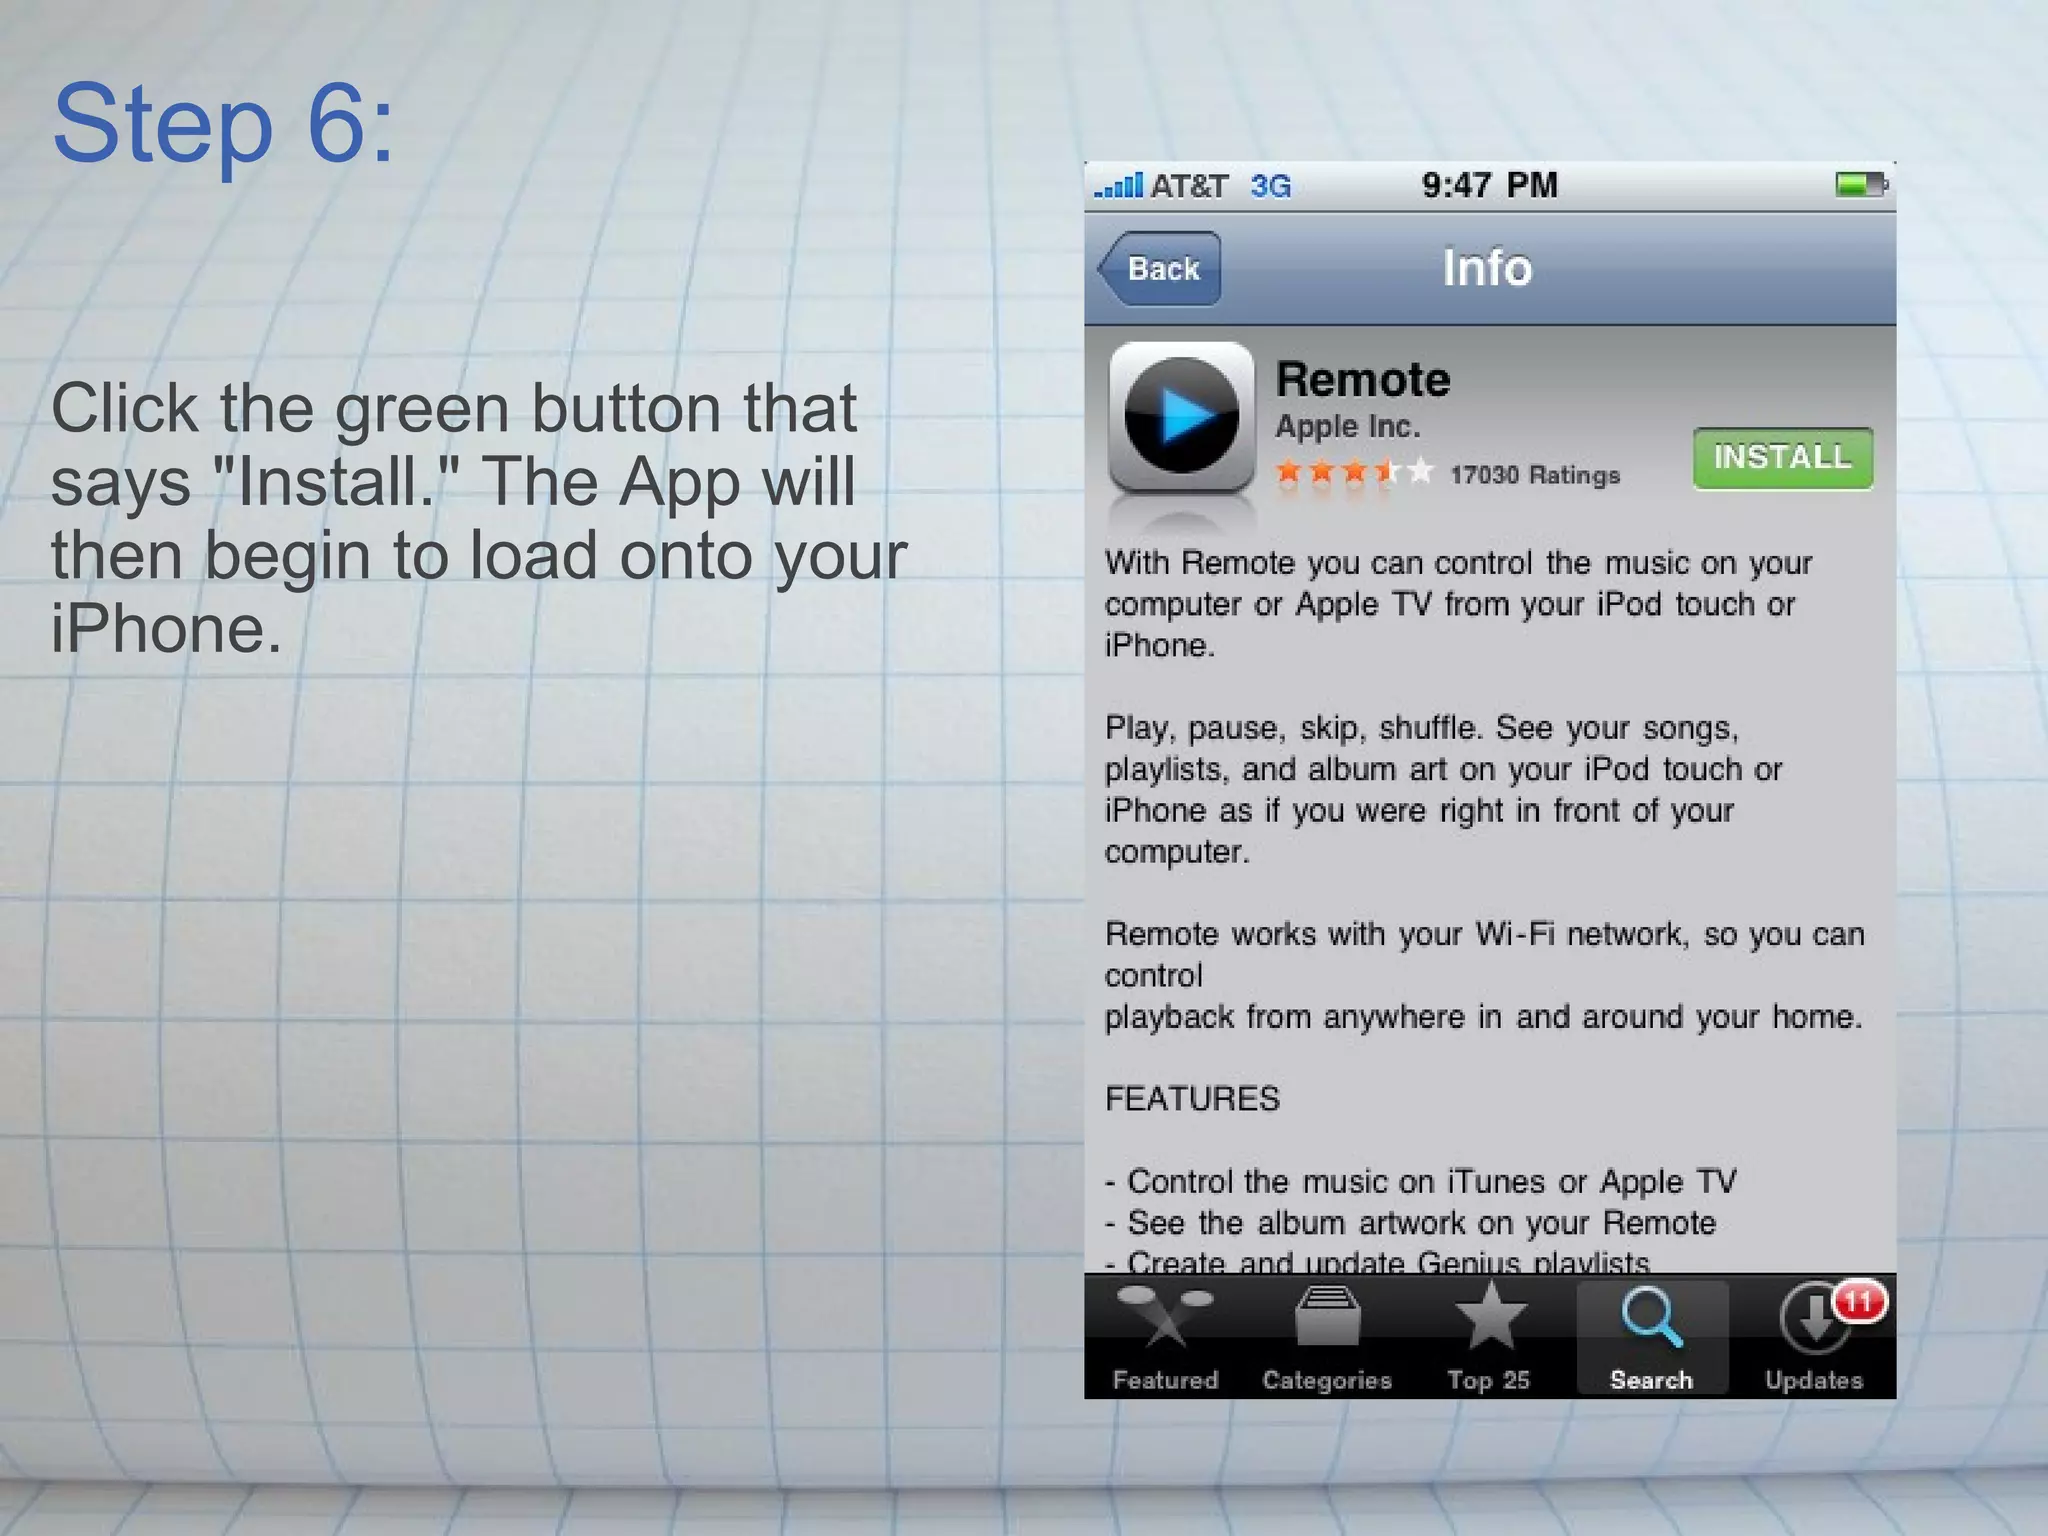
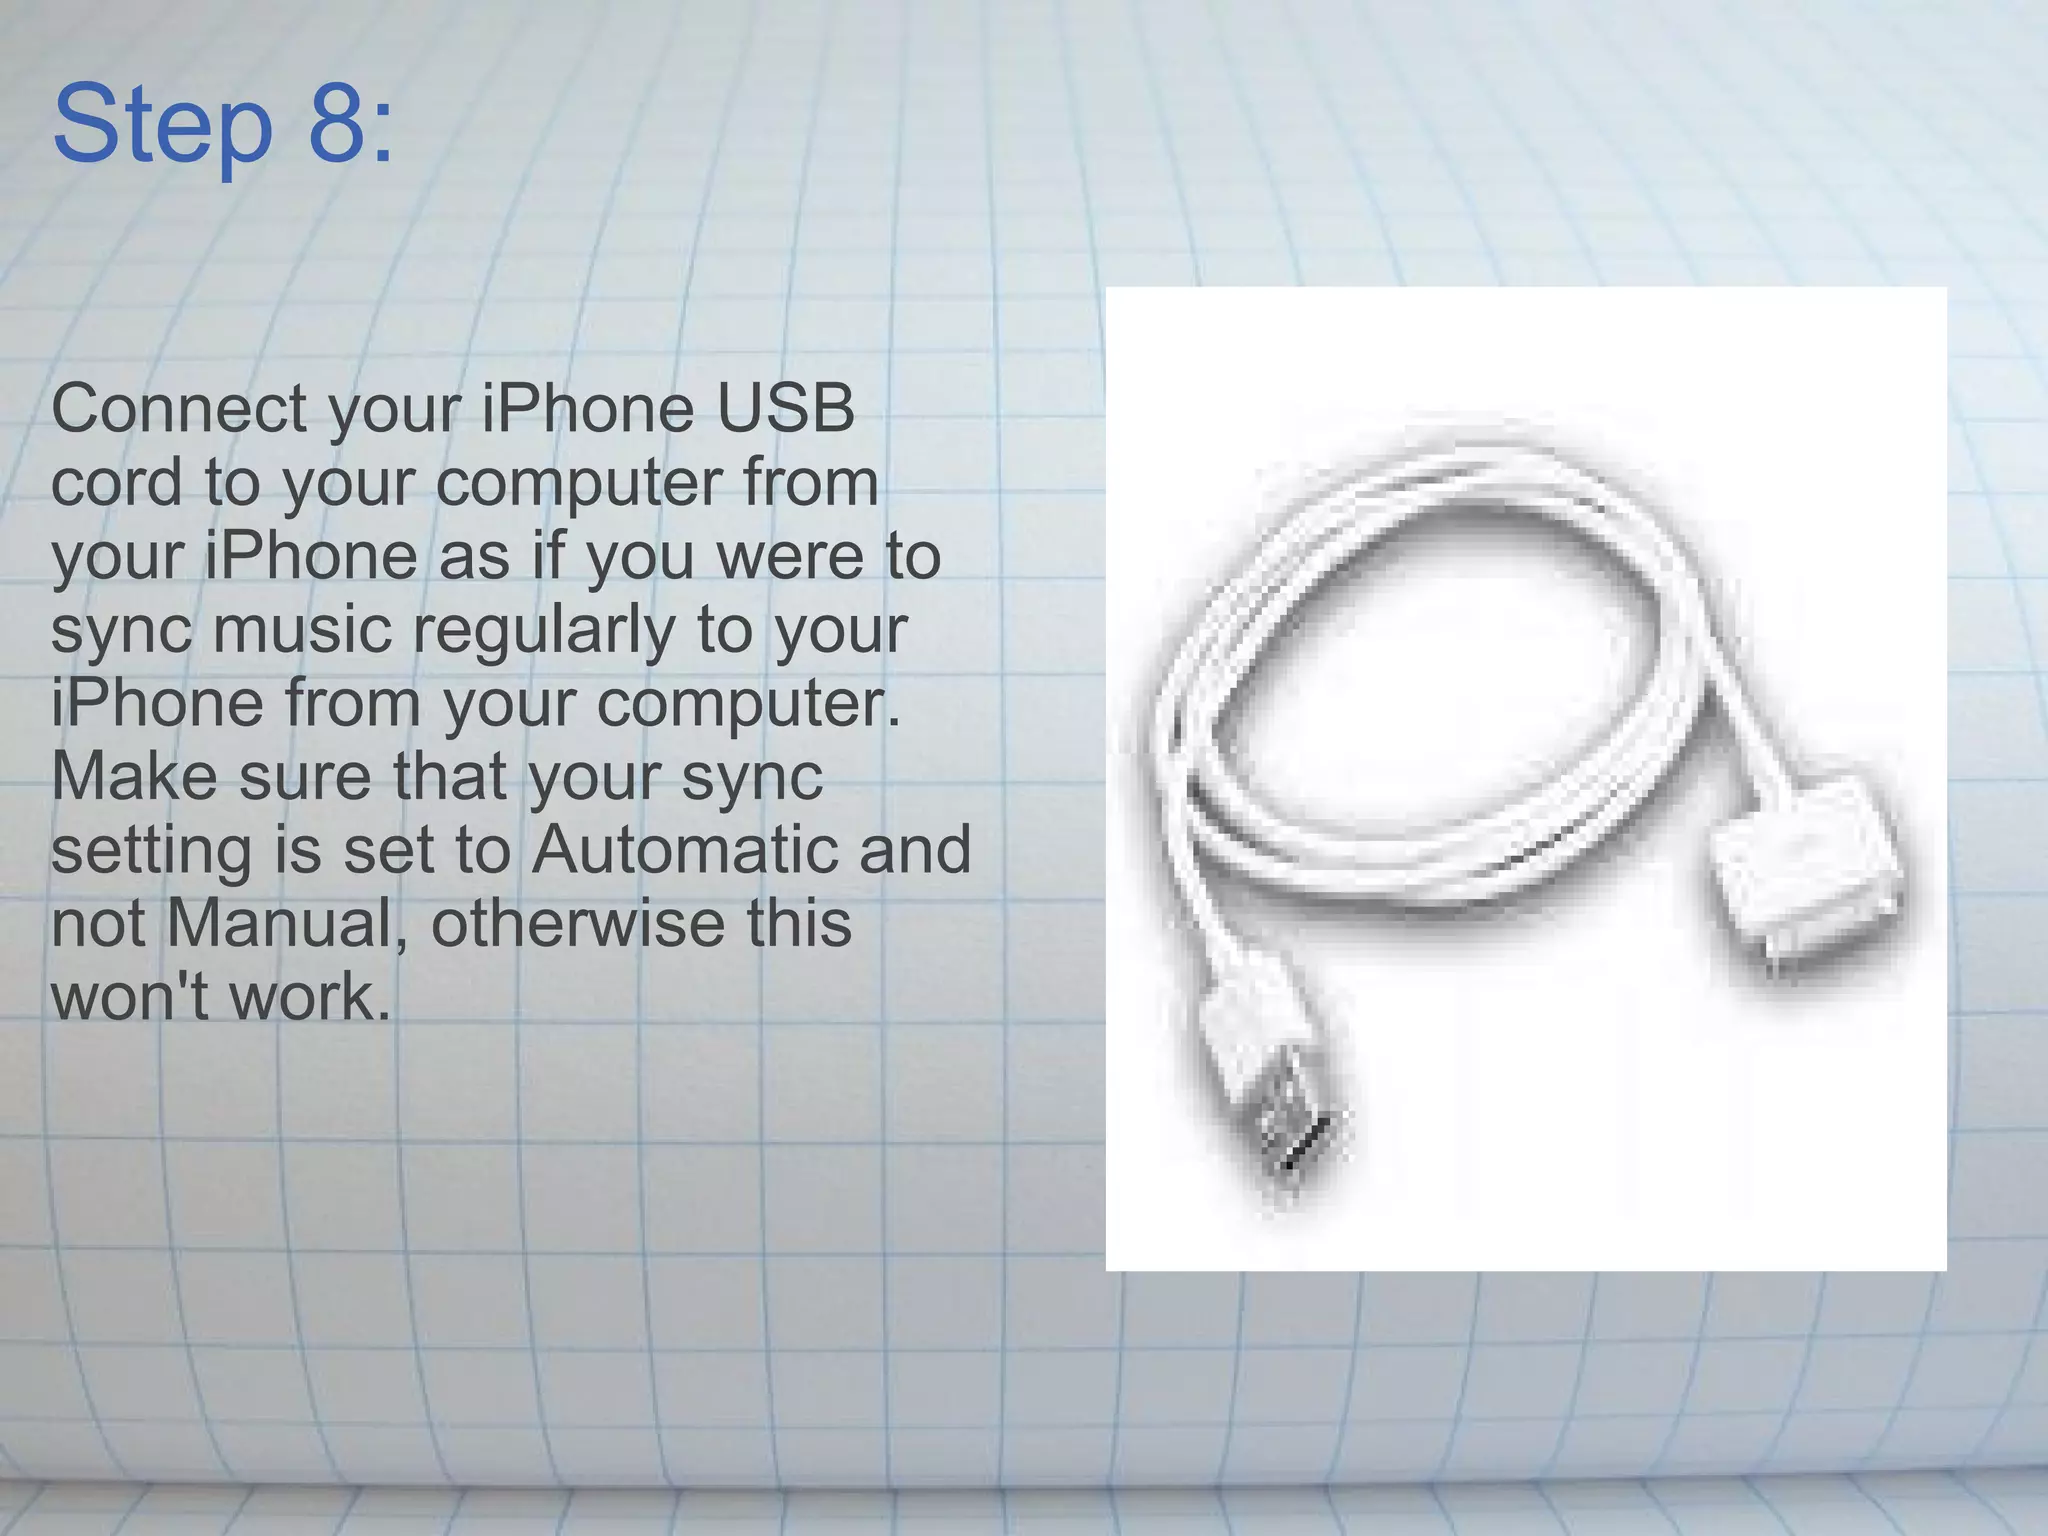
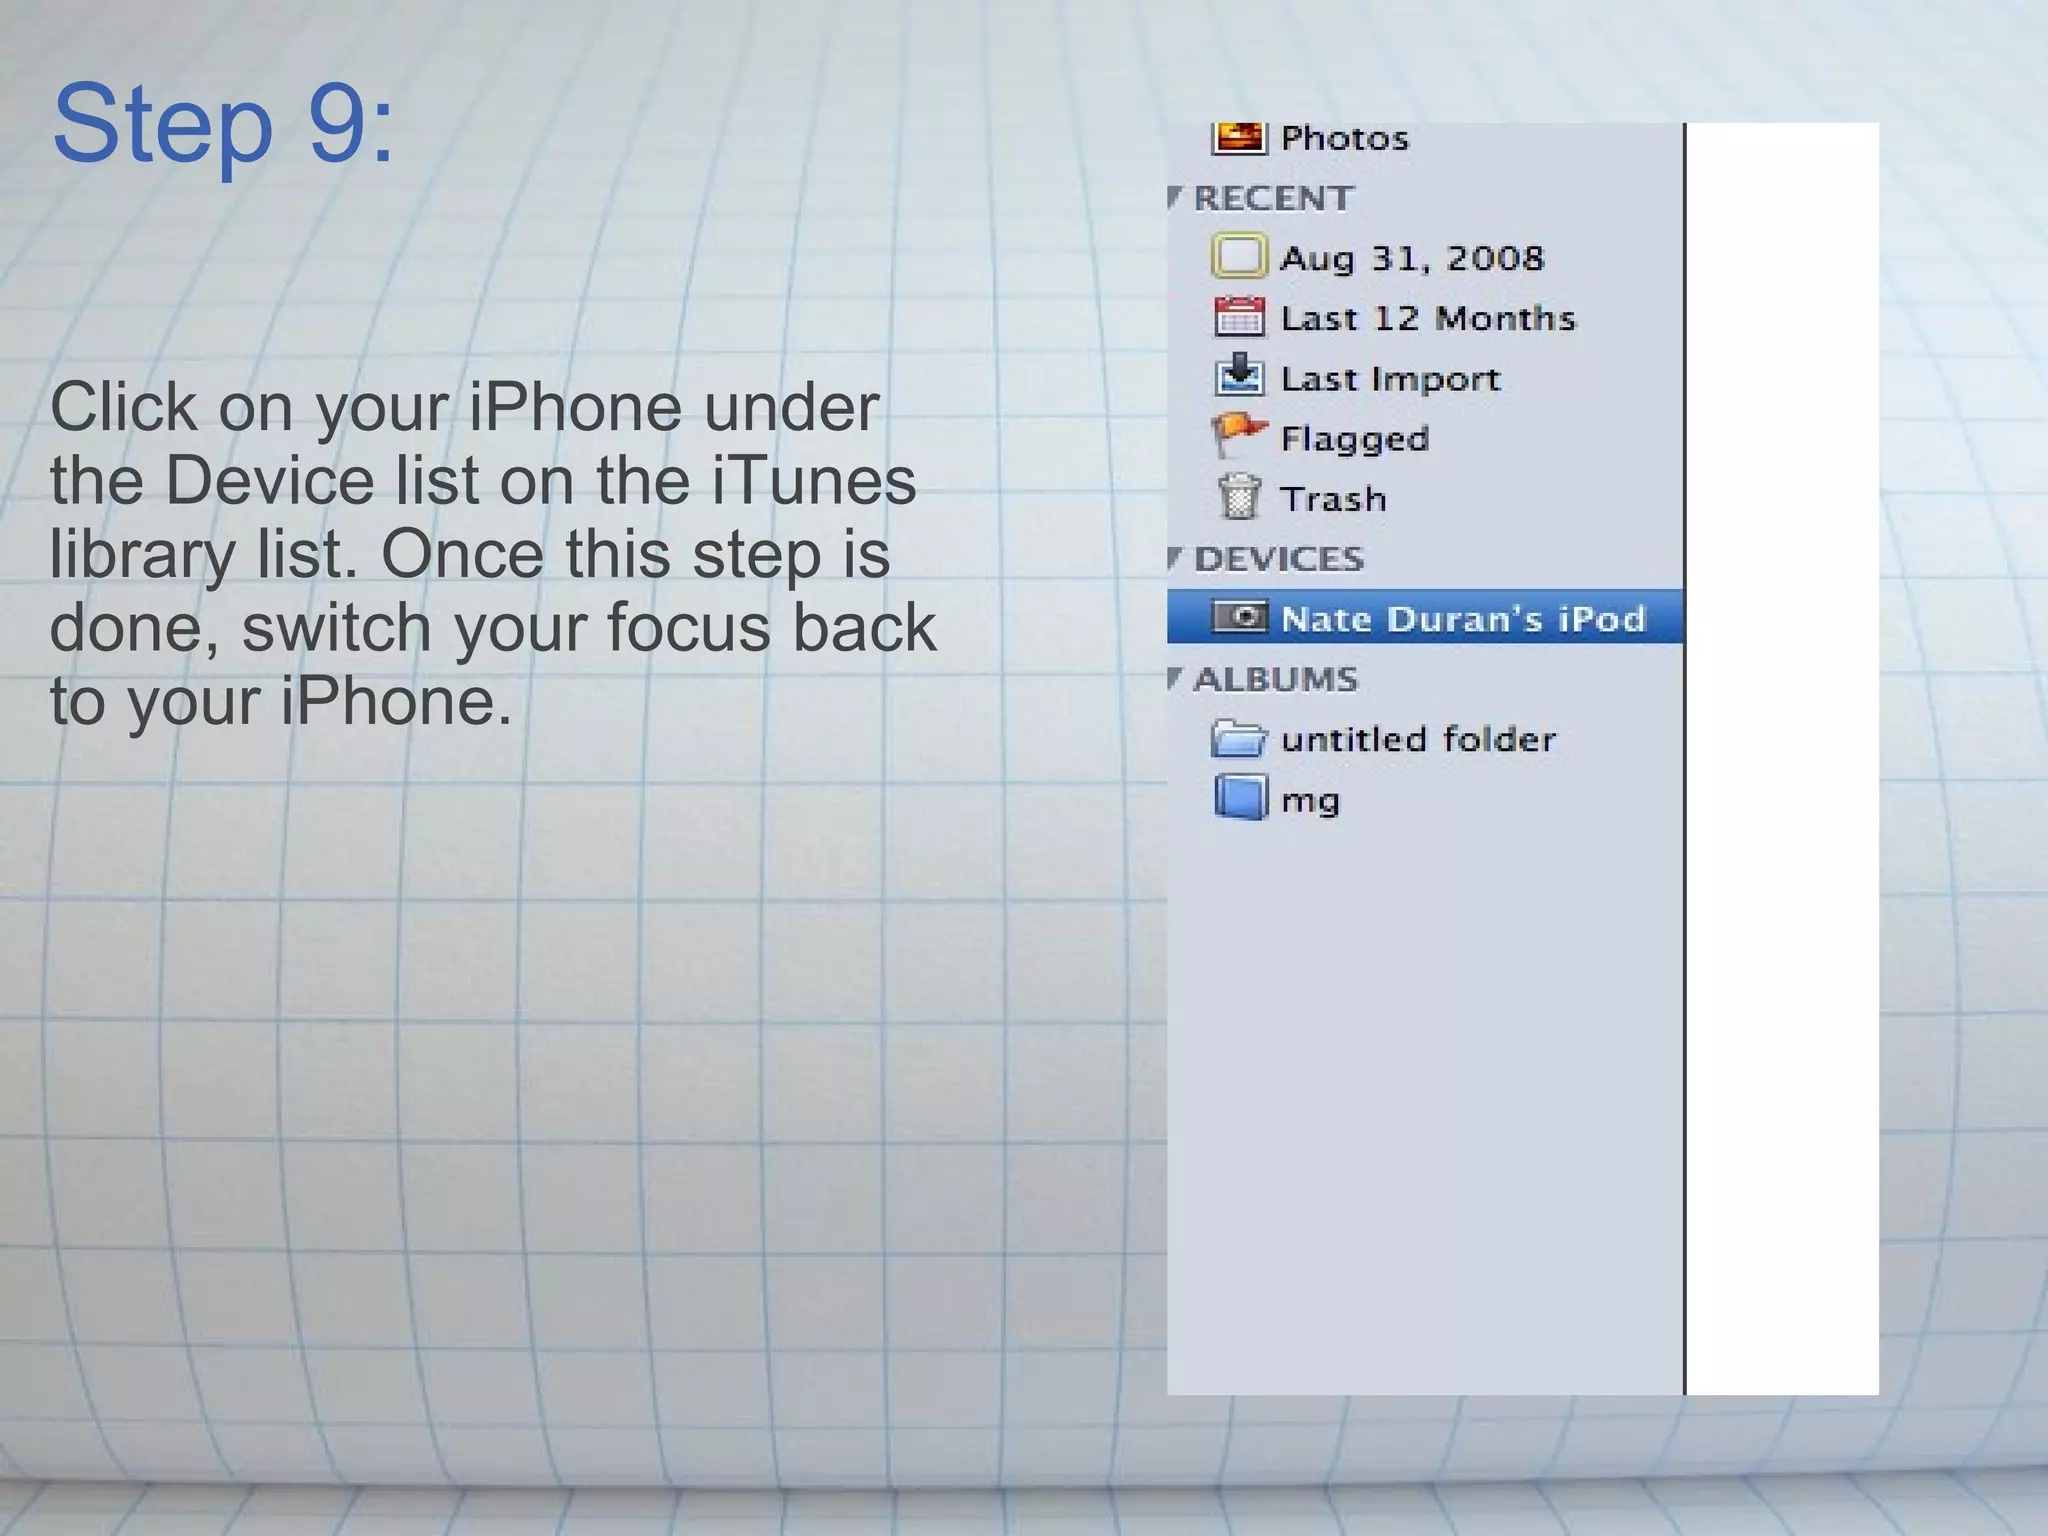
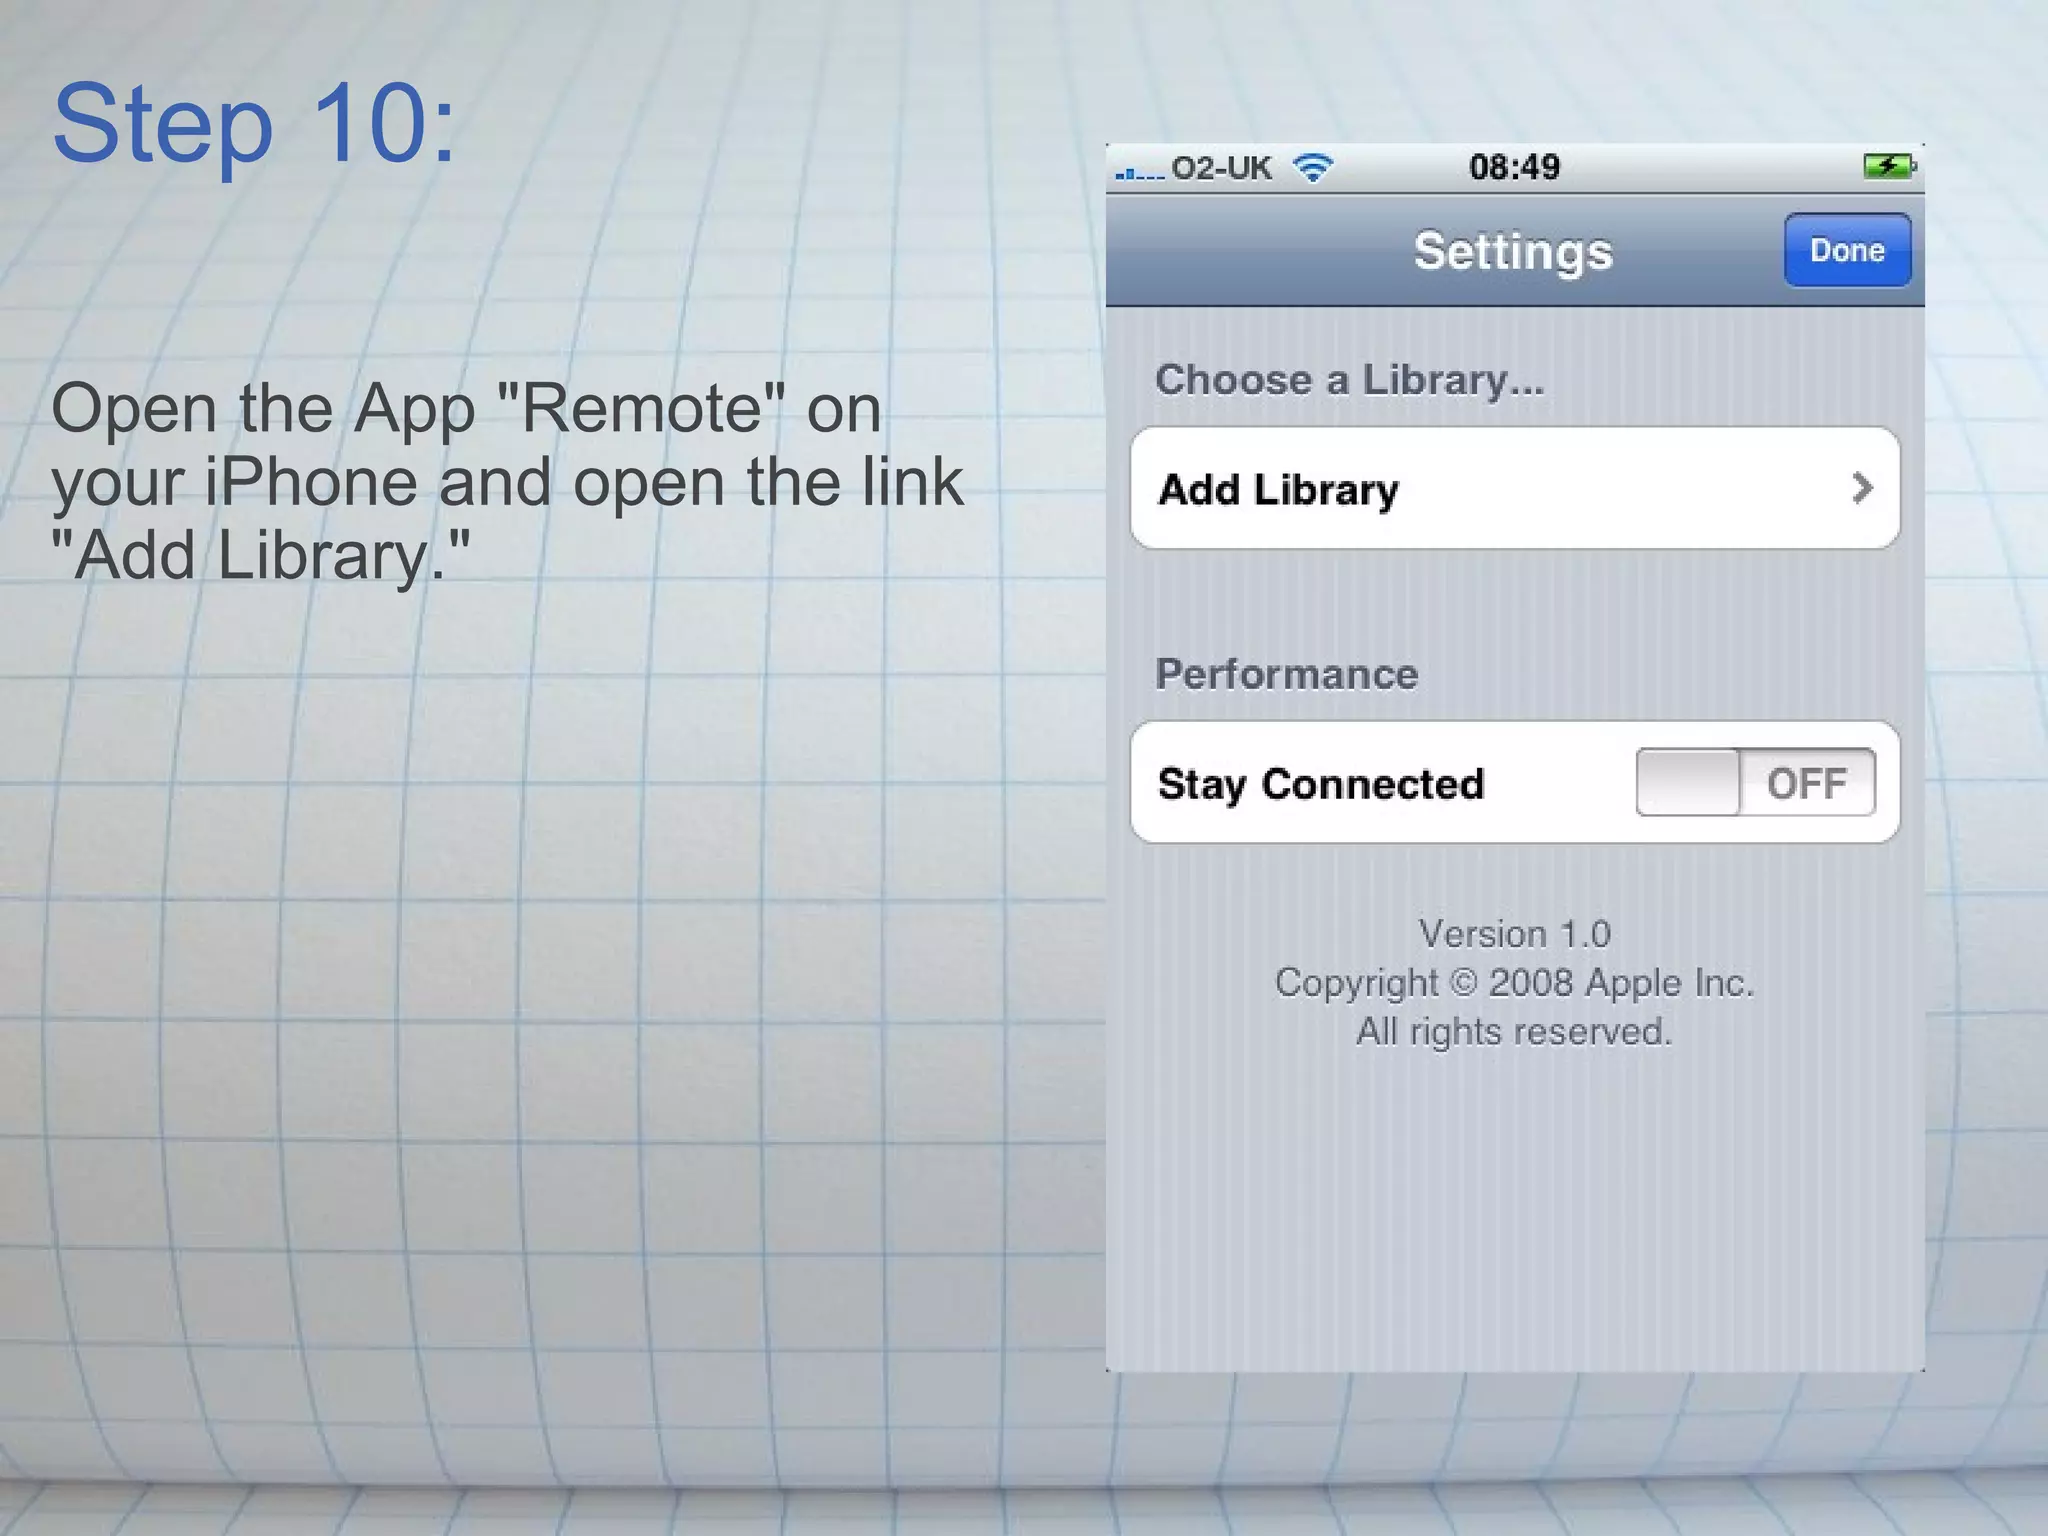
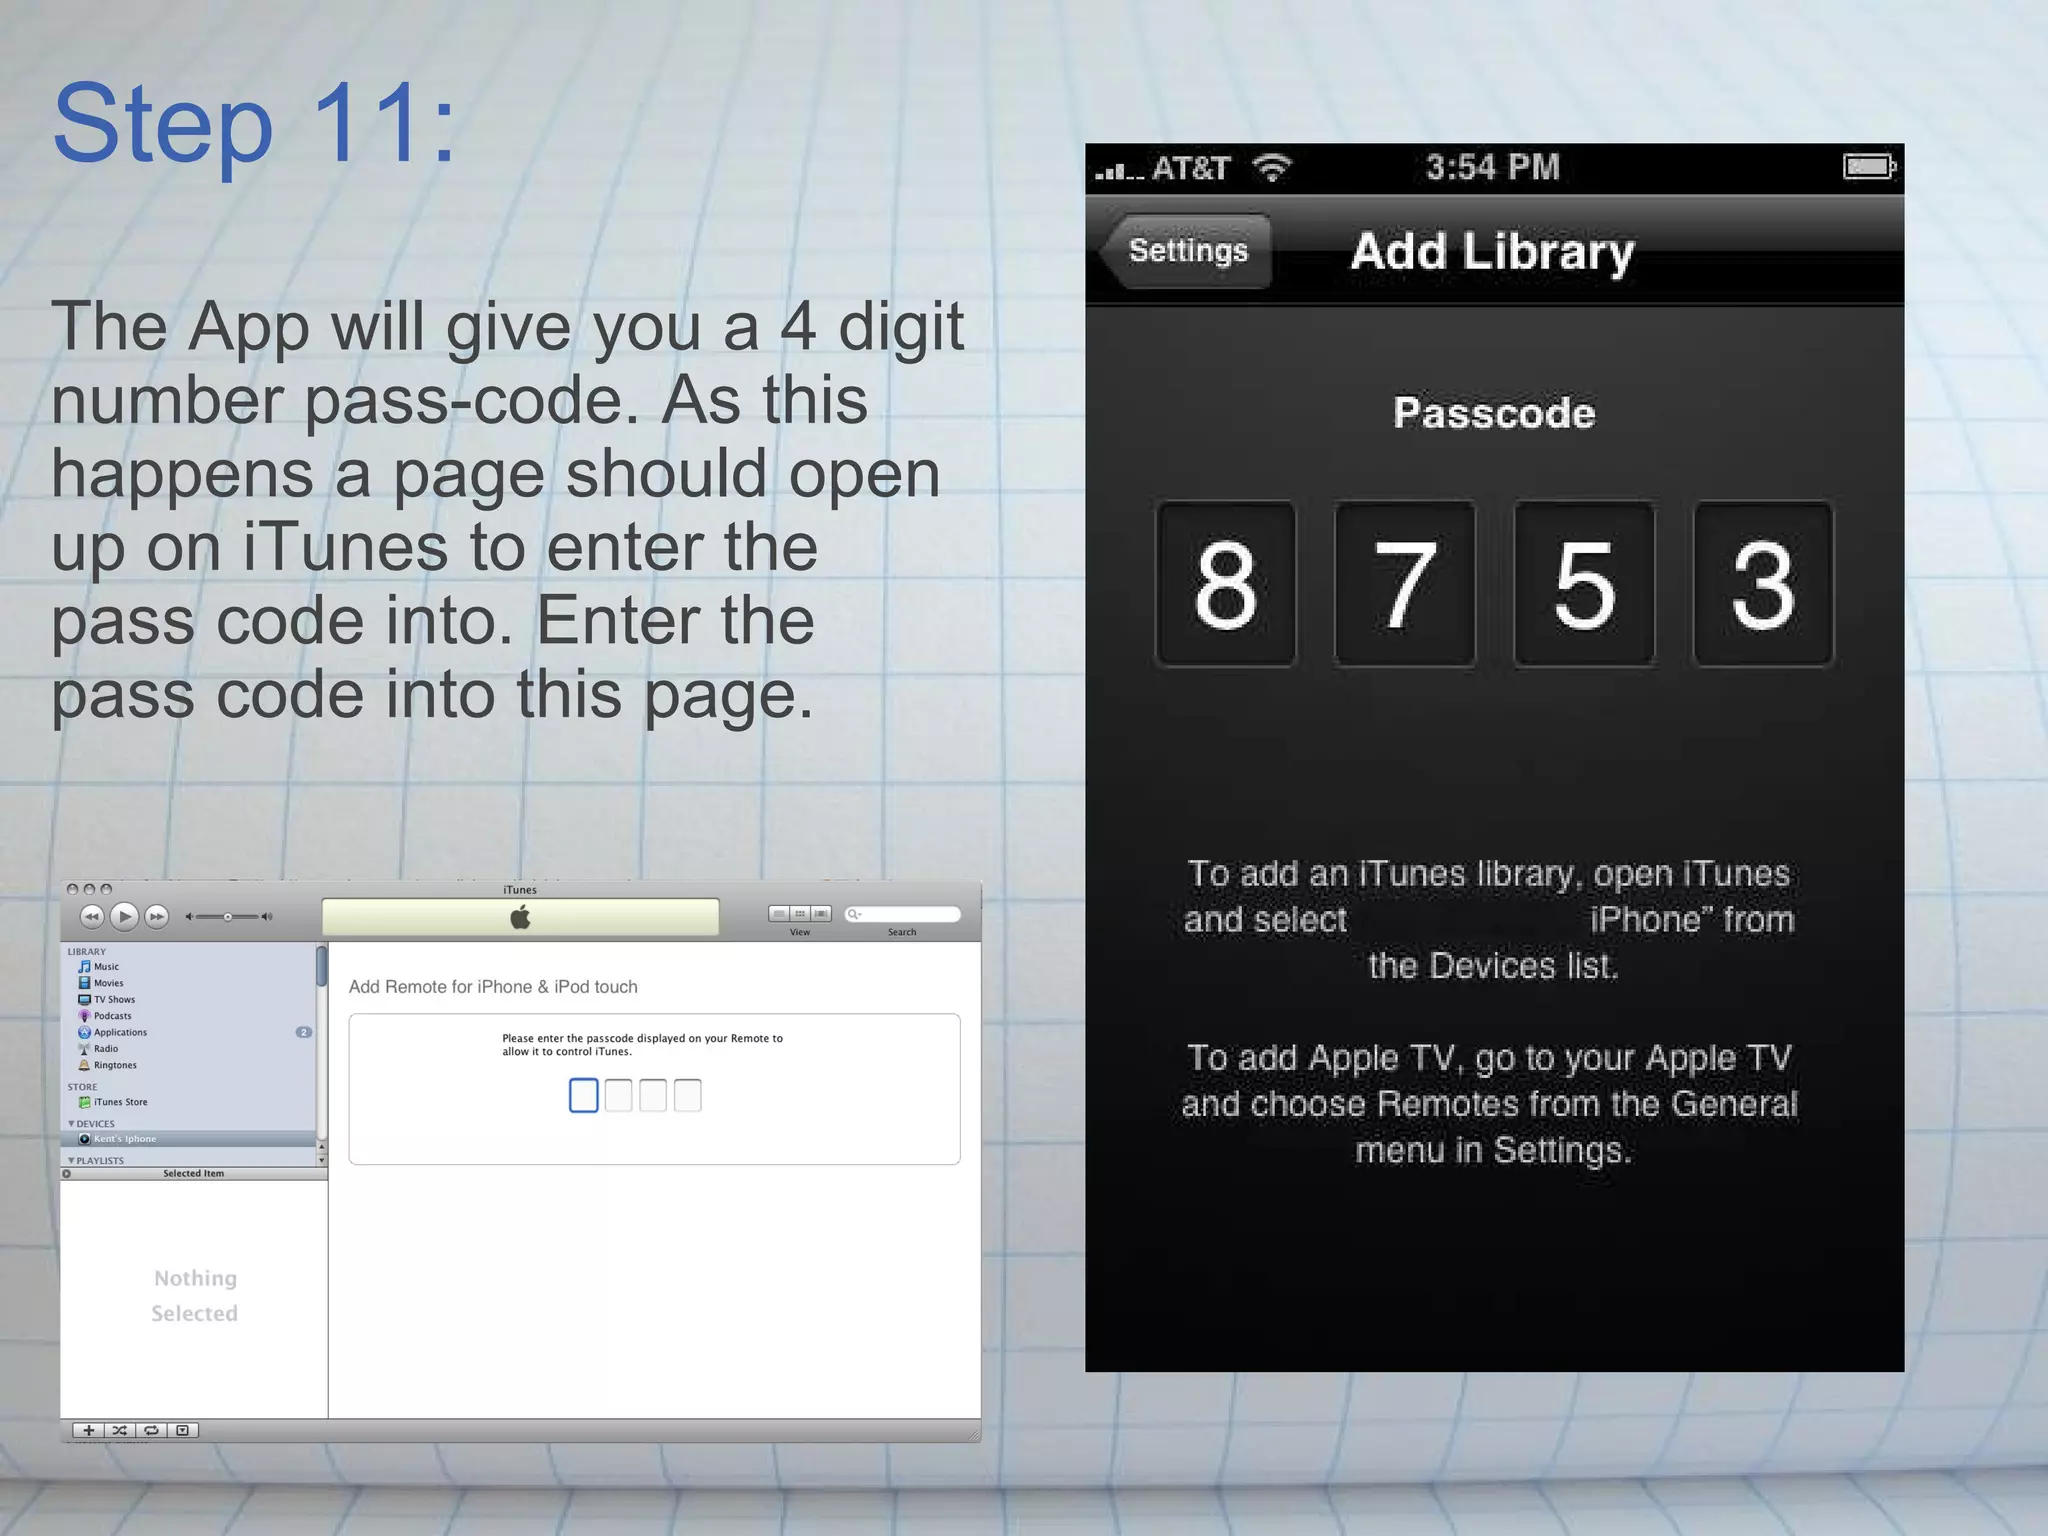
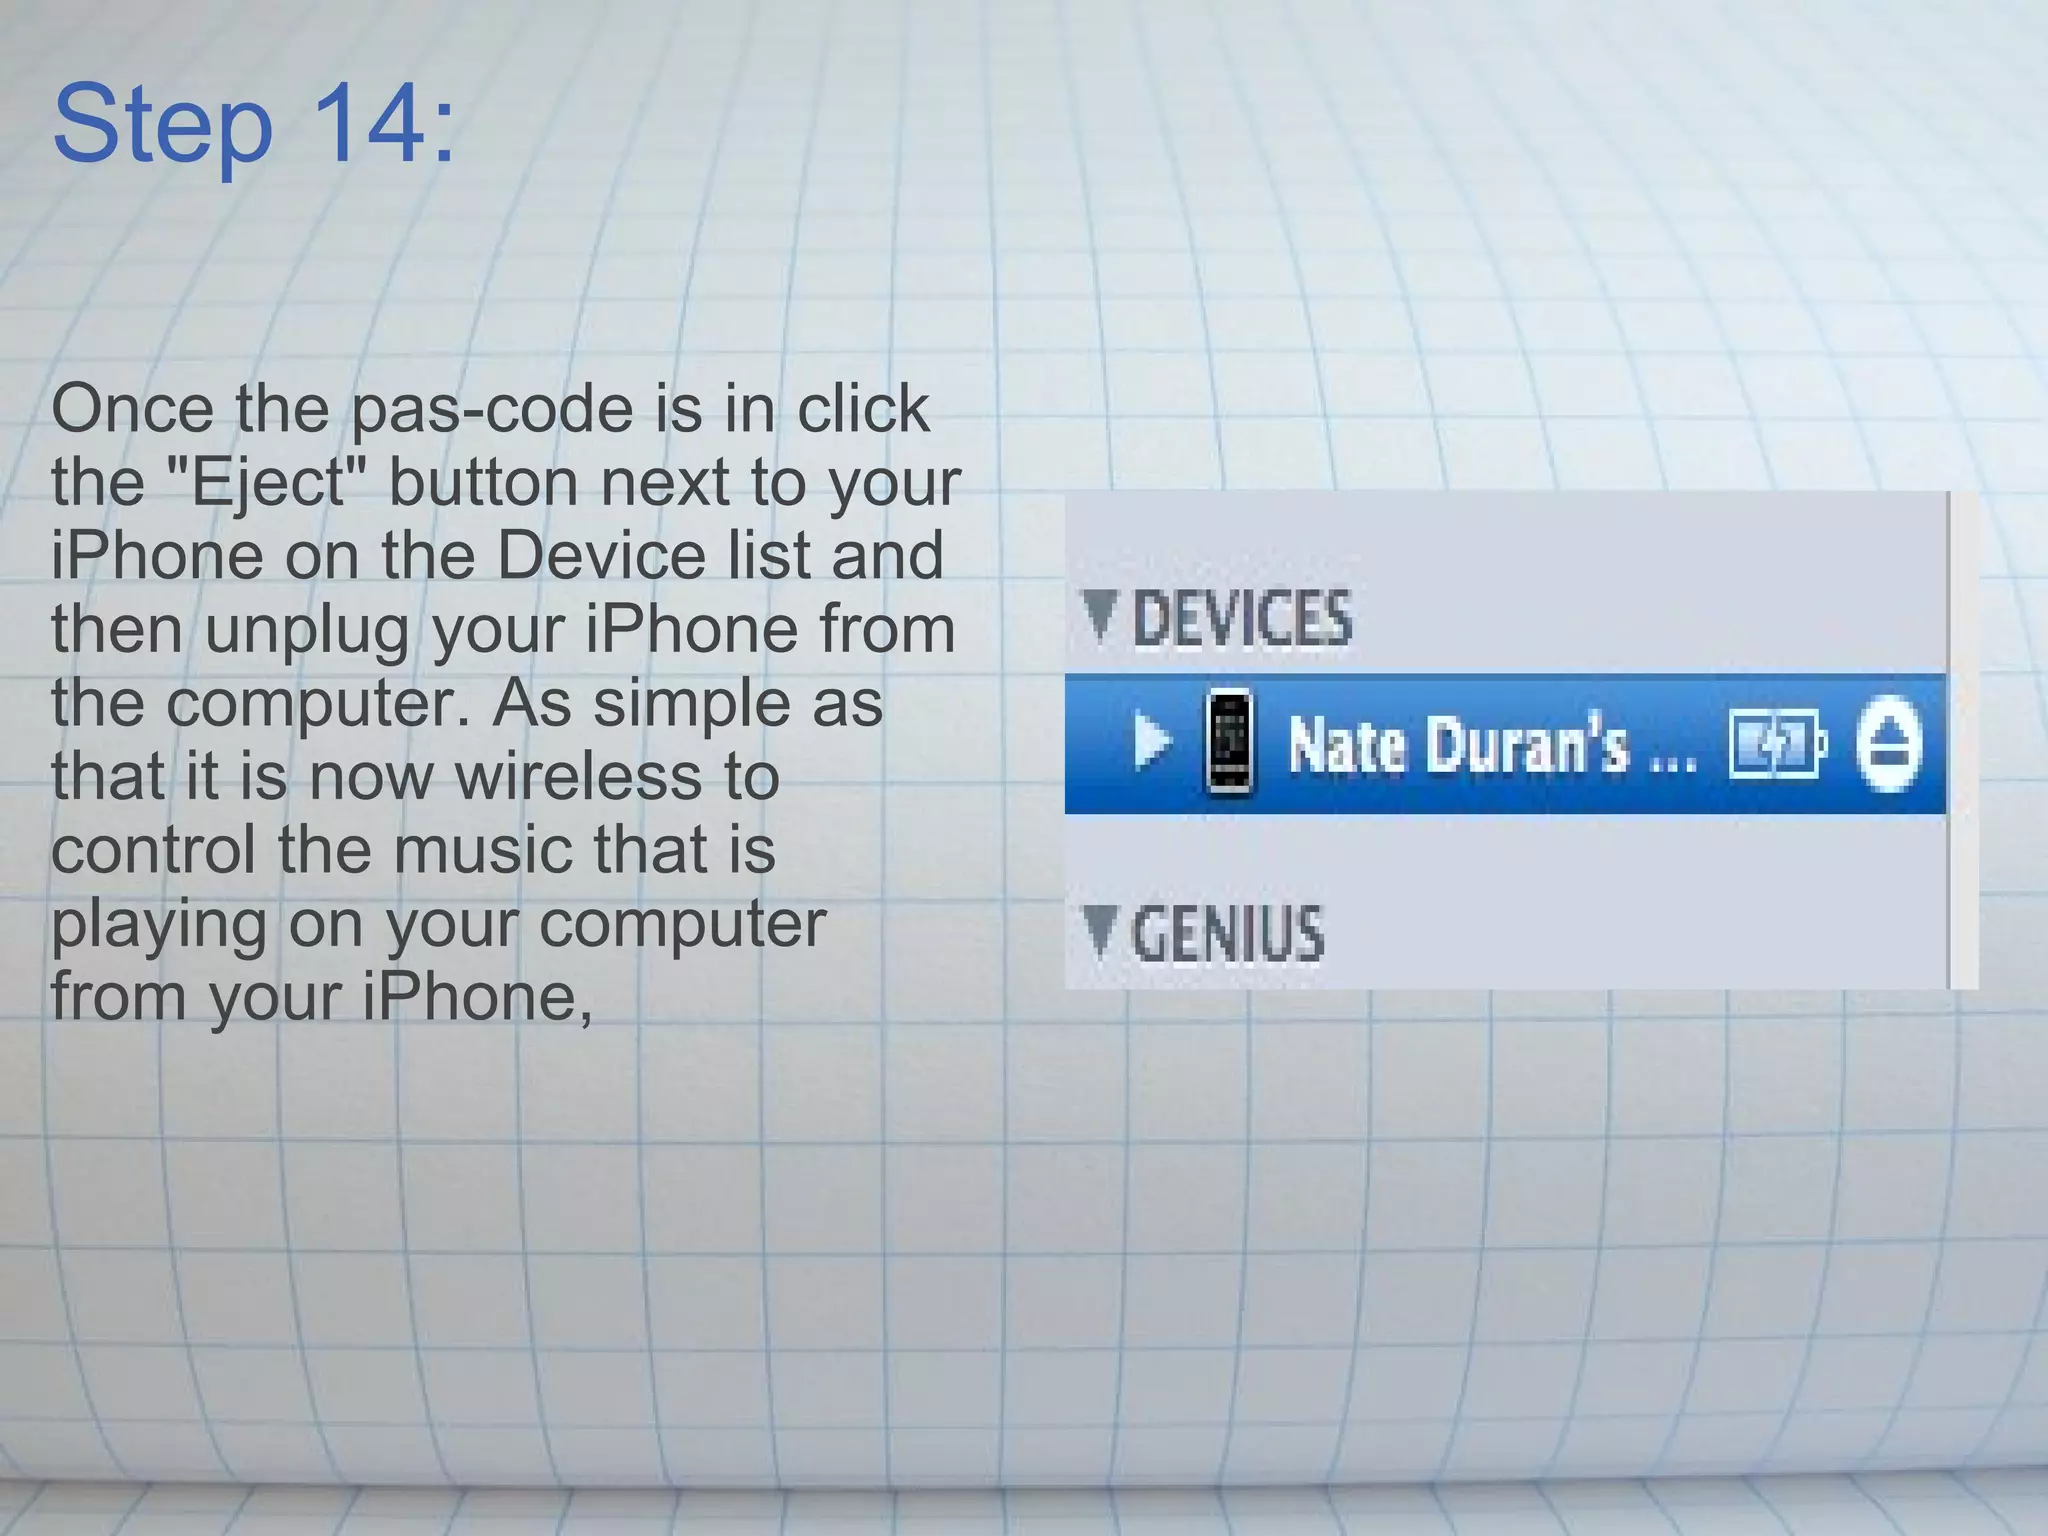
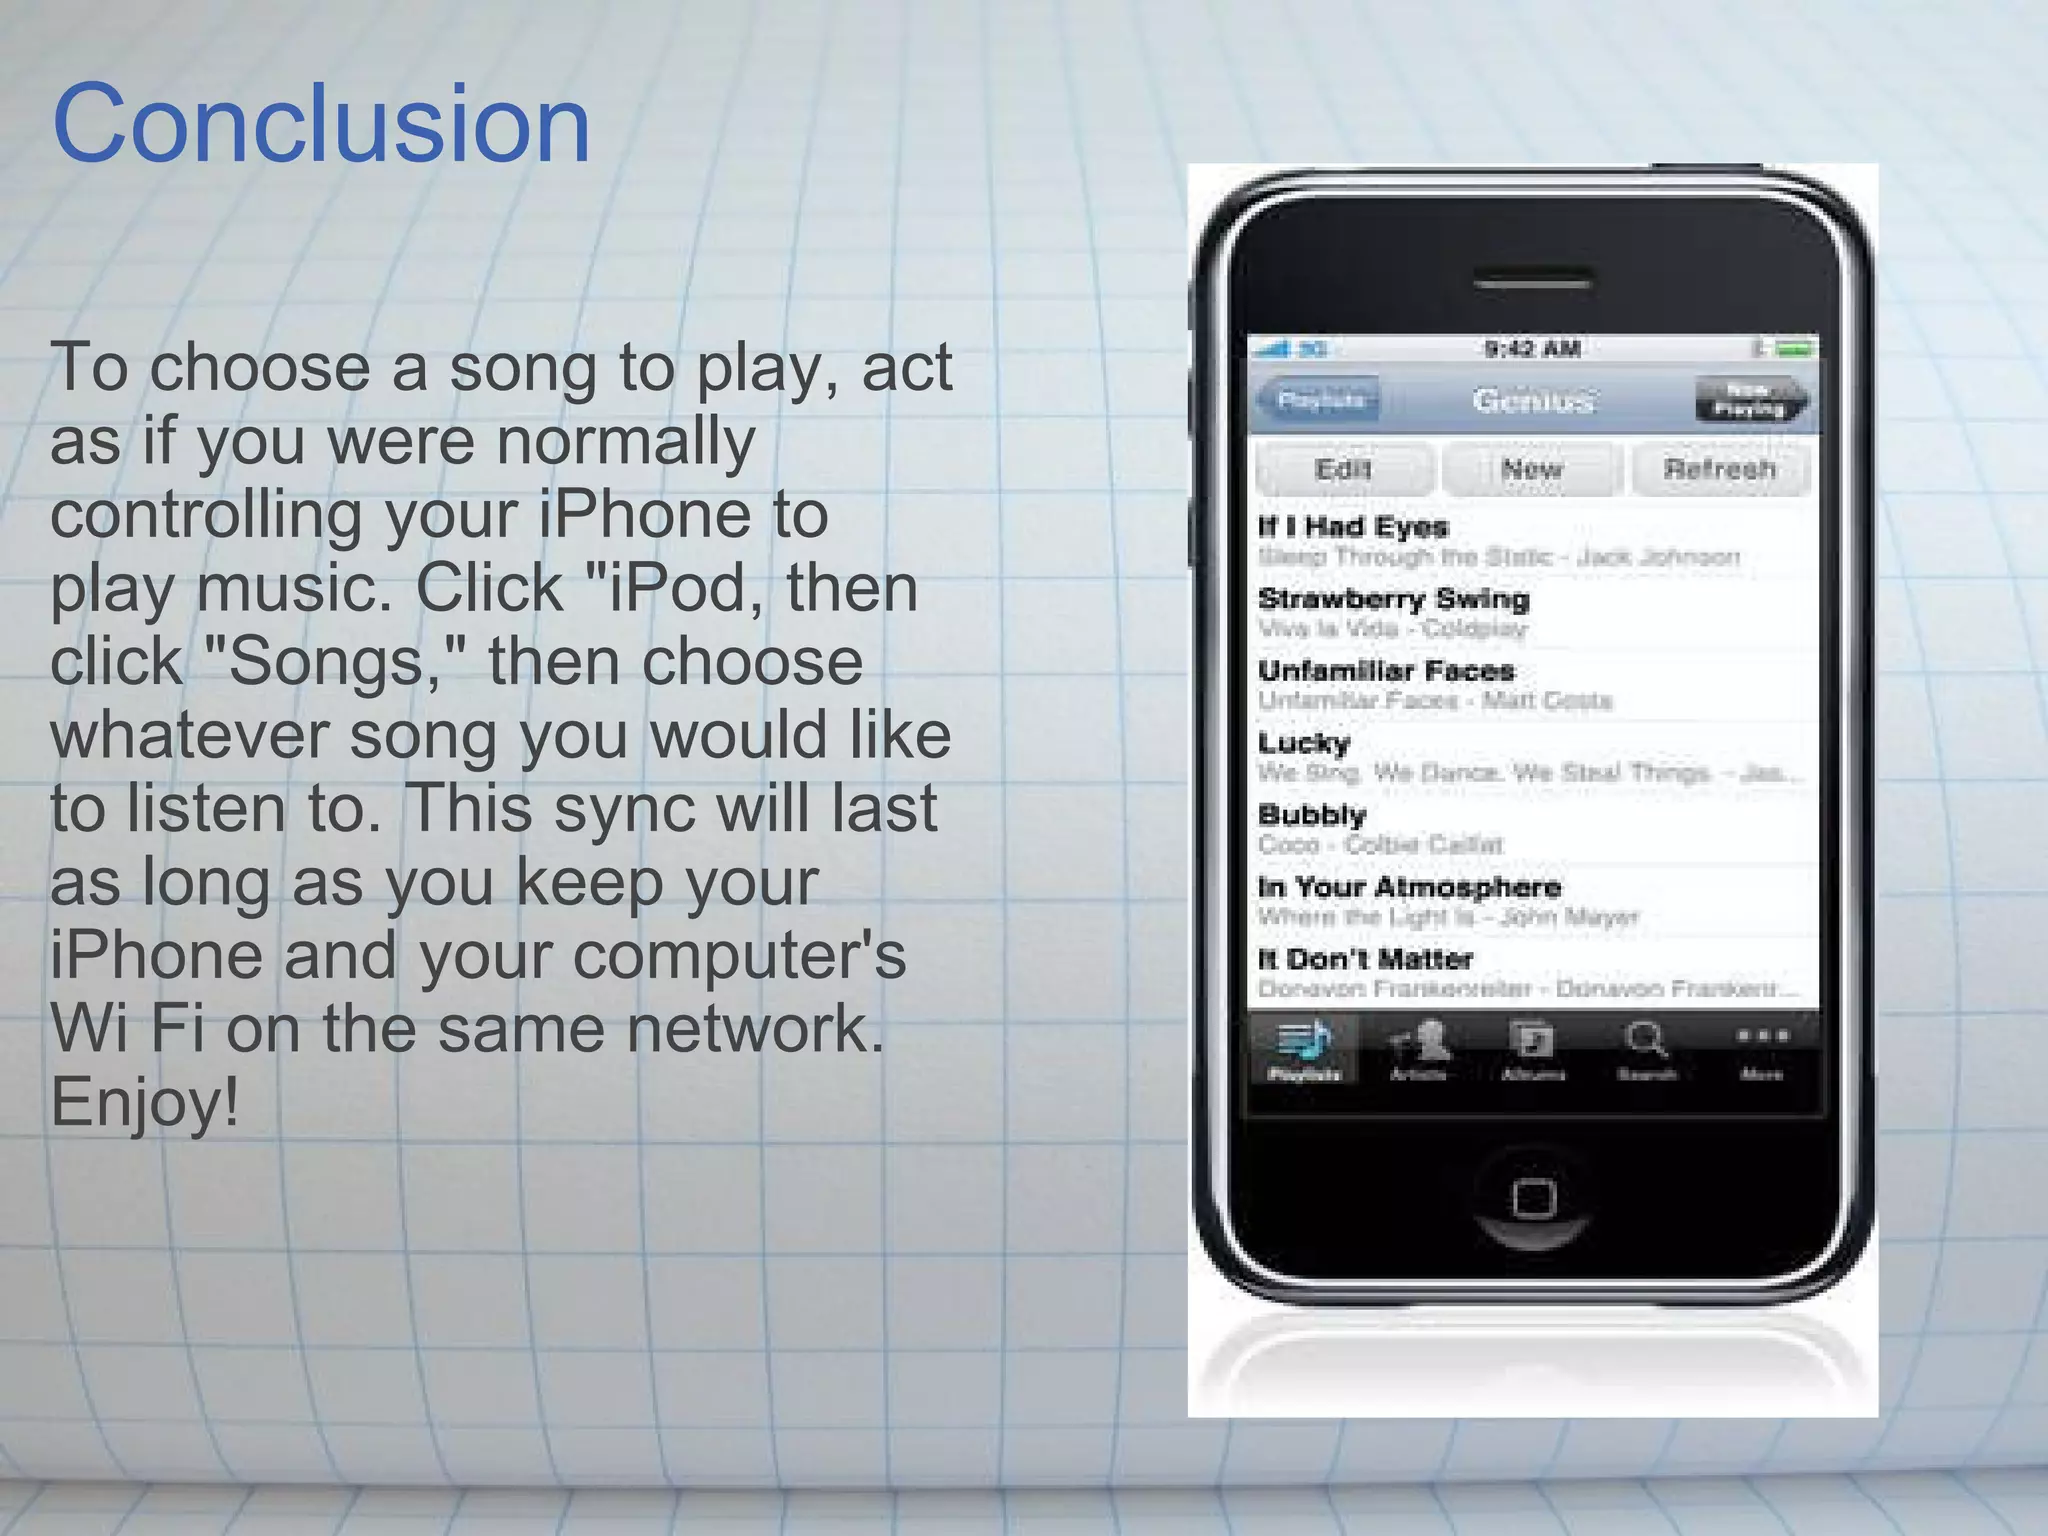
How to Use Remote to Sync Your iPhone to Your iTunes By Nate Duran
Introduction These instructions will explain how to use your iPhone as a remote to control iTunes on your computer using the FREE App called "Remote." For example, you will be able to choose whatever song you want to play without ever having to physically touch your computer.
Required Materials Computer with iTune's software that is up to date with at least the oldest iPhone software  Any model of iPhone USB iPhone cord to connect to computer Wi Fi Connection Works on Mac's & Windows
Step 1: Make sure that your iPhone is connected to a Wi Fi network. If you then click on the Wi Fi setting the screen that comes up should look something like the picture on the right.
Step 2: Open the App application on your iPhone.
Step 3: Click the search button at the bottom of the screen, type the word "Remote" and then click search.
Step 4: Once the menu comes up, click on the App "Remote."
Step 5: When the page loads, click the blue button that says "Free." The button will then turn green and say install.
Step 6: Click the green button that says "Install." The App will then begin to load onto your iPhone.
Step 7: Open iTunes.
Step 8: Connect your iPhone USB cord to your computer from your iPhone as if you were to sync music regularly to your iPhone from your computer. Make sure that your sync setting is set to Automatic and not Manual, otherwise this won't work.
Step 9: Click on your iPhone under the Device list on the iTunes library list. Once this step is done, switch your focus back to your iPhone.
Step 10: Open the App "Remote" on your iPhone and open the link "Add Library."
Step 11: The App will give you a 4 digit number pass-code. As this happens a page should open up on iTunes to enter the pass code into. Enter the pass code into this page.
Step 14: Once the pas-code is in click the "Eject" button next to your iPhone on the Device list and then unplug your iPhone from the computer. As simple as that it is now wireless to  control the music that is playing on your computer from your iPhone,
Conclusion To choose a song to play, act as if you were normally controlling your iPhone to play music. Click "iPod, then click "Songs," then choose whatever song you would like to listen to. This sync will last as long as you keep your iPhone and your computer's Wi Fi on the same network. Enjoy!
Image Credits http://www.mapds.com.au/newsletters/0807/iphone_home.gif http://virulentwordofmouse.files.wordpress.com/2009/12/iphone.jpg http://www.ipresents.co.uk/a/i/iphone-app-apple-remote.jpg http://www.apple.com/itunes/remote/   http://www.onemoretap.com/wp-content/uploads/2009/02/ipod-touch-wi-fi-settings.png http://img.diytrade.com/cdimg/775439/8815896/0/1240629103/Wholesale_OEM_sync_data_cable_for_iphone_and_ipod.jpg   http://www.designwsound.com/dwsblog/wp-content/uploads/2008/10 /img_0003.png http://www.designwsound.com/dwsblog/wp-content/uploads/2008/10/picture-1.png

How To Use the App Remote to Sync Your iPhone to Your iTunes

  • 1.
    How to UseRemote to Sync Your iPhone to Your iTunes By Nate Duran
  • 2.
    Introduction These instructionswill explain how to use your iPhone as a remote to control iTunes on your computer using the FREE App called "Remote." For example, you will be able to choose whatever song you want to play without ever having to physically touch your computer.
  • 3.
    Required Materials Computerwith iTune's software that is up to date with at least the oldest iPhone software Any model of iPhone USB iPhone cord to connect to computer Wi Fi Connection Works on Mac's & Windows
  • 4.
    Step 1: Makesure that your iPhone is connected to a Wi Fi network. If you then click on the Wi Fi setting the screen that comes up should look something like the picture on the right.
  • 5.
    Step 2: Openthe App application on your iPhone.
  • 6.
    Step 3: Clickthe search button at the bottom of the screen, type the word "Remote" and then click search.
  • 7.
    Step 4: Oncethe menu comes up, click on the App "Remote."
  • 8.
    Step 5: Whenthe page loads, click the blue button that says "Free." The button will then turn green and say install.
  • 9.
    Step 6: Clickthe green button that says "Install." The App will then begin to load onto your iPhone.
  • 10.
    Step 7: OpeniTunes.
  • 11.
    Step 8: Connectyour iPhone USB cord to your computer from your iPhone as if you were to sync music regularly to your iPhone from your computer. Make sure that your sync setting is set to Automatic and not Manual, otherwise this won't work.
  • 12.
    Step 9: Clickon your iPhone under the Device list on the iTunes library list. Once this step is done, switch your focus back to your iPhone.
  • 13.
    Step 10: Openthe App "Remote" on your iPhone and open the link "Add Library."
  • 14.
    Step 11: TheApp will give you a 4 digit number pass-code. As this happens a page should open up on iTunes to enter the pass code into. Enter the pass code into this page.
  • 15.
    Step 14: Oncethe pas-code is in click the "Eject" button next to your iPhone on the Device list and then unplug your iPhone from the computer. As simple as that it is now wireless to  control the music that is playing on your computer from your iPhone,
  • 16.
    Conclusion To choosea song to play, act as if you were normally controlling your iPhone to play music. Click "iPod, then click "Songs," then choose whatever song you would like to listen to. This sync will last as long as you keep your iPhone and your computer's Wi Fi on the same network. Enjoy!
  • 17.
    Image Credits http://www.mapds.com.au/newsletters/0807/iphone_home.gifhttp://virulentwordofmouse.files.wordpress.com/2009/12/iphone.jpg http://www.ipresents.co.uk/a/i/iphone-app-apple-remote.jpg http://www.apple.com/itunes/remote/   http://www.onemoretap.com/wp-content/uploads/2009/02/ipod-touch-wi-fi-settings.png http://img.diytrade.com/cdimg/775439/8815896/0/1240629103/Wholesale_OEM_sync_data_cable_for_iphone_and_ipod.jpg   http://www.designwsound.com/dwsblog/wp-content/uploads/2008/10 /img_0003.png http://www.designwsound.com/dwsblog/wp-content/uploads/2008/10/picture-1.png

Editor's Notes

  • #2 Amy:  Clear opening page.  Minor edits:  change the first to to lower case (like the second one).  And change the second Your to upper case (like the first one).
  • #3 Intro is good, I like the fact that you put an example because it appeals to people who don't want to get up to change music.   Amy:   Helpful intro and photo.  Maybe take out "your" before "iTunes" because you have "your" several other times in the sentence.  Maybe also mention that you'll be showing users how to use a free application called Remote, so that they have a better idea what they'll be doing.
  • #4 Maybe highlight in different colors some key words....for example, "Difficulty level" , "categories", "and Things you'll need.   Amy:  You don't necessarily need the categories here because you'll specify those when you upload the file to SlideShare.    Maybe make this slide focus just on required materials?  And clarify the first item a bit.  So the computer needs both iTunes and iPhones software?  And this works on Macs and Windows machines?
  • #5 Amy:  The first sentence is a bit awkward and a bit long.  Maybe end it after "network" and then rewrite the next sentence to explain how to check whether you're connected.
  • #6 Amy:  It's helpful that you have one step per slide, even for a short step.  But you might consider removing the bulleted list format from the body of each step because you're not presenting a list.
  • #8 Amy:  Consider rewording.  Maybe:  Once the menu comes up?   The screenshots are helpful.
  • #9 Amy:  Remove "then" (that's implied by the step format).  Add a comma after loads and then change the comma after "Free" to a period.  Start a new sentence with The button.
  • #10 then begin "to" load.   Amy:  This may be a habit to watch out for:  you've joined two complete sentences with only a comma (which you also did in the previous slide), and that creates a run-on.  Start a new sentence with The App. I'm not sure what the Crash Kart screen shot is for?
  • #12 Amy:  Remove "Then."  Just start with the action verb.  (Do the same on other slides as needed.)
  • #13 Amy:  I think you missed a step.  Shouldn't the user first open iTunes?  Consider rewording for clarity.
  • #15 Amy:  This slide doesn't have an action step.  Maybe combine this one and the next one to make a step that focuses on entering the code?
  • #16 Amy:  Check spelling.  End the sentence after "computer" and start a new one with "As simple as that, you can..." (note the comma).  Or maybe save that part for the next slide, since it sounds like a conclusion?
  • #17 Overall good instructions and the pictures were very helpful. I found this app. so sick.   Amy:  So will it keep working like this indefinitely or will users need to reconnect later if they turn their iPhone or computer off? Overall, clean design and clearly presented steps.