Download to read offline
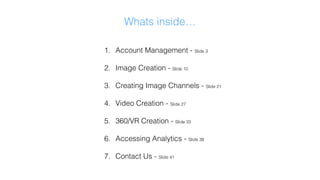
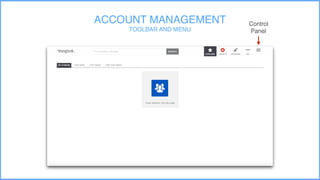
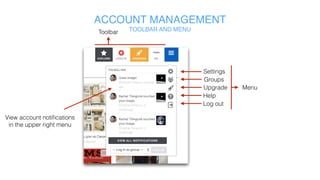
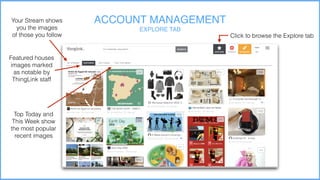
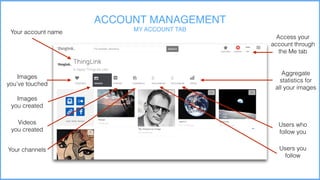
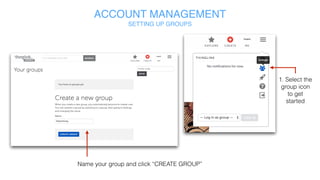
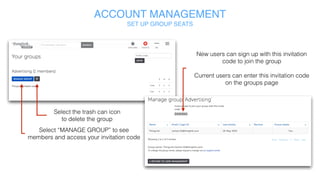
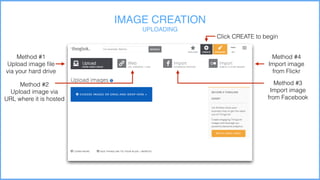
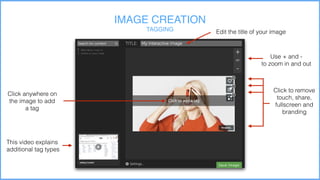
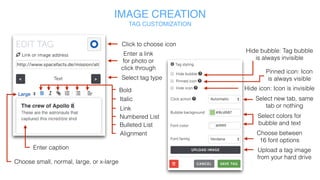
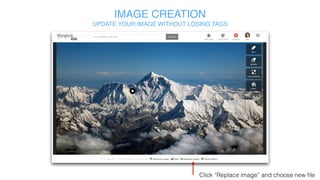
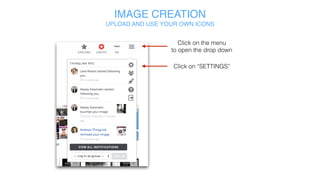
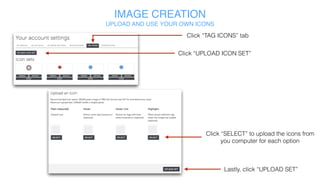


This document provides instructions for using various features of ThingLink Corporate. It discusses how to manage accounts and set up groups. It also explains how to create and customize images, videos, 360/VR content, and image channels. The document shows how to access analytics and contact support.