Download to read offline


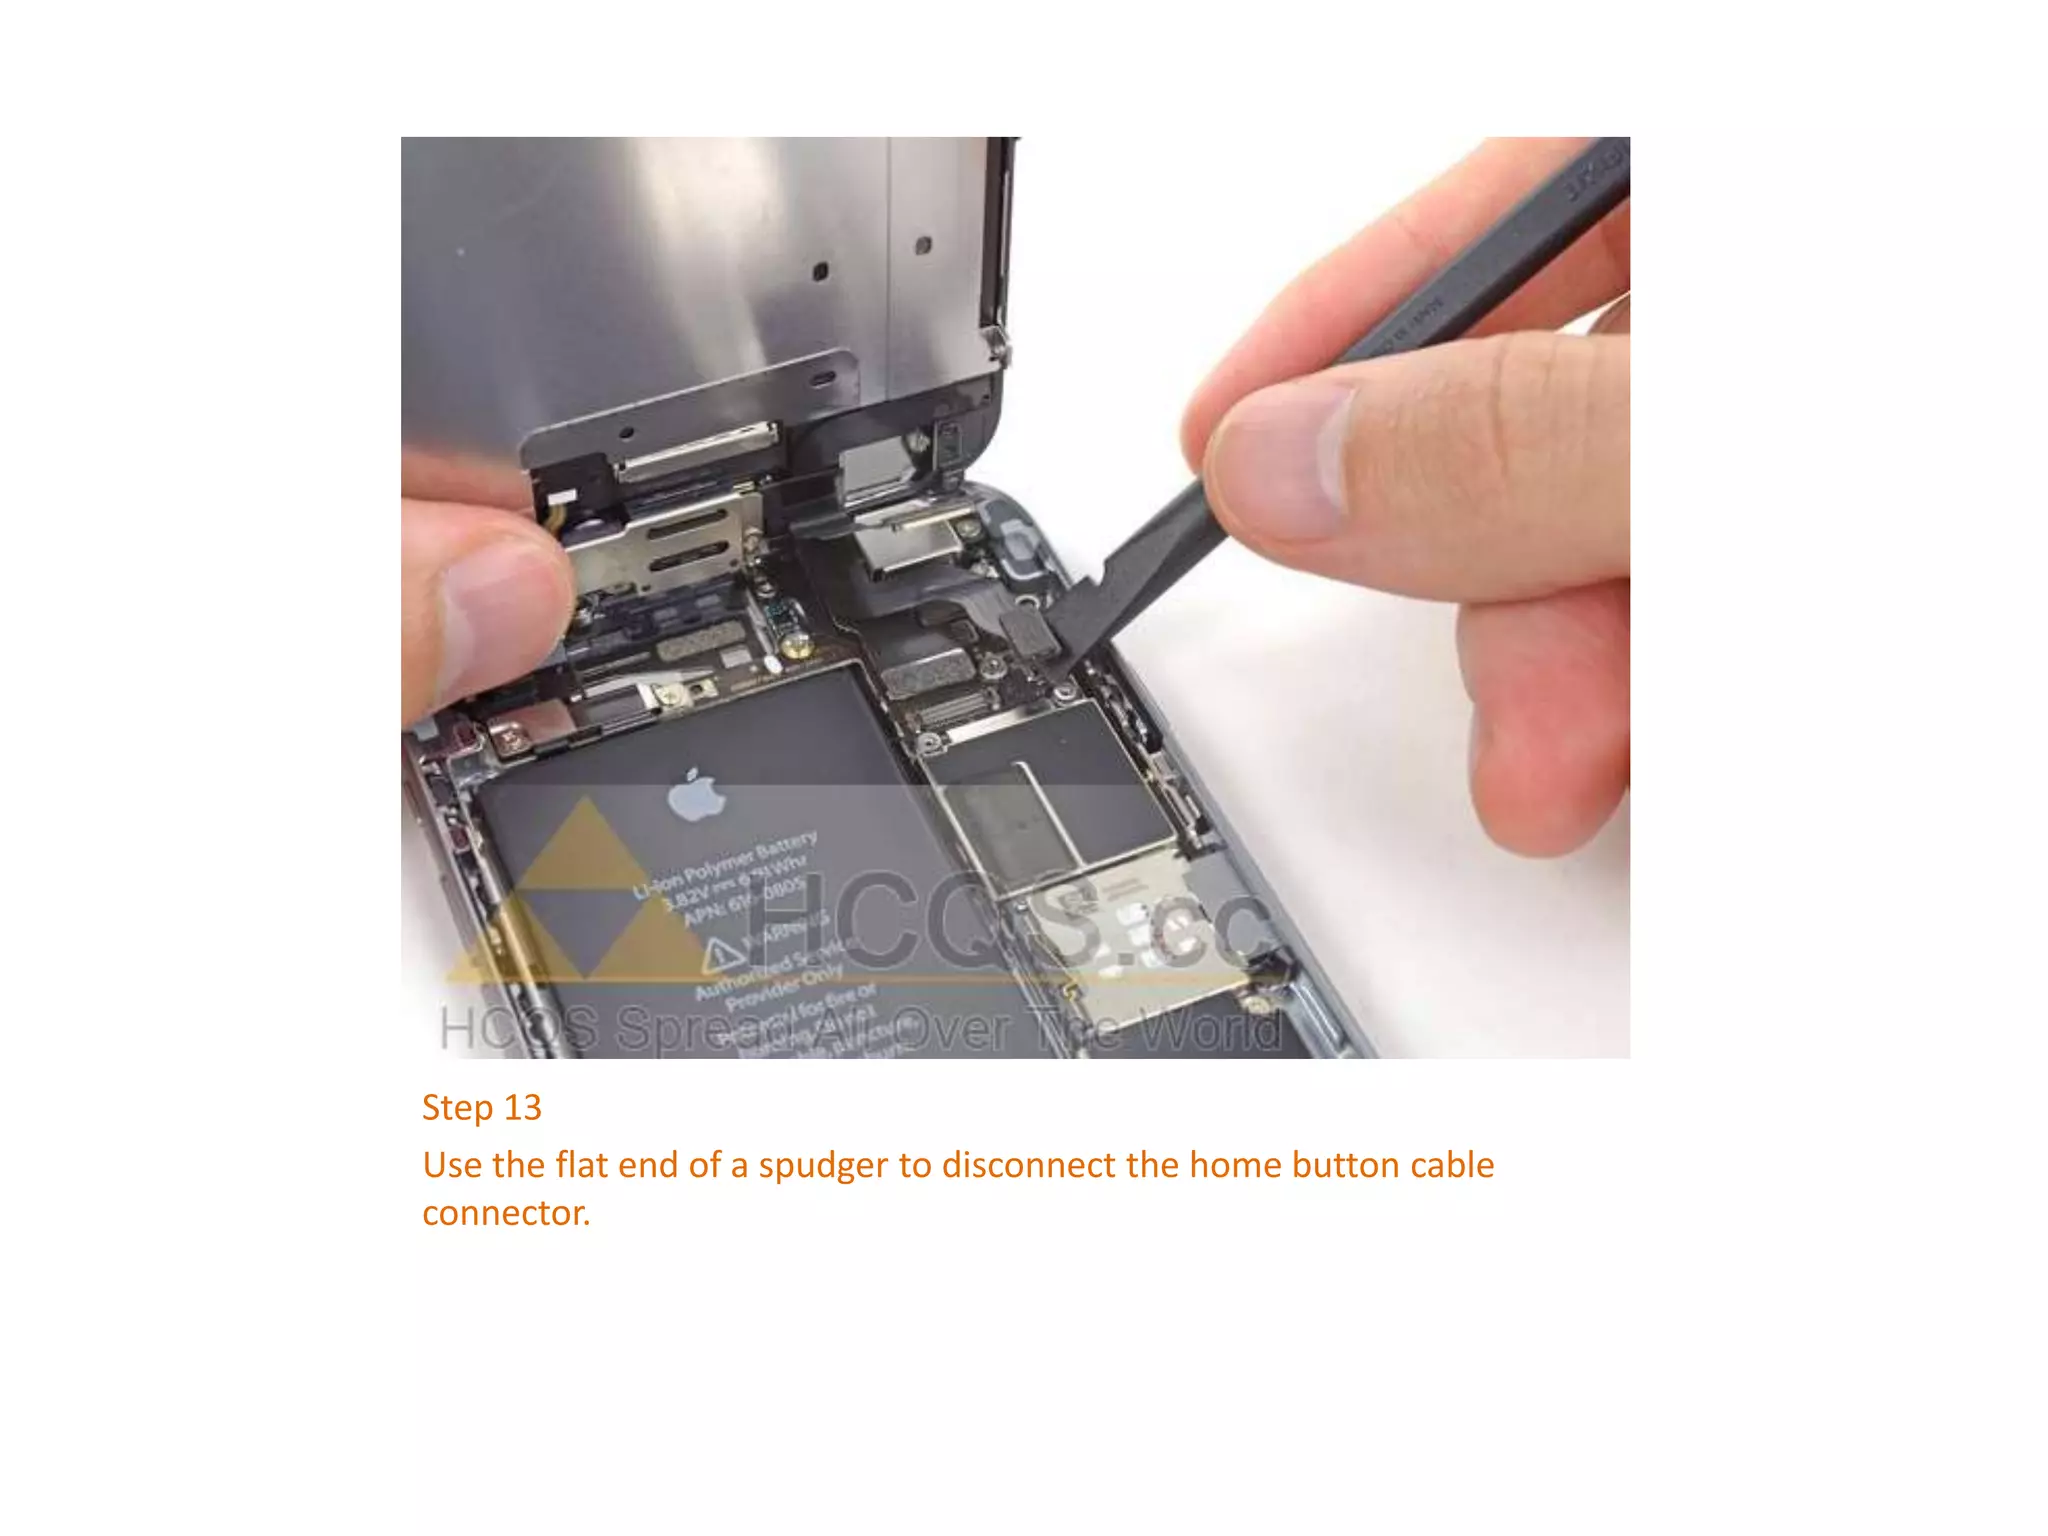
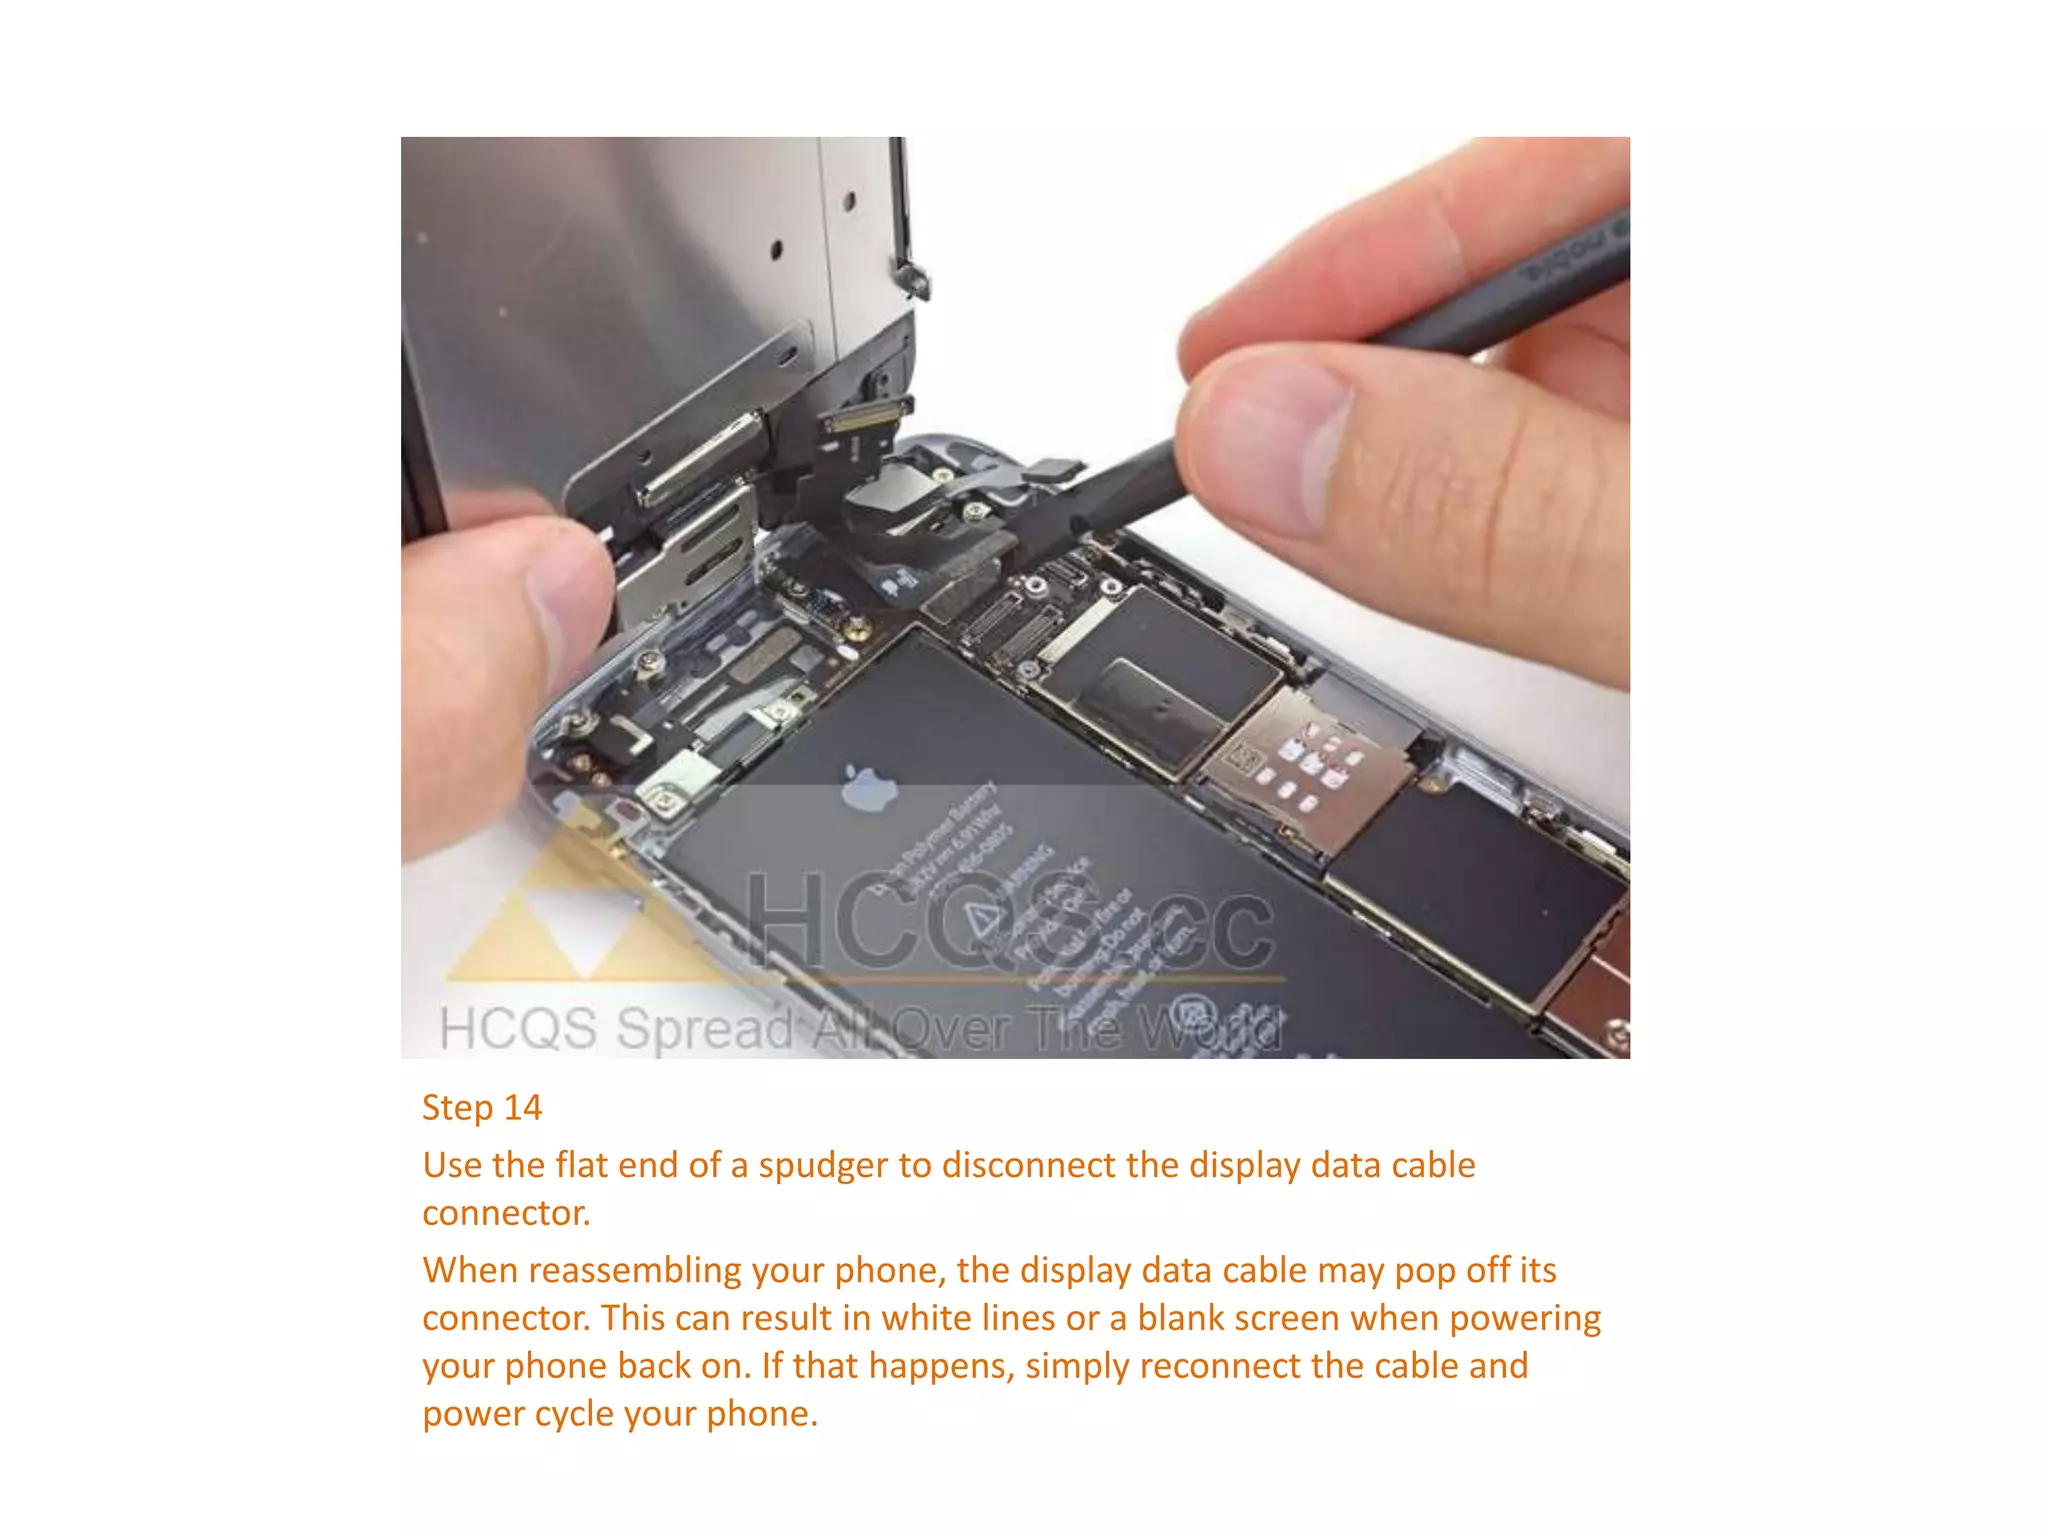
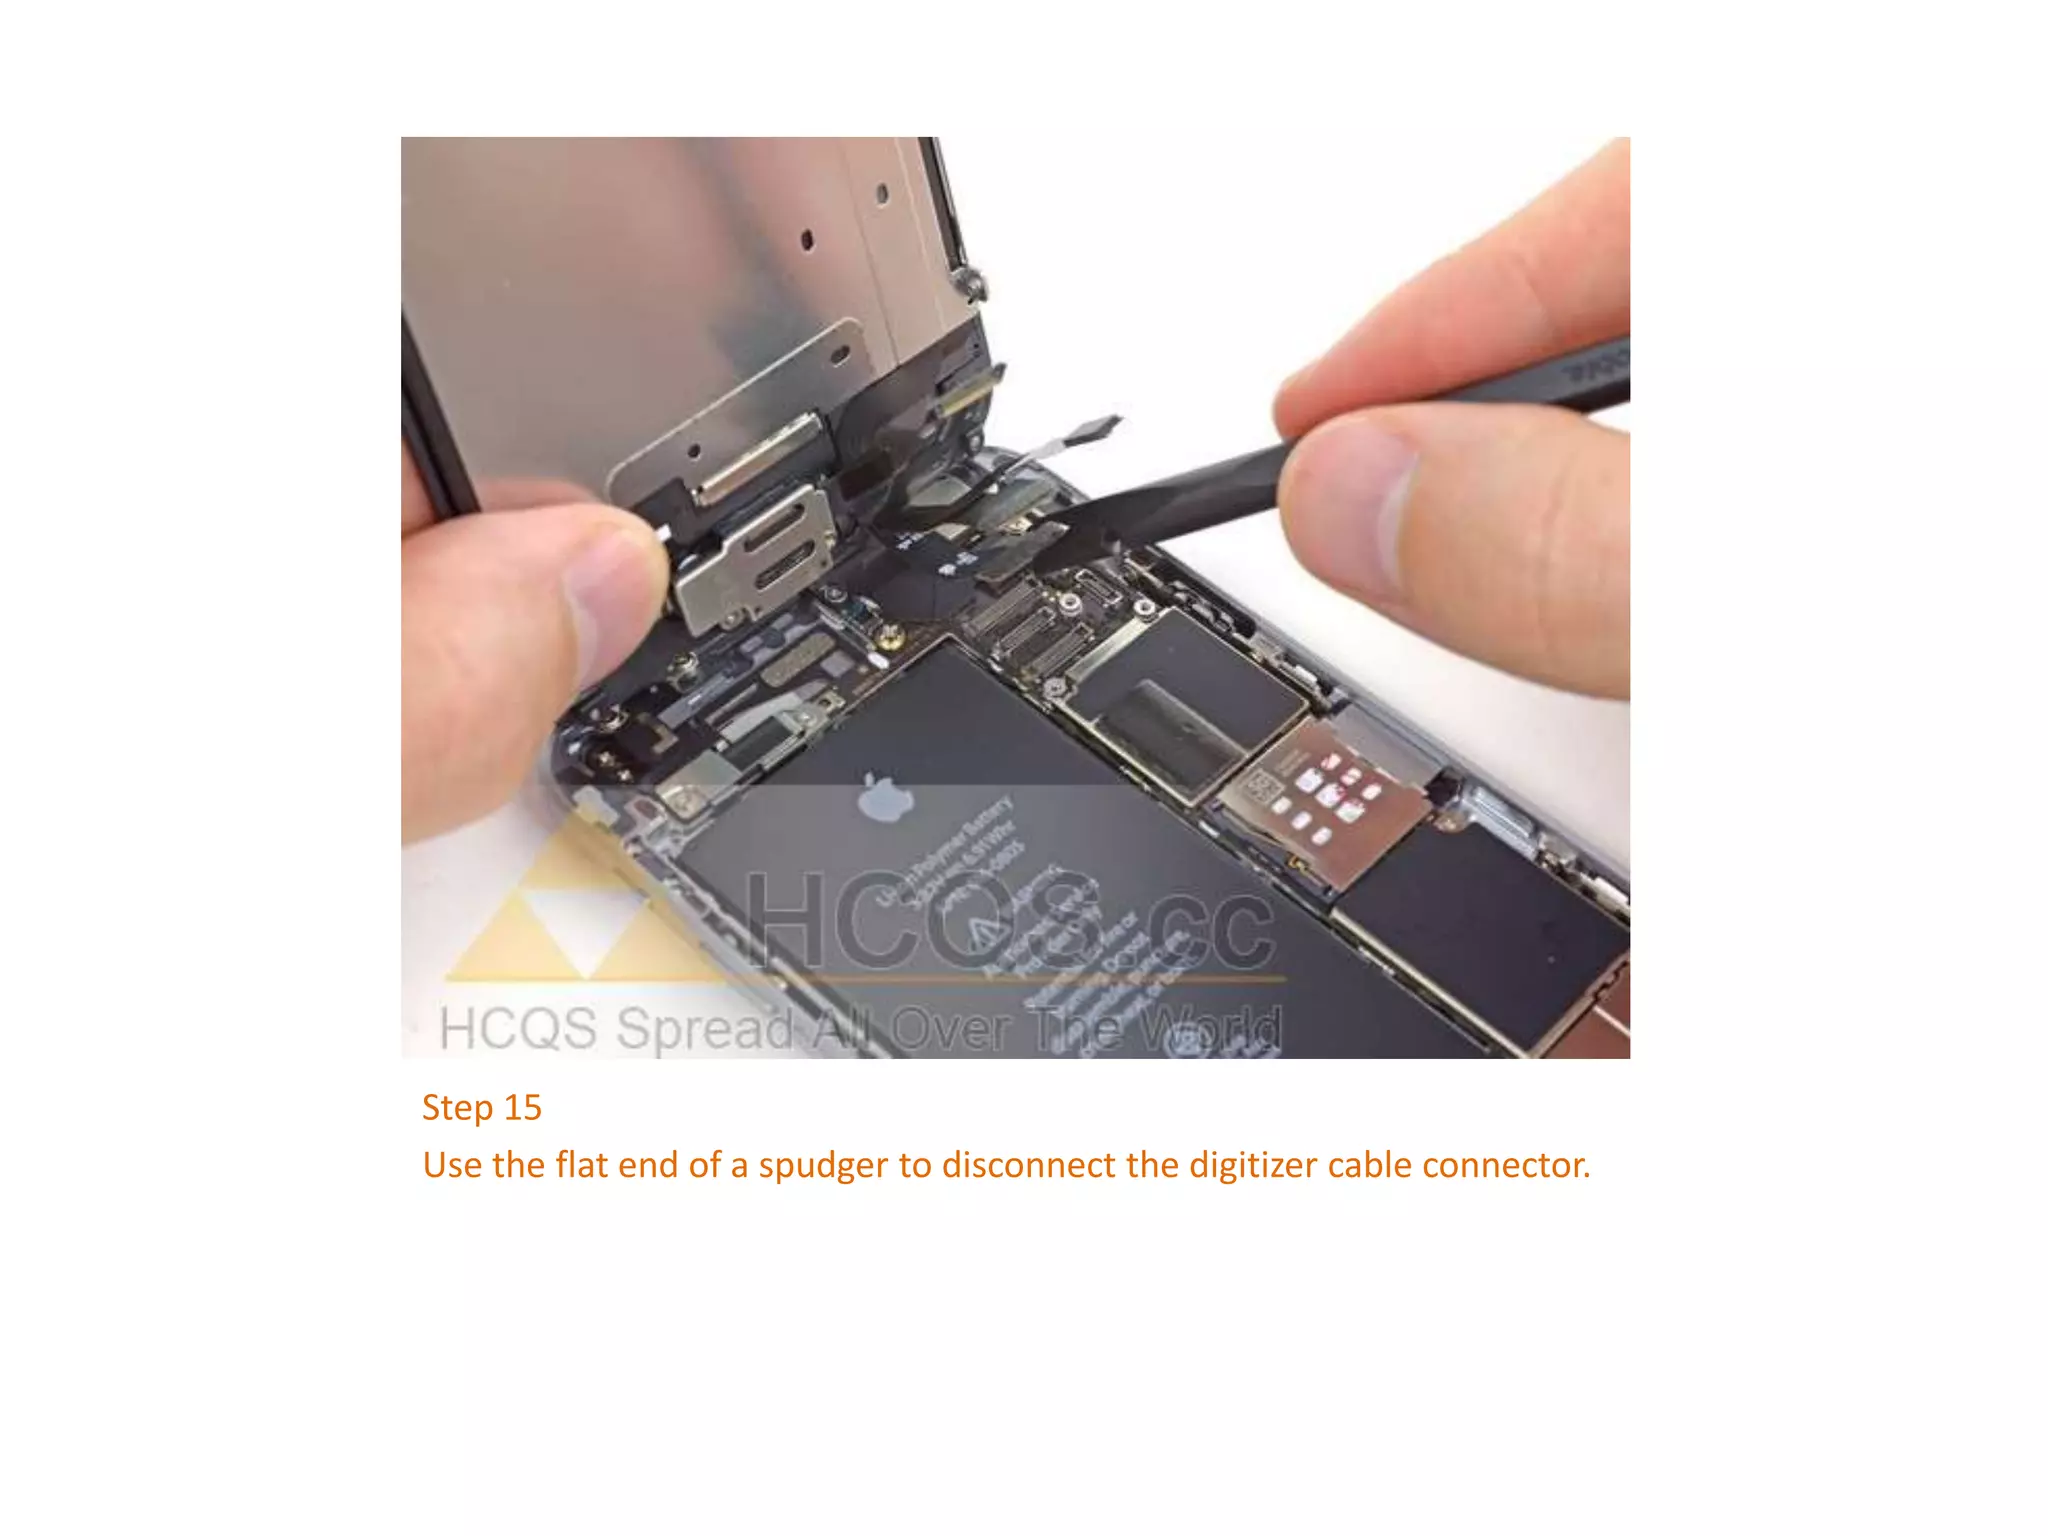
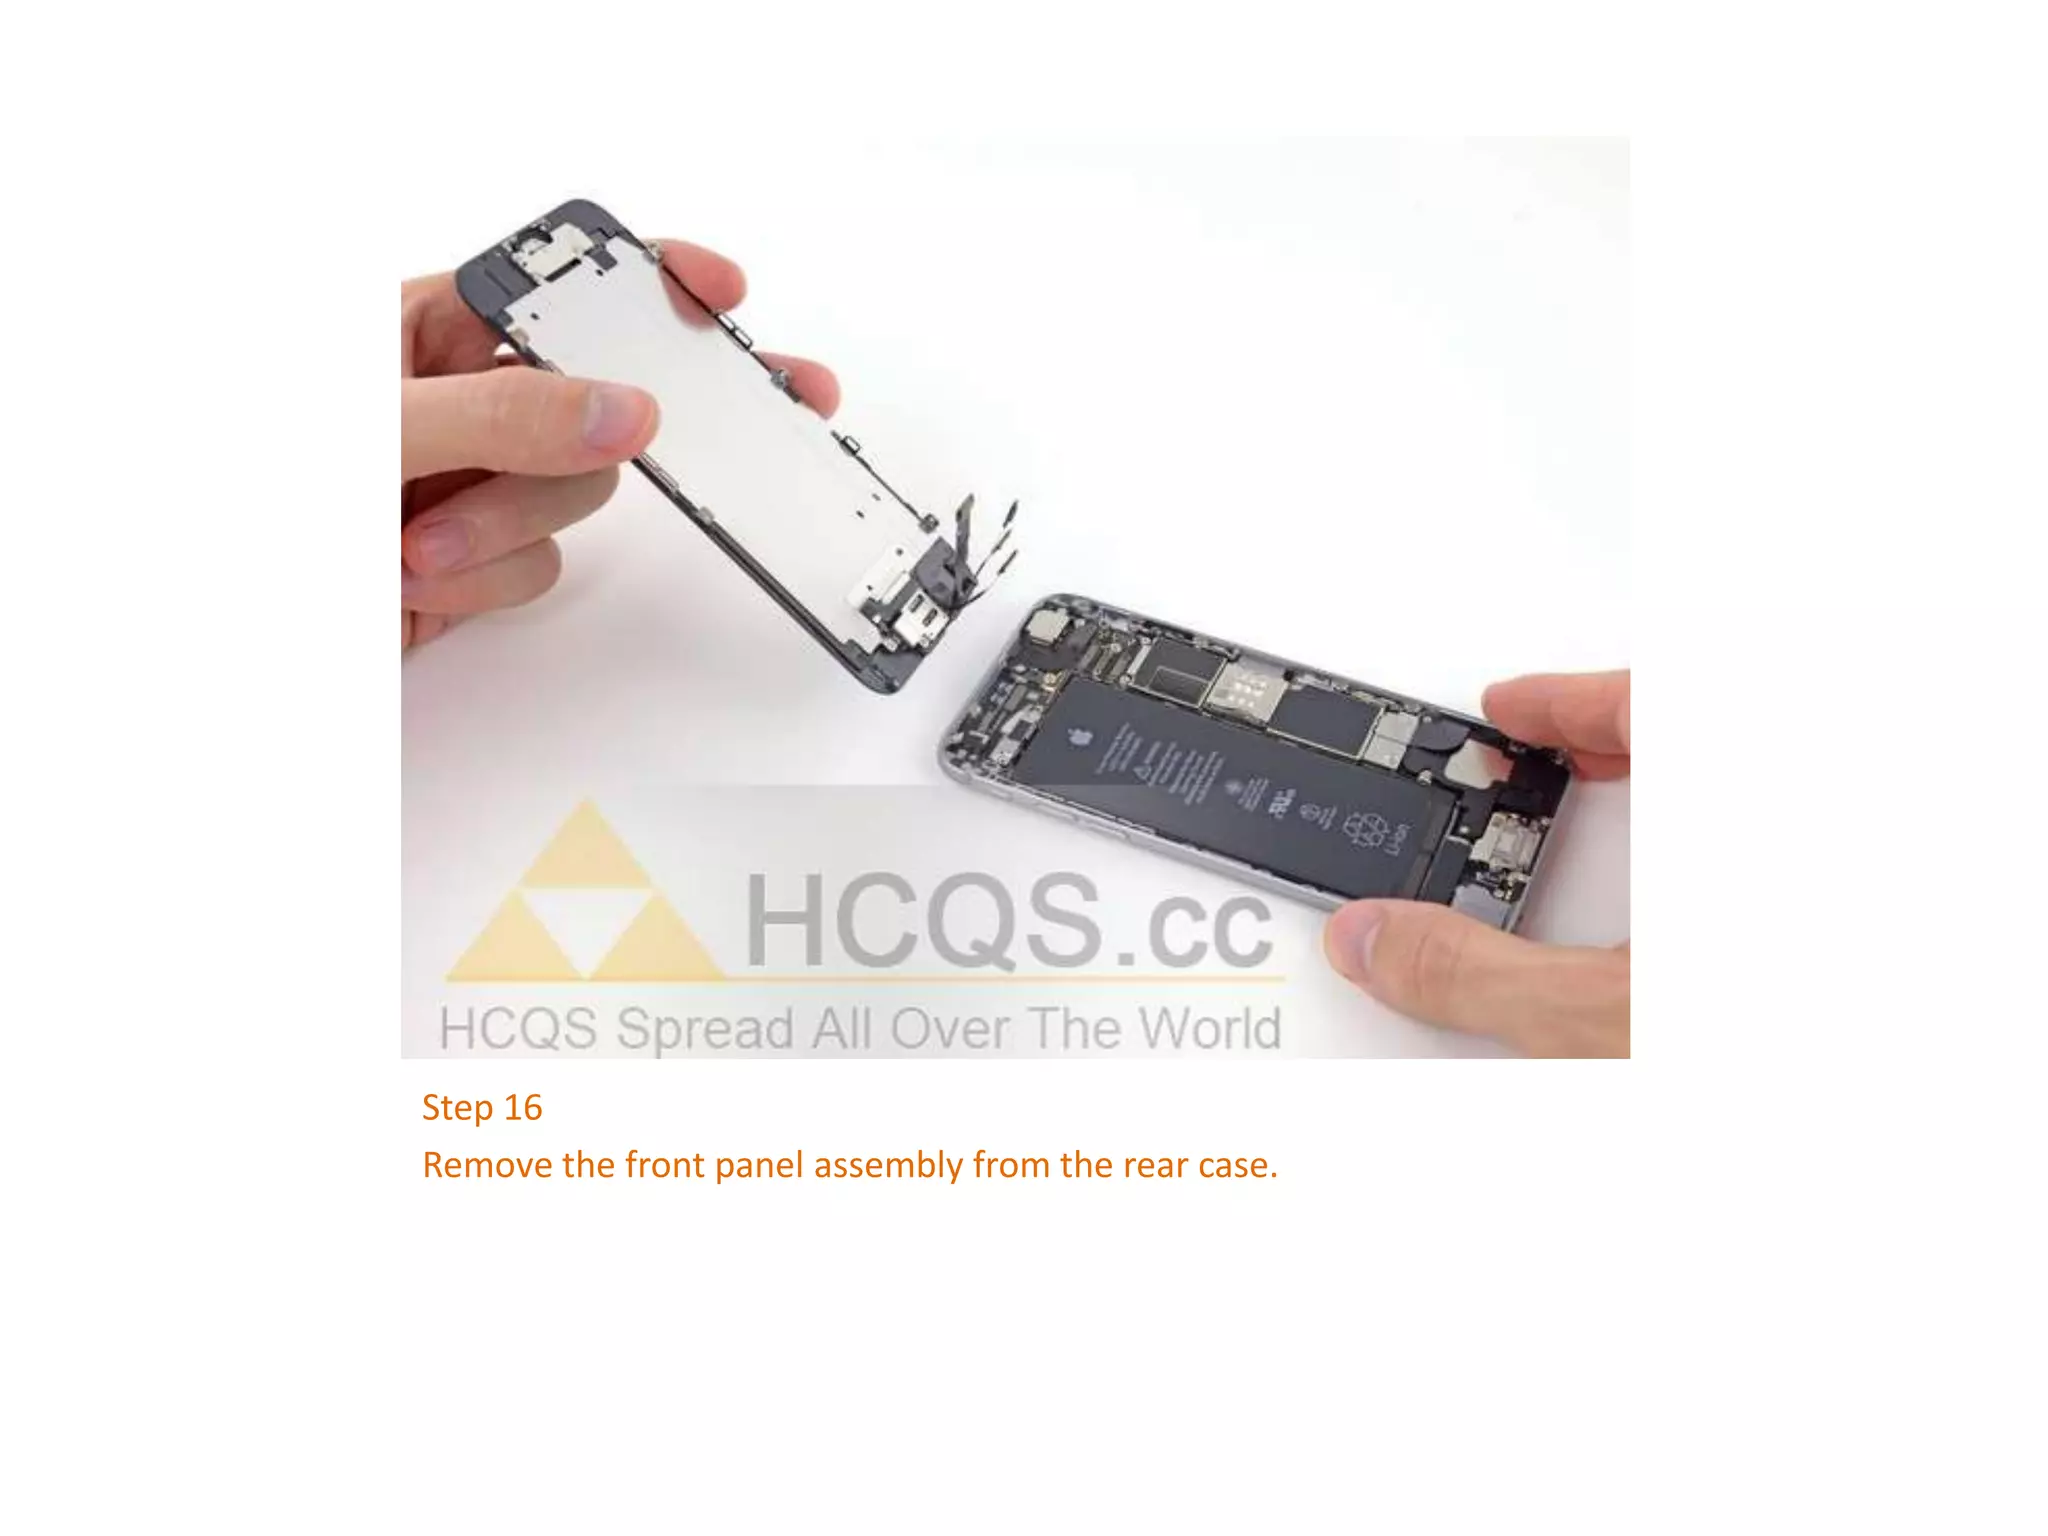
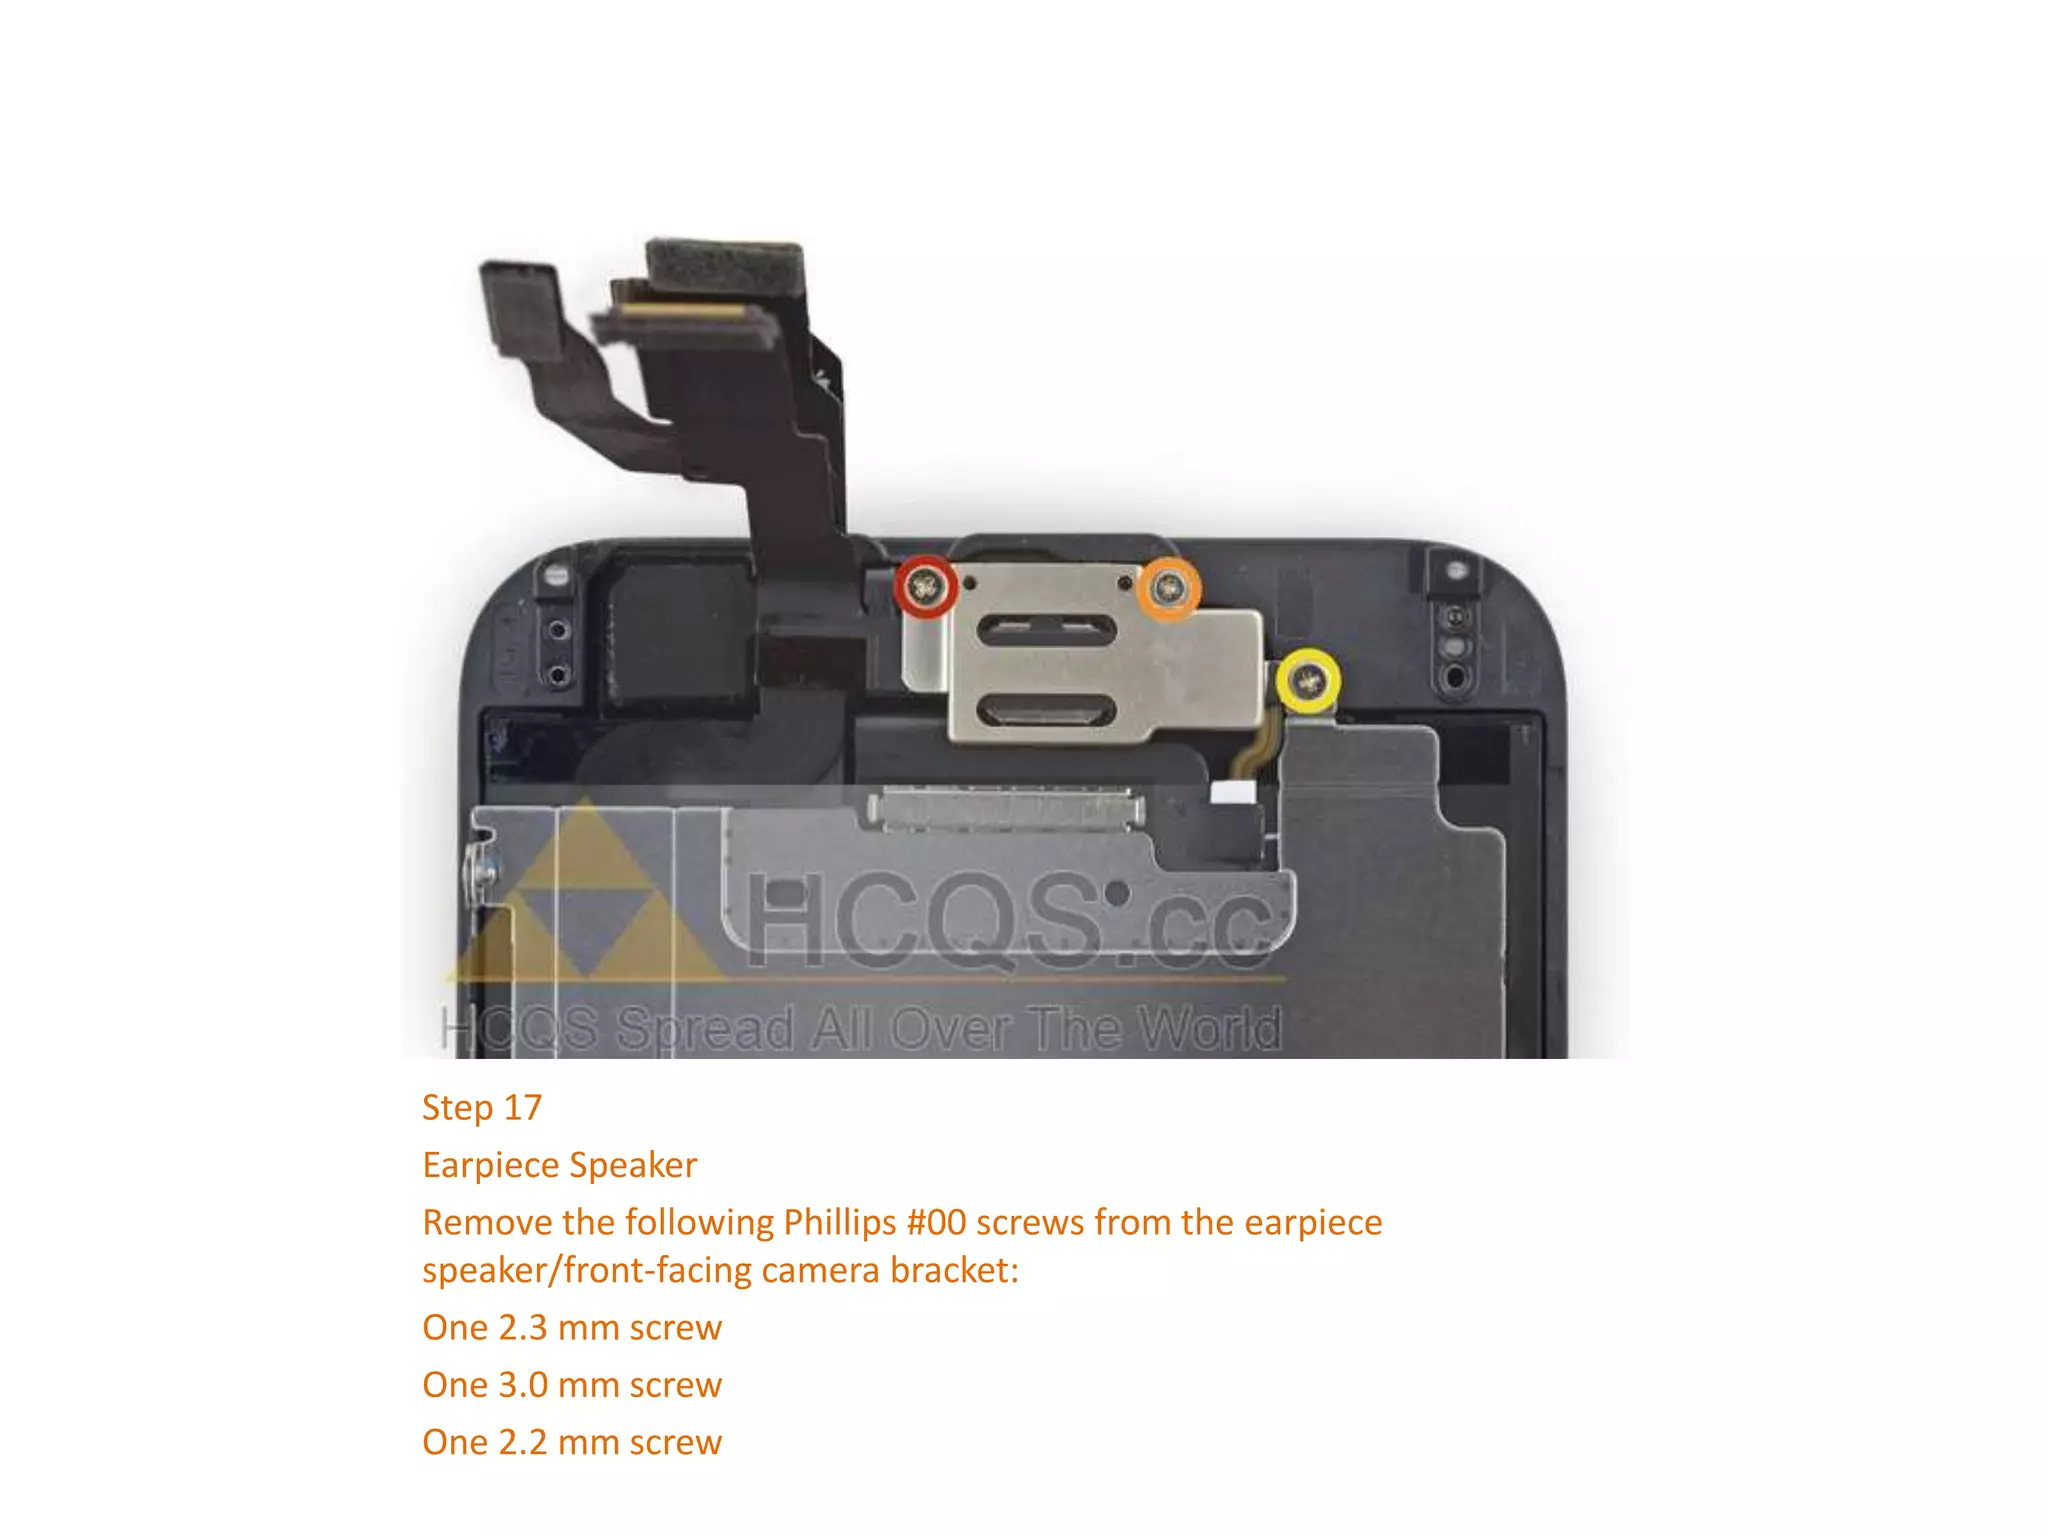

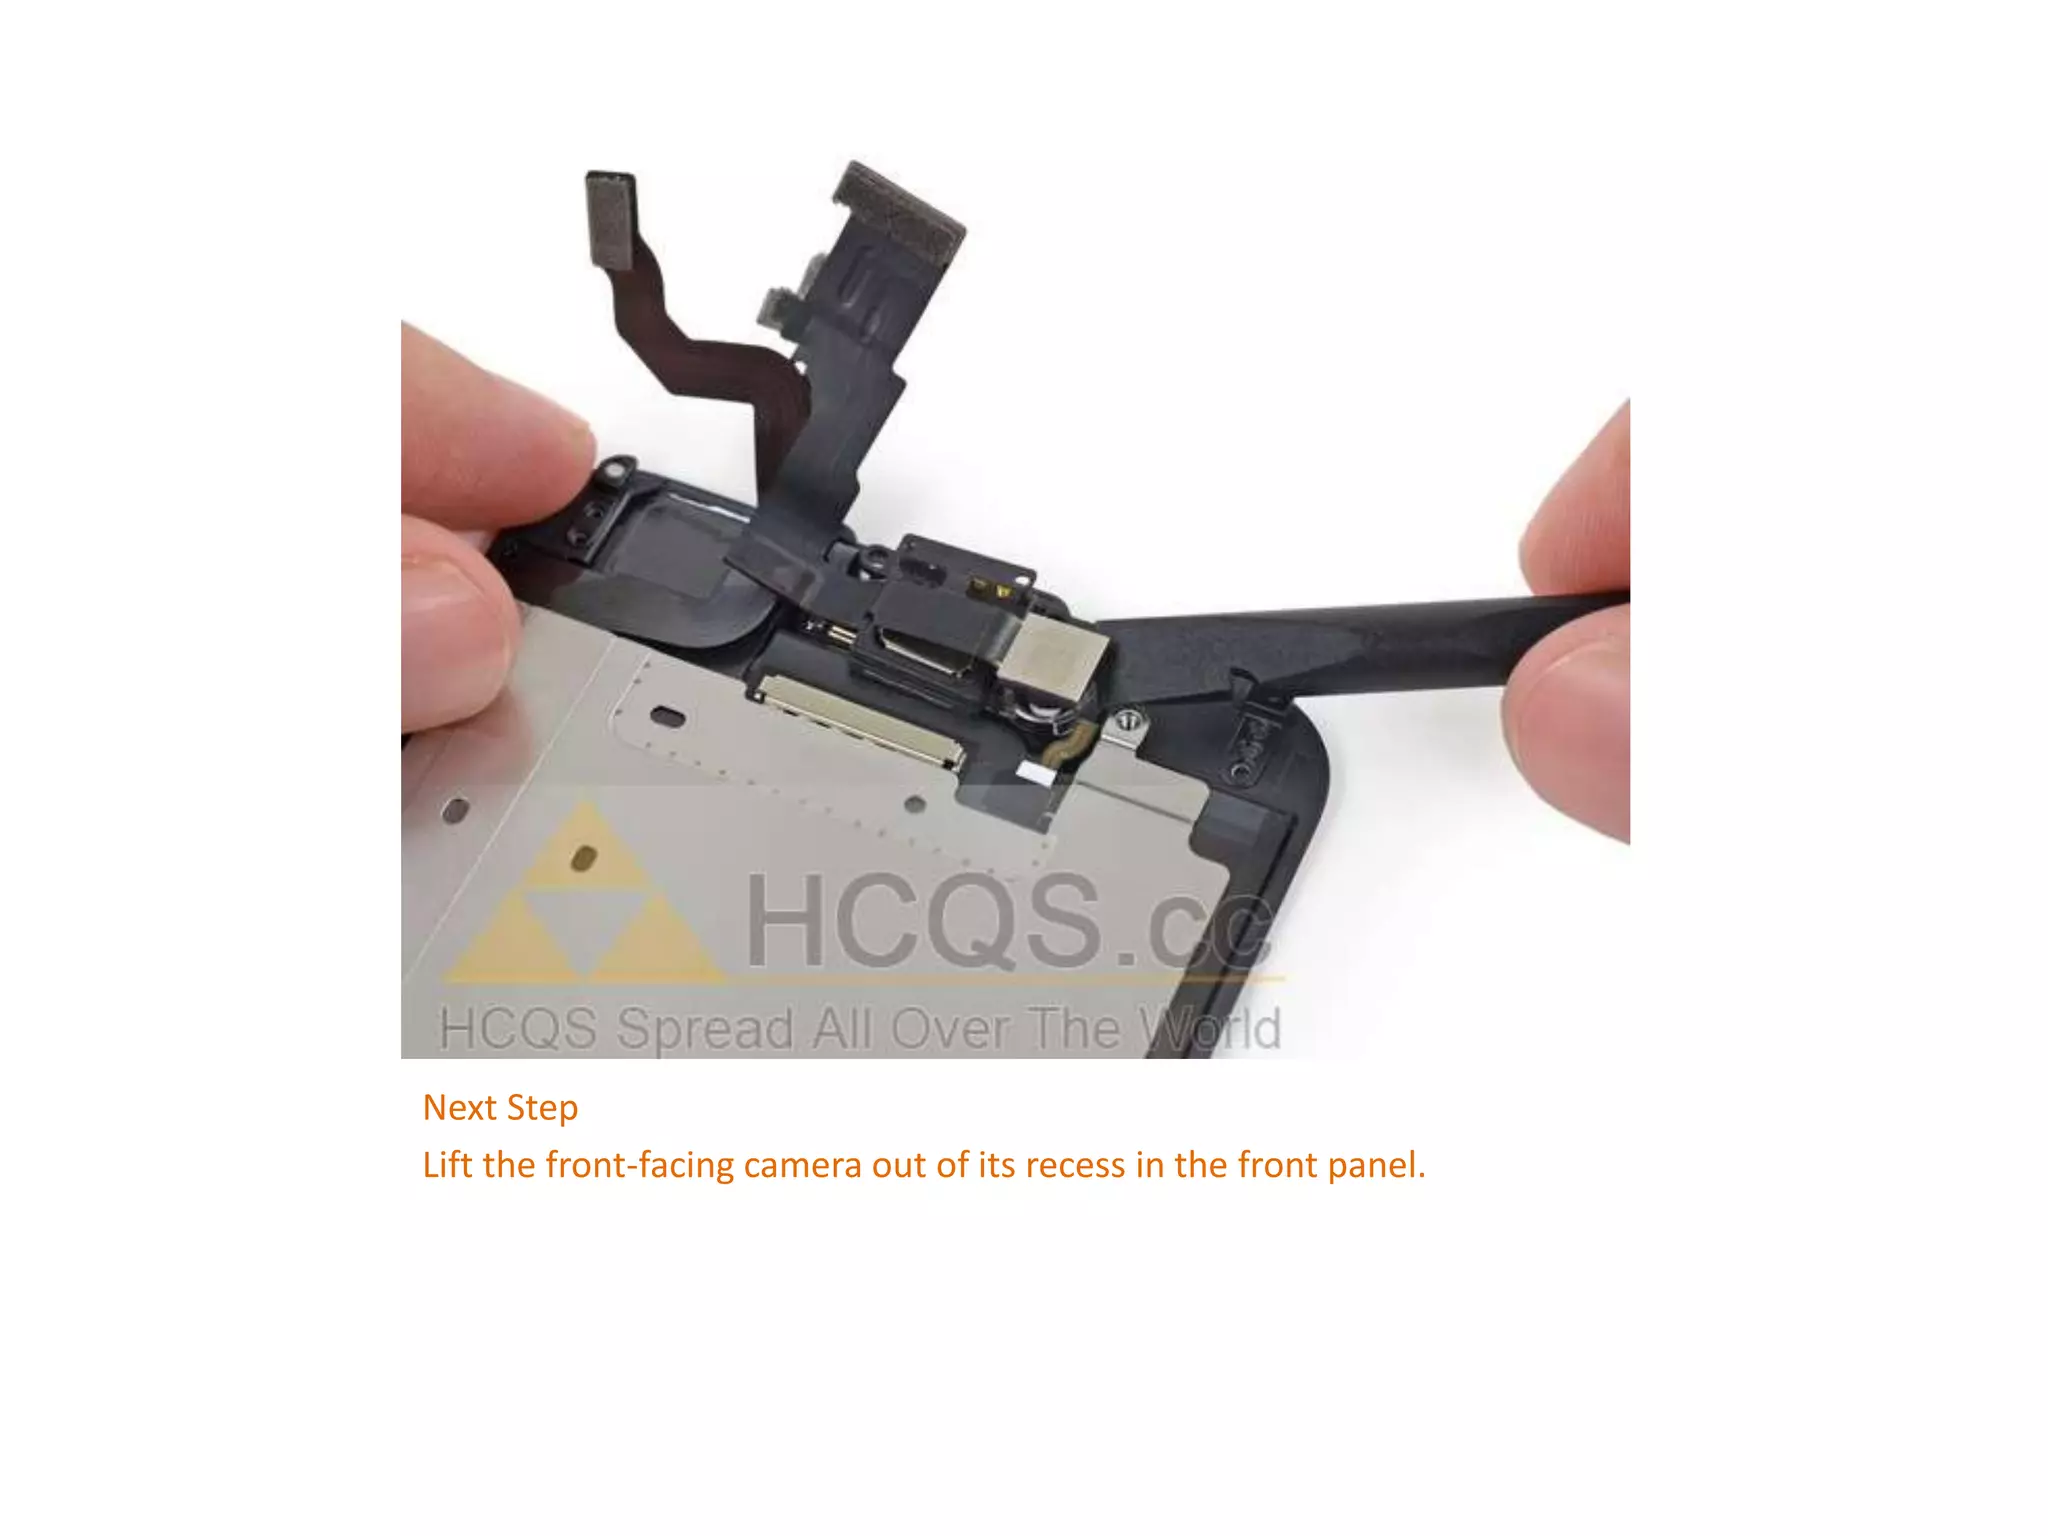
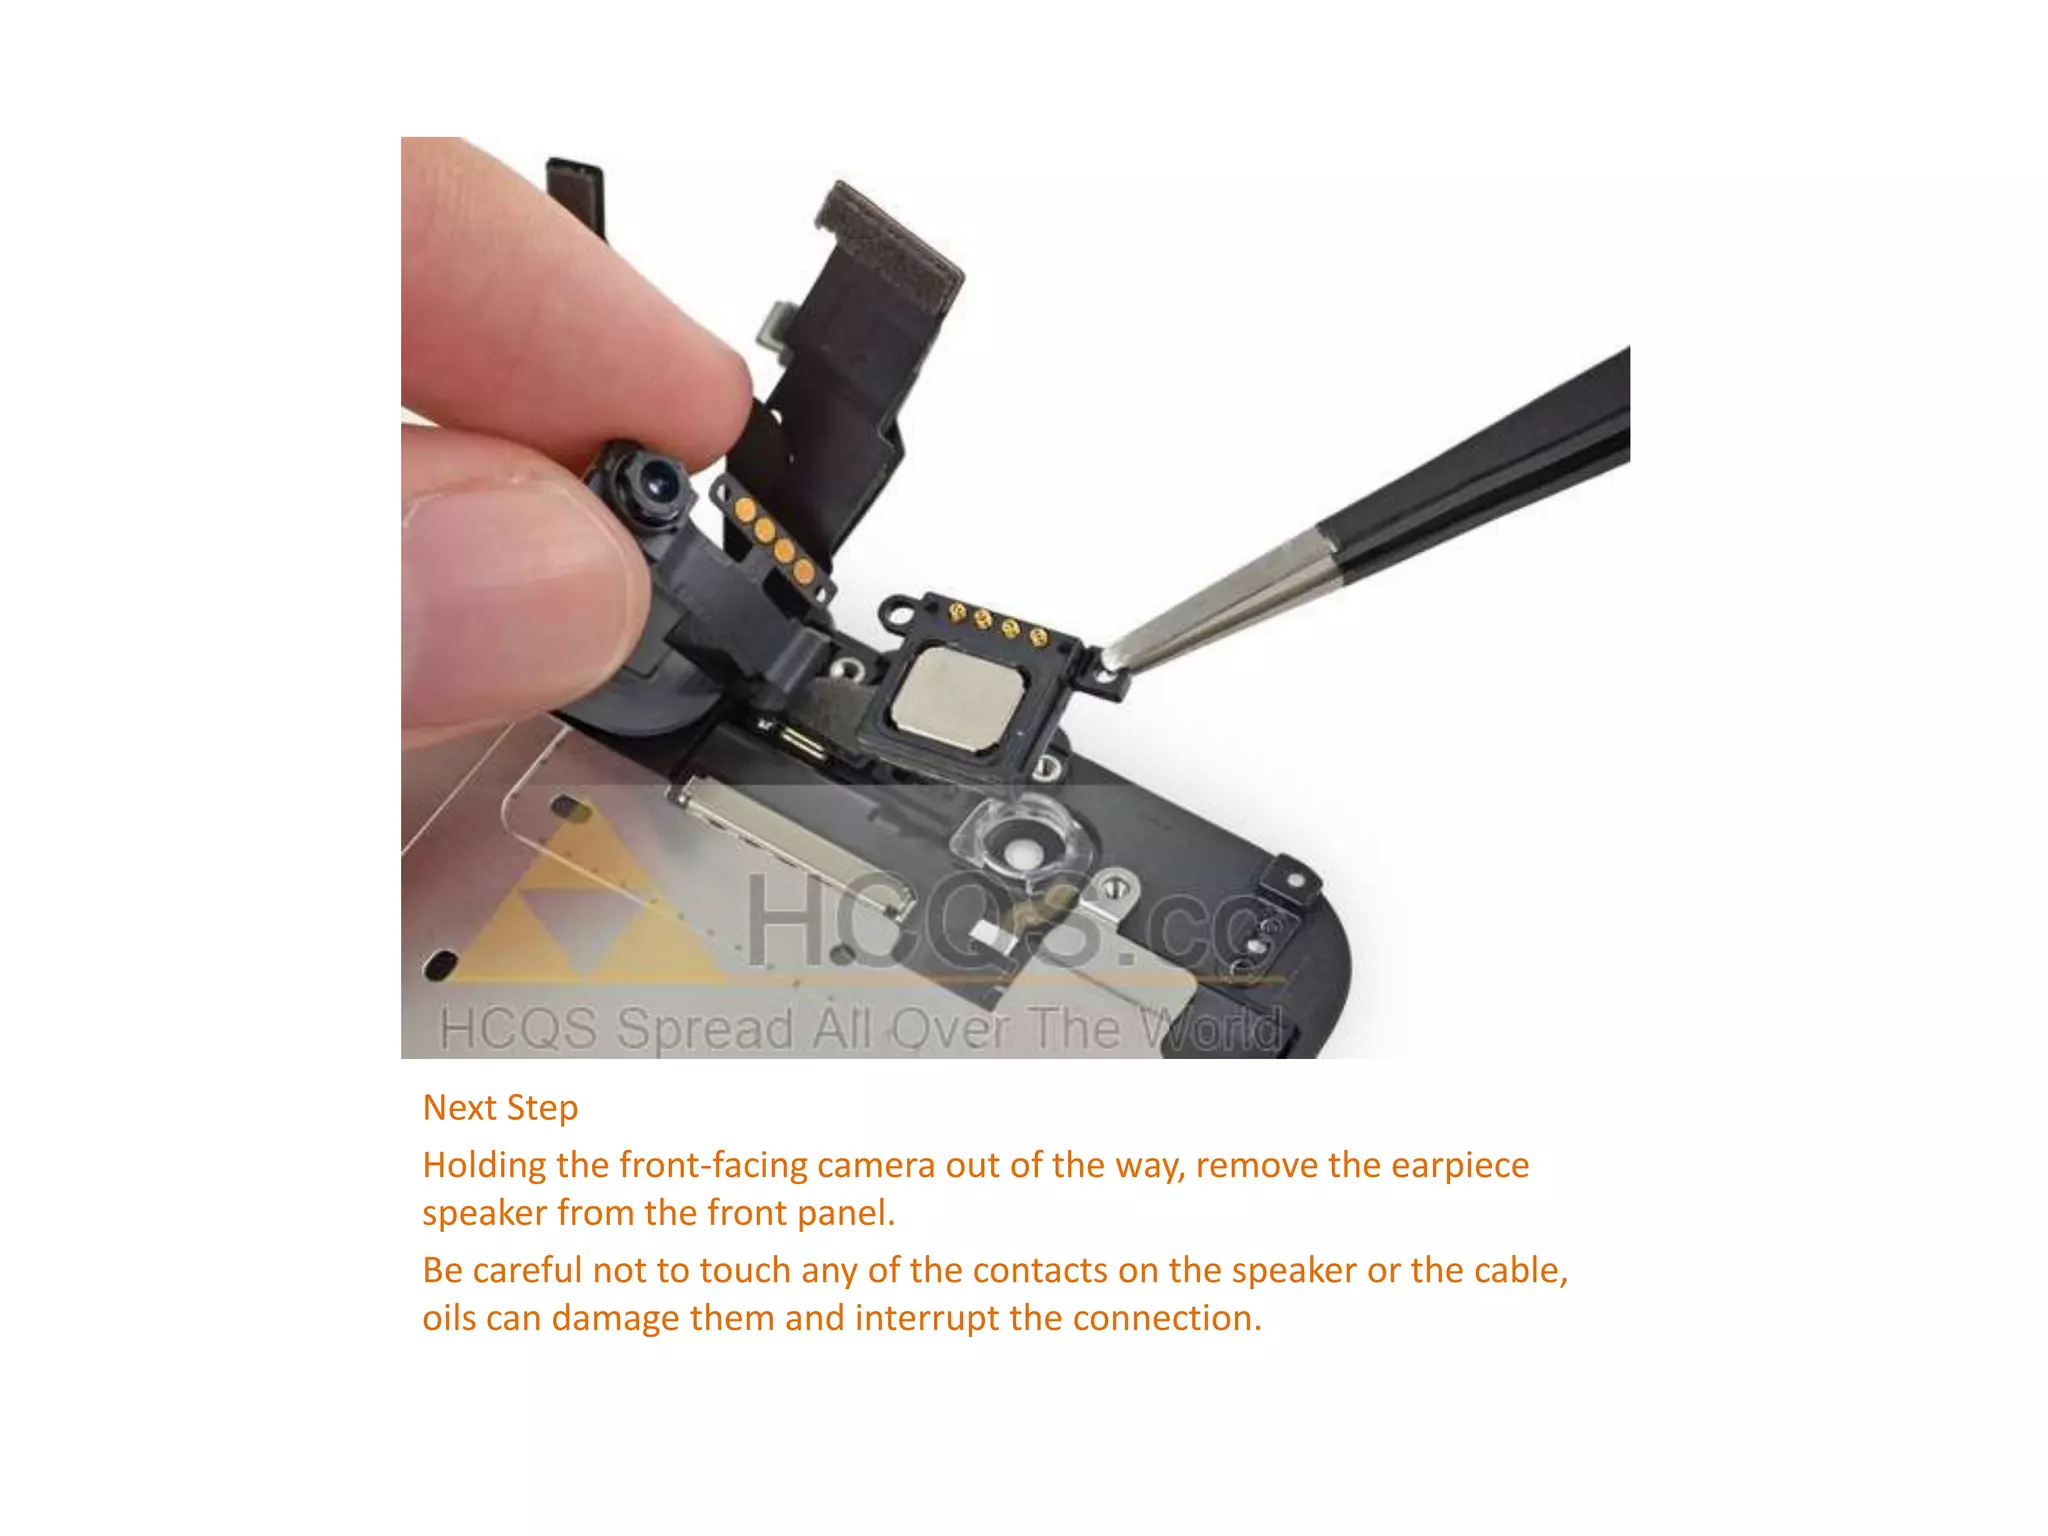


This document provides a detailed guide for replacing the front panel assembly of an iPhone 6, including necessary tools and step-by-step instructions. It covers the disassembly process from removing pentalobe screws to disconnecting various cables and removing components like the earpiece speaker. The guide also highlights important precautions to take during both disassembly and reassembly to avoid damage.


