Downloaded 29 times
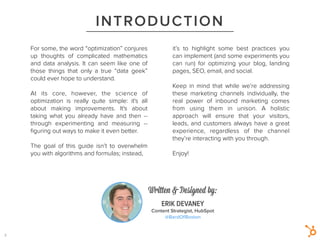

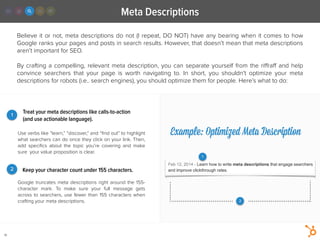
![Put target keywords near the front of your headlines.
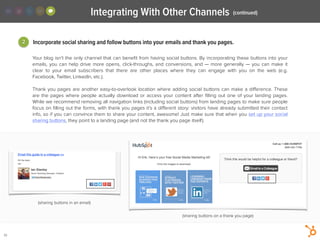
Search engines truncate headlines if they’re too long,
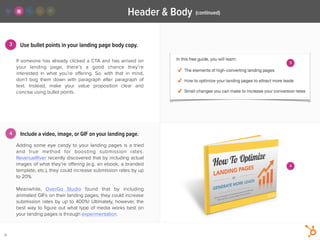
adding the dreaded “ … “ to the ends of headlines in
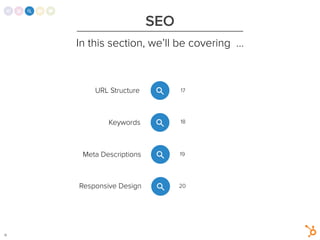
search results. By delivering a concise headline, you can
make sure your full message gets across to searchers.
!
As a rule of thumb, most search engines will typically “max
out” at around 65 characters, so ideally your headline’s
character count won’t exceed that number. (The example
headline below, “The History of SEO, and a Glimpse Into Its
Future {SlideShare],” has 62 characters.)
Have an infographic, video, SlideShare, or other cool piece
of content embedded in your blog post? Make sure
everyone knows about it! Use brackets [ ] in your headline
to highlight content. Here are a few examples from the
HubSpot blog:
!
• How to Make Your Blog Posts SEO-Friendly
[Checklist]
• How Long Should Your Blog Posts Be? [FAQs]
• The Essential Elements of an Excellent Blog Post
[INFOGRAPHIC]
2
1 2
3
Keeping a target keyword or phrase closer to the front of
your headline can be beneficial for SEO and
discoverability. For example, if your target keyword
is “Zebras," the headline, “Zebras: An A to Z Guide” should
perform better than “An A to Z Guide to Zebras.”
!
I say should because, ultimately, search engines want to
deliver the most relevant and high-quality content possible.
So, you still need to actually create that content (i.e., your
blog post). This little headline tip is just icing on the cake.
Keep your headlines short: 65 characters or less.
Use brackets to call out content formats.
Example: Optimized Headline
7
1 3
Blog Post Headlines (continued)](https://image.slidesharecdn.com/guide-howtooptimizeyourmarketingchannels-140422064731-phpapp01/85/Guide-how-to-optimize-your-marketing-channels-8-320.jpg)


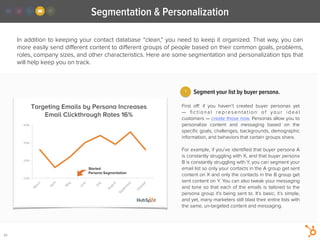

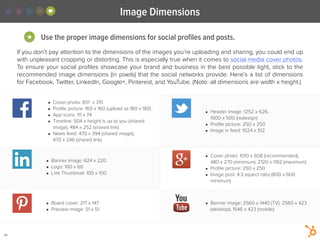

This document serves as a guide on optimizing blog content, landing pages, SEO, email, and social media for better performance through strategic improvements and testing. It emphasizes key practices such as using effective calls-to-action (CTAs), optimizing blog post headlines, internal linking for SEO, and landing page design to enhance user engagement and conversion rates. The importance of a holistic marketing approach that leverages these channels in unison is also highlighted for a better overall user experience.


