The document provides examples of commands for using the Navisphere CLI to manage various aspects of an EMC storage system, such as:
1. Listing front-end port speeds, rebooting the SP, getting disk and RAID group information, setting cache parameters, creating RAID groups, binding and modifying LUNs.
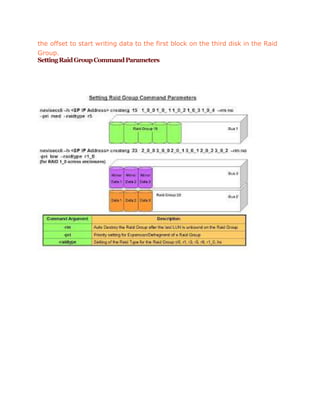
2. Creating storage groups, adding LUNs to storage groups and connecting hosts to storage groups.
3. Summarizing how to calculate the stripe size of a LUN based on the RAID type and number of disks in the RAID group.
![GeneralCommandsforNavisphereCLI
EMC CLI
naviseccli -User [name] -Password [ ] -Scope 0 -address 10.1.111.11 -f
spagetallgetall
Physical Container-Front End Ports Speeds
naviseccli –h 10.124.23.128 port –list -sfpstate
naviseccli –h 10.124.23.128 –setsp a –portid 0 2
naviseccli –h 10.124.23.128 backendbus –get –speeds 0
SP Reboot and Shutdown GUI
naviseccli –h 10.124.23.128 rebootsp
naviseccli –h 10.124.23.128 resetandhold
Disk Summary
naviseccli –h 10.124.23.128 getdisk
naviseccli –h 10.124.23.128 getdisk 0_0_9 (Bus_Enclosure_Disk - specific
disk)
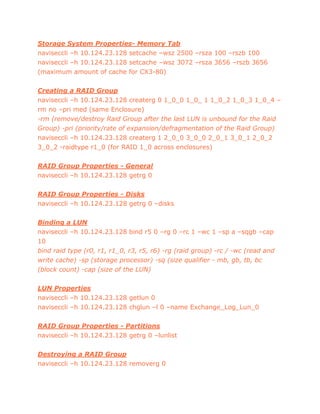
Storage System Properties- Cache Tab
naviseccli –h 10.124.23.128 getcache
naviseccli –h 10.124.23.128 setcache –wc 0 –rca 0 –rcb 0 (to disable Write
and Read Cache)
naviseccli –h 10.124.23.128 setcache –p 4 –l 50 –h 70 (Set Page Size to 4
KB, Low WaterMark to 50%, and High WaterMark to 70%)
naviseccli –h 10.124.23.128 setcache –wc 1 –rca 1 –rcb 1 (to enable Write
and Read Cache)](https://image.slidesharecdn.com/generalcommandsfornavispherecli-130823041115-phpapp02/85/General-commands-for-navisphere-cli-1-320.jpg)