The document discusses various tools and equipment used in the production of a film trailer, including:
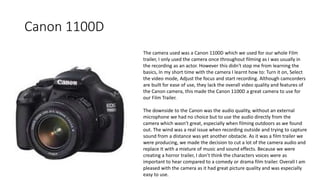
- A Canon 1100D camera that provided good video quality but poor audio quality without an external microphone.
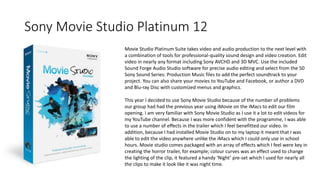
- Sony Movie Studio Platinum 12 software for editing the video, which the author was familiar with and allowed editing on a laptop.
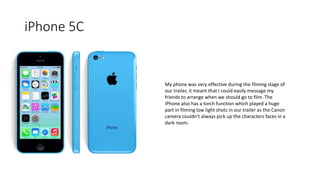
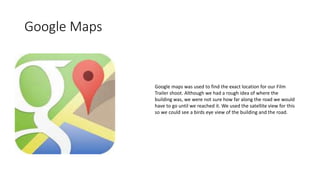
- Blogger for organizing coursework, a tripod for steady shots, an iPhone for communication and low light filming, and Google Maps to locate the filming location.
- Additional influences included horror film trailers viewed at an Odeon cinema, fonts from Dafont.com, and communication via Facebook Messenger.