Download to read offline

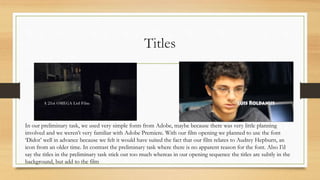
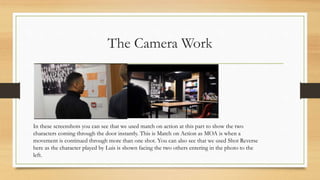
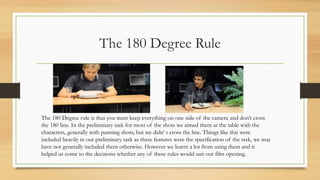
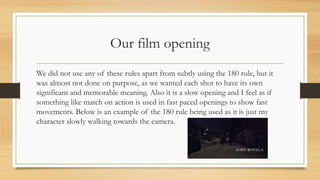
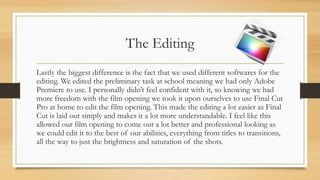

The document compares a preliminary task film to an opening sequence film created by the author. The opening sequence featured more planning, a font suited to the film's subject of Audrey Hepburn, and subtly placed titles. Camera techniques like match on action and shot reverse were used in the preliminary task to follow specifications but were less prominent in the opening sequence. Editing software also differed between the two projects, allowing for a more polished opening sequence edited in Final Cut Pro compared to Adobe Premiere for the preliminary task.


