Downloaded 40 times


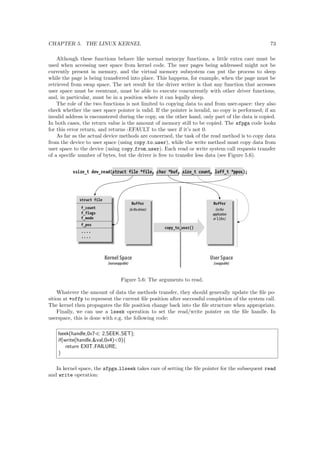
![cation;
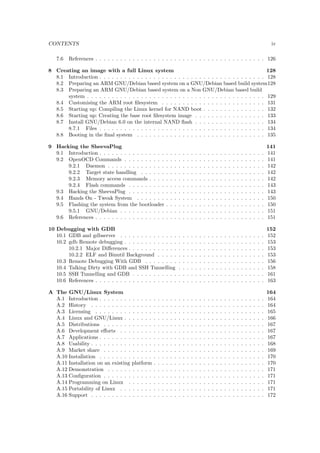
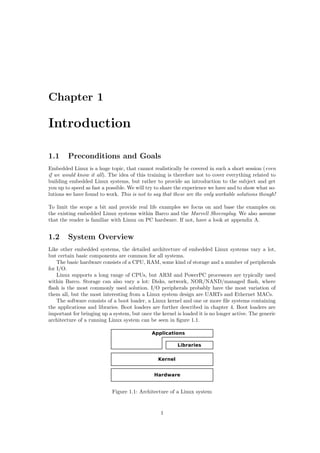
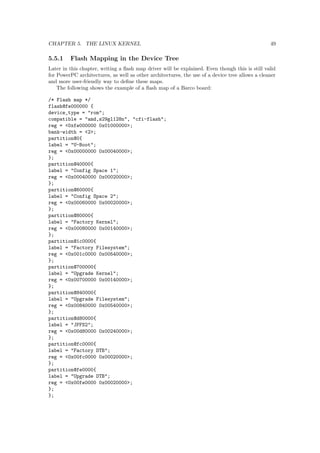
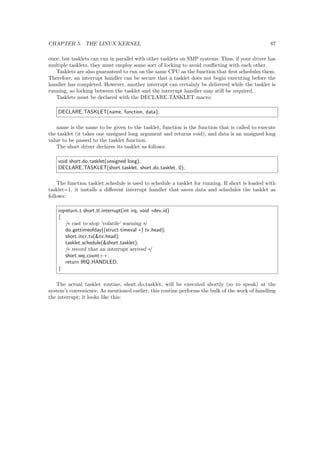
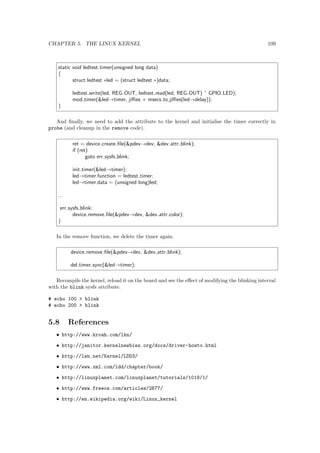
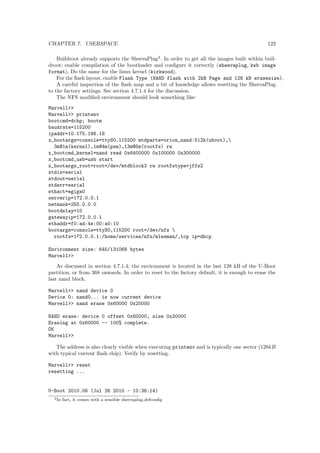
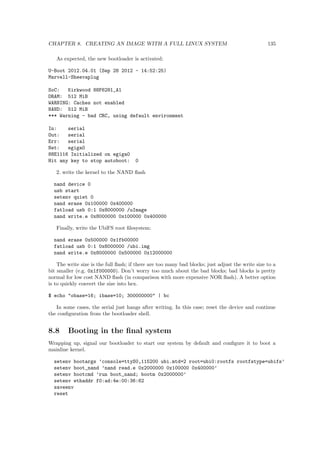
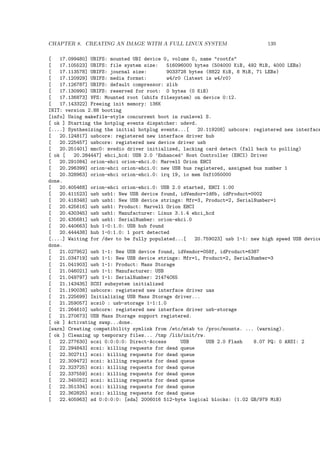
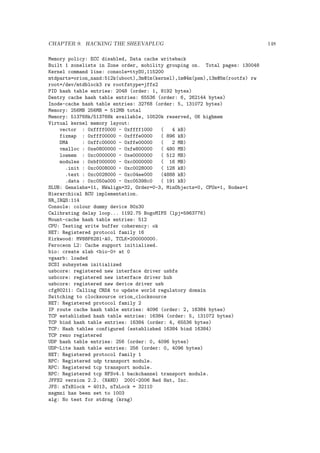
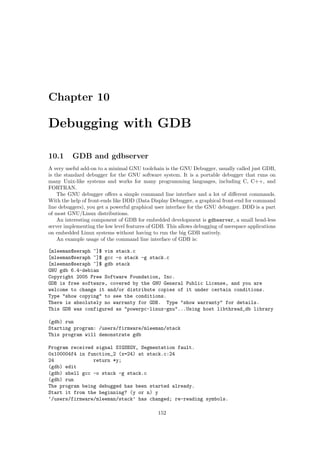
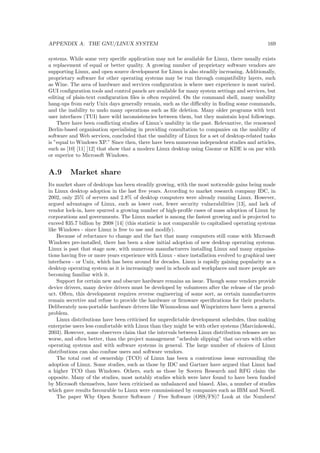
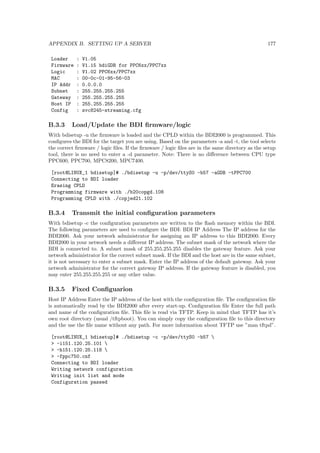
the NSLU can serve as full
edged Linux server, keeping into account the hardware limitations of
e.g. 32 MB memory.
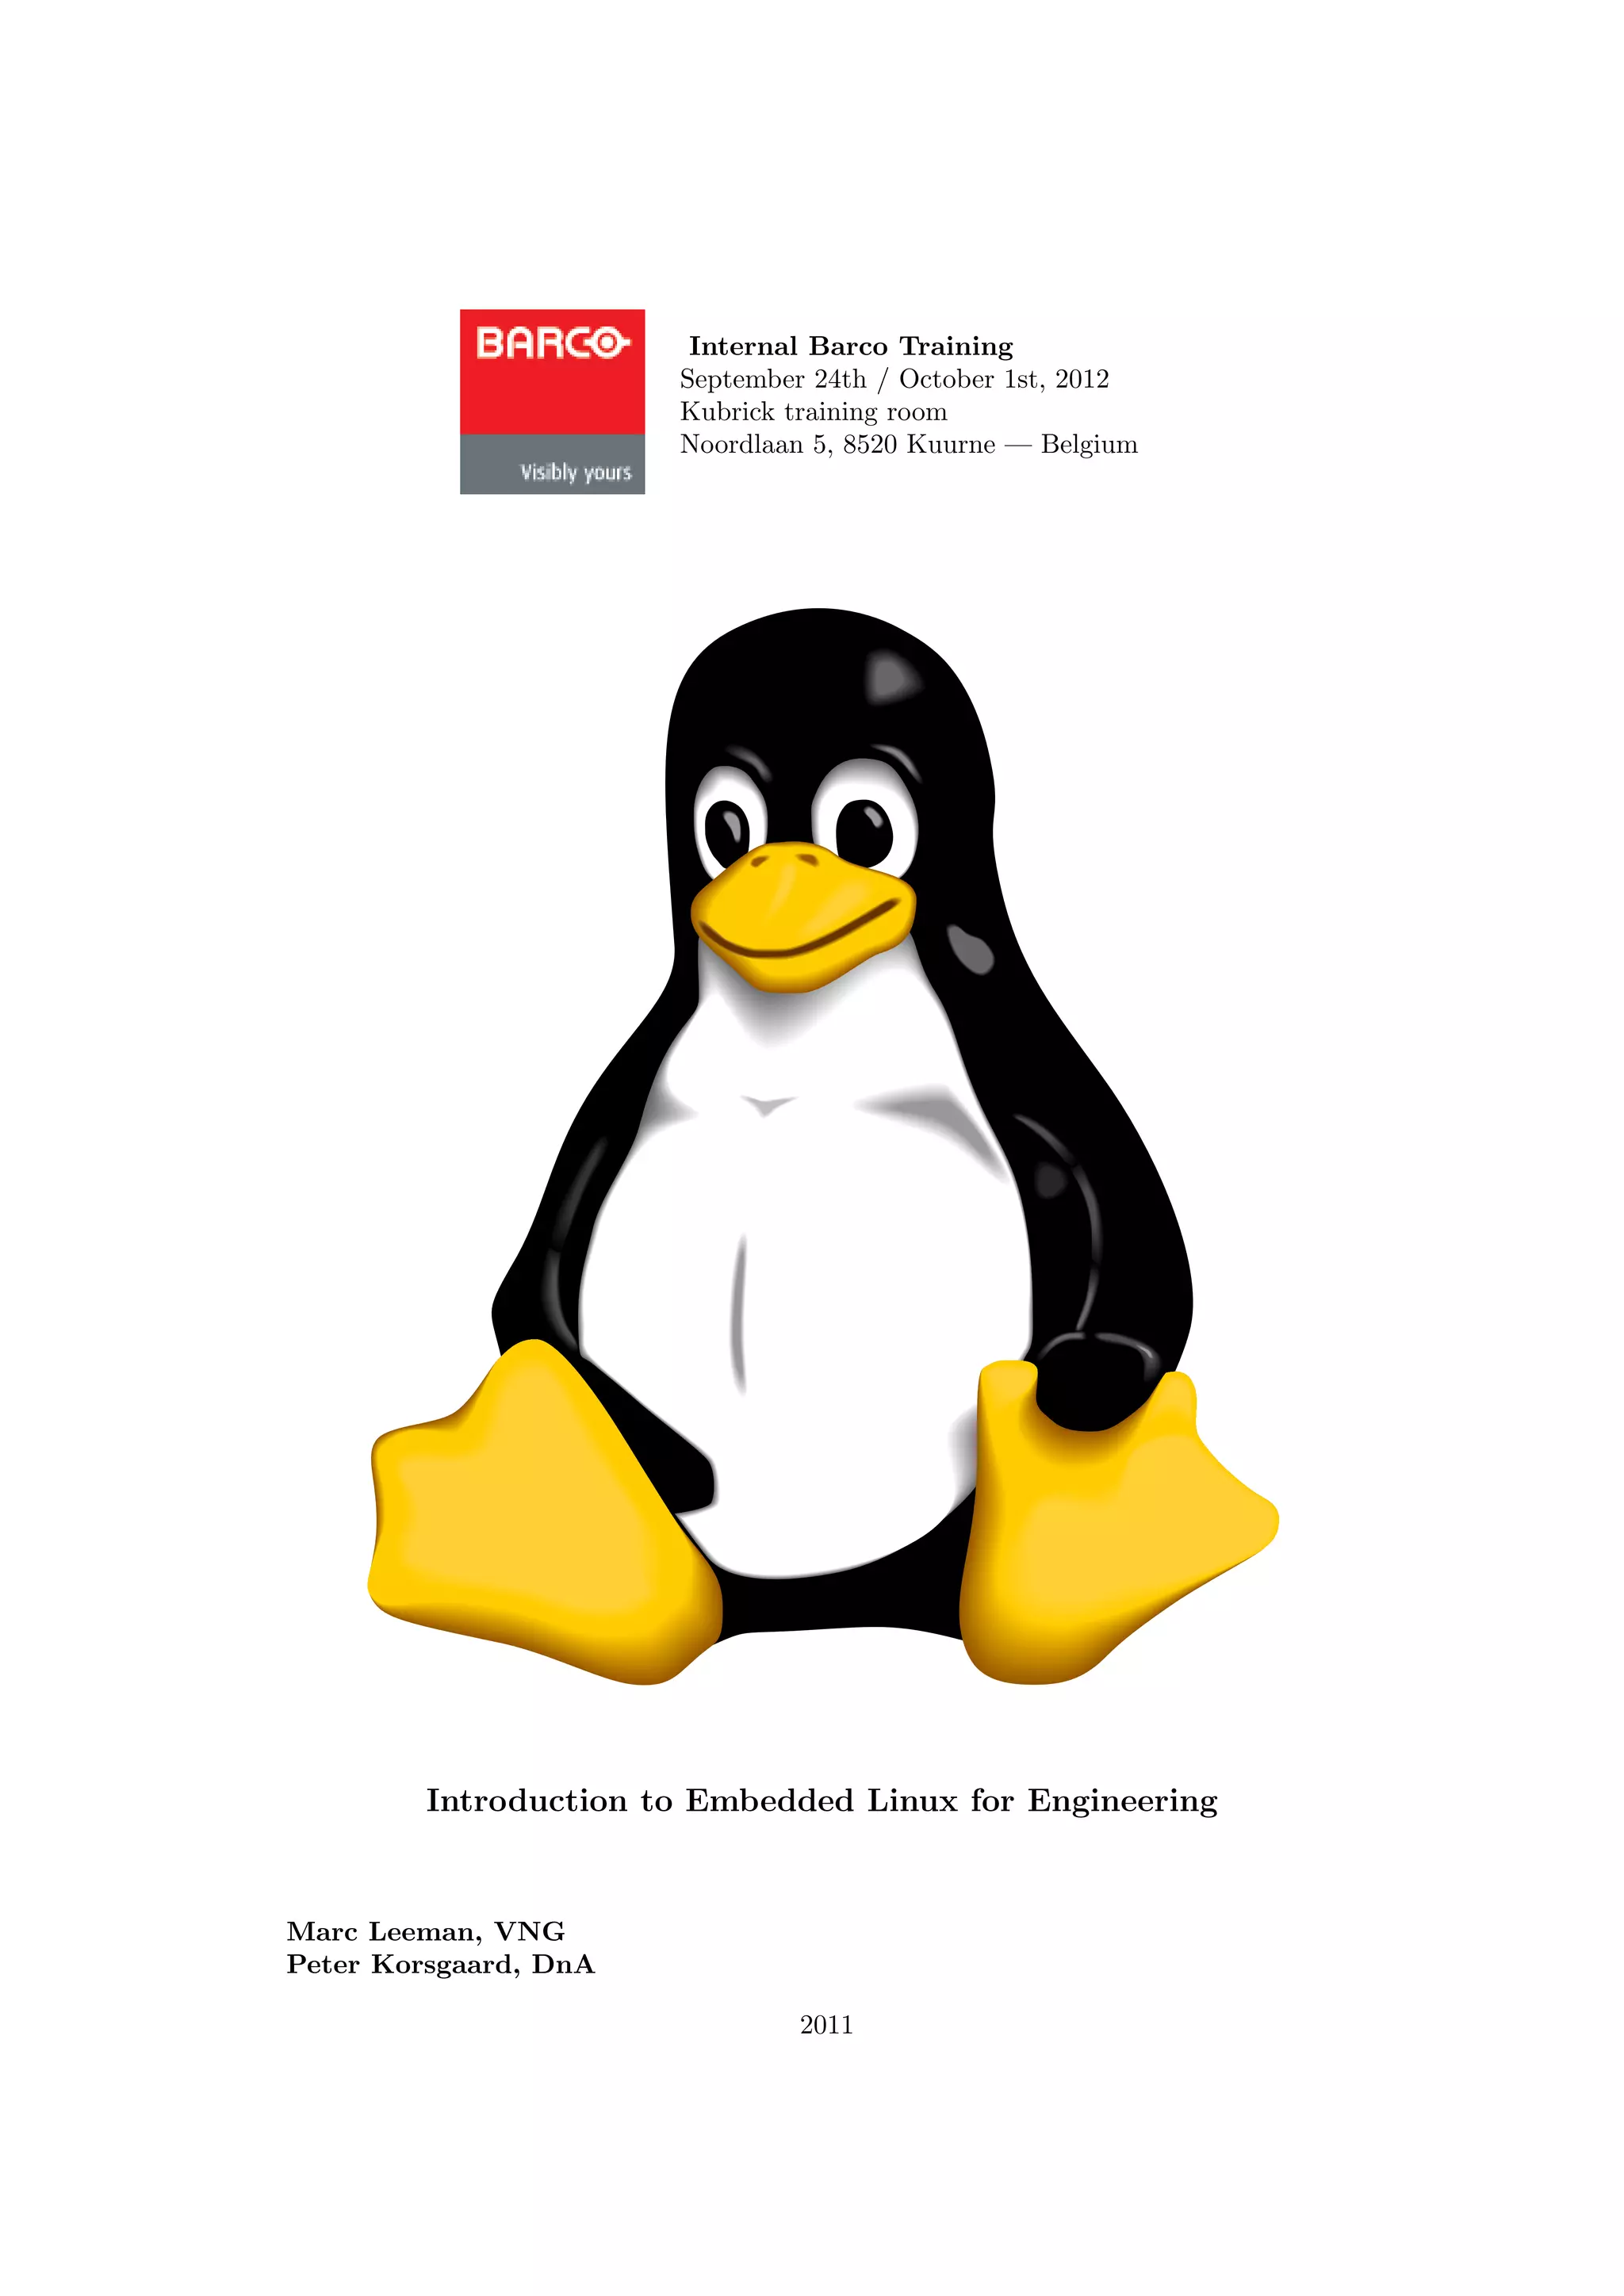
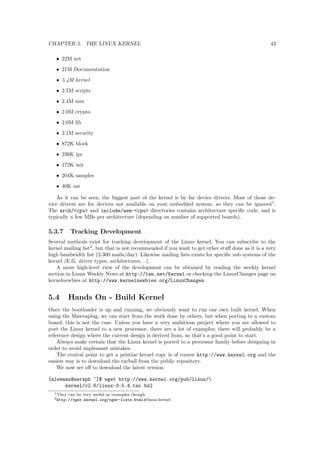
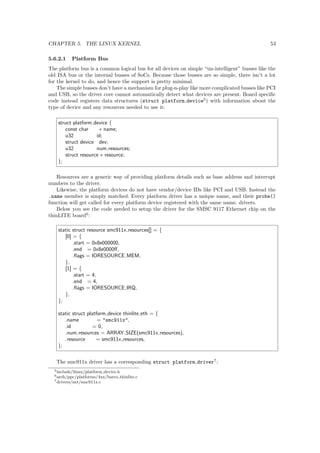
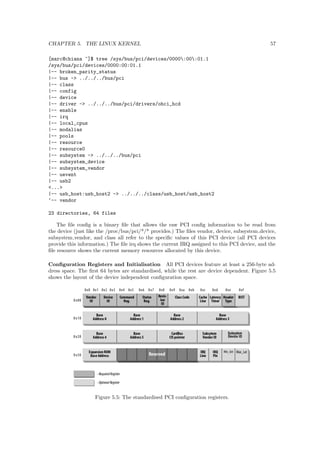
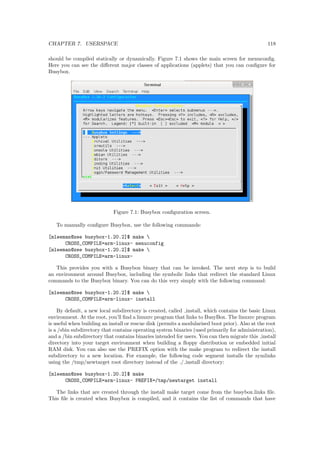
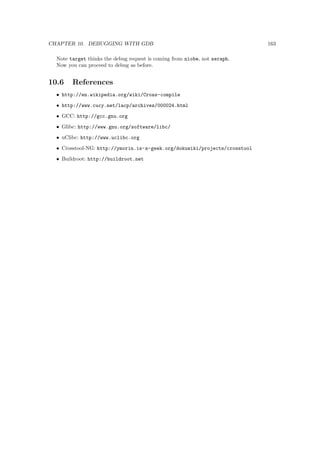
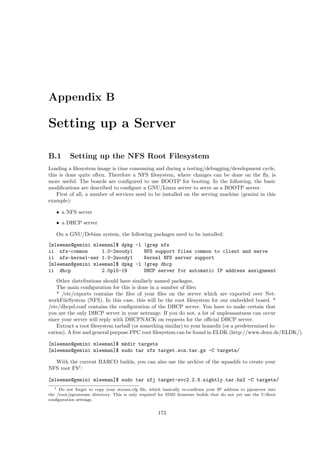
[marc@chiana ~]$ cat /proc/cpuinfo
Processor : XScale-IXP42x Family rev 1 (v5l)
BogoMIPS : 266.24
Features : swp half fastmult edsp
CPU implementer : 0x69
CPU architecture: 5TE
CPU variant : 0x0
CPU part : 0x41f
CPU revision : 1
Cache type : undefined 5
Cache clean : undefined 5
Cache lockdown : undefined 5
Cache format : Harvard
I size : 32768
I assoc : 32
I line length : 32
I sets : 32
D size : 32768
D assoc : 32
D line length : 32
D sets : 32
Hardware : Linksys NSLU2
Revision : 0000
Serial : 0000000000000000
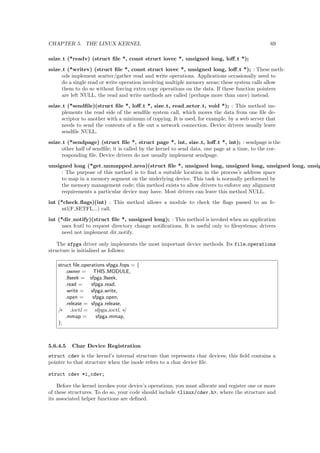
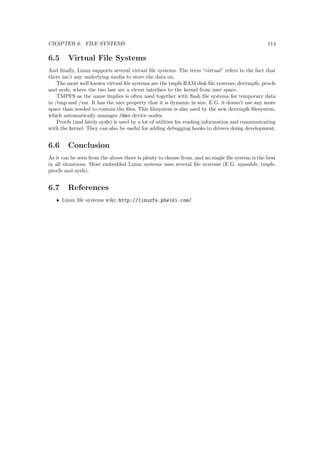
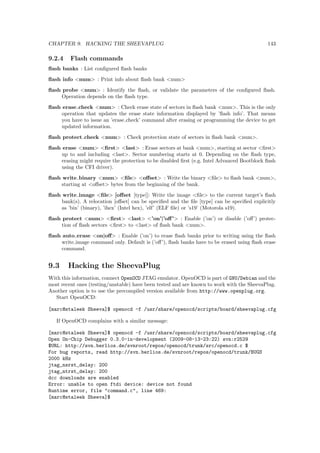
When the external HDD is replaced by a
ash memory pen, the full power of the NSLU2 is
unleashed: a running Linux system can be used with as little as 4 Watt power consumption. Some
people use it for e.g. Domotics control (EIB), network access points for all kinds of USB devices,
ssh tunnel server, bittorrent downloader, . . .
The price of a NSLU2 used to be around 70 Euros.
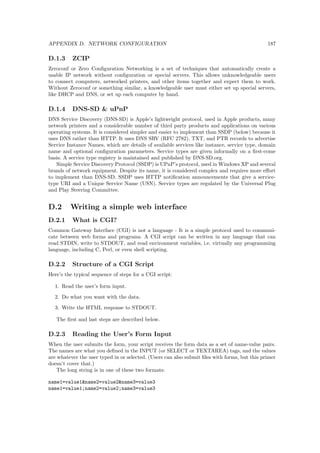
1.3.4 Bualo Linkstation Live
Unfortunately, the NSLU2 is being made obsolete in the course of 2008, but a good candidate to
replace the niche left by the NSLU2 is the Bualo Linkstatation Live (see Figure 1.5).
Two of the drawbacks for the NSLU2 were the limited CPU clocking (133 or 266 for newer
devices) and only 32 MB of memory. In contrast, the Linkstation Live pictured here, has an ARM9
CPU core, clocked at 400 MHz and 128 MB of memory. Especially for running a home server; the
additional memory comes in handy for multiple concurrent processes.
Again, the stock](https://image.slidesharecdn.com/embeddedlinuxbarco-20121001-141028164046-conversion-gate02/85/Embedded-linux-barco-20121001-52-320.jpg)

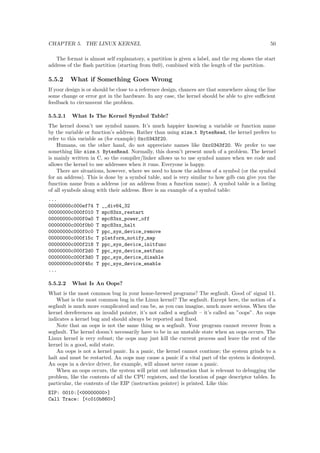
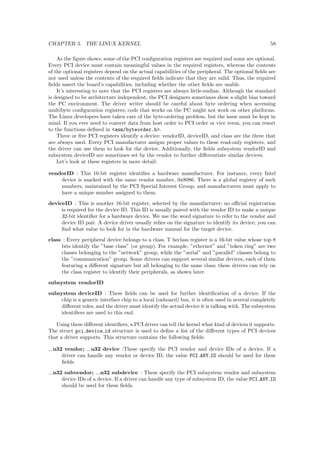
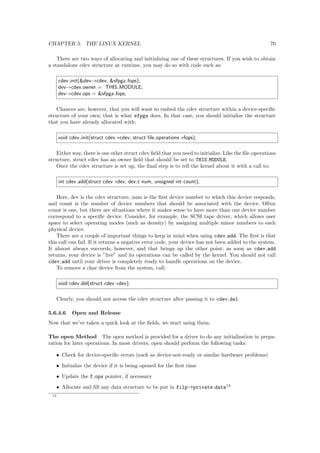
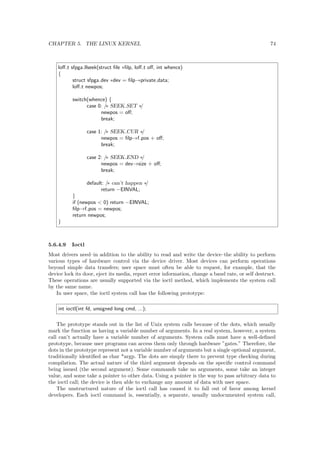
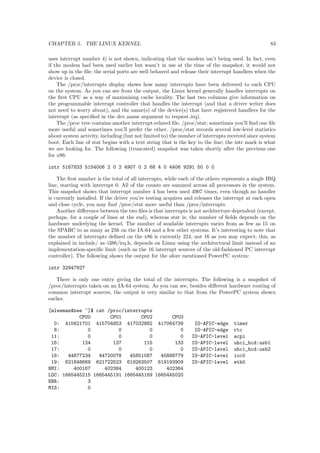
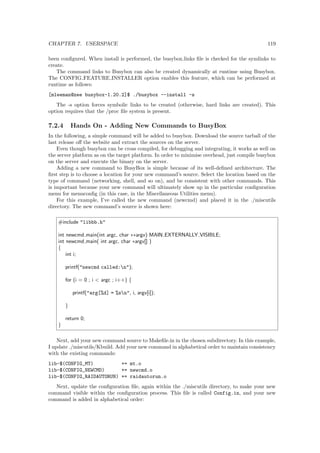
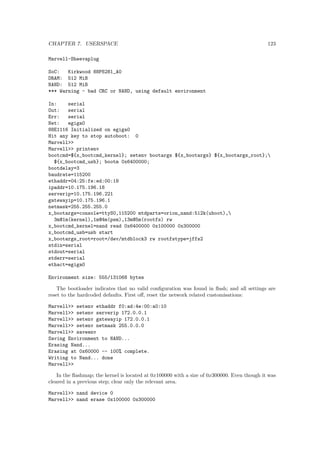
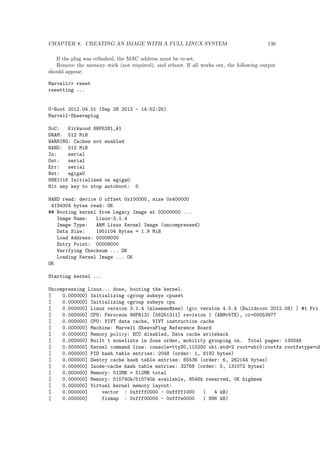
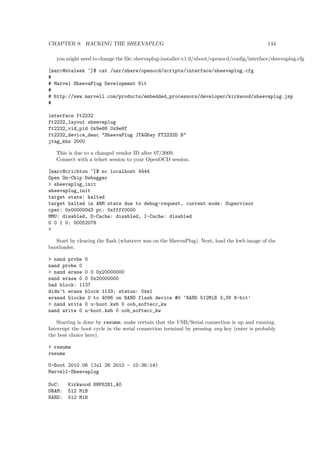
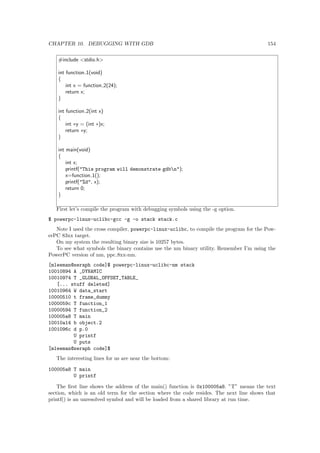
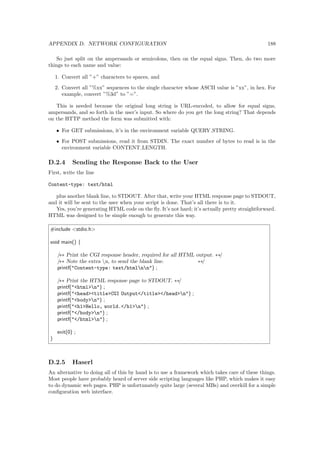
![CHAPTER 2. CROSS COMPILATION TOOLCHAIN 12
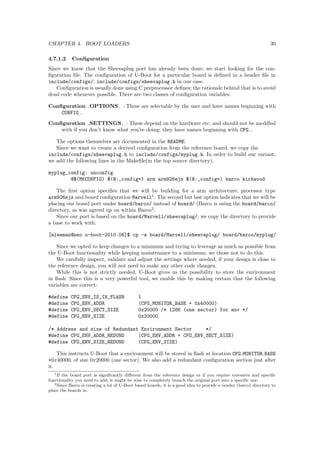
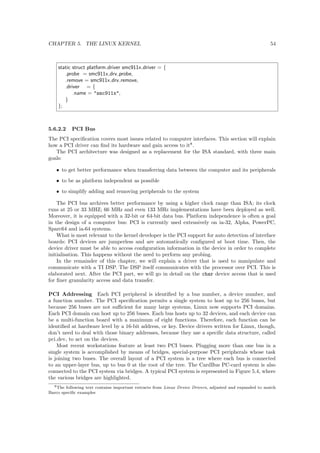
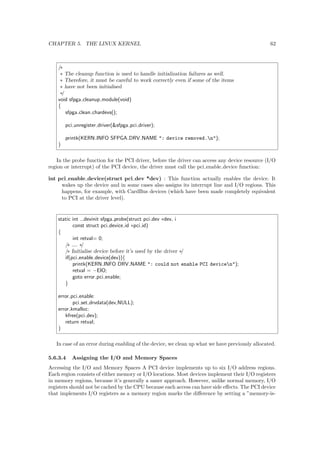
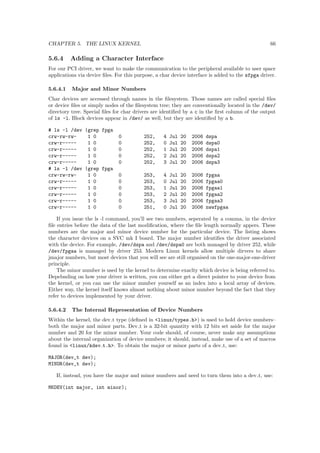
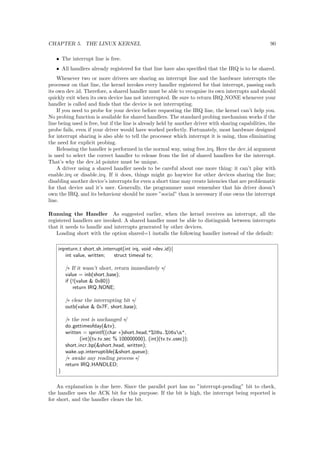
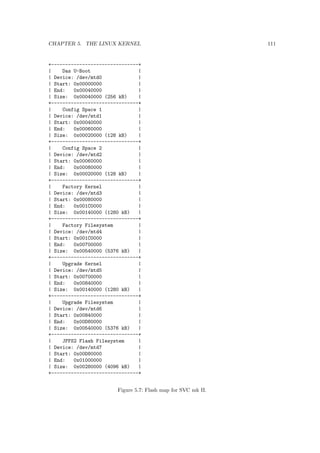
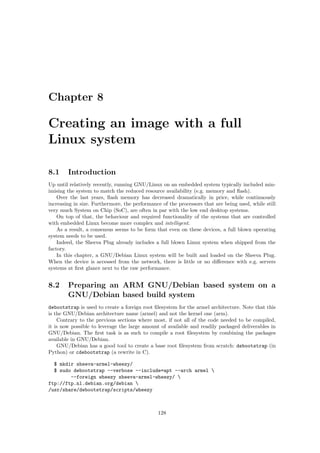
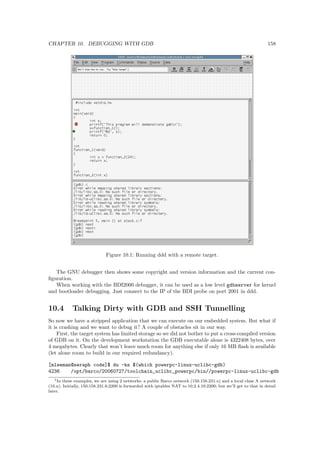
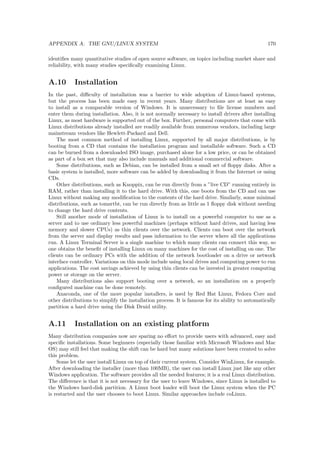
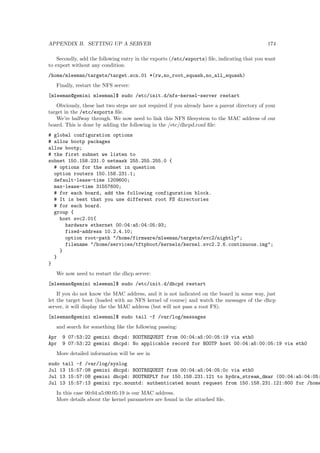
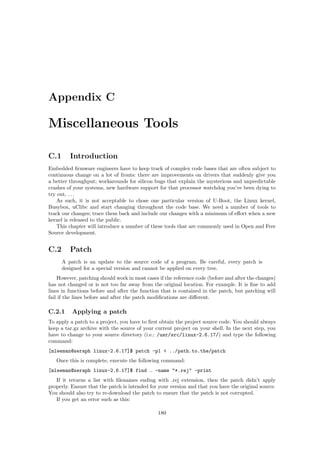
Figure 2.1: http://buildroot.net
Buildroot until recently didn't have releases on a regular basis, but that has luckily changed.
As for getting the source, we take the latest version available (or you can check out the sources
with git).
[mleeman@cypher code]$ wget http://www.buildroot.net/downloads/
buildroot-2012.08.tar.bz2
[mleeman@cypher code]$ tar jxf buildroot-2012.08.tar.bz2
[mleeman@cypher code]$ cd buildroot-2012.08
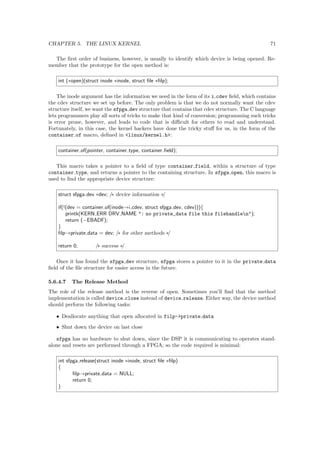
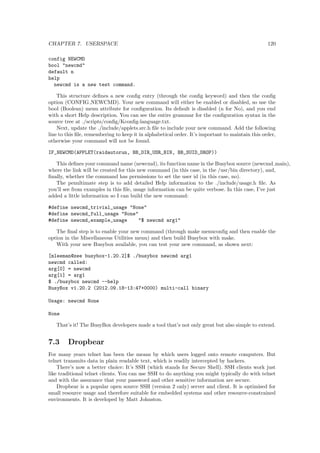
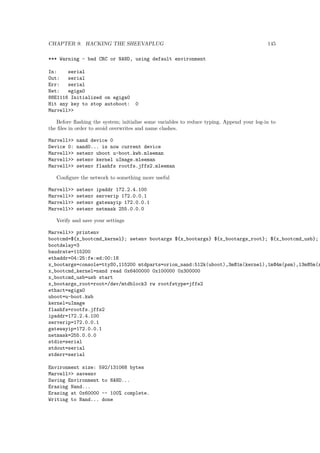
2.5.2 Con](https://image.slidesharecdn.com/embeddedlinuxbarco-20121001-141028164046-conversion-gate02/85/Embedded-linux-barco-20121001-84-320.jpg)
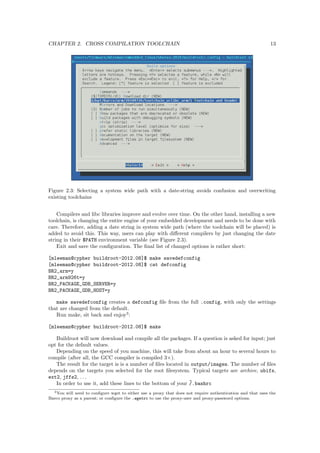
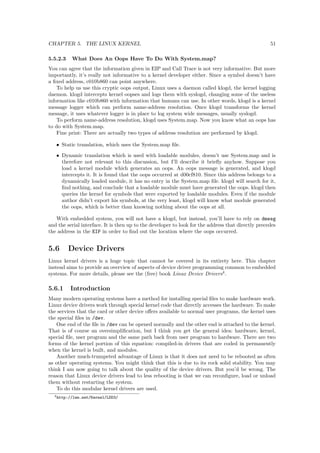
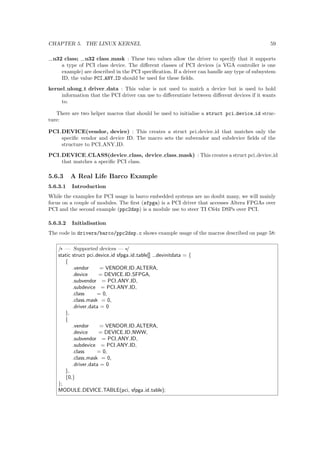
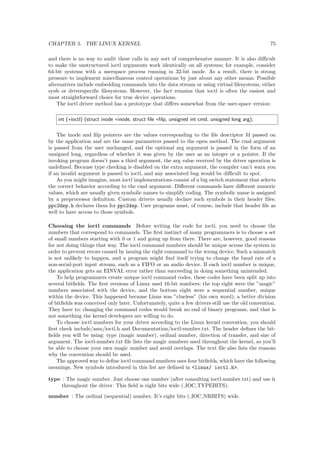
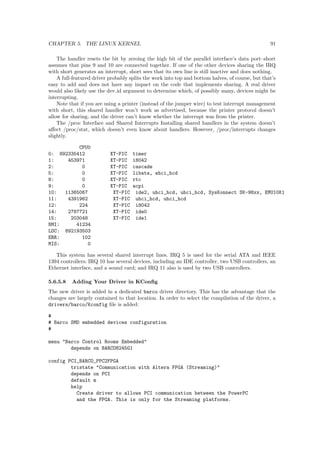
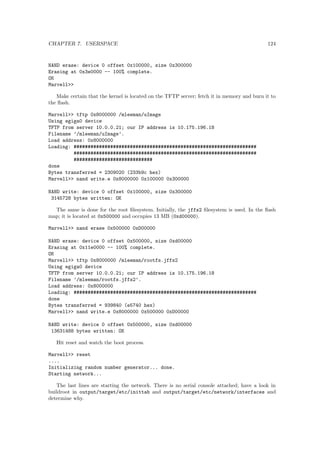
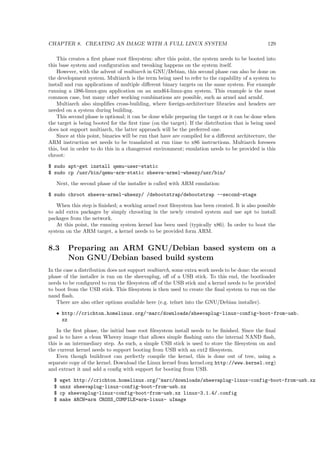
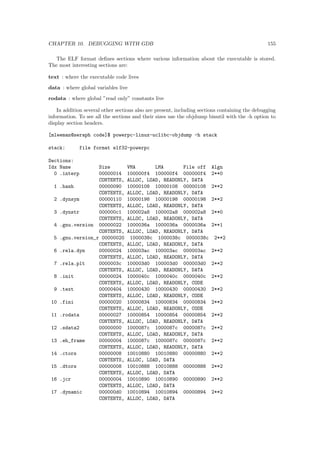
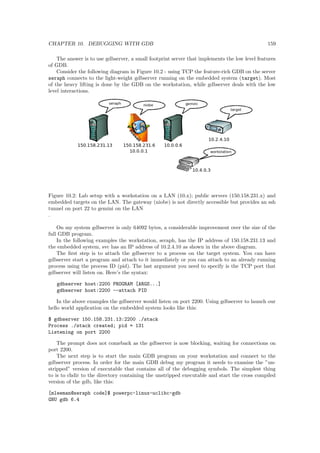
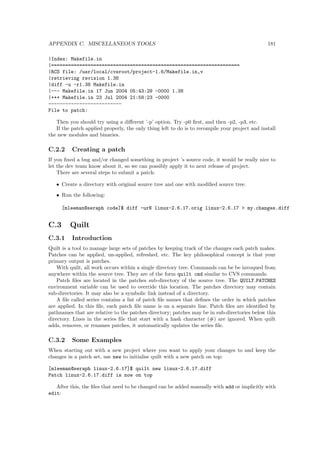
![guring
[mleeman@cypher buildroot-2012.08]$ make menuconfig
As for most projects that tackle the complexity of creating a kernel; the con](https://image.slidesharecdn.com/embeddedlinuxbarco-20121001-141028164046-conversion-gate02/85/Embedded-linux-barco-20121001-85-320.jpg)
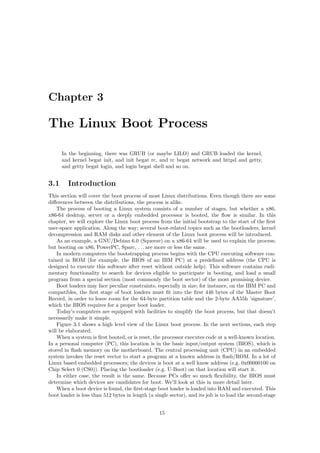
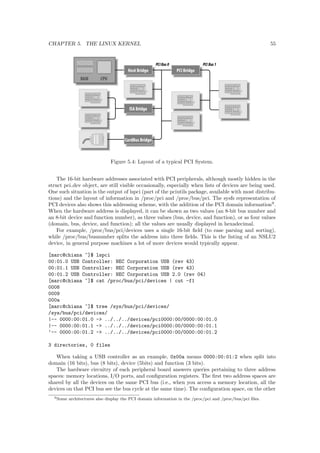
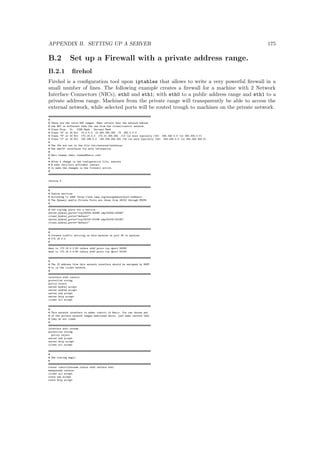
![nal list of changed options is rather short:
[mleeman@cypher buildroot-2012.08]$ make savedefconfig
[mleeman@cypher buildroot-2012.08]$ cat defconfig
BR2_arm=y
BR2_arm926t=y
BR2_PACKAGE_GDB_SERVER=y
BR2_PACKAGE_GDB_HOST=y
make savedefconfig creates a defconfig](https://image.slidesharecdn.com/embeddedlinuxbarco-20121001-141028164046-conversion-gate02/85/Embedded-linux-barco-20121001-96-320.jpg)
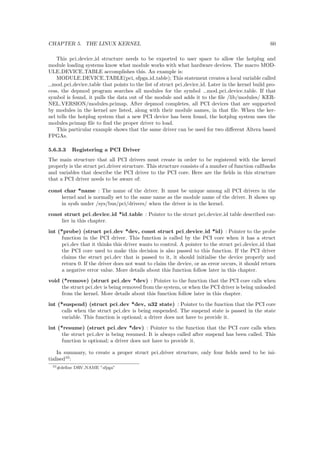
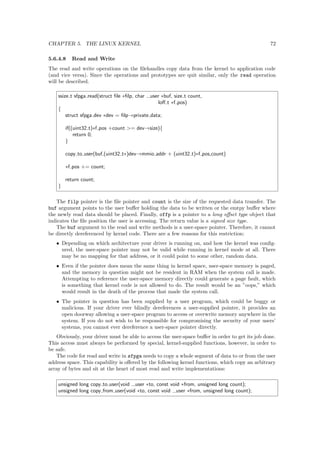
![le from the full .config, with only the settings
that are changed from the default.
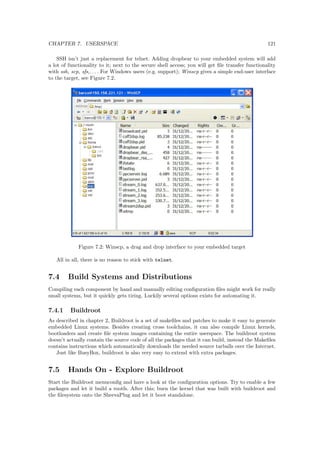
Run make, sit back and enjoy3:
[mleeman@cypher buildroot-2012.08]$ make
Buildroot will now download and compile all the packages. If a question is asked for input; just
opt for the default values.
Depending on the speed of you machine, this will take from about an hour to several hours to
compile (after all, the GCC compiler is compiled 3).
The result for the target is is a number of](https://image.slidesharecdn.com/embeddedlinuxbarco-20121001-141028164046-conversion-gate02/85/Embedded-linux-barco-20121001-97-320.jpg)
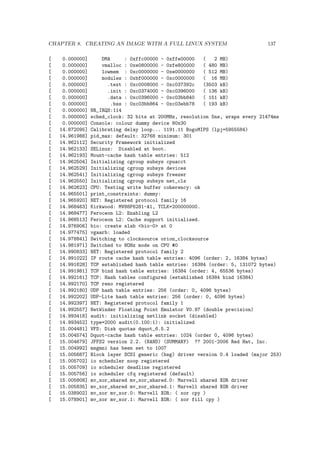
![CHAPTER 2. CROSS COMPILATION TOOLCHAIN 14
PATH=/users/firmware/mleeman/Development/
buildroot-2012.08/buildroot-2012.08/
output/host/usr/bin:$PATH
export PATH
and re-source your .bashrc
[mleeman@neo buildroot]$ . ~/.bashrc
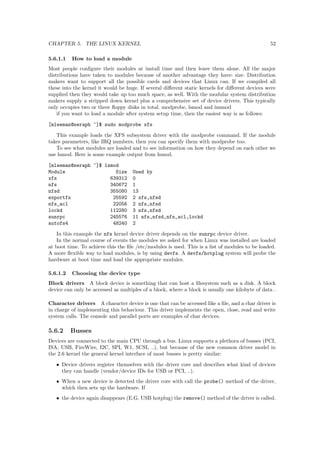
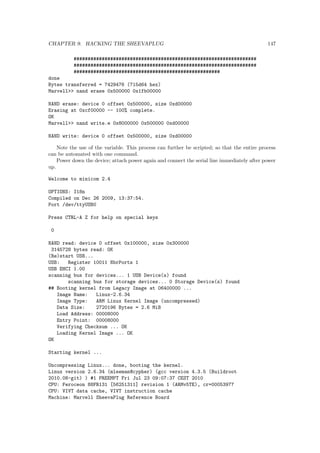
A](https://image.slidesharecdn.com/embeddedlinuxbarco-20121001-141028164046-conversion-gate02/85/Embedded-linux-barco-20121001-103-320.jpg)
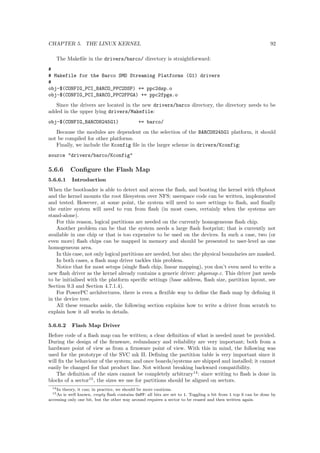
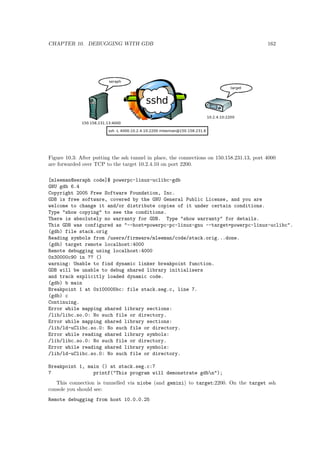
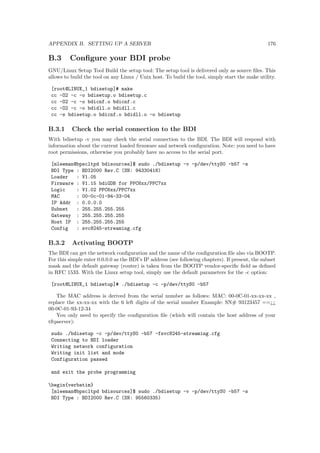
![nal check of our toolchain should result in:
[mleeman@cypher bin]$ ./arm-unknown-linux-uclibcgnueabi-gcc -v
Using built-in specs.
COLLECT_GCC=./arm-unknown-linux-uclibcgnueabi-gcc
COLLECT_LTO_WRAPPER=/users/firmware/mleeman/Development/buildroot-2012.08/buildroot-2012.08/output/host/usr/libexec/gcc/arm-unkTarget: arm-unknown-linux-uclibcgnueabi
...
Thread model: posix
gcc version 4.7.1 (Buildroot 2012.08)
2.5.3 Finishing up
After creating the toolchain, we want to distribute it in a clean fashion to other machines of similar
architecture (e.g. colleagues debugging in the](https://image.slidesharecdn.com/embeddedlinuxbarco-20121001-141028164046-conversion-gate02/85/Embedded-linux-barco-20121001-104-320.jpg)
![eld with laptops).
In order to do that; select a location more suitable than a home directory
(/opt/barco/arm/20120911/toolchain uclibc arm/); and build the toolchain there.
Assuming you've built the toolchain on a comparable machine, use the following command to
package the toolchain in a Debian package:
[mleeman@neo buildroot-20120911]$ tar cvfz toolchain_arm_uclibc_20120911.tar.gz
/opt/barco/arm/20120911/
[mleeman@neo buildroot-20120911]$ fakeroot alien --fixperms
toolchain_arm_uclibc_20120911.tar.gz
toolchain-arm-uclibc-20120911_1-2_all.deb generated
Note that we put the time stamp in the package name, instead as in the version name; since
we want to allow dierent version to exist next to each other after installation. If not, installing a
package with a more recent version will replace (and remove) the other package.
2.6 References
Cross Compile: http://en.wikipedia.org/wiki/Cross-compile
Remote Debugging: http://www.cucy.net/lacp/archives/000024.html
GCC: http://gcc.gnu.org
Glibc: http://www.gnu.org/software/libc/
uClibc: http://www.uclibc.org
Crosstool-NG: http://ymorin.is-a-geek.org/projects/crosstool
Buildroot: http://buildroot.net
Embedded Linux Development Kit (ELDK): http://www.denx.de/wiki/DULG/ELDK](https://image.slidesharecdn.com/embeddedlinuxbarco-20121001-141028164046-conversion-gate02/85/Embedded-linux-barco-20121001-105-320.jpg)


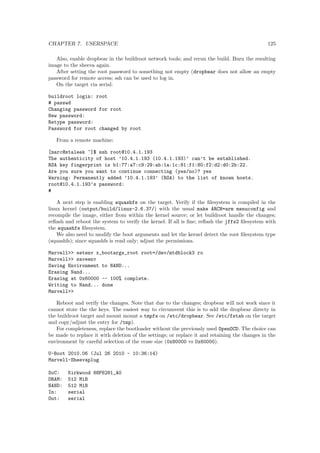

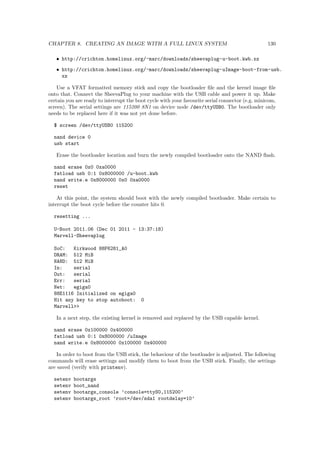


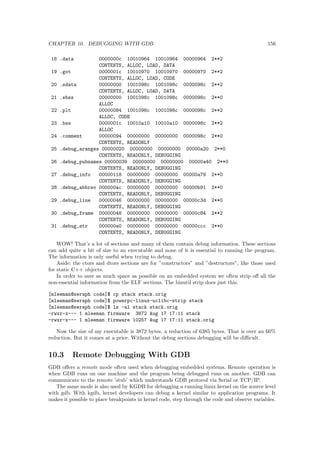
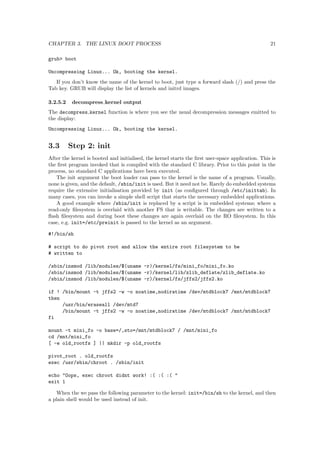
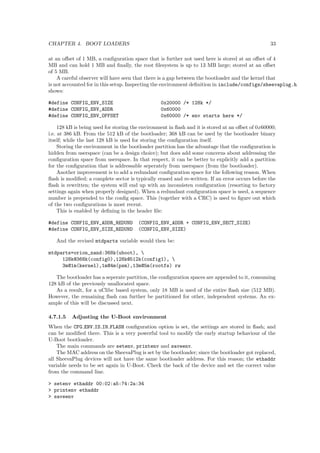
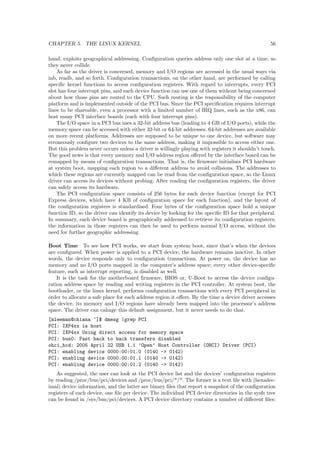
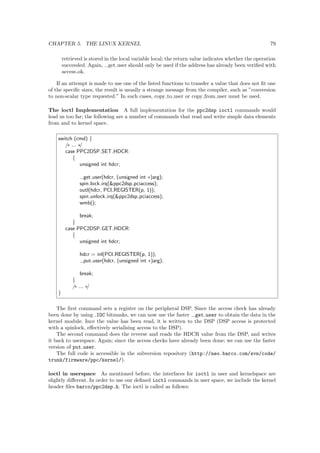
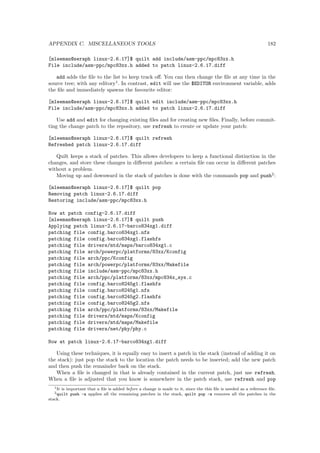
![c kernel with a named initrd image as
follows:
grub kernel /bzImage-2.6.22.6
[Linux-bzImage, setup=0x1400, size=0x29672e]
grub initrd /initrd-2.6.22.6.img
[Linux-initrd @ 0x5f13000, 0xcc199 bytes]](https://image.slidesharecdn.com/embeddedlinuxbarco-20121001-141028164046-conversion-gate02/85/Embedded-linux-barco-20121001-168-320.jpg)


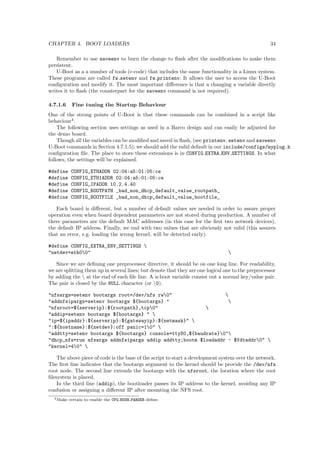
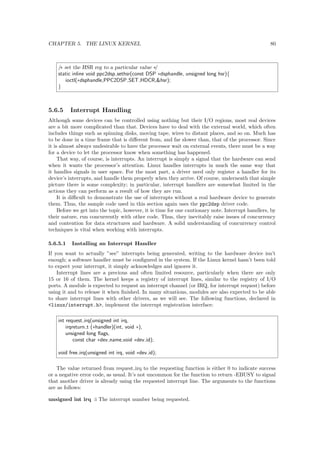
![lesystem. In this
case, e.g. init=/etc/preinit is passed to the kernel as an argument.
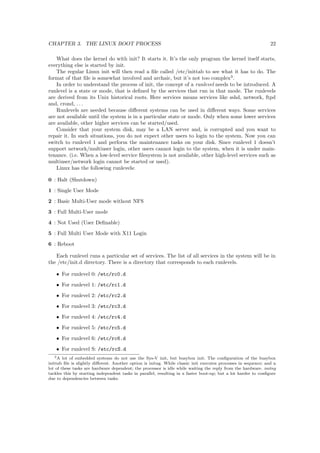
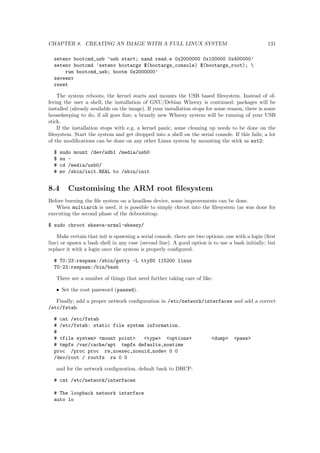
#!/bin/sh
# script to do pivot root and allow the entire root filesystem to be
# written to
/sbin/insmod /lib/modules/$(uname -r)/kernel/fs/mini_fo/mini_fo.ko
/sbin/insmod /lib/modules/$(uname -r)/kernel/lib/zlib_deflate/zlib_deflate.ko
/sbin/insmod /lib/modules/$(uname -r)/kernel/fs/jffs2/jffs2.ko
if ! /bin/mount -t jffs2 -w -o noatime,nodiratime /dev/mtdblock7 /mnt/mtdblock7
then
/usr/bin/eraseall /dev/mtd7
/bin/mount -t jffs2 -w -o noatime,nodiratime /dev/mtdblock7 /mnt/mtdblock7
fi
mount -t mini_fo -o base=/,sto=/mnt/mtdblock7 / /mnt/mini_fo
cd /mnt/mini_fo
[ -e old_rootfs ] || mkdir -p old_rootfs
pivot_root . old_rootfs
exec /usr/sbin/chroot . /sbin/init
echo Oops, exec chroot didnt work! :( :( :(
exit 1
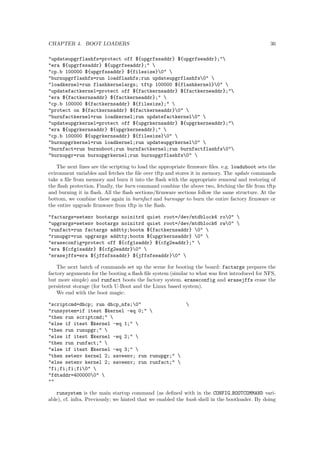
When the we pass the following parameter to the kernel: init=/bin/sh to the kernel, and then
a plain shell would be used instead of init.](https://image.slidesharecdn.com/embeddedlinuxbarco-20121001-141028164046-conversion-gate02/85/Embedded-linux-barco-20121001-175-320.jpg)
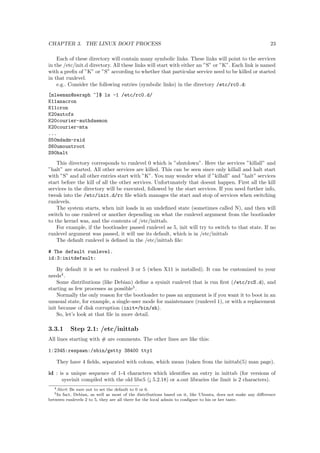
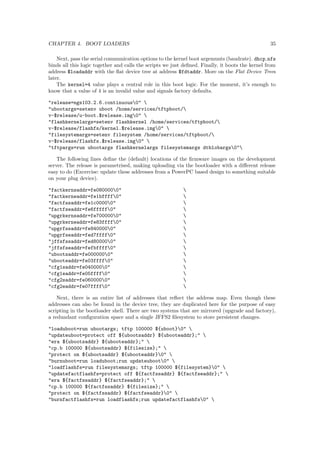
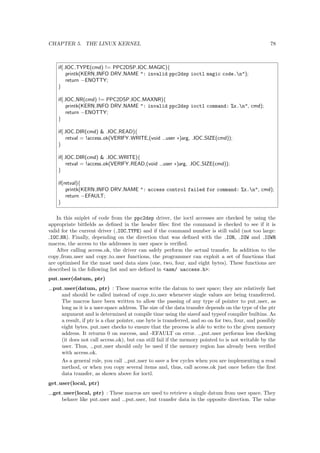
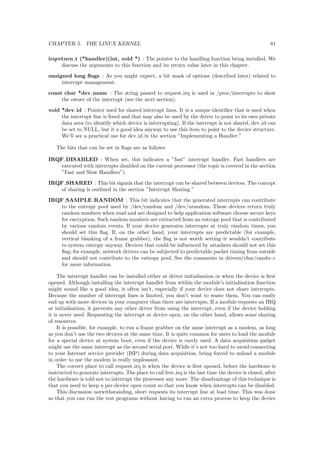
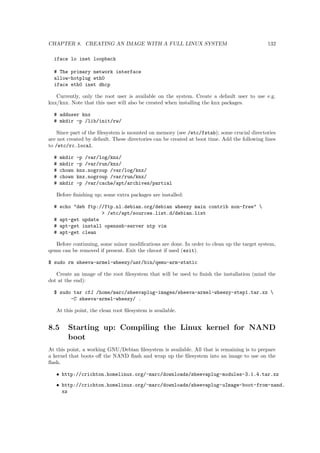
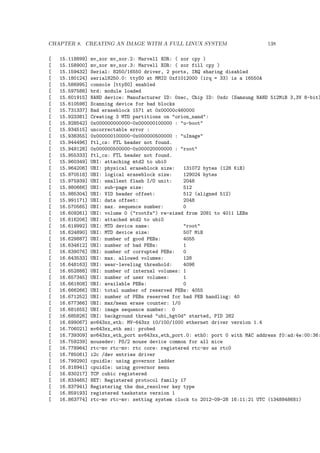
![x of K or S according to whether that particular service need to be killed or started
in that runlevel.
e.g.. Consider the following entries (symbolic links) in the directory /etc/rc0.d:
[mleeman@seraph ~]$ ls -1 /etc/rc0.d/
K11anacron
K11cron
K20autofs
K20courier-authdaemon
K20courier-mta
...
S50mdadm-raid
S60umountroot
S90halt
This directory corresponds to runlevel 0 which is shutdown. Here the services killall and
halt are started. All other services are killed. This can be seen since only killall and halt start
with S and all other entries start with K. You may wonder what if killall and halt services
start before the kill of all the other services. Unfortunately that doesnt happen. First all the kill
services in the directory will be executed, followed by the start services. If you need further info,
tweak into the /etc/init.d/rc](https://image.slidesharecdn.com/embeddedlinuxbarco-20121001-141028164046-conversion-gate02/85/Embedded-linux-barco-20121001-186-320.jpg)


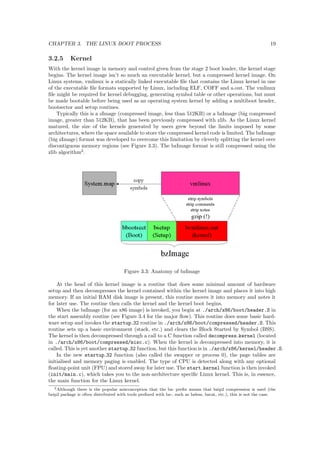
This document outlines an internal Barco training on embedded Linux for engineering. It covers topics like cross-compilation toolchains, the Linux boot process, bootloaders, and the Linux kernel, including building a kernel, device trees, device drivers, and a real-life Barco example. Hands-on sections provide examples for exploring U-Boot, replacing a bootloader, building a kernel, and more.