The document provides information about DNS (Domain Name System) including how it works and how to configure a DNS server in Windows Server 2012. It discusses:
- DNS resolves human-readable domain names to machine-readable IP addresses and other information.
- It works through a series of steps where the DNS server is queried to retrieve the IP address associated with a domain name.
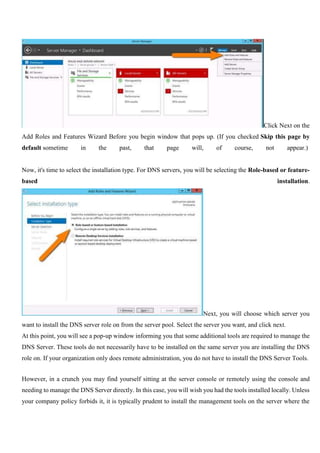
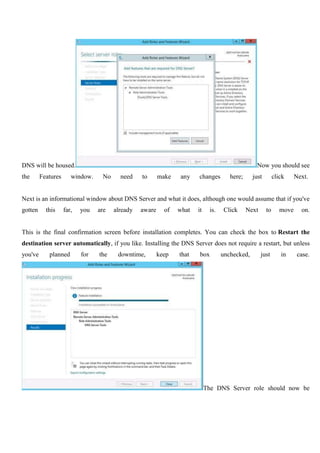
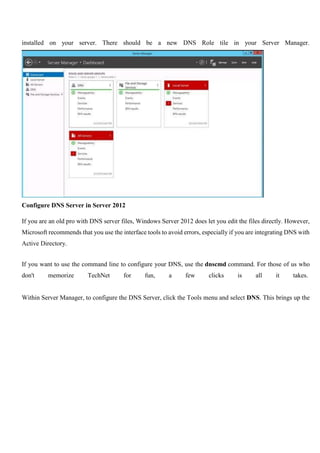
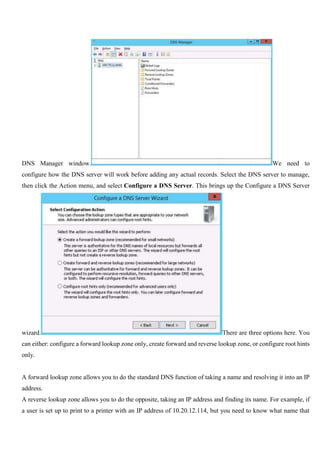
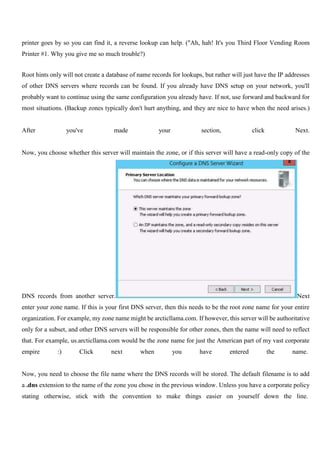
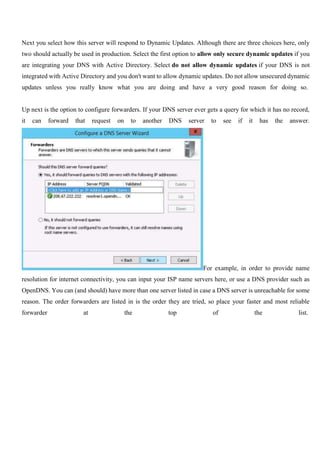
- Configuring a DNS server in Windows Server 2012 involves installing the DNS server role, then using the DNS Manager to configure zones, dynamic updates, and forwarders.