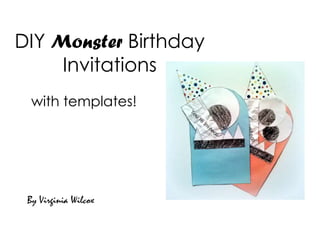
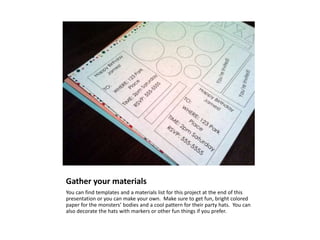
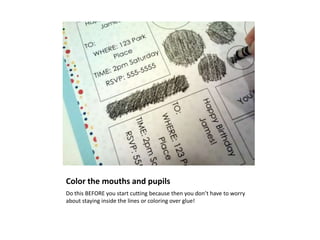
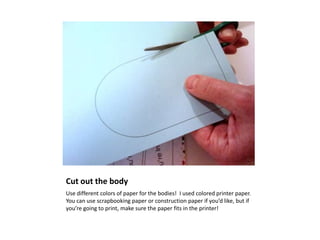
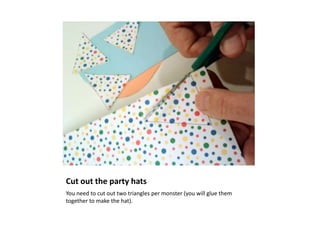
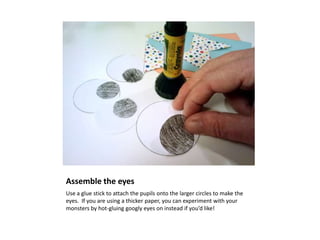
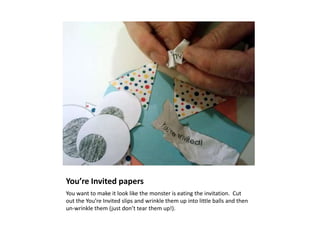
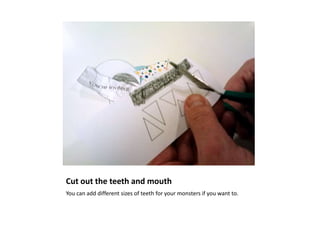
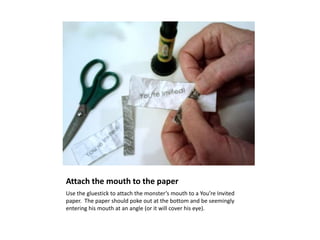
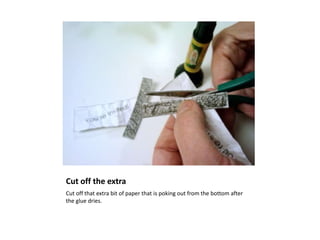
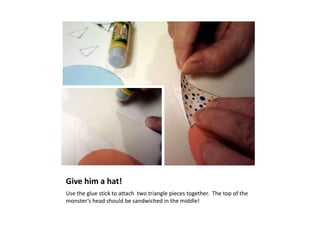
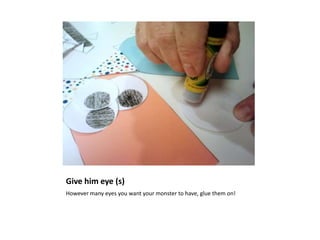
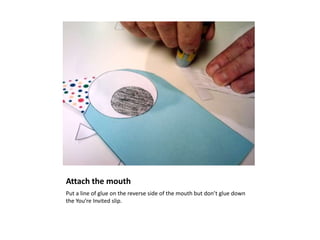
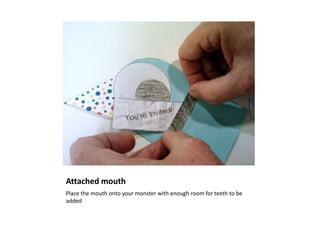
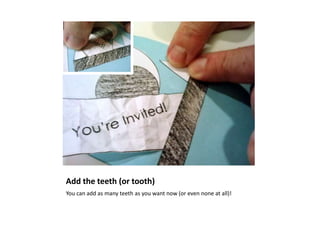
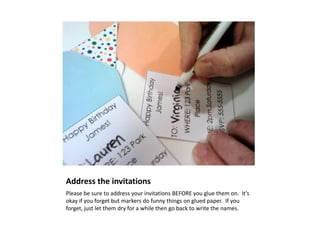
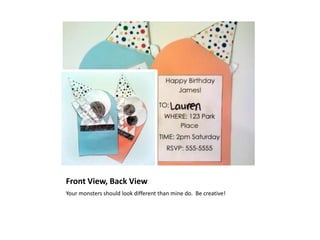
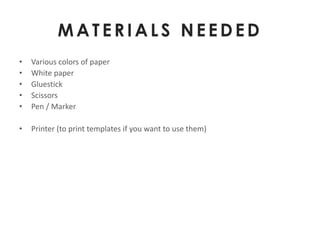
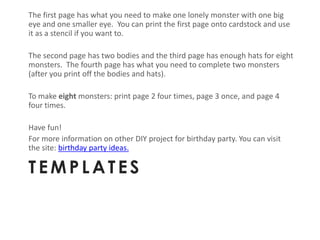
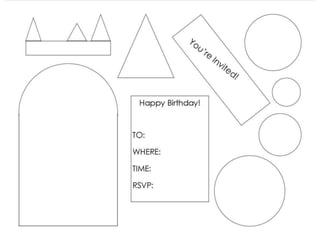
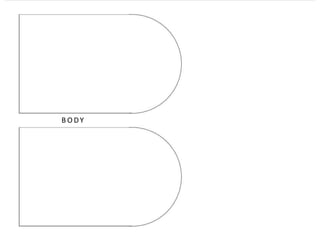
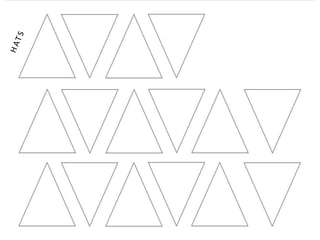
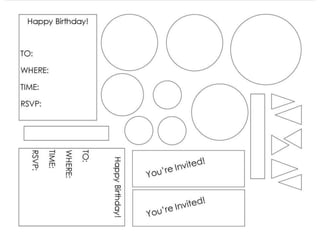
DIY Monster Birthday
     Invitations
  with templates!


 By Virginia Wilcox
Gather your materials
You can find templates and a materials list for this project at the end of this
presentation or you can make your own. Make sure to get fun, bright colored
paper for the monsters’ bodies and a cool pattern for their party hats. You can
also decorate the hats with markers or other fun things if you prefer.
Color the mouths and pupils
Do this BEFORE you start cutting because then you don’t have to worry
about staying inside the lines or coloring over glue!
Cut out the body
Use different colors of paper for the bodies! I used colored printer paper.
You can use scrapbooking paper or construction paper if you’d like, but if
you’re going to print, make sure the paper fits in the printer!
Cut out the party hats
You need to cut out two triangles per monster (you will glue them
together to make the hat).
Assemble the eyes
Use a glue stick to attach the pupils onto the larger circles to make the
eyes. If you are using a thicker paper, you can experiment with your
monsters by hot-gluing googly eyes on instead if you’d like!
You’re Invited papers
You want to make it look like the monster is eating the invitation. Cut
out the You’re Invited slips and wrinkle them up into little balls and then
un-wrinkle them (just don’t tear them up!).
Cut out the teeth and mouth
You can add different sizes of teeth for your monsters if you want to.
Attach the mouth to the paper
Use the gluestick to attach the monster’s mouth to a You’re Invited
paper. The paper should poke out at the bottom and be seemingly
entering his mouth at an angle (or it will cover his eye).
Cut off the extra
Cut off that extra bit of paper that is poking out from the bottom after
the glue dries.
Give him a hat!
Use the glue stick to attach two triangle pieces together. The top of the
monster’s head should be sandwiched in the middle!
Give him eye (s)
However many eyes you want your monster to have, glue them on!
Attach the mouth
Put a line of glue on the reverse side of the mouth but don’t glue down
the You’re Invited slip.
Attached mouth
Place the mouth onto your monster with enough room for teeth to be
added
Add the teeth (or tooth)
You can add as many teeth as you want now (or even none at all)!
Address the invitations
Please be sure to address your invitations BEFORE you glue them on. It’s
okay if you forget but markers do funny things on glued paper. If you
forget, just let them dry for a while then go back to write the names.
Front View, Back View
Your monsters should look different than mine do. Be creative!
MATERIALS NEEDED
•   Various colors of paper
•   White paper
•   Gluestick
•   Scissors
•   Pen / Marker

•   Printer (to print templates if you want to use them)
The first page has what you need to make one lonely monster with one big
eye and one smaller eye. You can print the first page onto cardstock and use
it as a stencil if you want to.

The second page has two bodies and the third page has enough hats for eight
monsters. The fourth page has what you need to complete two monsters
(after you print off the bodies and hats).

To make eight monsters: print page 2 four times, page 3 once, and page 4
four times.

Have fun!
For more information on other DIY project for birthday party. You can visit
the site: birthday party ideas.

TEMPLATES
BODY
Diy monster birthday invitations

Diy monster birthday invitations

  • 1.
    DIY Monster Birthday Invitations with templates! By Virginia Wilcox
  • 2.
    Gather your materials Youcan find templates and a materials list for this project at the end of this presentation or you can make your own. Make sure to get fun, bright colored paper for the monsters’ bodies and a cool pattern for their party hats. You can also decorate the hats with markers or other fun things if you prefer.
  • 3.
    Color the mouthsand pupils Do this BEFORE you start cutting because then you don’t have to worry about staying inside the lines or coloring over glue!
  • 4.
    Cut out thebody Use different colors of paper for the bodies! I used colored printer paper. You can use scrapbooking paper or construction paper if you’d like, but if you’re going to print, make sure the paper fits in the printer!
  • 5.
    Cut out theparty hats You need to cut out two triangles per monster (you will glue them together to make the hat).
  • 6.
    Assemble the eyes Usea glue stick to attach the pupils onto the larger circles to make the eyes. If you are using a thicker paper, you can experiment with your monsters by hot-gluing googly eyes on instead if you’d like!
  • 7.
    You’re Invited papers Youwant to make it look like the monster is eating the invitation. Cut out the You’re Invited slips and wrinkle them up into little balls and then un-wrinkle them (just don’t tear them up!).
  • 8.
    Cut out theteeth and mouth You can add different sizes of teeth for your monsters if you want to.
  • 9.
    Attach the mouthto the paper Use the gluestick to attach the monster’s mouth to a You’re Invited paper. The paper should poke out at the bottom and be seemingly entering his mouth at an angle (or it will cover his eye).
  • 10.
    Cut off theextra Cut off that extra bit of paper that is poking out from the bottom after the glue dries.
  • 11.
    Give him ahat! Use the glue stick to attach two triangle pieces together. The top of the monster’s head should be sandwiched in the middle!
  • 12.
    Give him eye(s) However many eyes you want your monster to have, glue them on!
  • 13.
    Attach the mouth Puta line of glue on the reverse side of the mouth but don’t glue down the You’re Invited slip.
  • 14.
    Attached mouth Place themouth onto your monster with enough room for teeth to be added
  • 15.
    Add the teeth(or tooth) You can add as many teeth as you want now (or even none at all)!
  • 16.
    Address the invitations Pleasebe sure to address your invitations BEFORE you glue them on. It’s okay if you forget but markers do funny things on glued paper. If you forget, just let them dry for a while then go back to write the names.
  • 17.
    Front View, BackView Your monsters should look different than mine do. Be creative!
  • 18.
    MATERIALS NEEDED • Various colors of paper • White paper • Gluestick • Scissors • Pen / Marker • Printer (to print templates if you want to use them)
  • 19.
    The first pagehas what you need to make one lonely monster with one big eye and one smaller eye. You can print the first page onto cardstock and use it as a stencil if you want to. The second page has two bodies and the third page has enough hats for eight monsters. The fourth page has what you need to complete two monsters (after you print off the bodies and hats). To make eight monsters: print page 2 four times, page 3 once, and page 4 four times. Have fun! For more information on other DIY project for birthday party. You can visit the site: birthday party ideas. TEMPLATES
  • 21.