Download to read offline
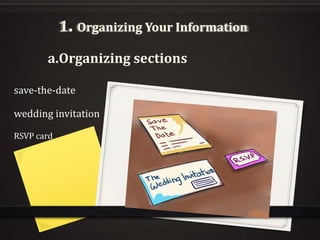
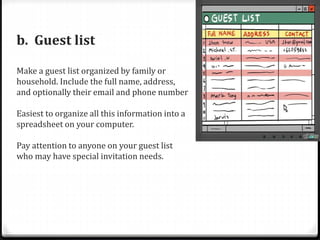
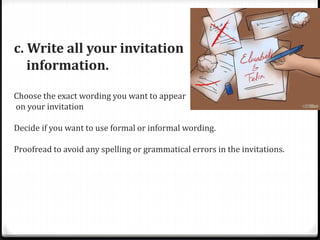
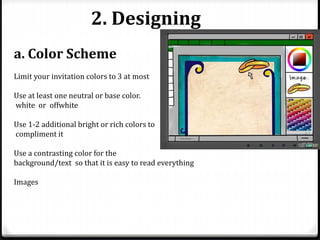
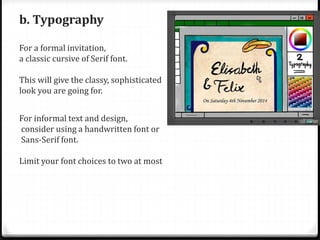
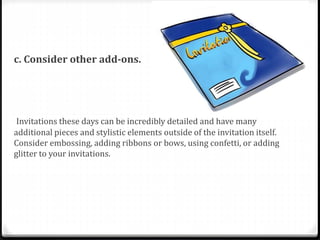
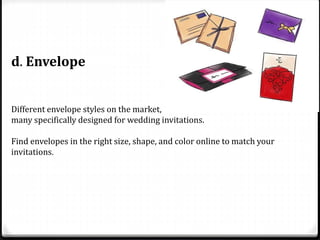
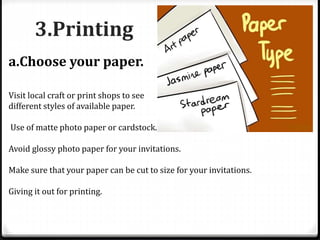
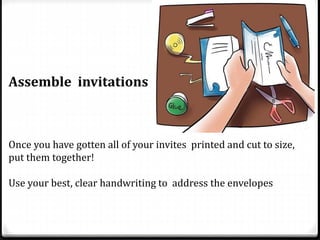


This document provides information about organizing and designing wedding invitations. It discusses organizing guest information, choosing invitation wording and colors, selecting fonts, adding extras like ribbons or glitter, choosing envelope styles, printing invitations on quality paper like matte photo paper or cardstock, and assembling the finished invitations by addressing envelopes.


