Downloaded 47 times


![First instructions
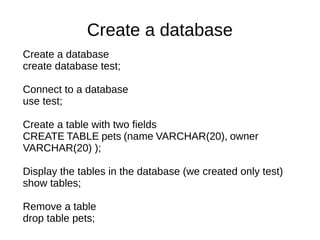
The standard syntax is:
sudo command [parameters] [| more]
Update the image to the last packages
sudo apt-get update
Search for the MySQL Daemon (Server)
sudo apt-cache search mysql-server | more
Install a Daemon (Server)
sudo apt-get install package-name](https://image.slidesharecdn.com/1-141205220718-conversion-gate02/85/Databases-and-MySQL-10-320.jpg)

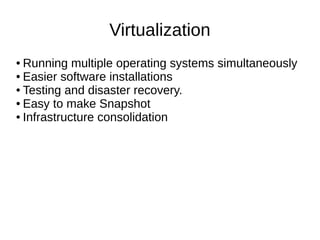
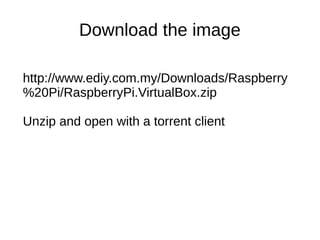
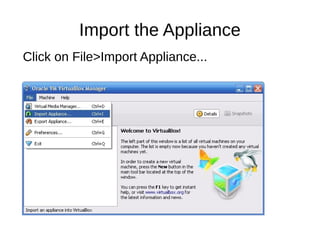
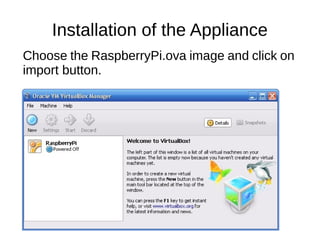
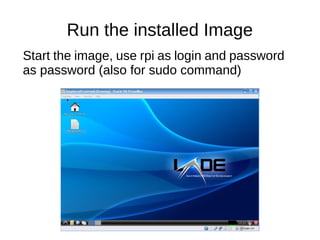
This document provides instructions for installing and using VirtualBox and a Raspberry Pi image on VirtualBox. It discusses how VirtualBox allows running multiple operating systems simultaneously and its benefits. It then provides step-by-step instructions for downloading a Raspberry Pi image, importing and installing the appliance in VirtualBox, and basic commands for interacting with the installed image such as updating packages and installing/using MySQL.