Download to read offline


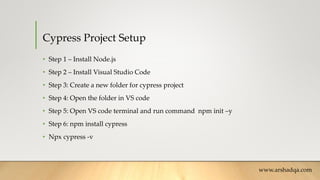


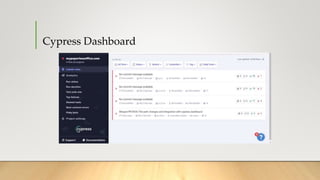

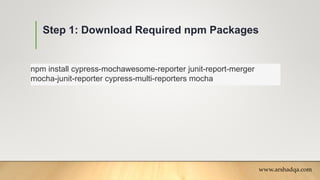
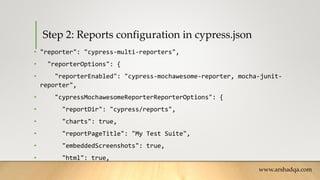
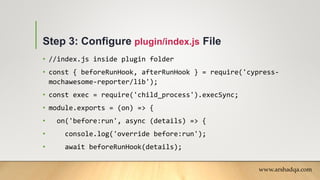
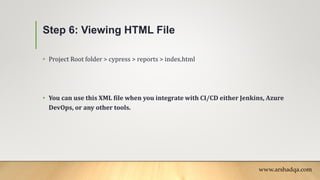
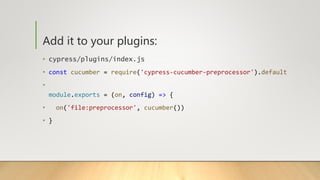
![Step 2: Reports configuration in cypress.json
• "json": true,
• "inlineAssets": true
• },
• "mochaJunitReporterReporterOptions": {
• "mochaFile": "cypress/reports/junit/results-[hash].xml"
• }
• },
• "video": false
•
}
www.arshadqa.com](https://image.slidesharecdn.com/cypress-231025055350-79c0ba1a/85/Cypress-pptx-33-320.jpg)

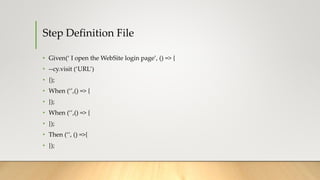


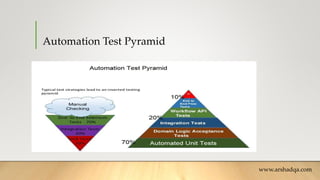
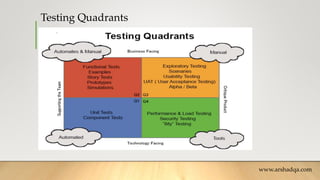
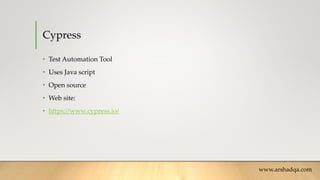
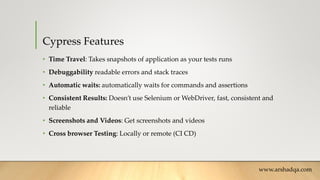
The document discusses test automation using the Cypress tool. It provides an overview of test automation concepts like the automation test pyramid and testing quadrants. It then describes features of Cypress like time travel, screenshots, cross-browser testing and more. The document also outlines the steps to set up a Cypress project and write tests using JavaScript including commands, assertions and page object modeling. It covers topics like data-driven testing using fixtures, the Cypress dashboard, generating different reports and implementing behavior-driven development using Cucumber.


![[English][Test Girls] Zero to Hero: Start Test automation with Cypress](https://cdn.slidesharecdn.com/ss_thumbnails/entestgirlstestingwithcypress-191024022807-thumbnail.jpg?width=640&height=640&fit=bounds)