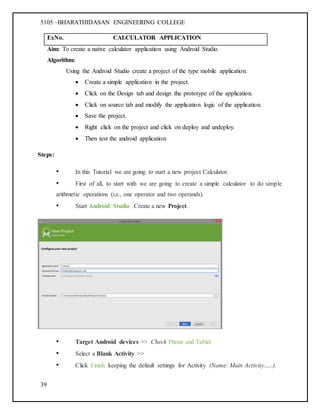
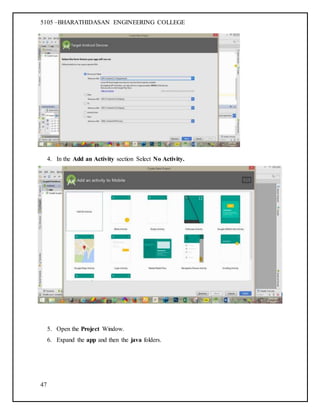
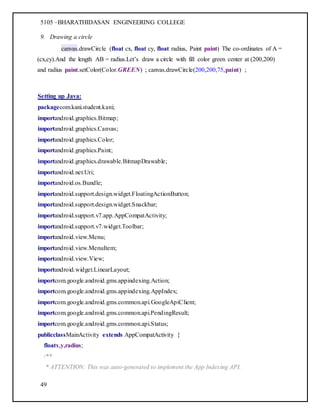
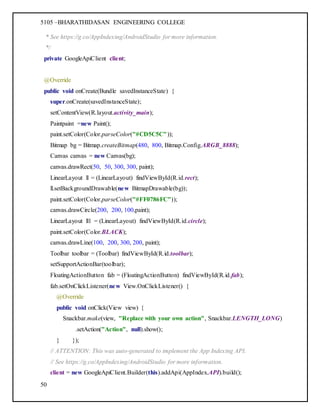
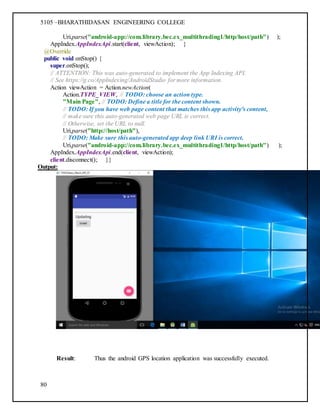
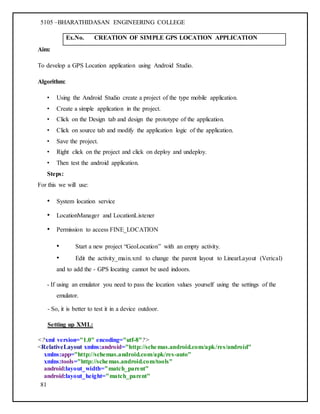
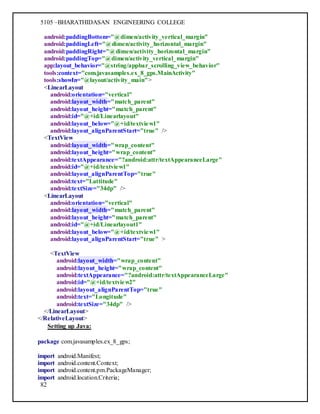
The document is a bonafide certificate from Bharathidasan Engineering College for a 6th semester Computer Science Engineering student. It details the practical work done by the student in Mobile Application Development LAB-CS6611 from January 2016 to April 2016. It includes the student's details, table of contents, objectives of the lab, list of experiments conducted, and details of one experiment on creating a simple UI design Android application where the student creates an app using GUI components, fonts and colors in Android Studio.


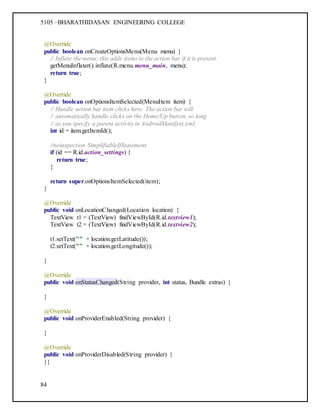
![5105 –BHARATHIDASAN ENGINEERING COLLEGE
48
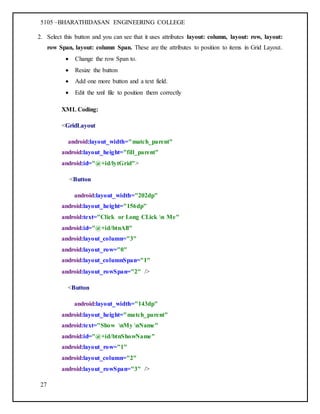
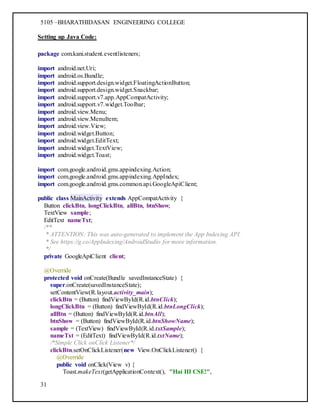
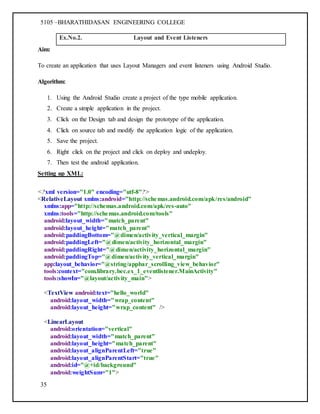
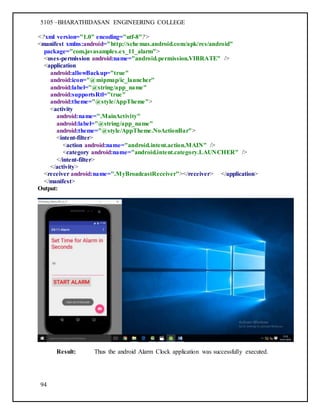
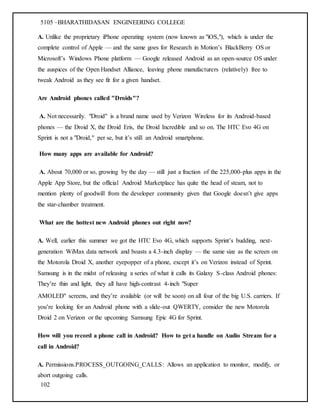
7. Now we need to extend the View Class to the Sample Canvas class we just created. Go ahead
and edit the Java File.
8. Now we need to create a Paint object.
9. So above the constructor definition add the following code.
10. Now place the cursor below the constructor definition and press [ALT] + [Insert] and select
Override Methods from the popup Menu.
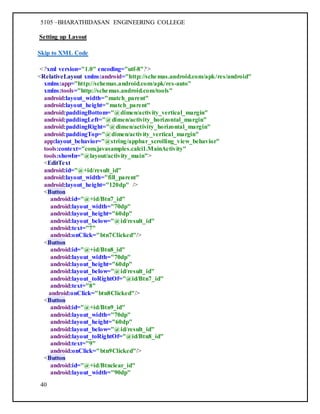
11. To draw a rectangle we use the function:
canvas.drawRect (float left, float top, float right, float bottom, Paint paint) ;
The arguments can be depicted as shown below:
The co-ordinates of: A = (left, top) B = (right, bottom) paint is the paint object we created.
Let’s draw a rectangle now:
canvas.drawRect(100,100,300,300,paint) ;](https://image.slidesharecdn.com/cs6611-madlabmanual-160421092004/85/Cs-6611-mad-lab-manual-48-320.jpg)


![Android Cookbook 2nd [early release] Edition Ian F. Darwin](https://cdn.slidesharecdn.com/ss_thumbnails/28304-250515041521-e25534f6-thumbnail.jpg?width=640&height=640&fit=bounds)