Download to read offline
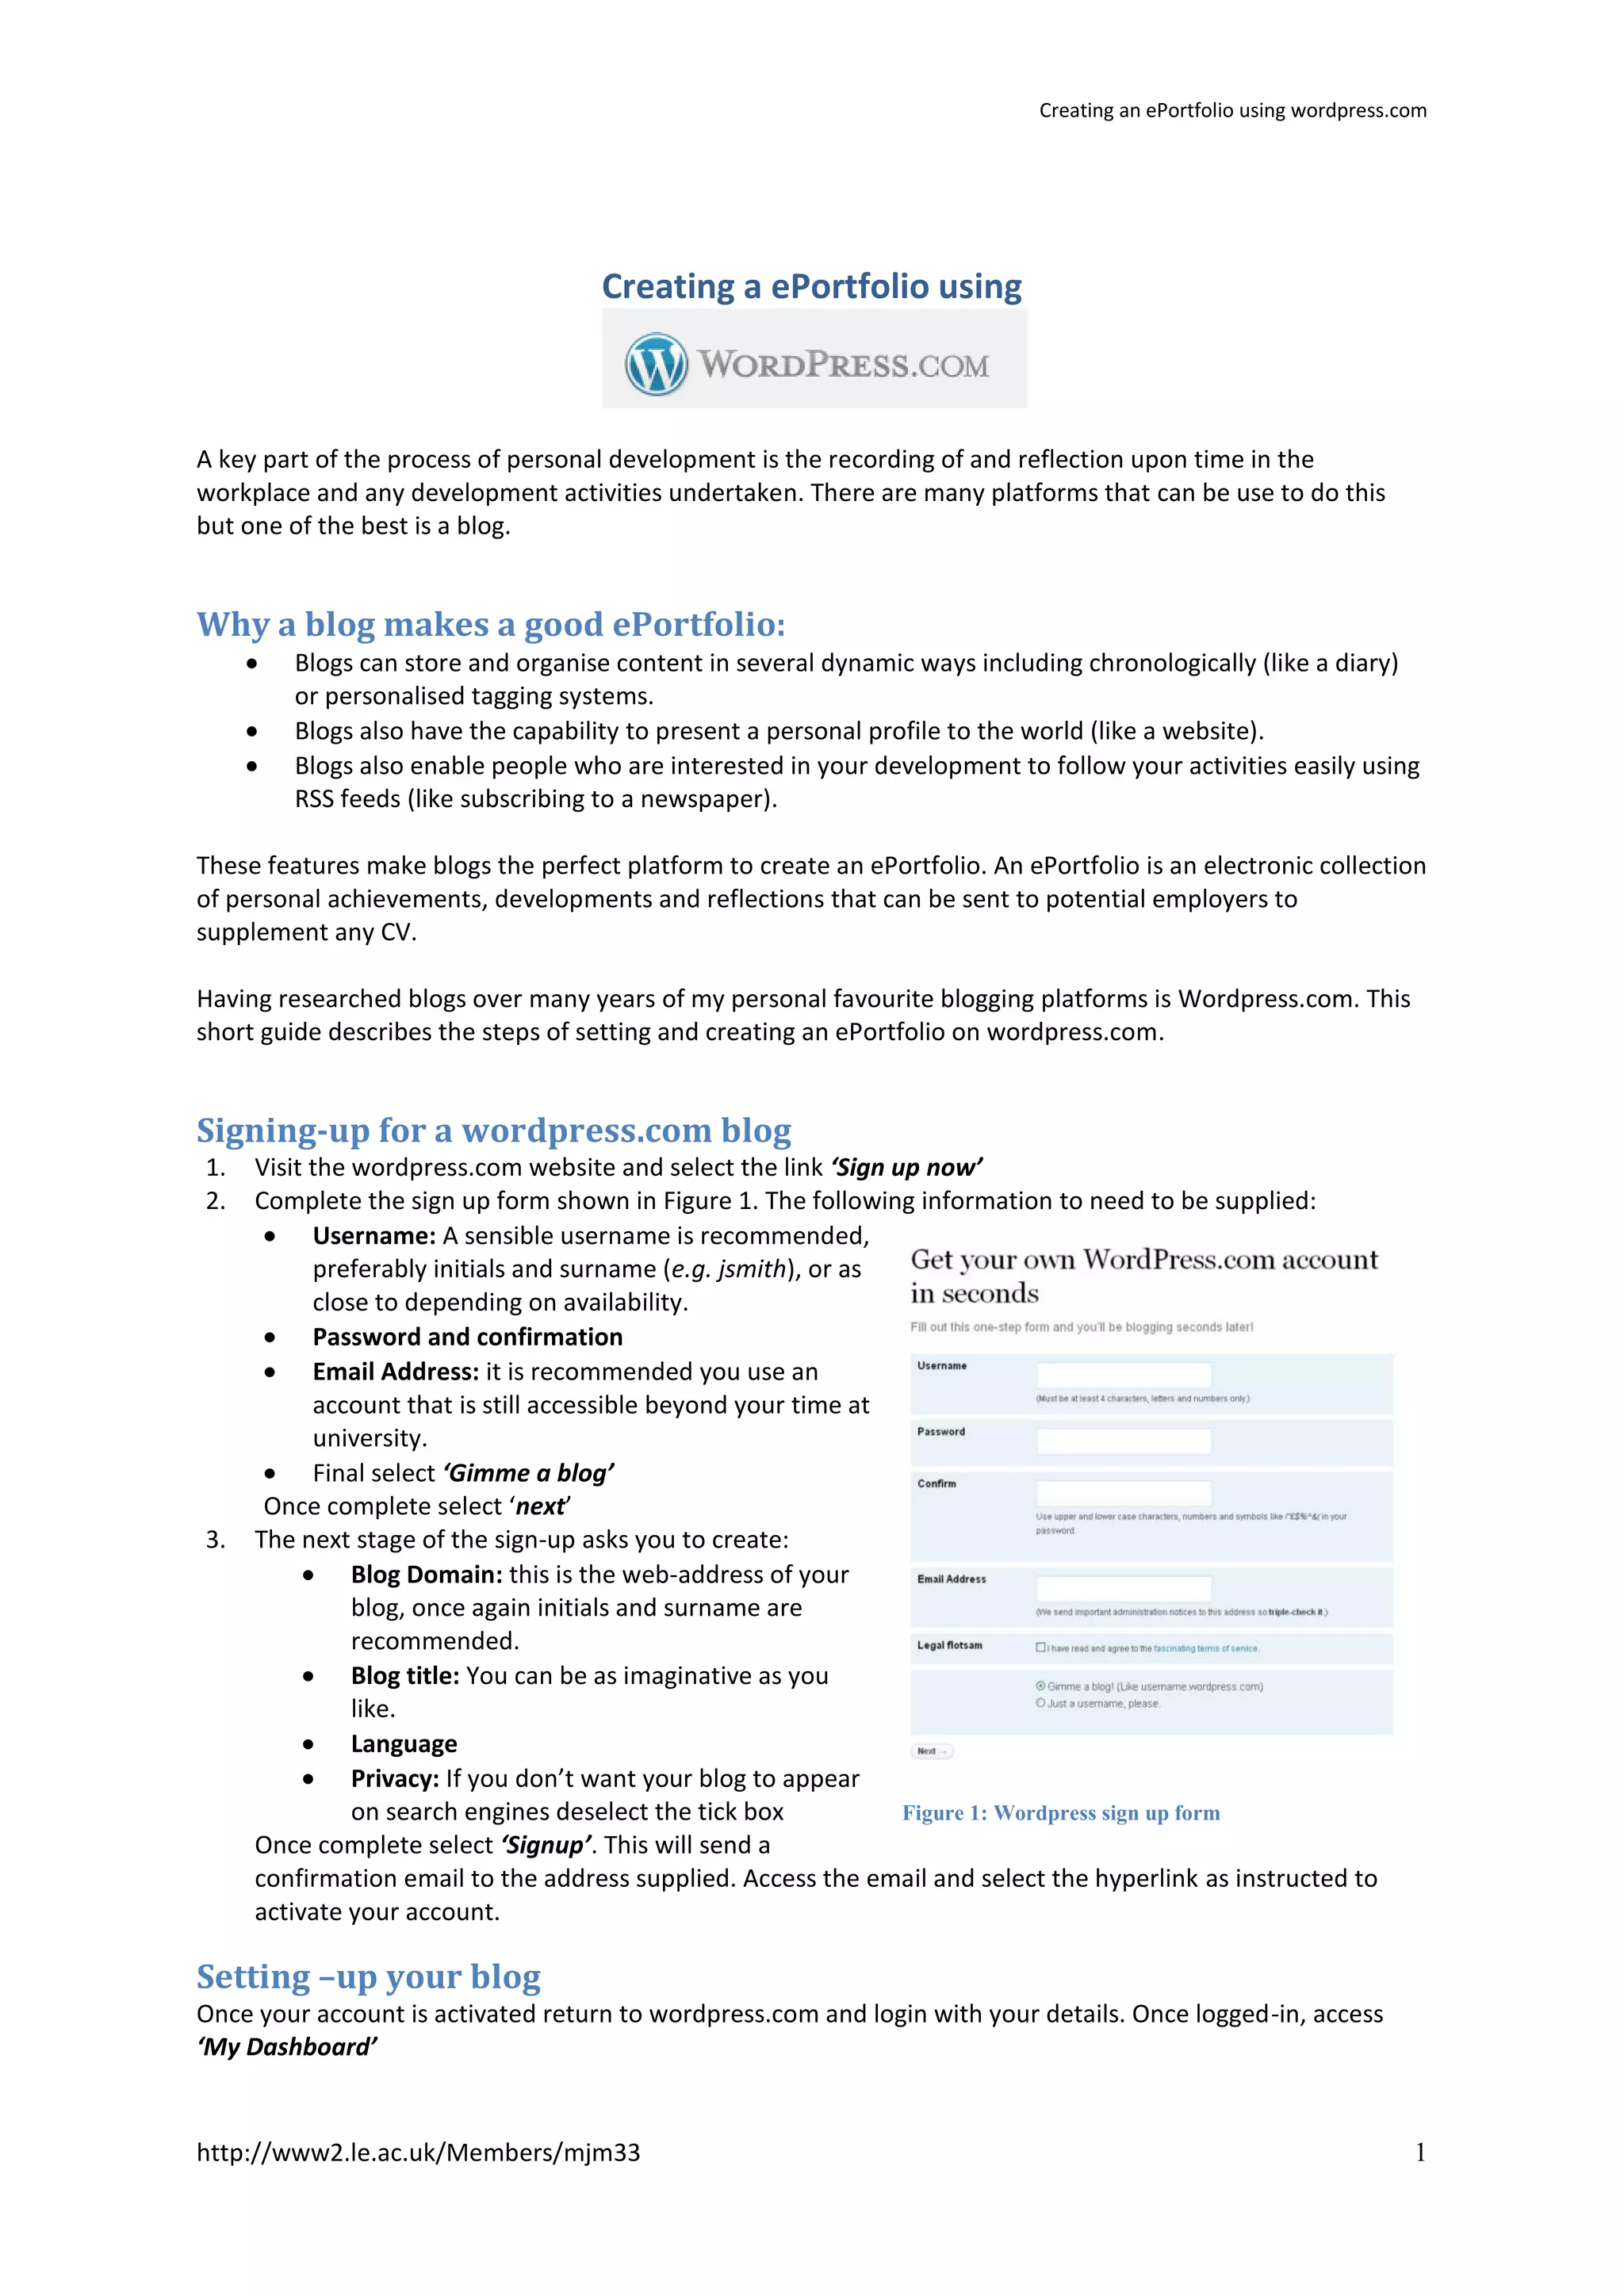
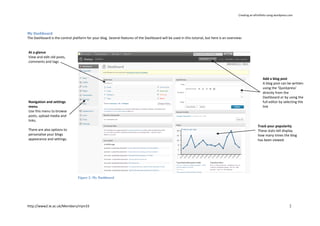
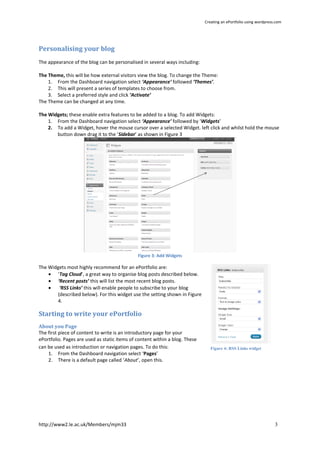
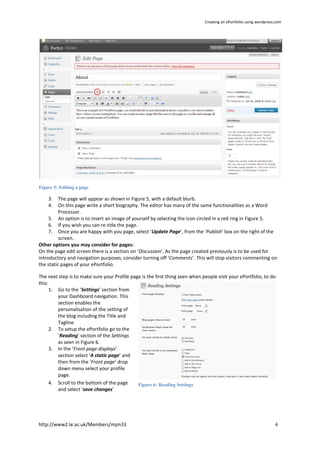
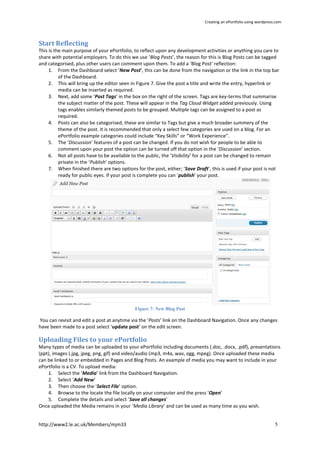
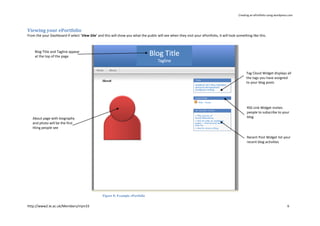
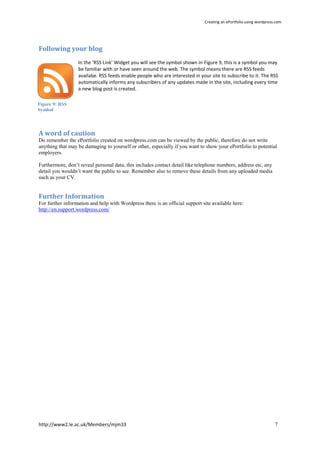

This document provides instructions for creating an ePortfolio using WordPress.com. It explains that blogs make good ePortfolios because they can organize content chronologically or by tags, present a personal profile, and allow others to follow activities through RSS feeds. The steps include signing up for a WordPress account, setting up the blog layout and appearance by choosing a theme and widgets, writing an introductory "About" page, and then creating blog posts to reflect on work and development activities which can be tagged and commented on. The goal is to record reflections over time that can then be shared with potential employers.


![Getting Started with Apache Spark: Big Data Made Simple [Free Meetup]](https://cdn.slidesharecdn.com/ss_thumbnails/apachesparkgettingstarted-260203175547-8361bcc3-thumbnail.jpg?width=640&height=640&fit=bounds)


