Download to read offline
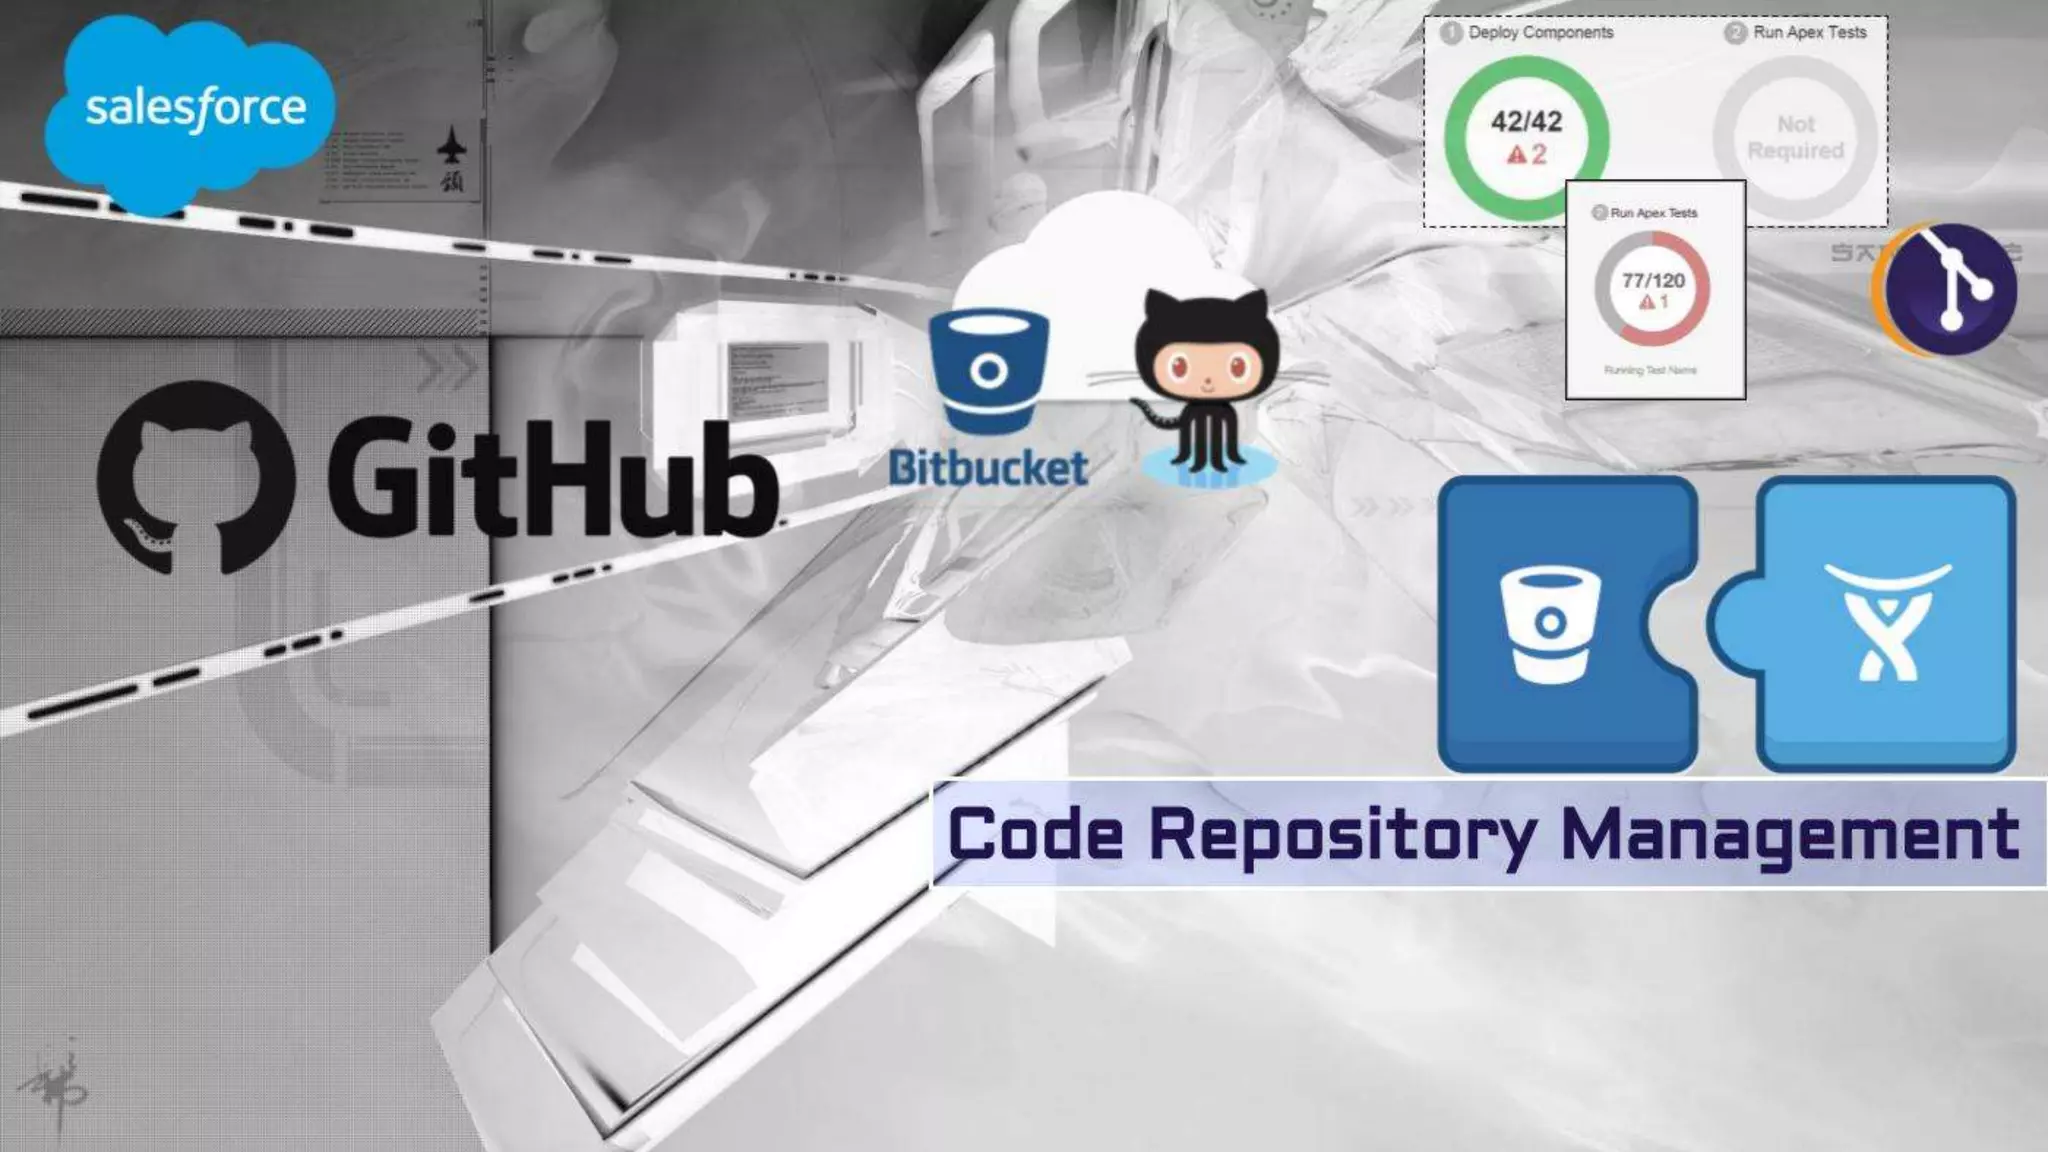
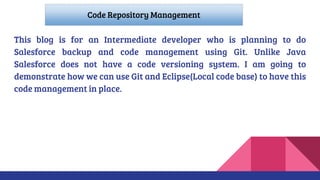
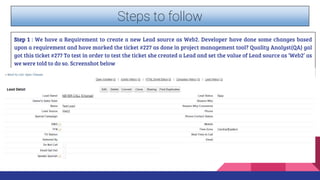
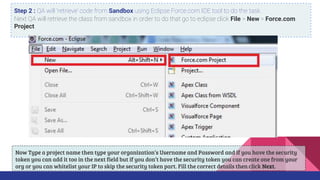
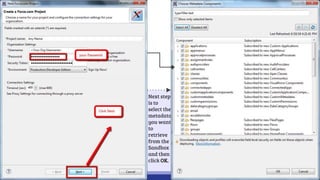

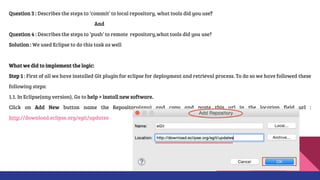


This document outlines the process for code repository management for Salesforce using Git and Eclipse. It details steps for creating a new lead source, retrieving code from a sandbox, committing changes, and deploying code to production. The blog targets intermediate developers and provides practical tools and instructions for managing Salesforce code effectively.