Download to read offline
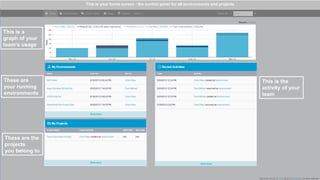
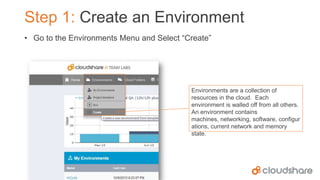
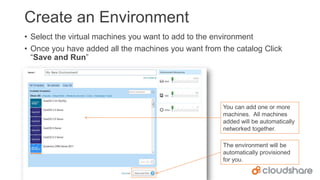
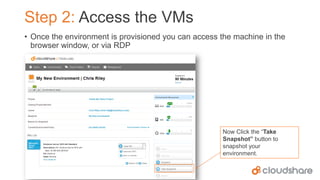
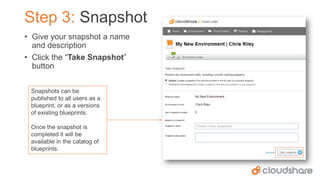

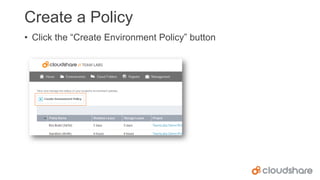
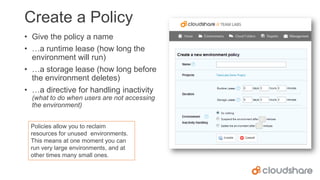
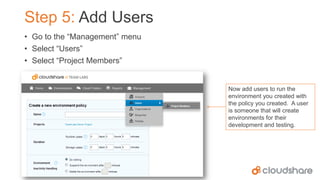
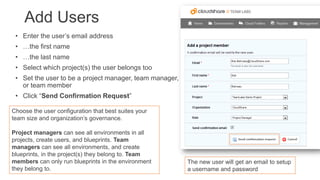
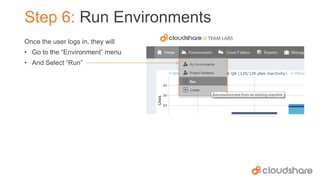
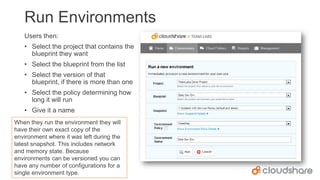

This document provides a six step walkthrough for a CloudShare TeamLabs trial: 1. Create an environment by adding virtual machines from a catalog. 2. Access the provisioned virtual machines through a browser or RDP. 3. Take a snapshot of the environment for versioning and sharing. 4. Create a policy to automatically manage environment resources and runtime. 5. Add users and assign them appropriate permissions to projects. 6. Users can then run saved environment configurations based on policies and permissions.


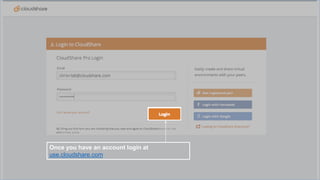
![Getting Started with Apache Spark: Big Data Made Simple [Free Meetup]](https://cdn.slidesharecdn.com/ss_thumbnails/apachesparkgettingstarted-260203175547-8361bcc3-thumbnail.jpg?width=640&height=640&fit=bounds)


