Copyright ©2010 by K. Plantenberg
Restricted use only
Chapter 1
Orthographic Projection
Basic Topics
Advanced Topics
Exercises
Copyright ©2010 by K. Plantenberg
Restricted use only
Ortho. Projection: Basic Topics
1.1) Engineering Graphics Overview
Summary
1.2) Orthographic Projection
1.3) The Glass Box Method
1.4) The Standard Views
1.5) Lines Used in an Orthographic Projection
1.6) Rules for Line Creation and Use
1.7) Creating an Orthographic Projection
Copyright ©2010 by K. Plantenberg
Restricted use only
Ortho. Proj.: Advanced Topics
1.8) Auxiliary Views
Copyright ©2010 by K. Plantenberg
Restricted use only
Ortho. Projection: Exercises
Exercise 1-1: Principle views
Exercise 1-2: Line types
Exercise 1-3: Line use in an orthographic
projection
Exercise 1-4: Missing lines 1
Exercise 1-5: Missing lines 2
Exercise 1-8: Drawing an orthographic
projection 1
Exercise 1-9: Drawing an orthographic
projection 2
Copyright ©2010 by K. Plantenberg
Restricted use only
Ortho. Projection: Exercises
Exercise 1-12: Auxiliary views
Copyright ©2010 by K. Plantenberg
Restricted use only
Engineering Graphics
1.1) Introduction to
Engineering Graphics
Copyright ©2010 by K. Plantenberg
Restricted use only
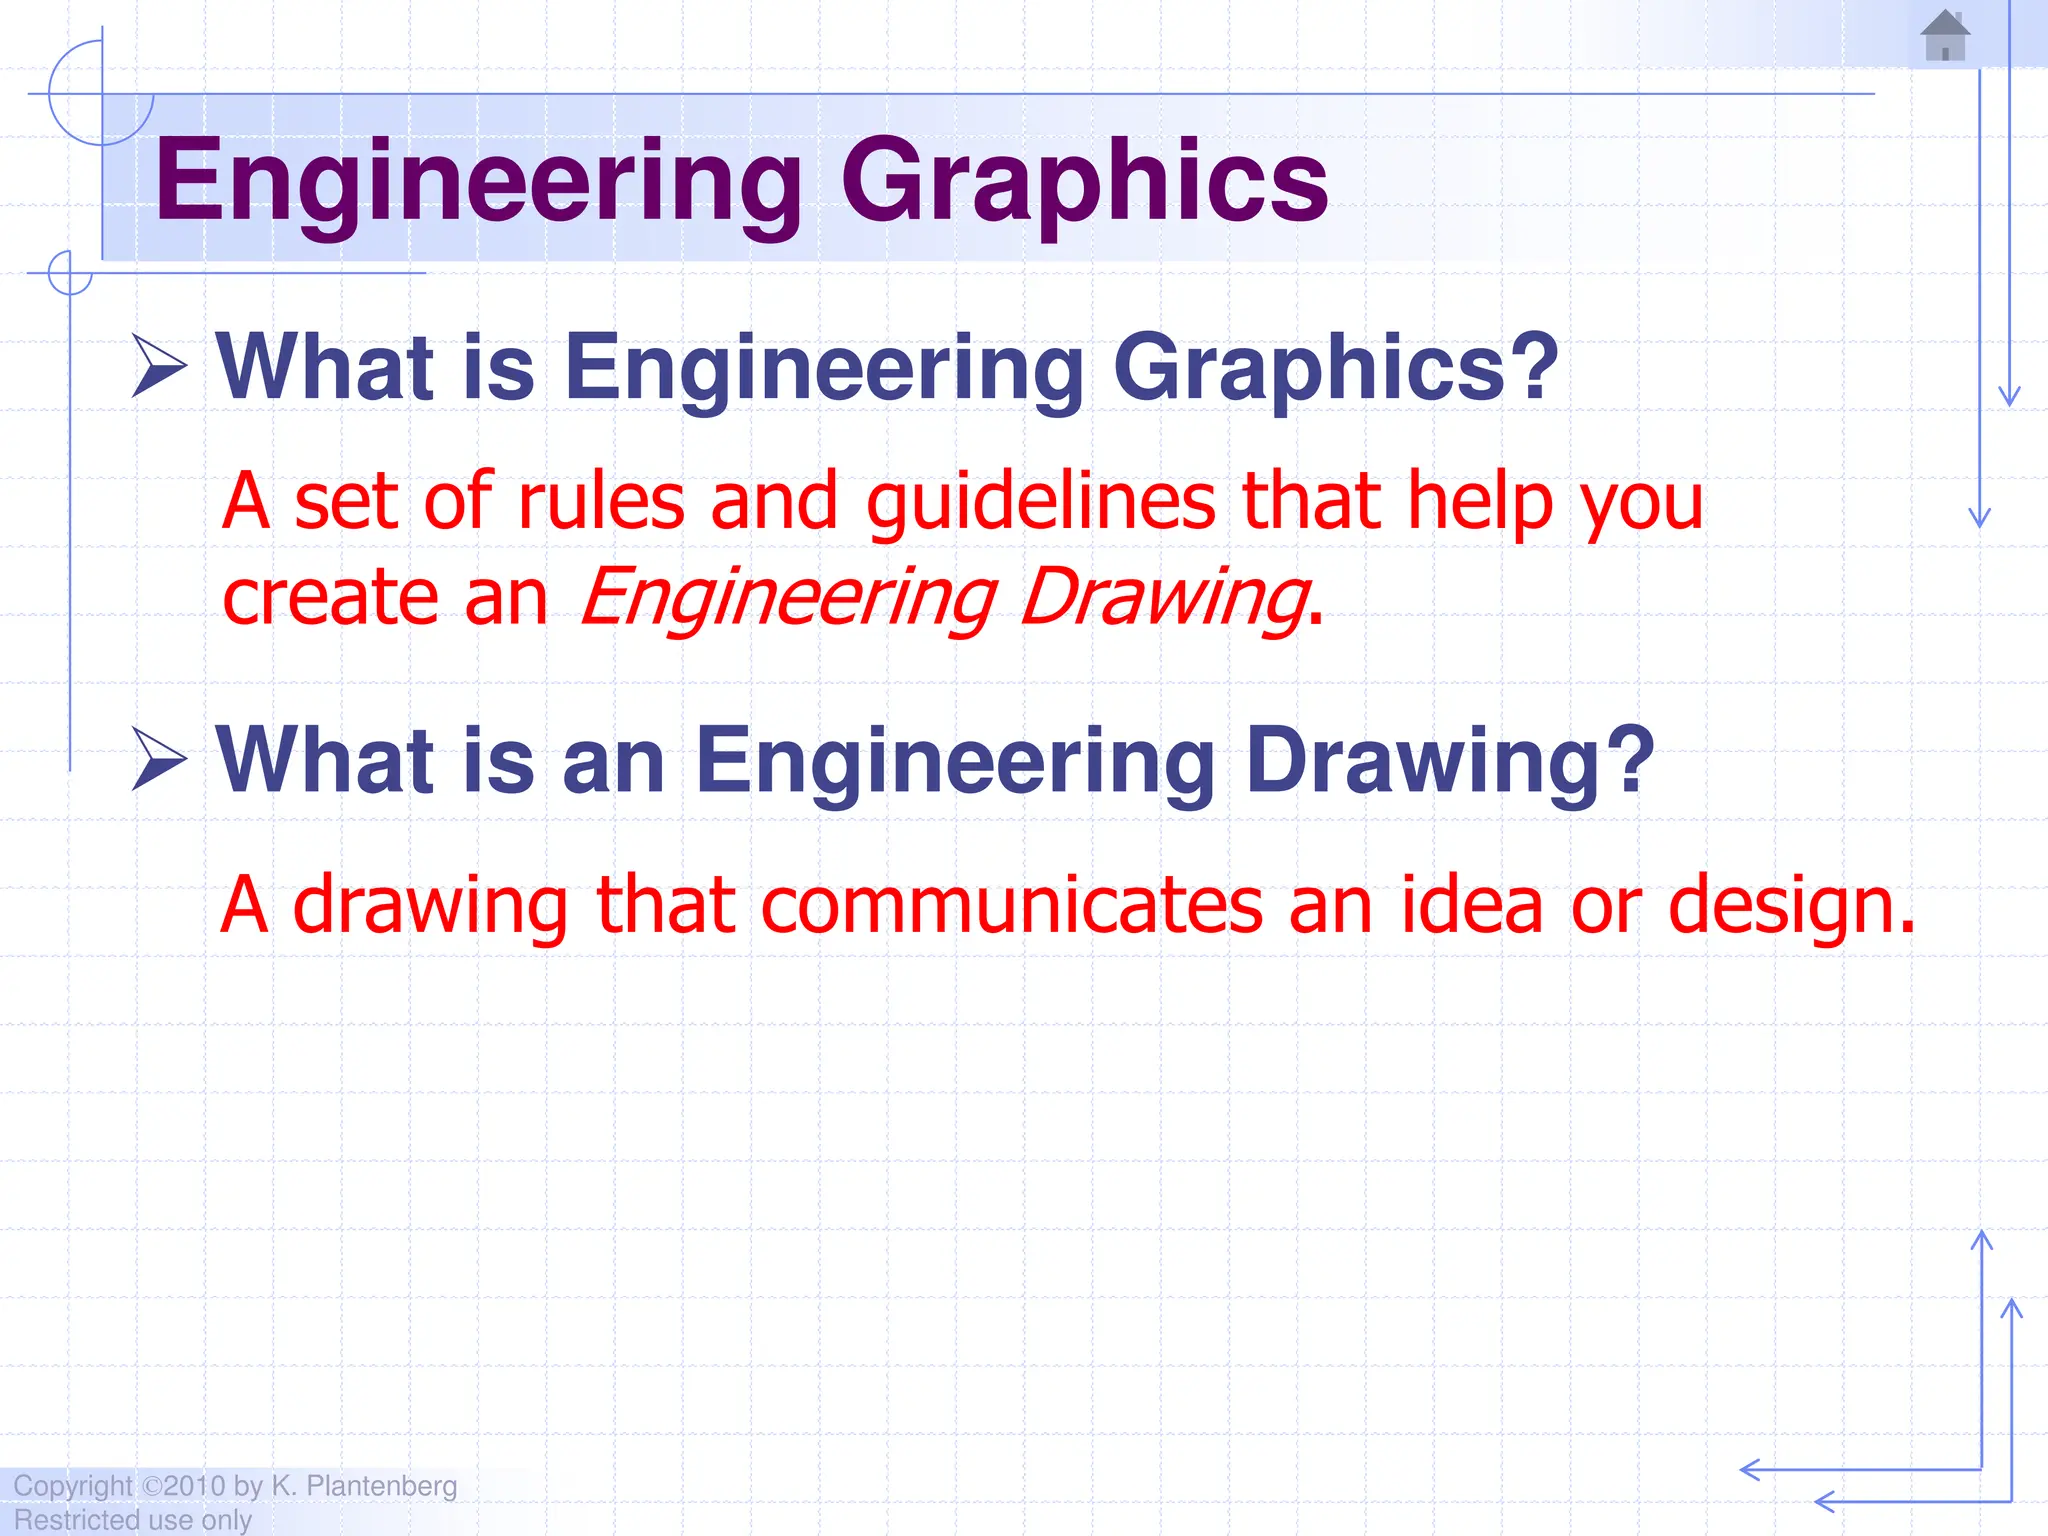
Engineering Graphics
 What is Engineering Graphics?
 What is an Engineering Drawing?
A drawing that communicates an idea or design.
A set of rules and guidelines that help you
create an Engineering Drawing.
Copyright ©2010 by K. Plantenberg
Restricted use only
Engineering Graphics
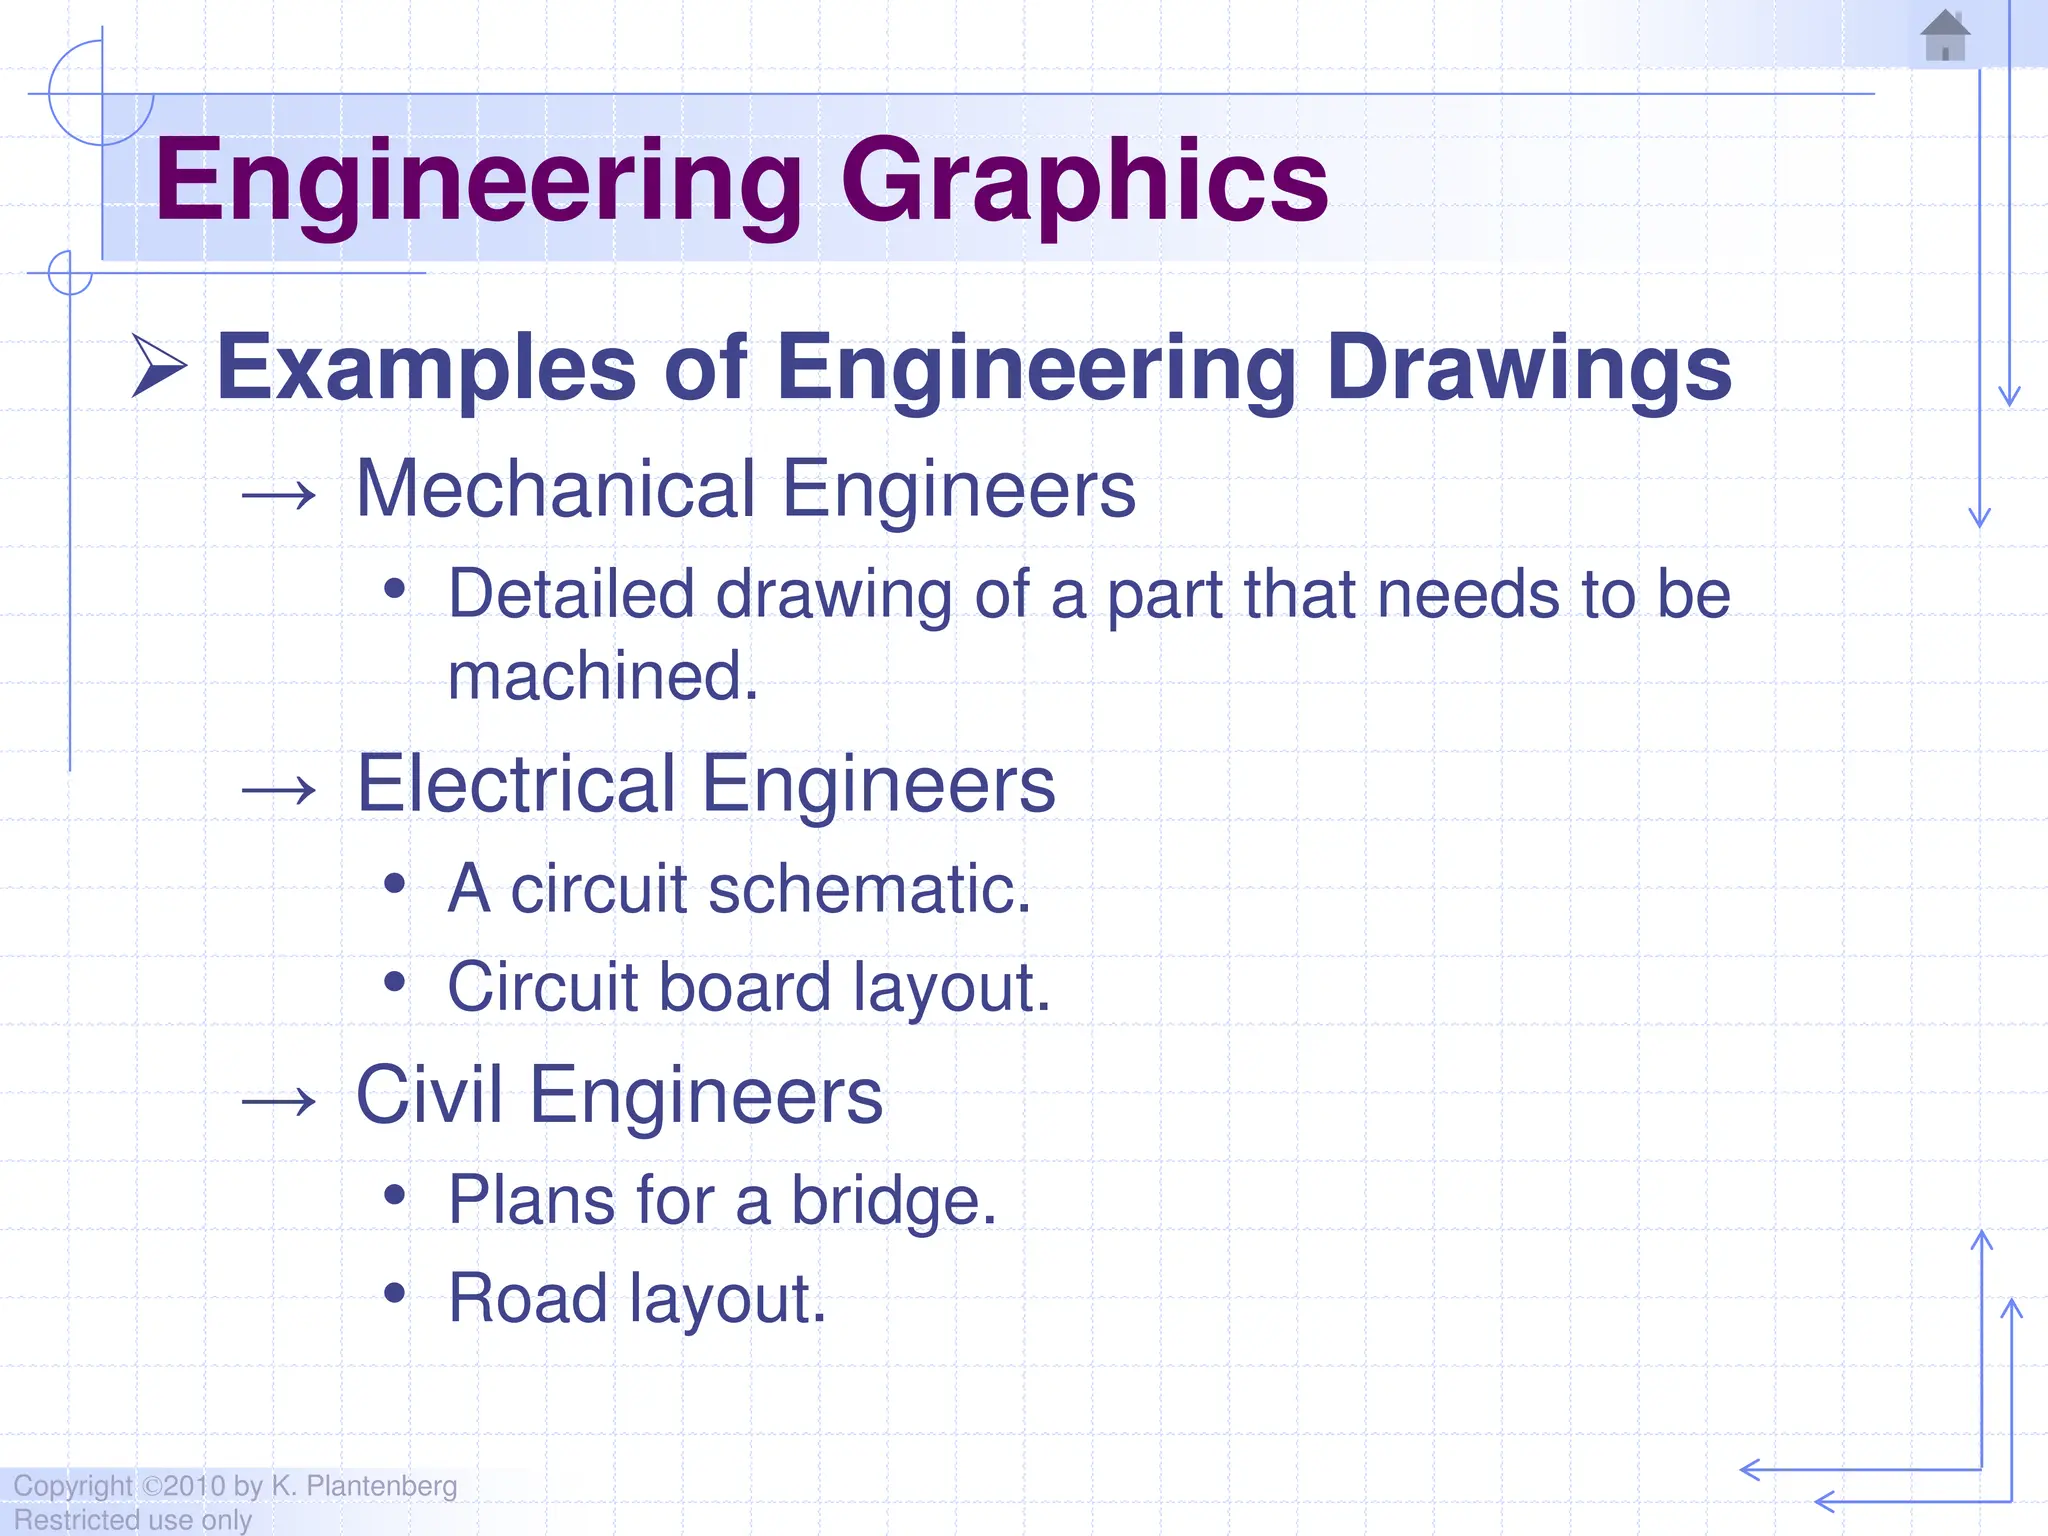
 Examples of Engineering Drawings
→ Mechanical Engineers
• Detailed drawing of a part that needs to be
machined.
→ Electrical Engineers
• A circuit schematic.
• Circuit board layout.
→ Civil Engineers
• Plans for a bridge.
• Road layout.
Copyright ©2010 by K. Plantenberg
Restricted use only
Orthographic Projection
Summary
Copyright ©2010 by K. Plantenberg
Restricted use only
Summary
 What will we learn in Chapter 1?
→ How to create an orthographic projection.
 Key points
→ An orthographic projection is a 2-D
representation of a 3-D object.

CAMD Manual for the engineering students

  • 1.
    Copyright ©2010 byK. Plantenberg Restricted use only Chapter 1 Orthographic Projection Basic Topics Advanced Topics Exercises
  • 2.
    Copyright ©2010 byK. Plantenberg Restricted use only Ortho. Projection: Basic Topics 1.1) Engineering Graphics Overview Summary 1.2) Orthographic Projection 1.3) The Glass Box Method 1.4) The Standard Views 1.5) Lines Used in an Orthographic Projection 1.6) Rules for Line Creation and Use 1.7) Creating an Orthographic Projection
  • 3.
    Copyright ©2010 byK. Plantenberg Restricted use only Ortho. Proj.: Advanced Topics 1.8) Auxiliary Views
  • 4.
    Copyright ©2010 byK. Plantenberg Restricted use only Ortho. Projection: Exercises Exercise 1-1: Principle views Exercise 1-2: Line types Exercise 1-3: Line use in an orthographic projection Exercise 1-4: Missing lines 1 Exercise 1-5: Missing lines 2 Exercise 1-8: Drawing an orthographic projection 1 Exercise 1-9: Drawing an orthographic projection 2
  • 5.
    Copyright ©2010 byK. Plantenberg Restricted use only Ortho. Projection: Exercises Exercise 1-12: Auxiliary views
  • 6.
    Copyright ©2010 byK. Plantenberg Restricted use only Engineering Graphics 1.1) Introduction to Engineering Graphics
  • 7.
    Copyright ©2010 byK. Plantenberg Restricted use only Engineering Graphics  What is Engineering Graphics?  What is an Engineering Drawing? A drawing that communicates an idea or design. A set of rules and guidelines that help you create an Engineering Drawing.
  • 8.
    Copyright ©2010 byK. Plantenberg Restricted use only Engineering Graphics  Examples of Engineering Drawings → Mechanical Engineers • Detailed drawing of a part that needs to be machined. → Electrical Engineers • A circuit schematic. • Circuit board layout. → Civil Engineers • Plans for a bridge. • Road layout.
  • 9.
    Copyright ©2010 byK. Plantenberg Restricted use only Orthographic Projection Summary
  • 10.
    Copyright ©2010 byK. Plantenberg Restricted use only Summary  What will we learn in Chapter 1? → How to create an orthographic projection.  Key points → An orthographic projection is a 2-D representation of a 3-D object.