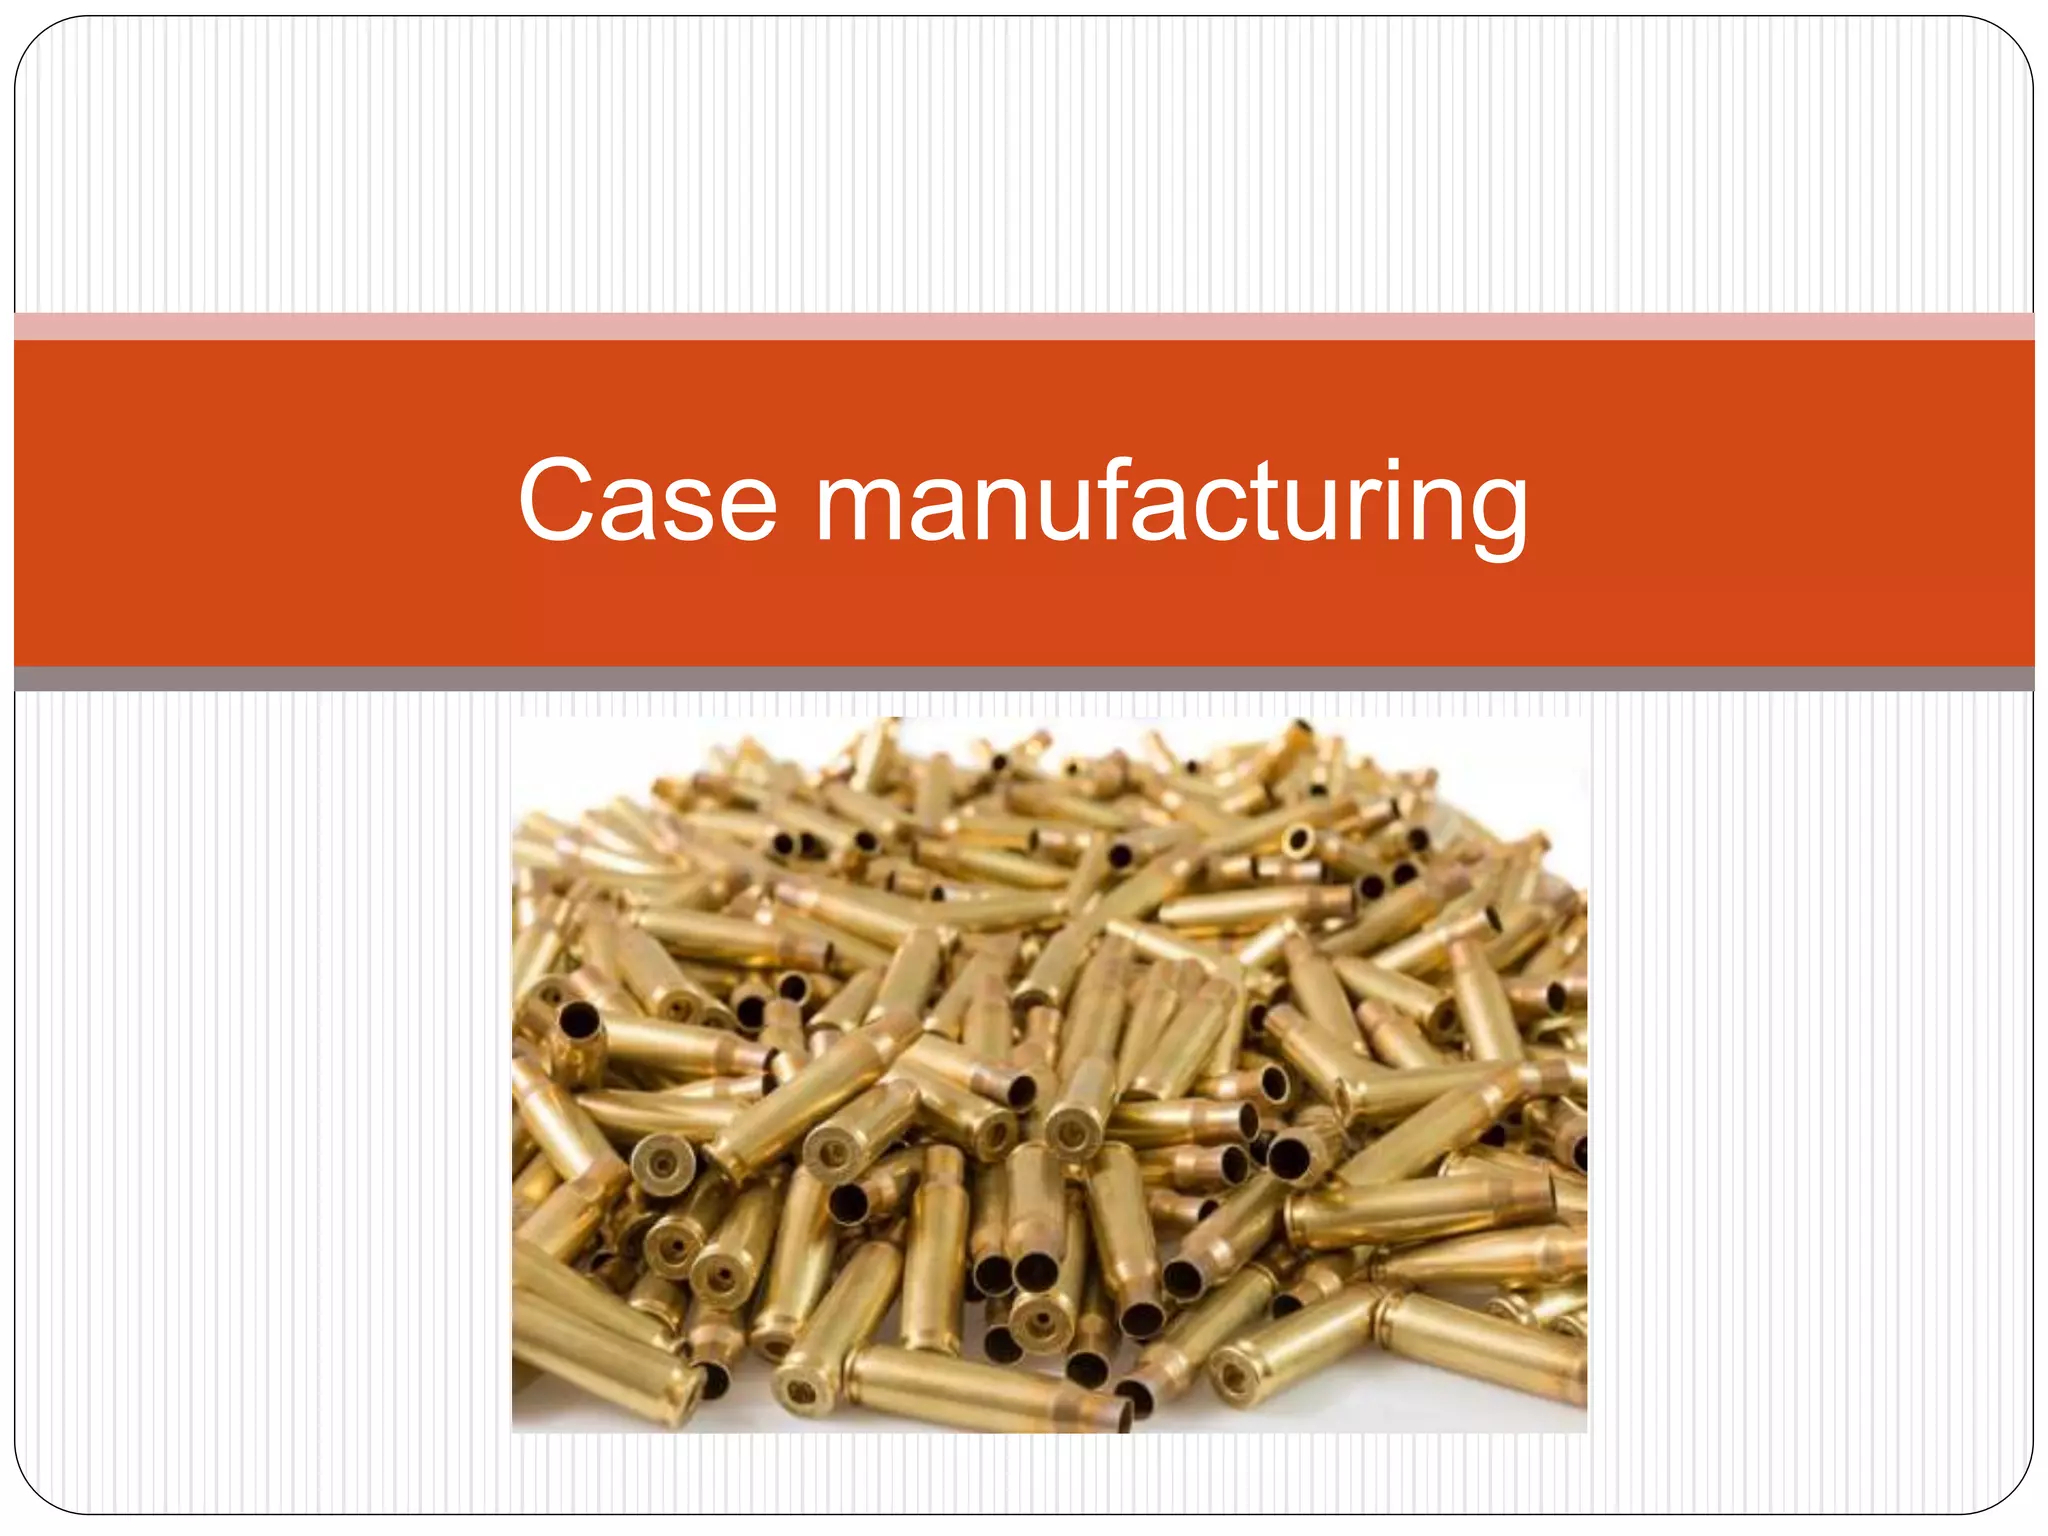
Case manufacturing
Group Members
 Syed Atif Iqrar
332-FET/BSME/F13
 Faisal Mukhtar
354-FET/BSME/F13
Department of Mechanical Engineering, IIU Islamabad
Contents
 Introduction
 Elements of case
 Strip Formation
 Cupping Operation
 Annealing and Heat Treatment
 Quality control
 Drawing , Washing , Trimming , Indenting , Heading
 Stamping , Piercing, Semi-body Annealing
 Tapering , Head Turning , Rumbling and Final check
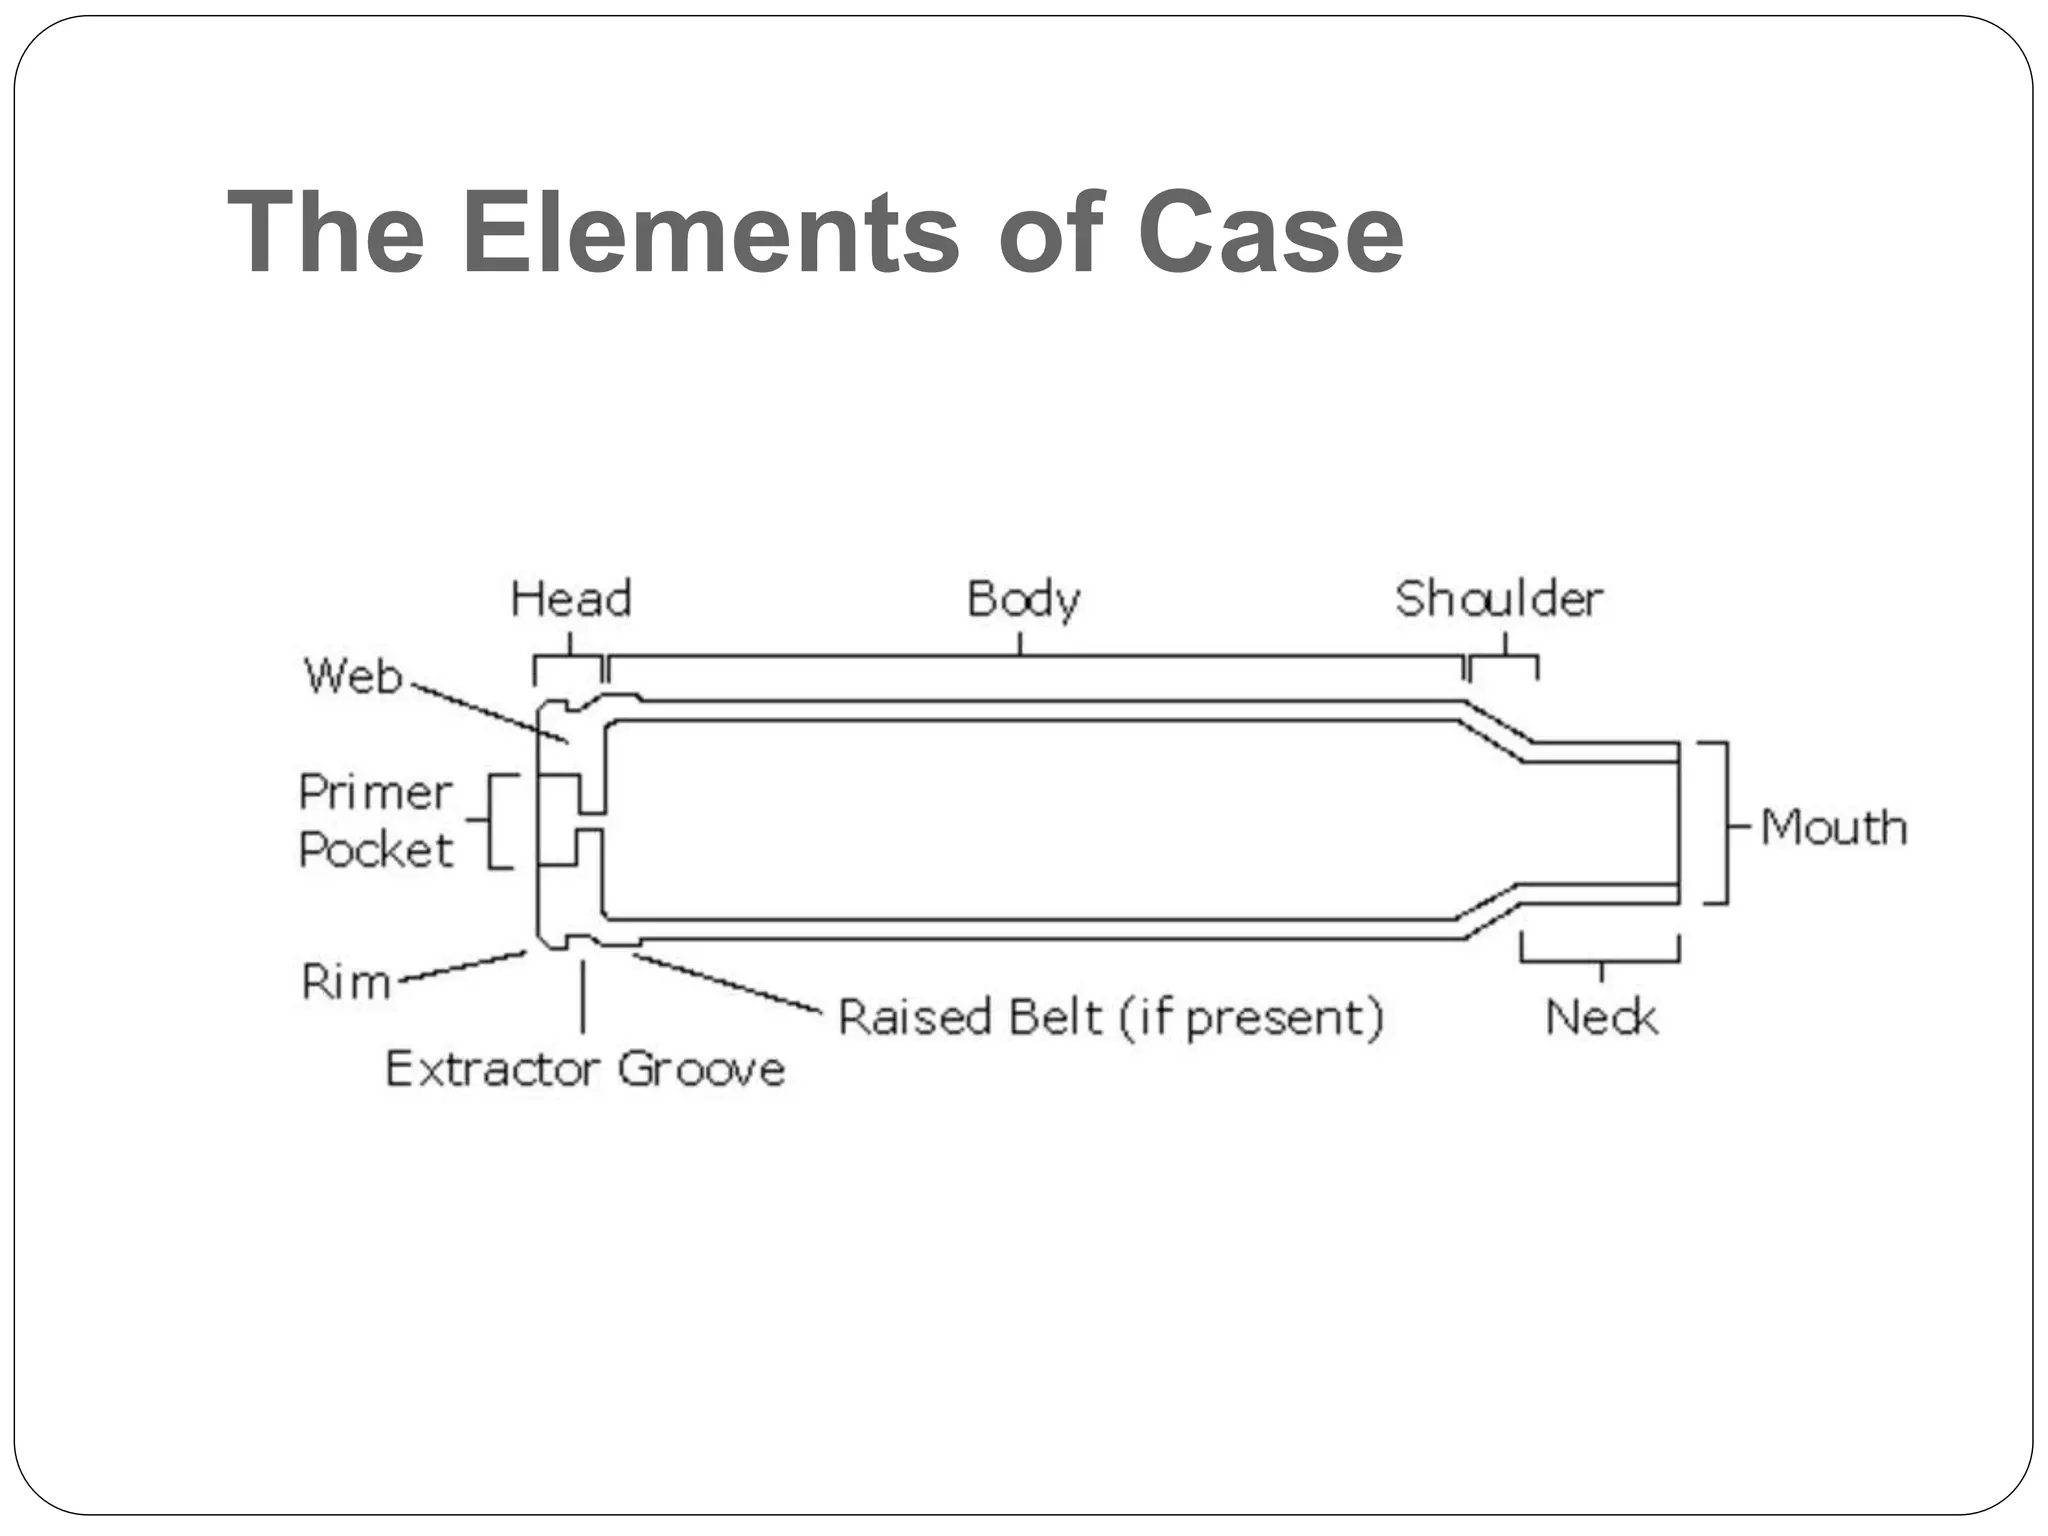
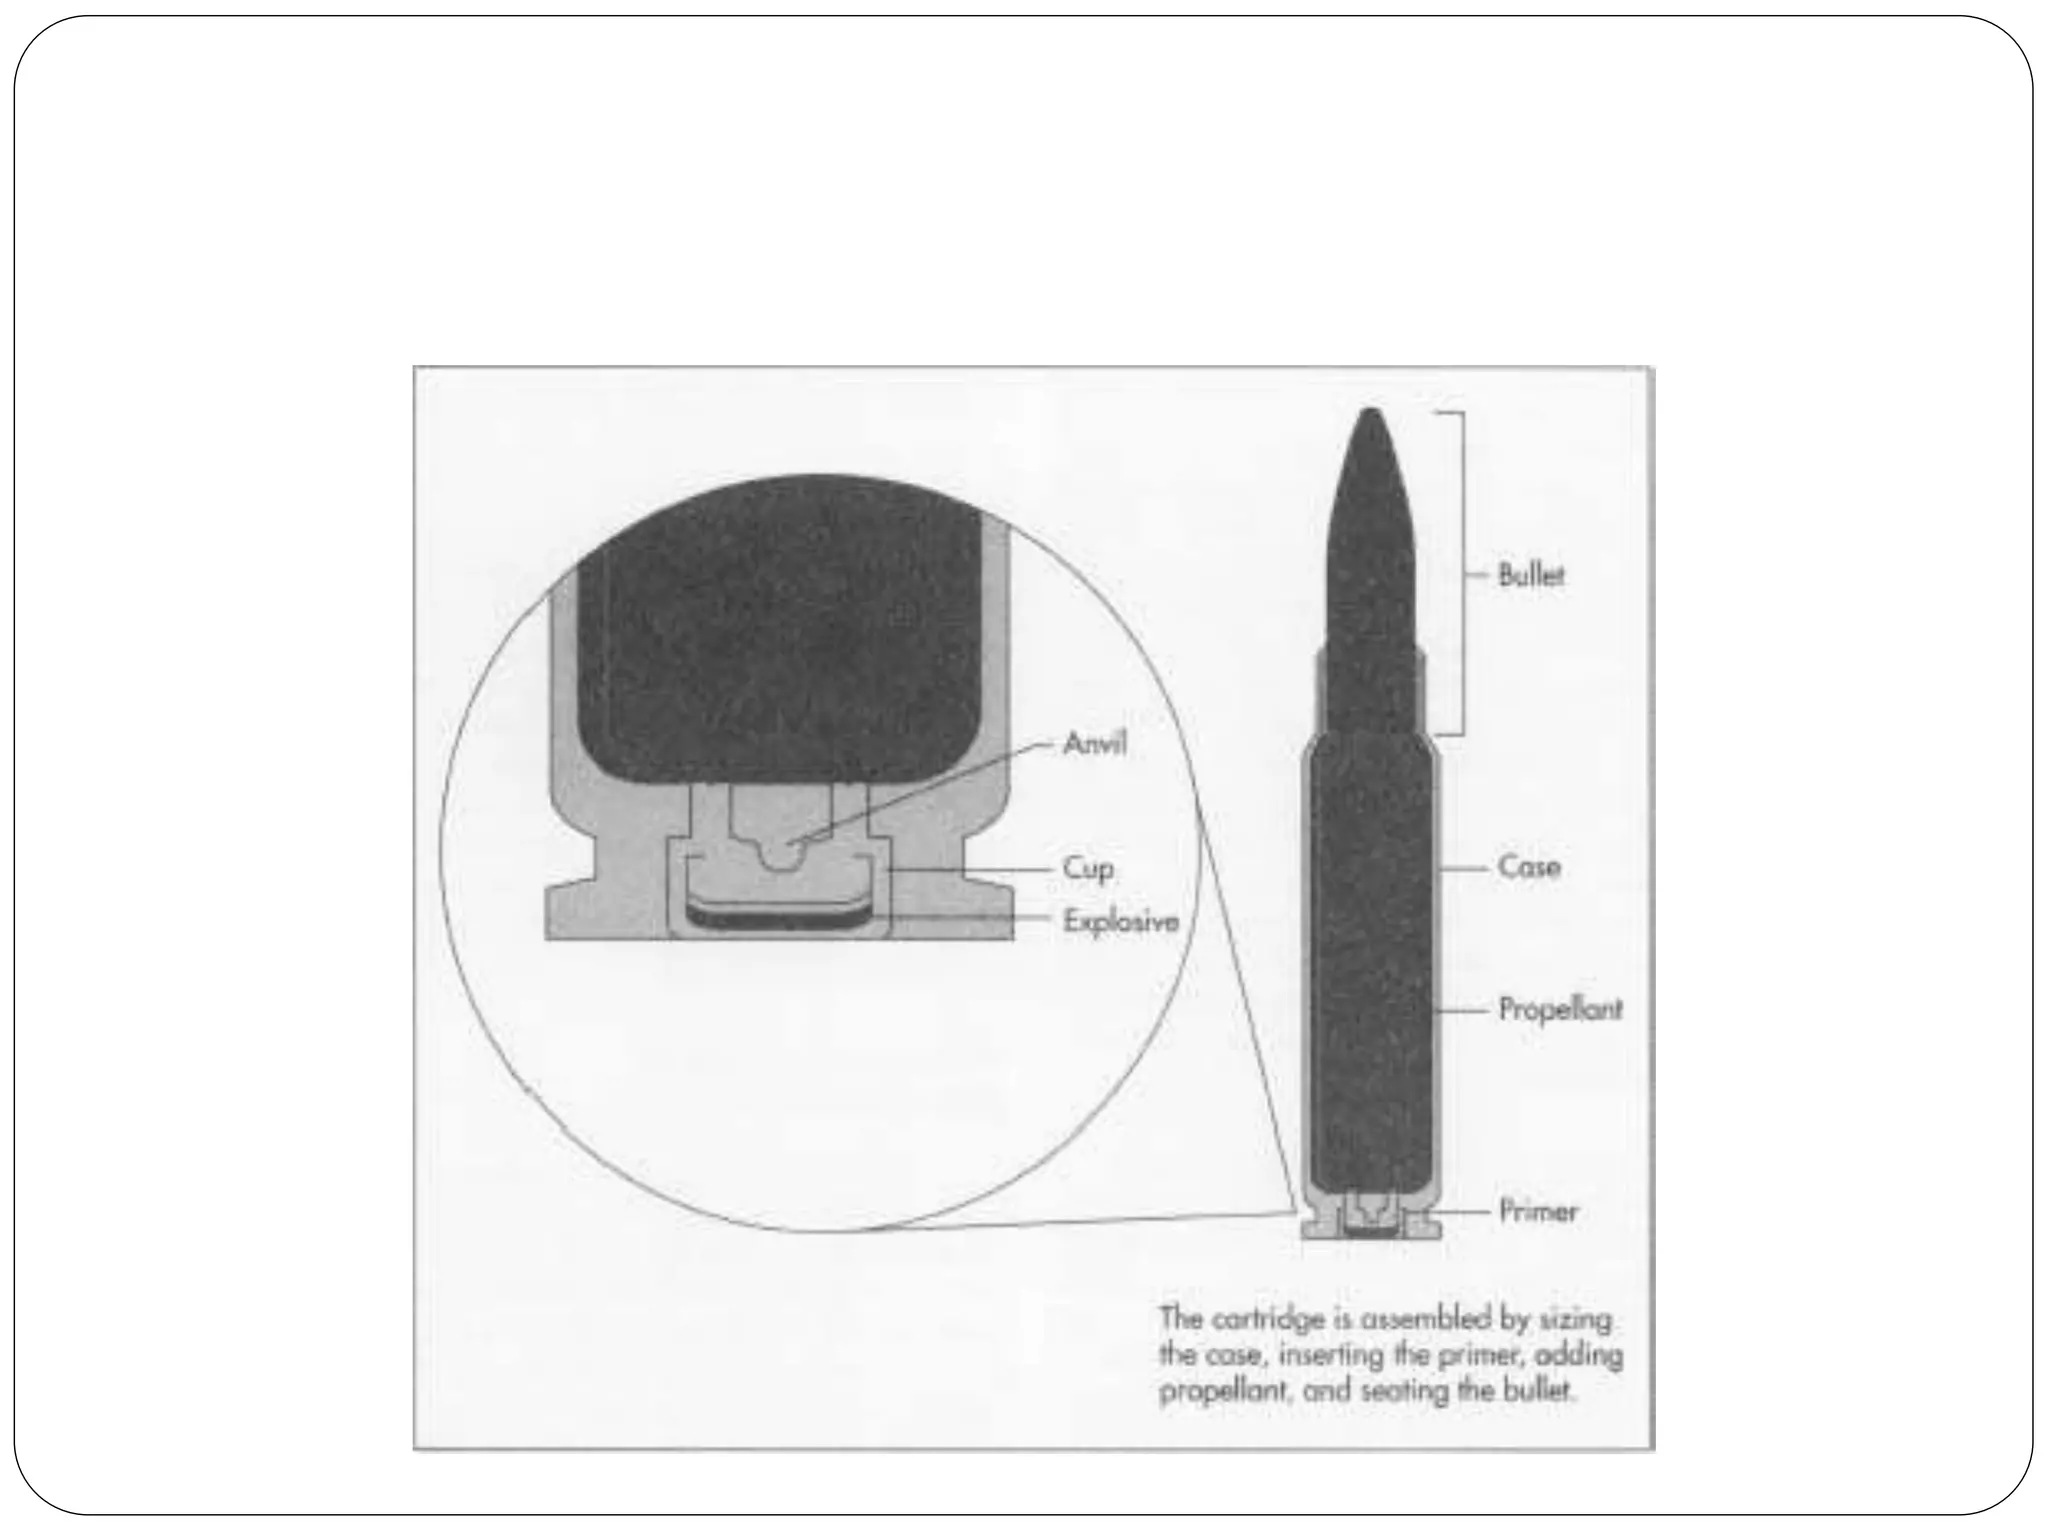
The Elements of Case
Head Types
 There are five types of head designs.
 Rimmed
 Semi-Rimmed
 Rimless
 Belted
 Rebated
Head Types
Bullet Case Manufacturing
Brass Strip
Composition of Brass
 Brass is an alloy of copper and zinc.
 60-85% Copper
 15-40% Zinc
Raw Material from LME
 Raw material for brass is imported from
LME (London metal exchange).
Strip Formation
 Then it is sent to brass mill where it is melted and
strips are made.
 The width of brass strip is 98.4 mm while its
thickness is 3.988 mm.
Cupping
 Cups are cut from the brass metal strip on a press.
 Press applies force of 2 ton pounds to cut the cups.
 The remaining strip is sent back to brass mill where it
is melted and reused.
General representation of cupping
operation
Dimensions of Brass strip
 Dome thickness of cup is 0.145 to 0.155 inch.
 Wall thickness of cup is 0.110 to 0.115 inch.
 Diameter of cup is 0.685 to 0.692 inch.
 Weight of cup is 14.55 g.
Shape of Brass strip after
cupping
Shape of Brass Strip after
cupping
Operation of Cupping Press
 The cupping press is double acting press; it uses
a die and two punches which are
 Cutting punch (for coin making)
 Cupping punch (for cup making)
Finalized shape of cup
Annealing
 The cup is sent to heat treatment plant.
 Where it is annealed at 660 C.
 To regain its crystal structure that might be
distorted due to cupping .
 Heat treatment plants are electrically operated.
 It has 34 spirals which increase the temp
according to our requirement.
 Its soaking time is 120 sec/ rev.
Quality Control
 After annealing the cups are sent to quality
check.
 Where the necessary parameters are checked.
 After annealing their hardness becomes 55 to 65
VPN
Drawing Process
1st draw
 In this operation cups are drawn in such a way
that the length is increased .
 Wall thickness is decreased.
 After this process the external diameter of cup
becomes 0.555 to 0.551 inch.
 Wall thickness becomes 0.067 to 0.061 inch.
 Wall variations are 0.006 inch.
 Dome thickness is 0.1546 to 0.1486 inch.
Shape of cup after 1st draw
Annealing and Quality check
 After 1st draw cups are again annealed and their
quality is checked.
2nd Draw
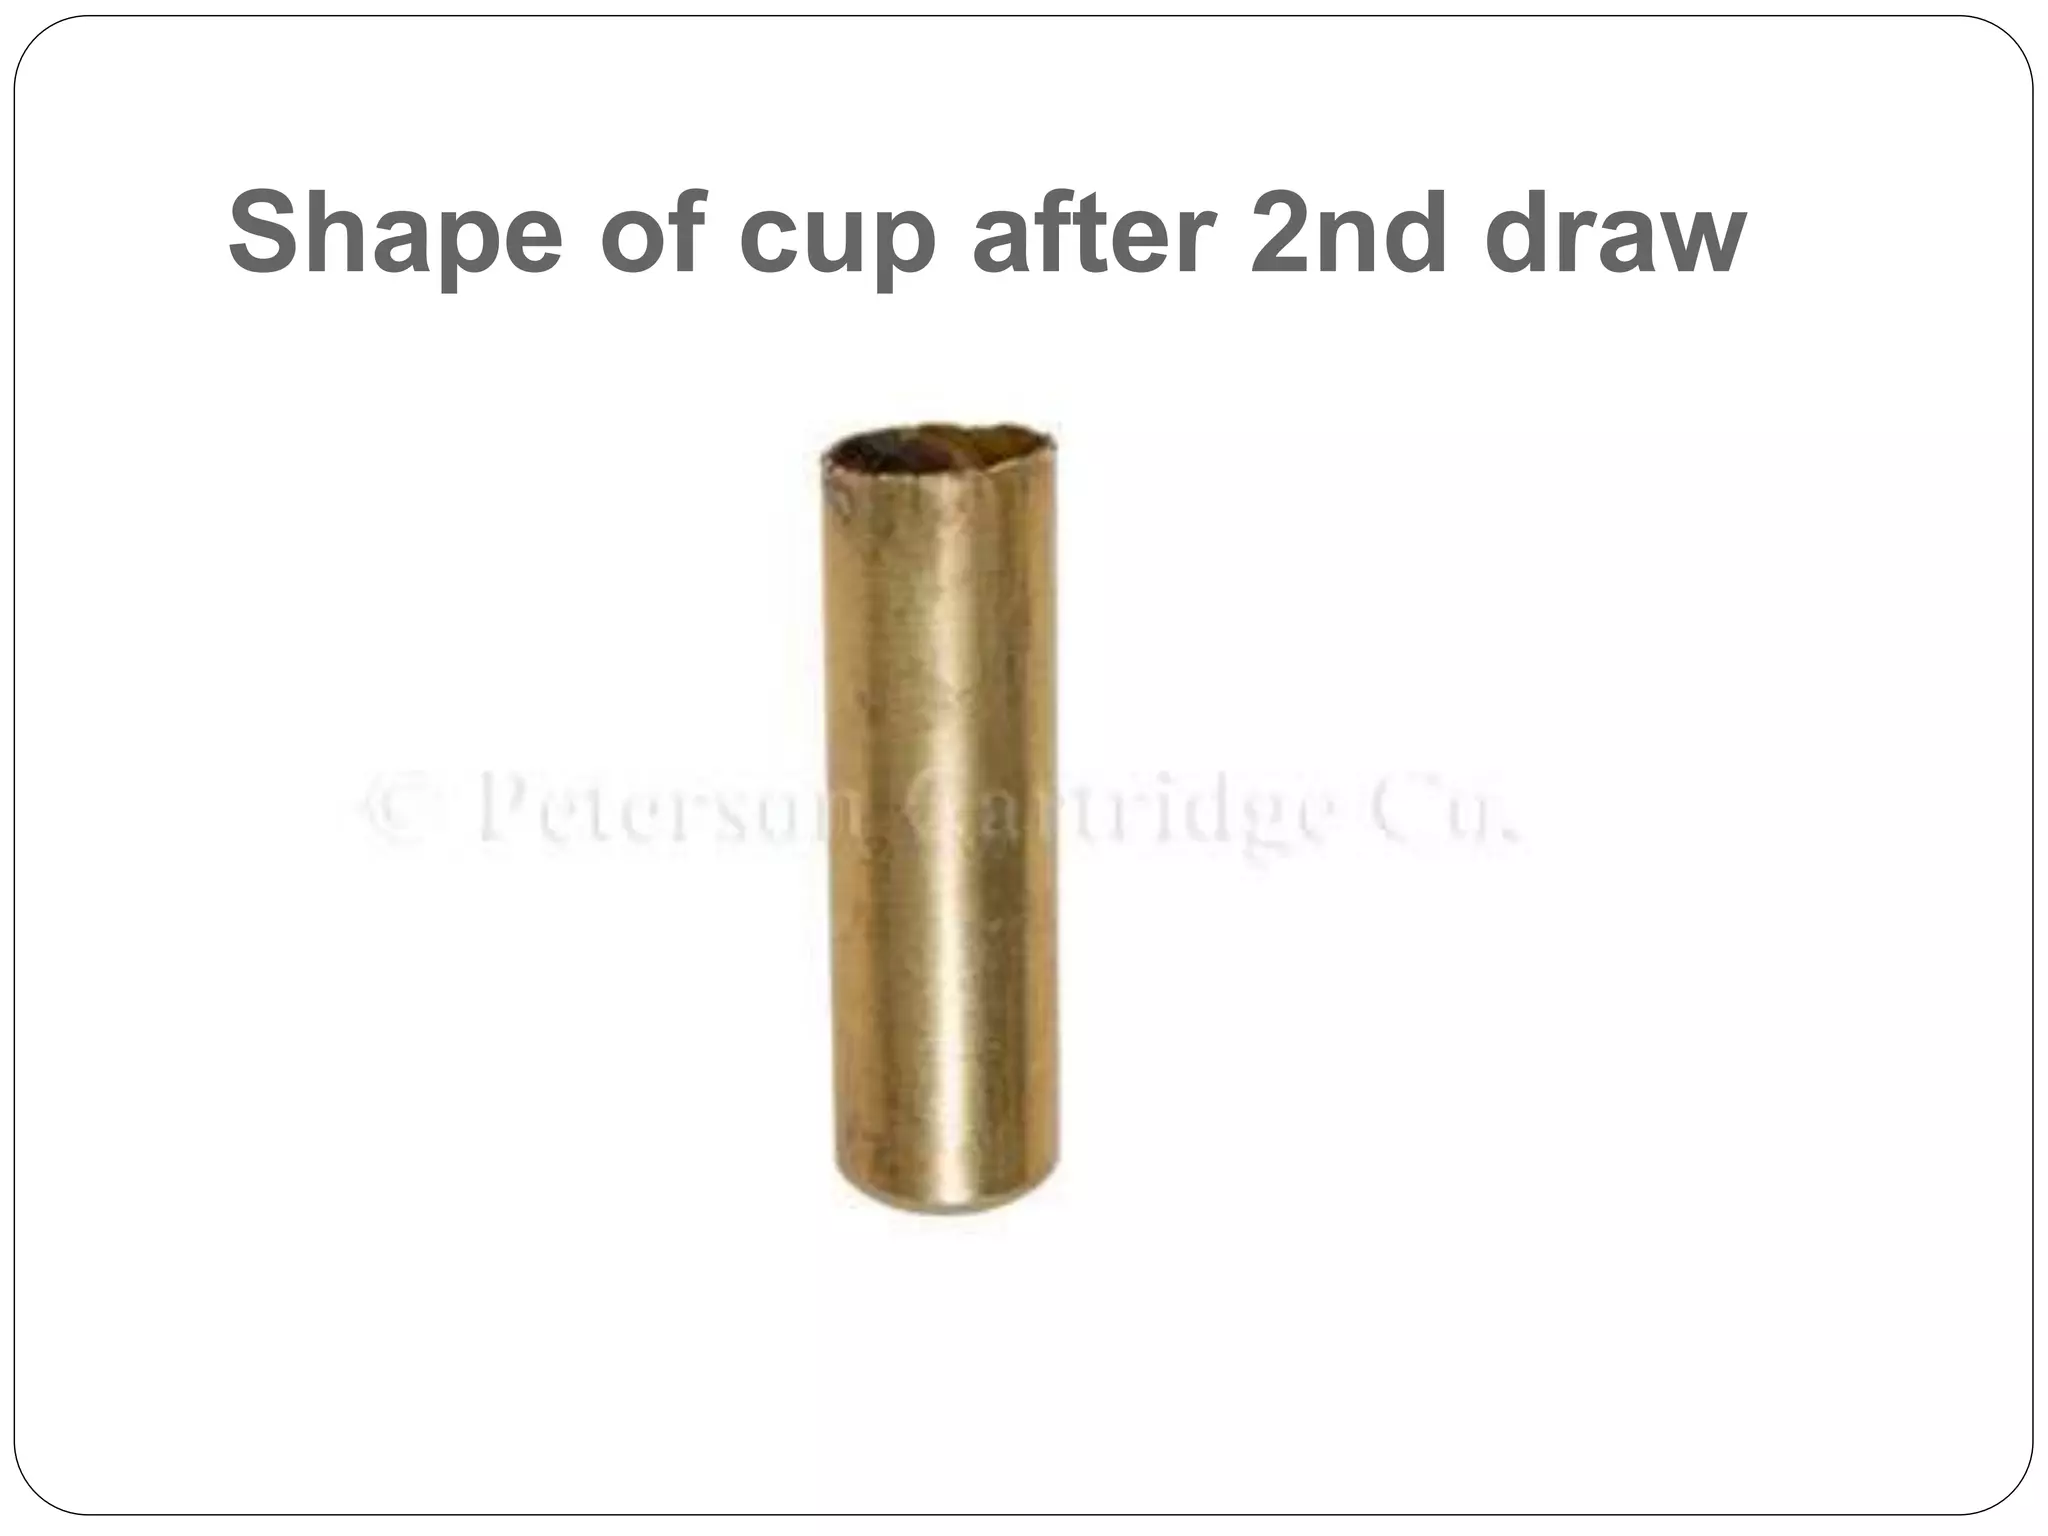
 Cups are drawn again according to our
requirements.
 After this process the external diameter of cup
becomes 0.505 to 0.502 inch.
 Wall thickness becomes 0.025 to 0.021 inch.
 While wall variations are 0.004 inch.
 Dome thickness is 0.160 to 0.150 in
Shape of cup after 2nd draw
Annealing and Quality check
 After 2nd draw cups are again annealed and their
quality is checked.
Final Draw
 Cups are finally drawn and again quality is checked.
 After this process the external diameter of cup
becomes 0.468 to 0.466 inch.
 wall thickness becomes 0.125 to 0.105 inch.
 Wall variations are 0.002 inch.
 Dome thickness is 0.165 to 0.155 inch.
Shape of cup after final draw
Washing
Washing
 Wash chemicals are a combination of acids,
detergents, and anti-tarnish compounds.
 Which effectively remove the lubricant used in our
draw processes.
 Clean off any tarnish which might have developed
during our manufacturing operation.
Trimming
 Extra length from the case is removed.
 Mouth tool is used to cut which operates with cam
follower mechanism.
 After process of trimming length of case becomes
1.835 to 1.815 inch.
Shape of case after trimming
operation
Indenting
 Indenting is done on the bottom of the case
where cap is to be placed.
 After indenting external diameter of case
becomes 0.470 to 0.468 inch.
 Anvil mean is 0.055 inch.
 Height of anvil is given by 0.87 to 0.80 inch.
 Diameter at bottom is 0.218 inch.
General representation of
indenting operation
Heading
 After indenting, head is made flat on the bottom
of the case.
 Cap chamber diameter is 0.214 inch.
 Depth of anvil is 0.050 to 0.55 inch.
 Bottom Diameter of cap chamber is 0.2155 inch.
 Depth of cap chamber is 0.135 to 0.125 inch.
 Full form diameter is 0.2155 inch.
 Diameter of cap chamber is 0.218 inch.
 While its middle diameter is 0.2165 to 0.2155
inch.
General representation of heading
operation
Stamping
 Stamp of POF with its name, round size is
imprinted on the case.
Piercing
 Piercing is punching process.
 It is used to make holes.
 In piercing a pointed bullet shaped punch is
forced through the case to produce hole.
General representation of Piercing
Process
Shape of case after stamping &
piercing operation
Semi or Body Annealing
 In this operation only body of case is annealed on
a rotary burner where the mixture of air and
natural gas is used to heat the body to increase
the hardness.
 In this operation tip is not annealed.
 Body annealing is necessary before the operation
of tapering to protect case from fracturing.
 Hardness of case after this process is 130-160
VPN
Tapering
 Overall the whole case is tapered in this
operation.
 Length of shoulder ranges from 1.628 to 1.634
inch.
 There are 3 diameters which are to be considered
after tapering which are given as 0.671, 0.461
and 0.454 inch.
 Internal mouth diameter ranges from 0.3063 to
Shape of case after tapering
operation
Head turning and mouth reaming
 Head is turned and mouth is reamed according to
our required dimensions.
 After this operation groove diameter becomes
0.409 to 0.402 inch.
 Groove thickness becomes 0.059 to 0.055 inch.
 Rim diameter becomes 0.473 to 0.466 inch.
 Rim thickness ranges from 0.54 to 0.57 inch.
 Mouth thickness ranges from 0.14 to 0.16 inch.
 After this operation the length of case becomes
2.00 to 2.015 inch.
Head turning operation
Tip Annealing
 In these Operations the whole tip of the case is
annealed with respect to our requirements.
Shape of case after tip
annealing
Rumbling
 This is a rubbing process where metal to metal
contact removes the thermal stress.
 Good surface finish is obtained.
Final Quality Check
 After rumbling 100% gauging is done with the
help of machine. And also final visualization of
each and every piece is done manually
Visual Quality Check
 Bullet Case manufacturing
 Bullet Case manufacturing

Bullet Case manufacturing

  • 1.
  • 2.
    Group Members  SyedAtif Iqrar 332-FET/BSME/F13  Faisal Mukhtar 354-FET/BSME/F13 Department of Mechanical Engineering, IIU Islamabad
  • 3.
    Contents  Introduction  Elementsof case  Strip Formation  Cupping Operation  Annealing and Heat Treatment  Quality control  Drawing , Washing , Trimming , Indenting , Heading  Stamping , Piercing, Semi-body Annealing  Tapering , Head Turning , Rumbling and Final check
  • 4.
  • 5.
    Head Types  Thereare five types of head designs.  Rimmed  Semi-Rimmed  Rimless  Belted  Rebated
  • 6.
  • 7.
  • 8.
  • 9.
    Composition of Brass Brass is an alloy of copper and zinc.  60-85% Copper  15-40% Zinc
  • 10.
    Raw Material fromLME  Raw material for brass is imported from LME (London metal exchange).
  • 11.
    Strip Formation  Thenit is sent to brass mill where it is melted and strips are made.  The width of brass strip is 98.4 mm while its thickness is 3.988 mm.
  • 12.
    Cupping  Cups arecut from the brass metal strip on a press.  Press applies force of 2 ton pounds to cut the cups.  The remaining strip is sent back to brass mill where it is melted and reused.
  • 13.
    General representation ofcupping operation
  • 14.
    Dimensions of Brassstrip  Dome thickness of cup is 0.145 to 0.155 inch.  Wall thickness of cup is 0.110 to 0.115 inch.  Diameter of cup is 0.685 to 0.692 inch.  Weight of cup is 14.55 g.
  • 15.
    Shape of Brassstrip after cupping
  • 16.
    Shape of BrassStrip after cupping
  • 17.
    Operation of CuppingPress  The cupping press is double acting press; it uses a die and two punches which are  Cutting punch (for coin making)  Cupping punch (for cup making)
  • 18.
  • 19.
    Annealing  The cupis sent to heat treatment plant.  Where it is annealed at 660 C.  To regain its crystal structure that might be distorted due to cupping .
  • 20.
     Heat treatmentplants are electrically operated.  It has 34 spirals which increase the temp according to our requirement.  Its soaking time is 120 sec/ rev.
  • 21.
    Quality Control  Afterannealing the cups are sent to quality check.  Where the necessary parameters are checked.  After annealing their hardness becomes 55 to 65 VPN
  • 22.
  • 23.
    1st draw  Inthis operation cups are drawn in such a way that the length is increased .  Wall thickness is decreased.
  • 24.
     After thisprocess the external diameter of cup becomes 0.555 to 0.551 inch.  Wall thickness becomes 0.067 to 0.061 inch.  Wall variations are 0.006 inch.  Dome thickness is 0.1546 to 0.1486 inch.
  • 25.
    Shape of cupafter 1st draw
  • 26.
    Annealing and Qualitycheck  After 1st draw cups are again annealed and their quality is checked.
  • 27.
    2nd Draw  Cupsare drawn again according to our requirements.  After this process the external diameter of cup becomes 0.505 to 0.502 inch.  Wall thickness becomes 0.025 to 0.021 inch.  While wall variations are 0.004 inch.  Dome thickness is 0.160 to 0.150 in
  • 28.
    Shape of cupafter 2nd draw
  • 29.
    Annealing and Qualitycheck  After 2nd draw cups are again annealed and their quality is checked.
  • 30.
    Final Draw  Cupsare finally drawn and again quality is checked.  After this process the external diameter of cup becomes 0.468 to 0.466 inch.  wall thickness becomes 0.125 to 0.105 inch.  Wall variations are 0.002 inch.  Dome thickness is 0.165 to 0.155 inch.
  • 31.
    Shape of cupafter final draw
  • 32.
  • 33.
    Washing  Wash chemicalsare a combination of acids, detergents, and anti-tarnish compounds.  Which effectively remove the lubricant used in our draw processes.  Clean off any tarnish which might have developed during our manufacturing operation.
  • 34.
    Trimming  Extra lengthfrom the case is removed.  Mouth tool is used to cut which operates with cam follower mechanism.  After process of trimming length of case becomes 1.835 to 1.815 inch.
  • 35.
    Shape of caseafter trimming operation
  • 36.
    Indenting  Indenting isdone on the bottom of the case where cap is to be placed.  After indenting external diameter of case becomes 0.470 to 0.468 inch.  Anvil mean is 0.055 inch.  Height of anvil is given by 0.87 to 0.80 inch.  Diameter at bottom is 0.218 inch.
  • 38.
  • 39.
    Heading  After indenting,head is made flat on the bottom of the case.  Cap chamber diameter is 0.214 inch.  Depth of anvil is 0.050 to 0.55 inch.  Bottom Diameter of cap chamber is 0.2155 inch.  Depth of cap chamber is 0.135 to 0.125 inch.  Full form diameter is 0.2155 inch.  Diameter of cap chamber is 0.218 inch.  While its middle diameter is 0.2165 to 0.2155 inch.
  • 40.
    General representation ofheading operation
  • 41.
    Stamping  Stamp ofPOF with its name, round size is imprinted on the case.
  • 42.
    Piercing  Piercing ispunching process.  It is used to make holes.  In piercing a pointed bullet shaped punch is forced through the case to produce hole.
  • 43.
    General representation ofPiercing Process
  • 44.
    Shape of caseafter stamping & piercing operation
  • 45.
    Semi or BodyAnnealing  In this operation only body of case is annealed on a rotary burner where the mixture of air and natural gas is used to heat the body to increase the hardness.  In this operation tip is not annealed.  Body annealing is necessary before the operation of tapering to protect case from fracturing.  Hardness of case after this process is 130-160 VPN
  • 46.
    Tapering  Overall thewhole case is tapered in this operation.  Length of shoulder ranges from 1.628 to 1.634 inch.  There are 3 diameters which are to be considered after tapering which are given as 0.671, 0.461 and 0.454 inch.  Internal mouth diameter ranges from 0.3063 to
  • 47.
    Shape of caseafter tapering operation
  • 48.
    Head turning andmouth reaming  Head is turned and mouth is reamed according to our required dimensions.  After this operation groove diameter becomes 0.409 to 0.402 inch.  Groove thickness becomes 0.059 to 0.055 inch.  Rim diameter becomes 0.473 to 0.466 inch.  Rim thickness ranges from 0.54 to 0.57 inch.  Mouth thickness ranges from 0.14 to 0.16 inch.  After this operation the length of case becomes 2.00 to 2.015 inch.
  • 49.
  • 50.
    Tip Annealing  Inthese Operations the whole tip of the case is annealed with respect to our requirements.
  • 51.
    Shape of caseafter tip annealing
  • 52.
    Rumbling  This isa rubbing process where metal to metal contact removes the thermal stress.  Good surface finish is obtained.
  • 54.
    Final Quality Check After rumbling 100% gauging is done with the help of machine. And also final visualization of each and every piece is done manually
  • 55.