Downloaded 15 times


![Blacklisting example
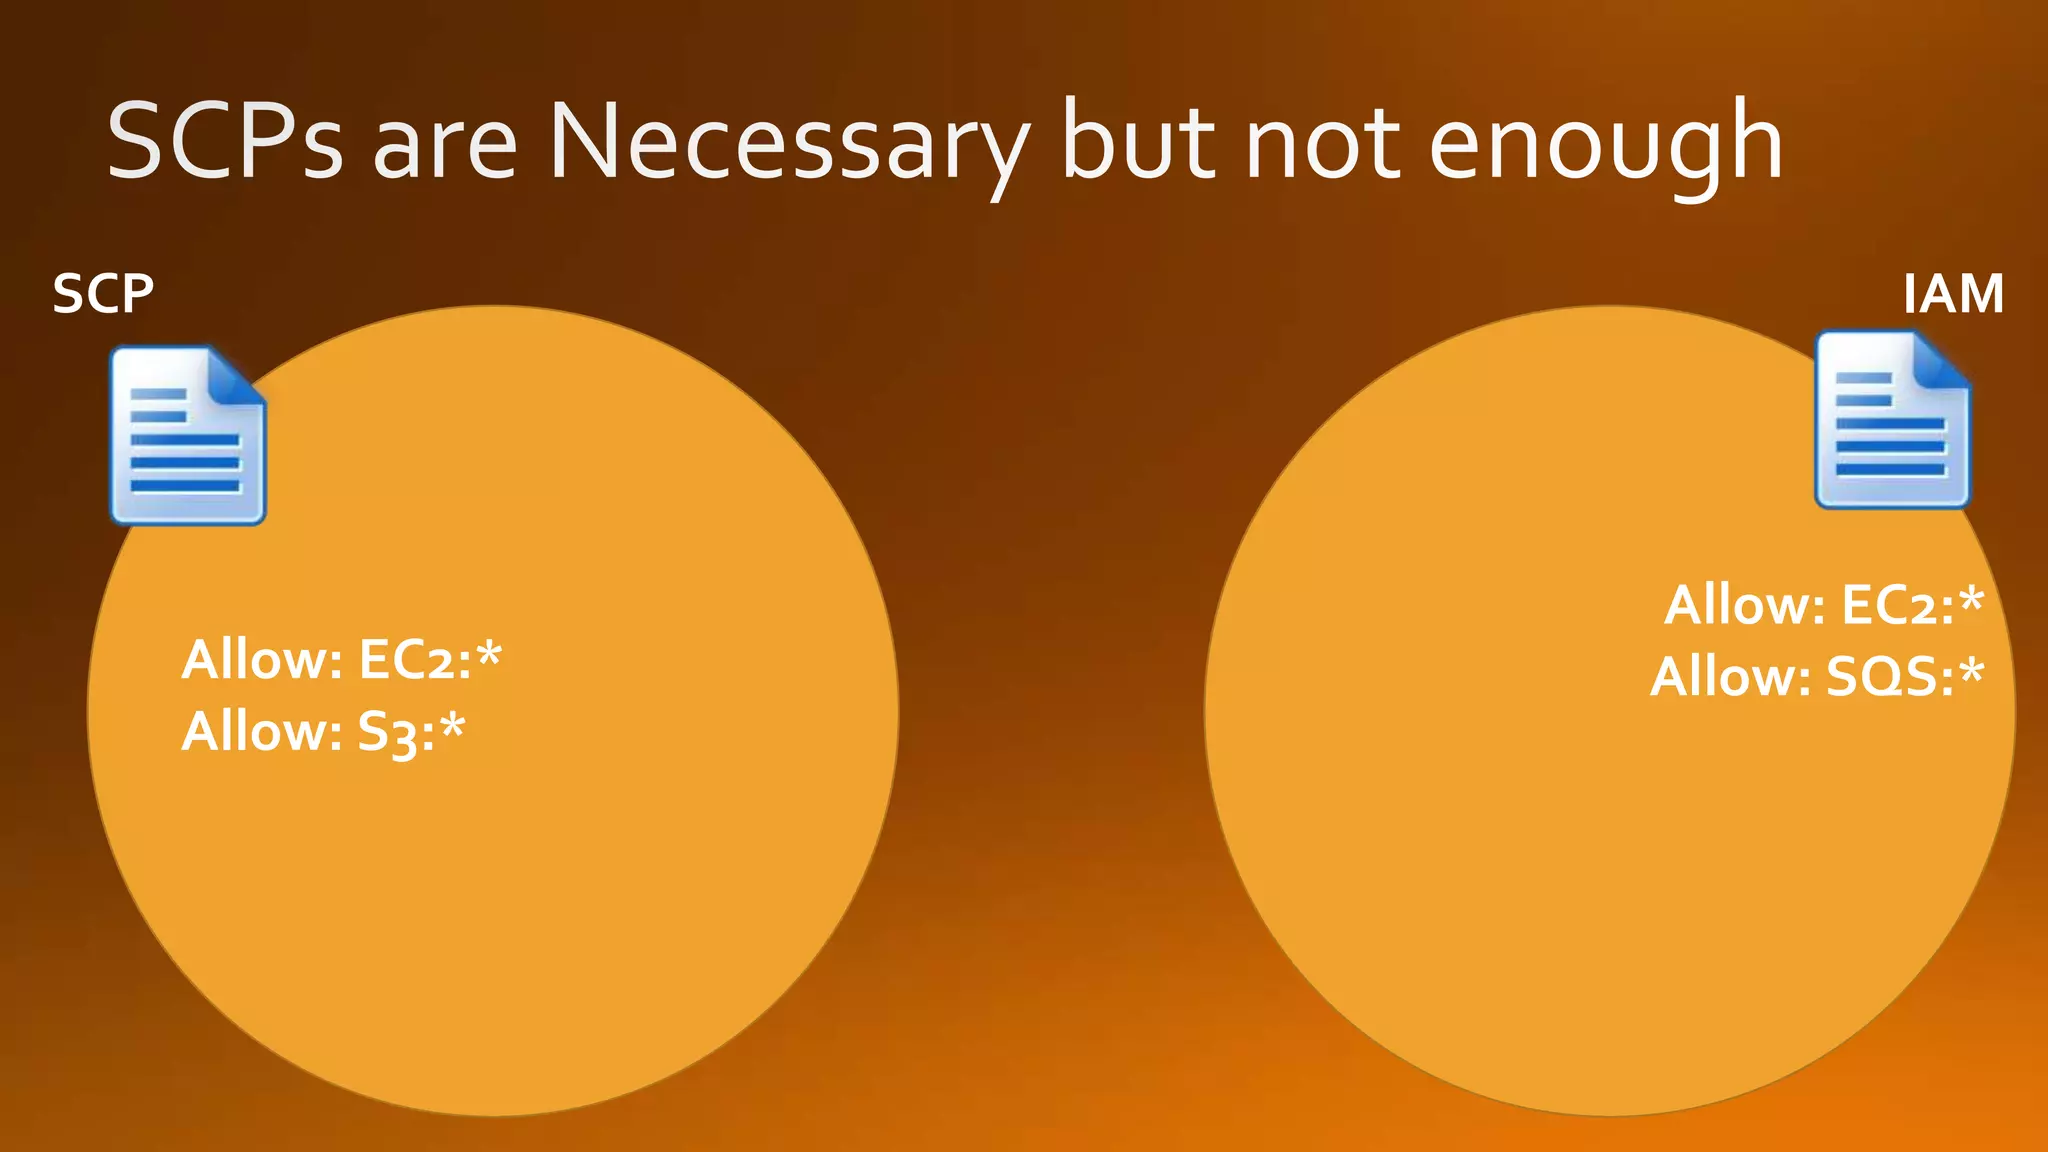
{
“Version”:”2017-10-17”
“Statement”:[
{
”Effect”: ”Allow”,
”Action”: [
“EC2:*”,”S3:*”
],
“Resource”:”*”
}
]
}
Whitelisting example
{
“Version”:”2017-10-17”
“Statement”:[
{
”Effect”: ”Deny”,
”Action”: [
“EMR:*”
],
“Resource”:”*”
}
]
}](https://image.slidesharecdn.com/awsmeetuporganizations-190707115102/75/AWS-Atlanta-Meetup-June-19-AWS-organizations-Account-Structure-20-2048.jpg)
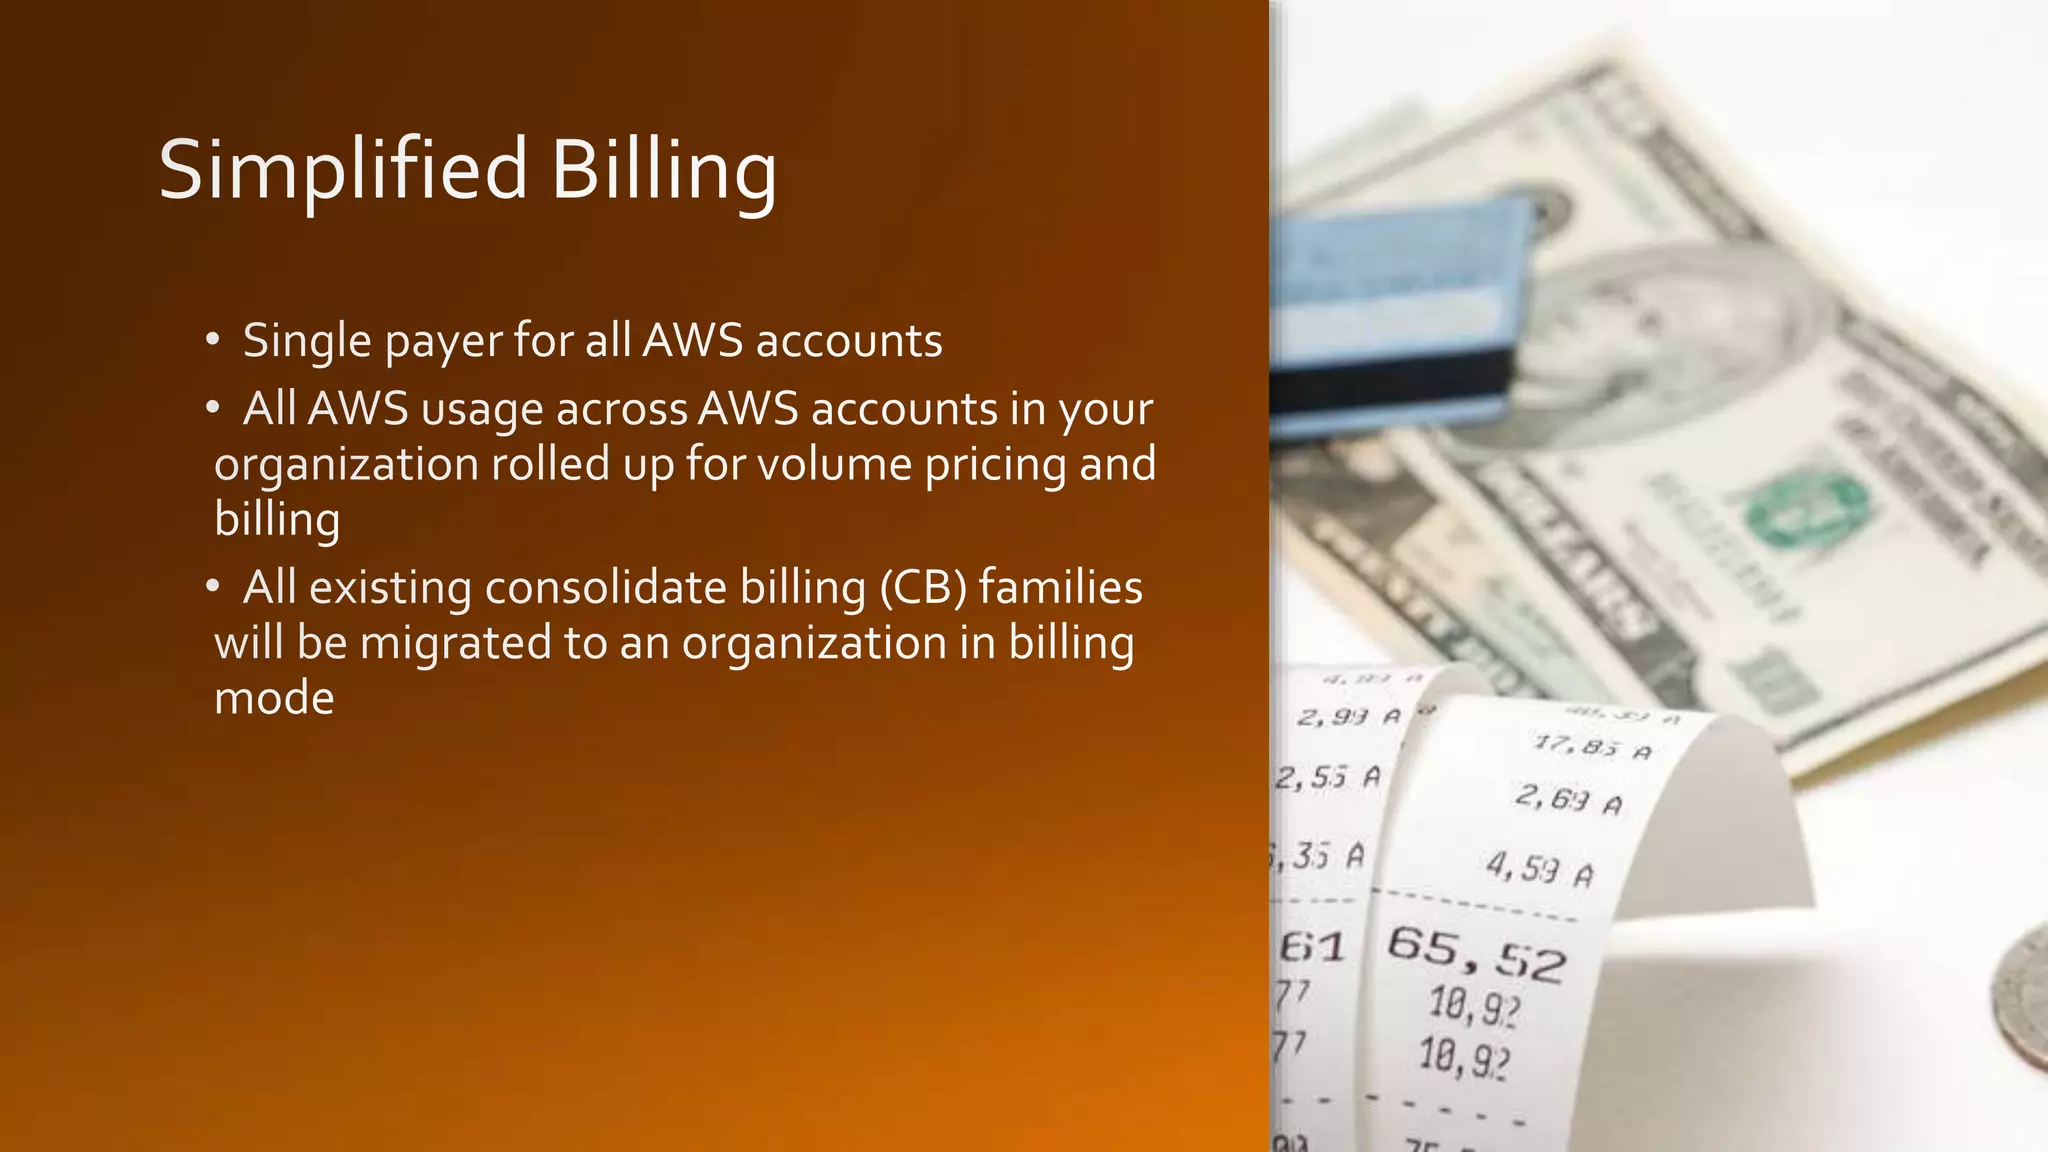


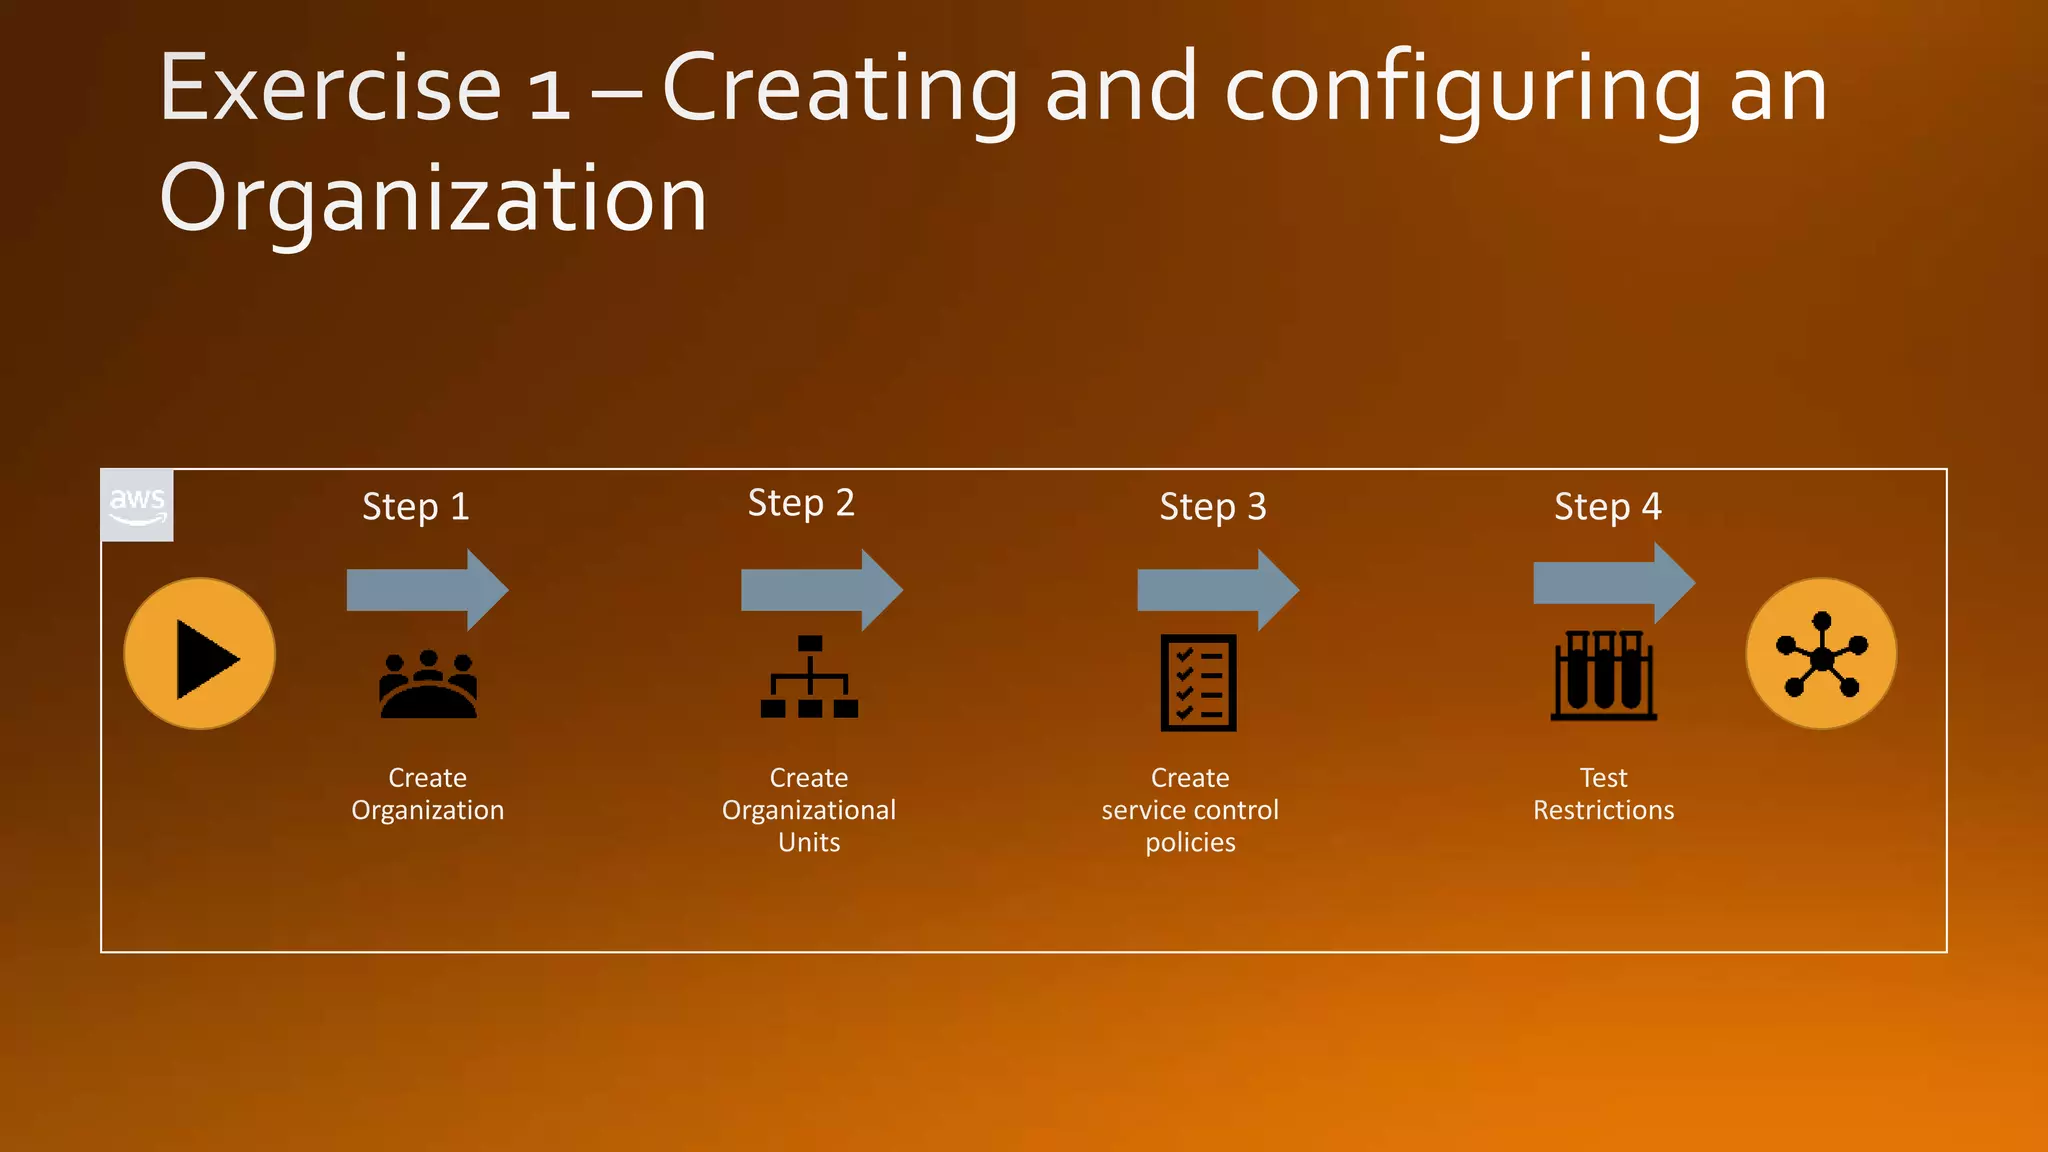


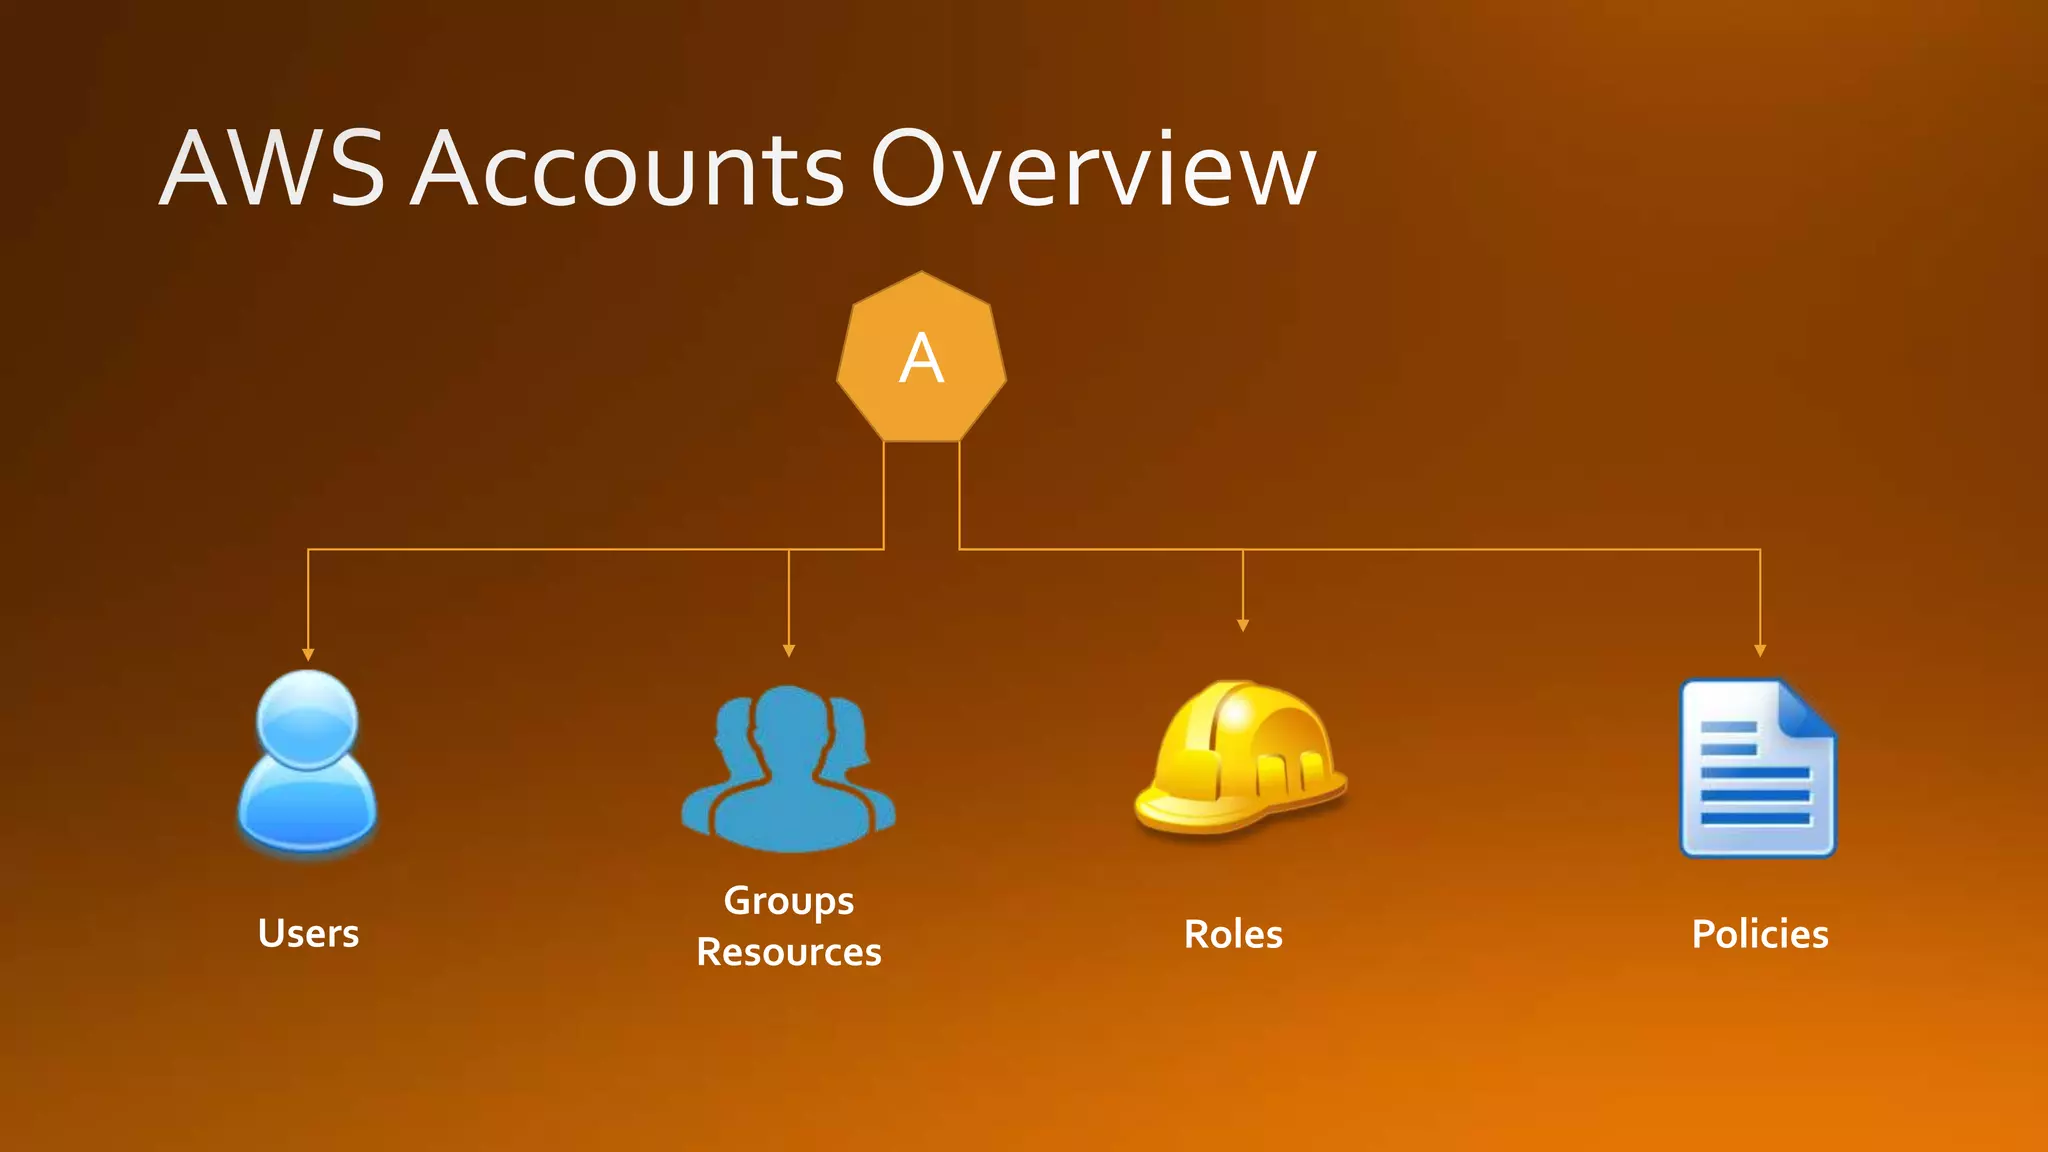
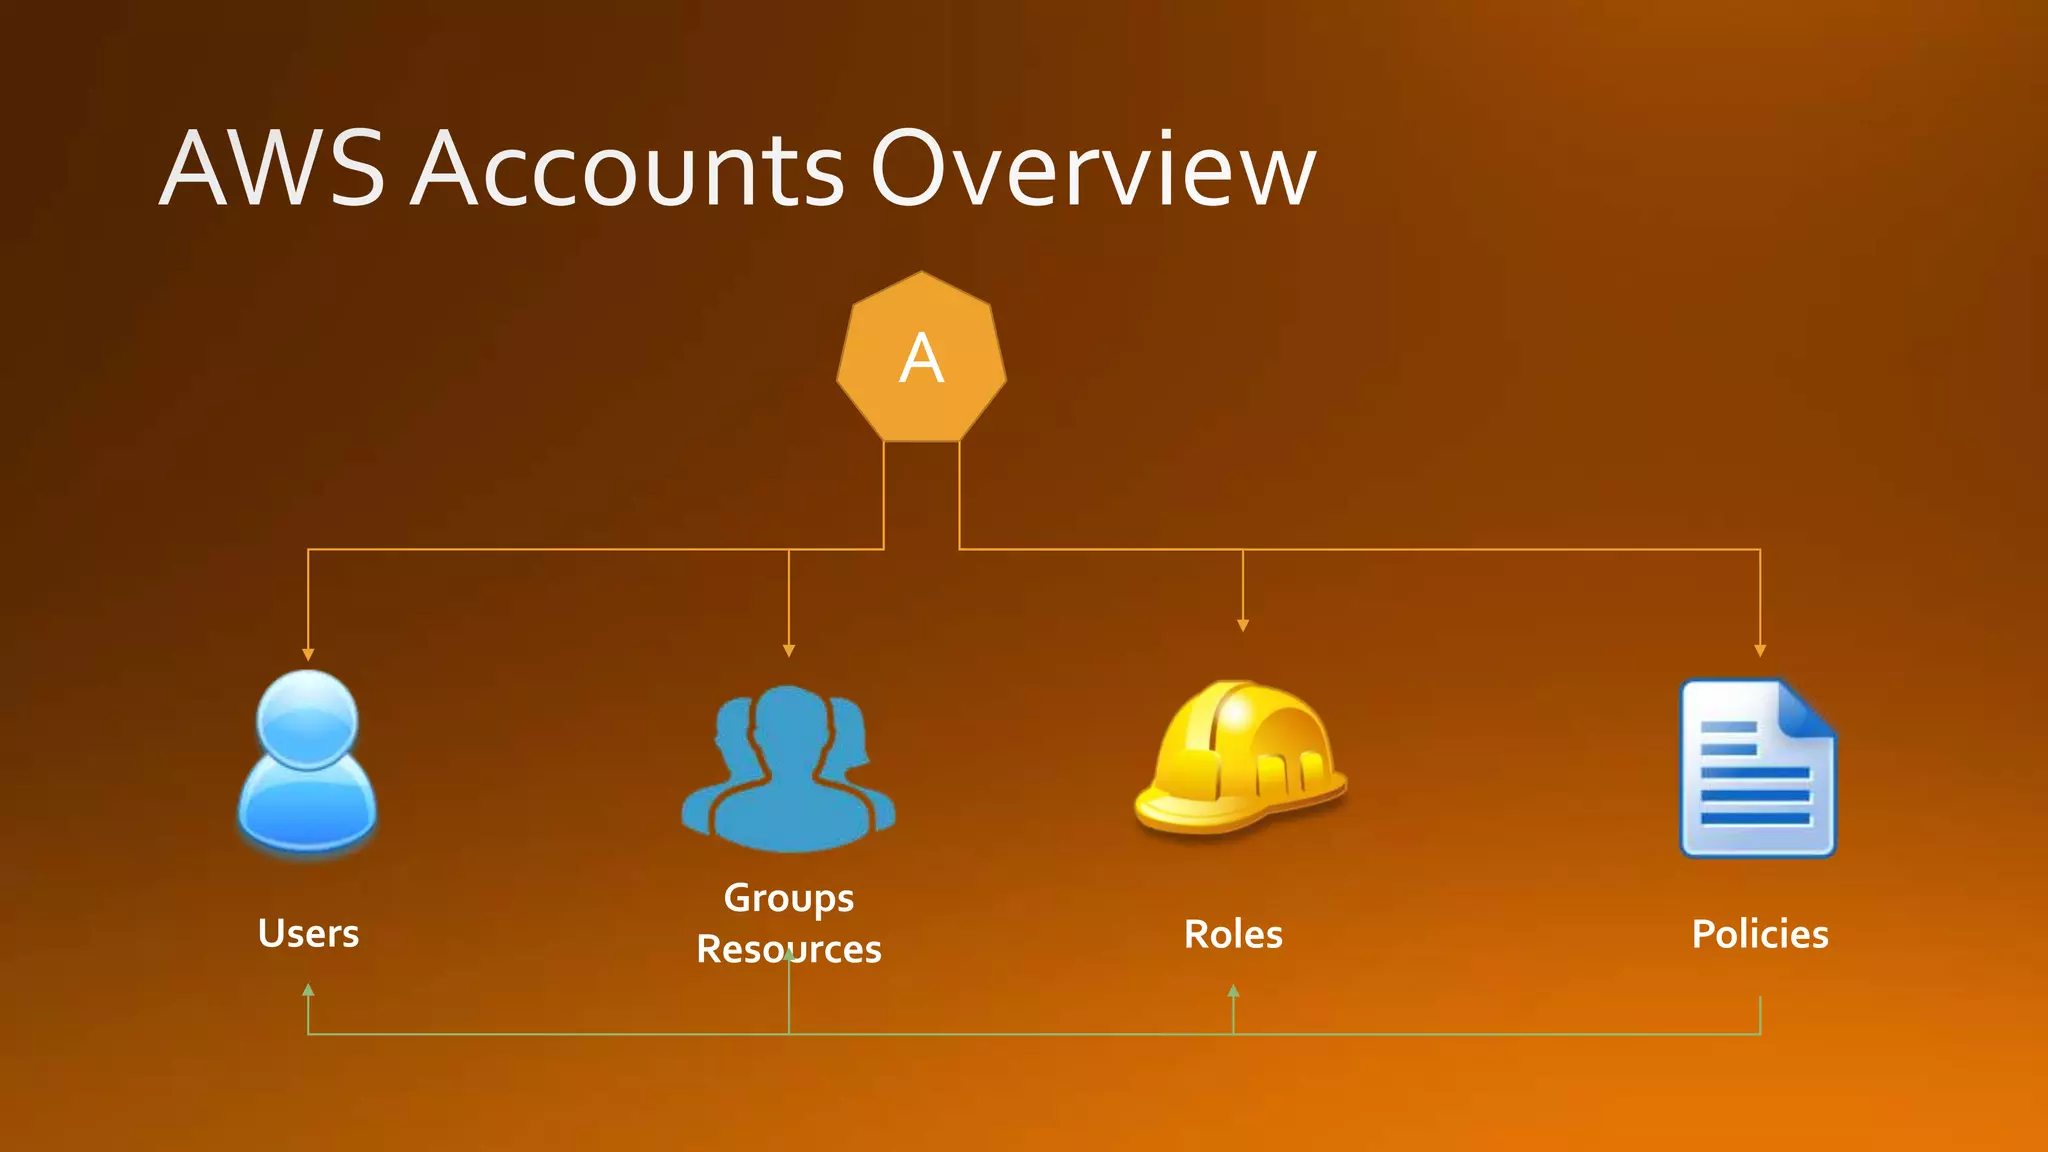
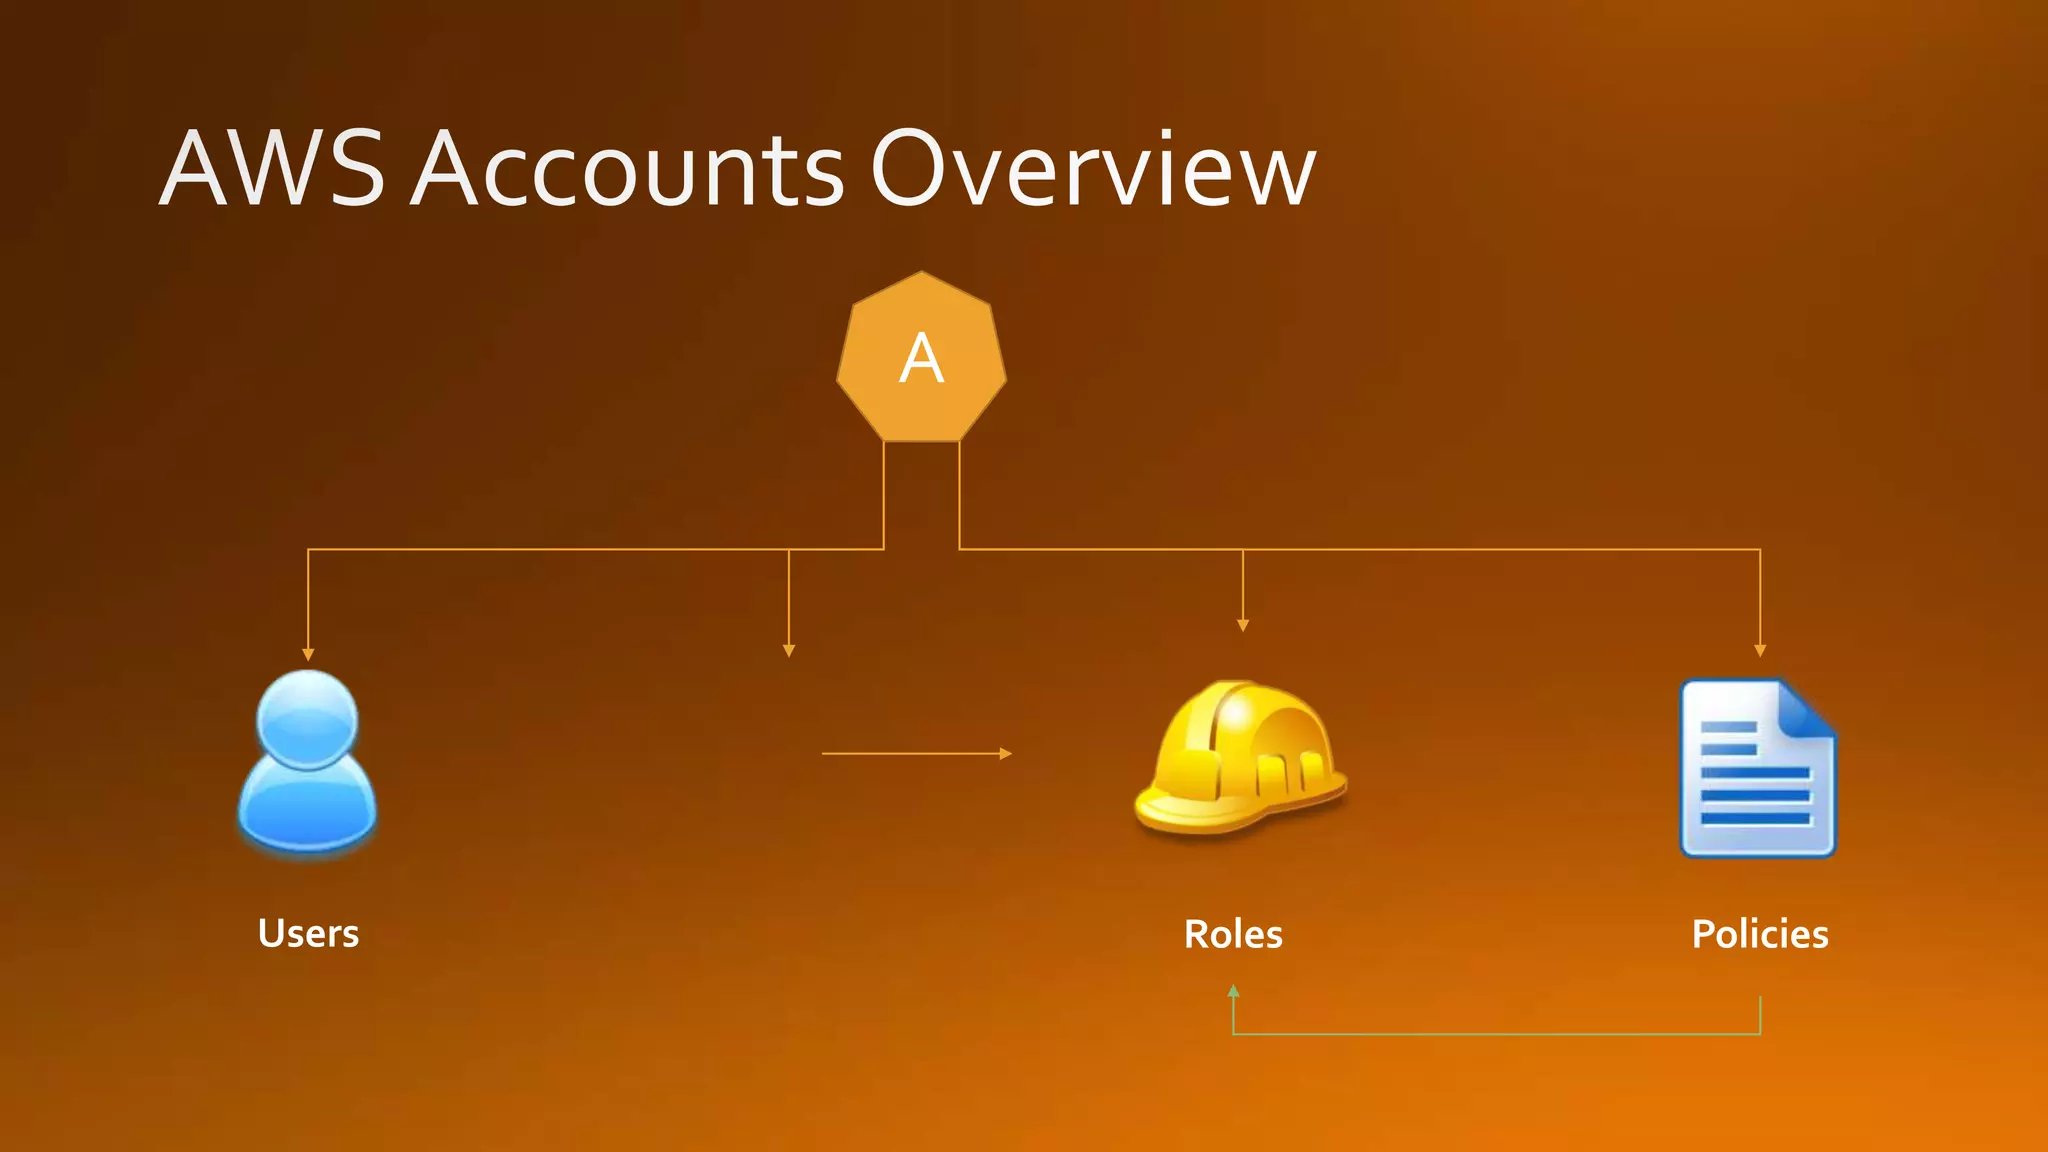
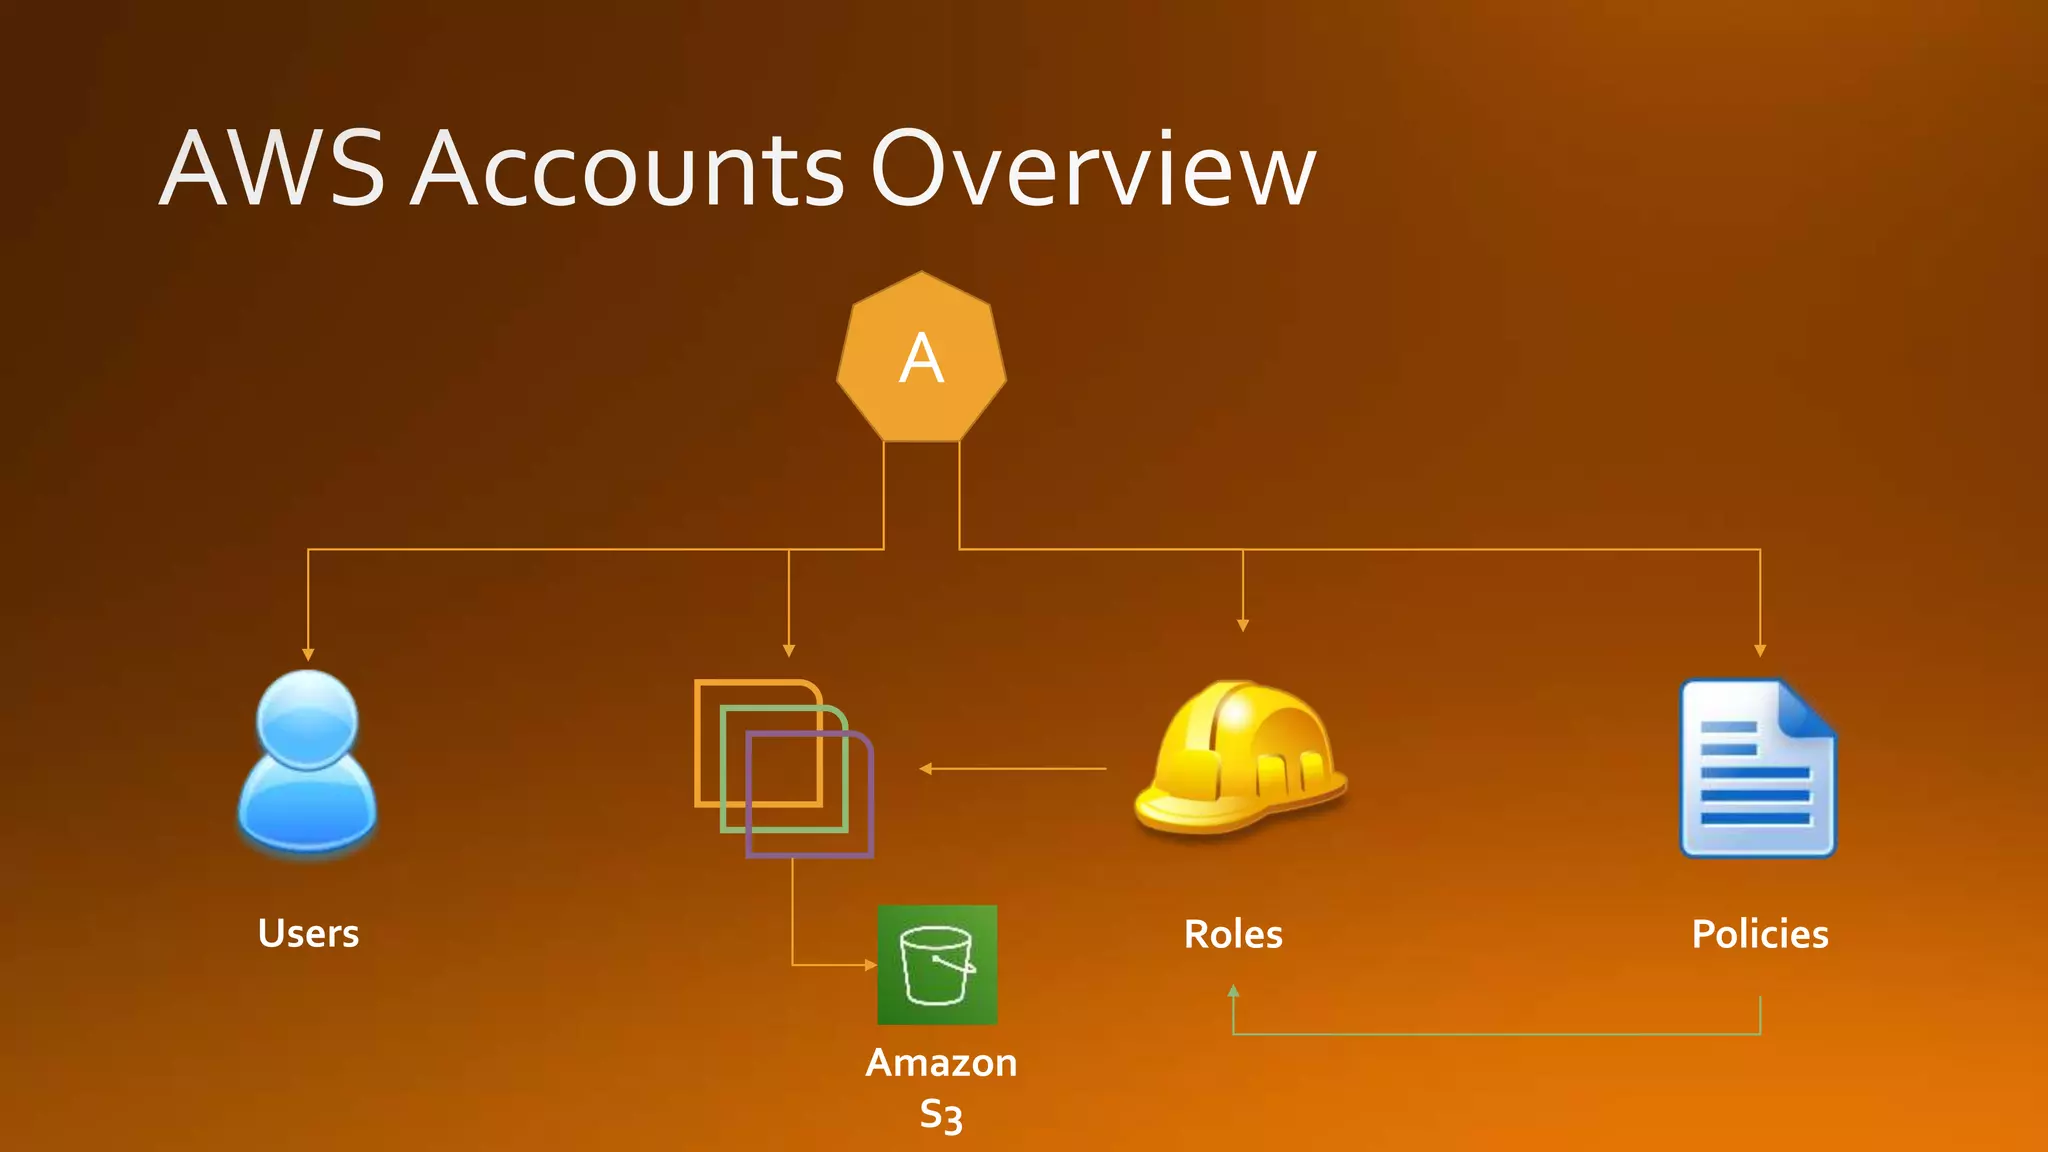
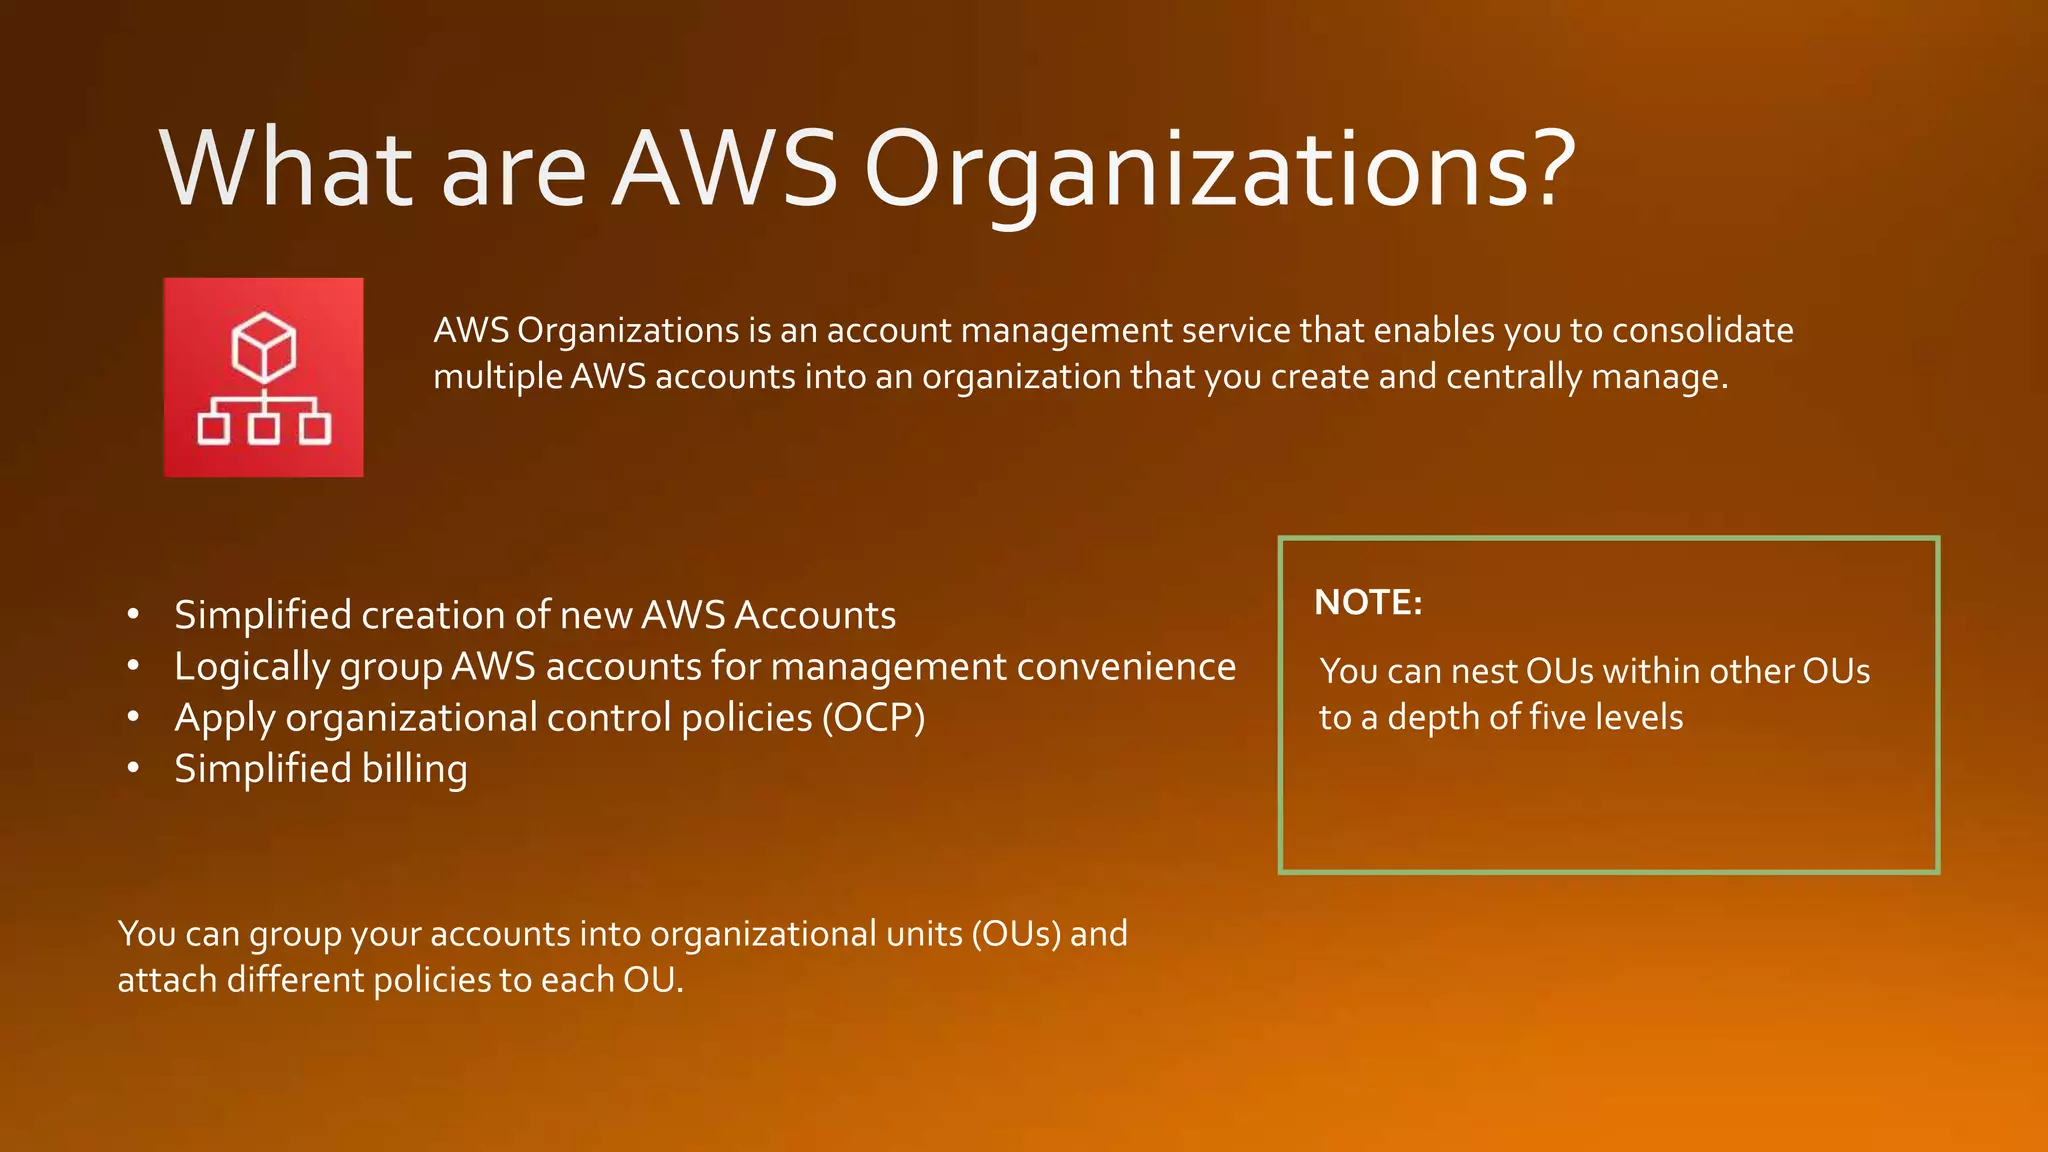
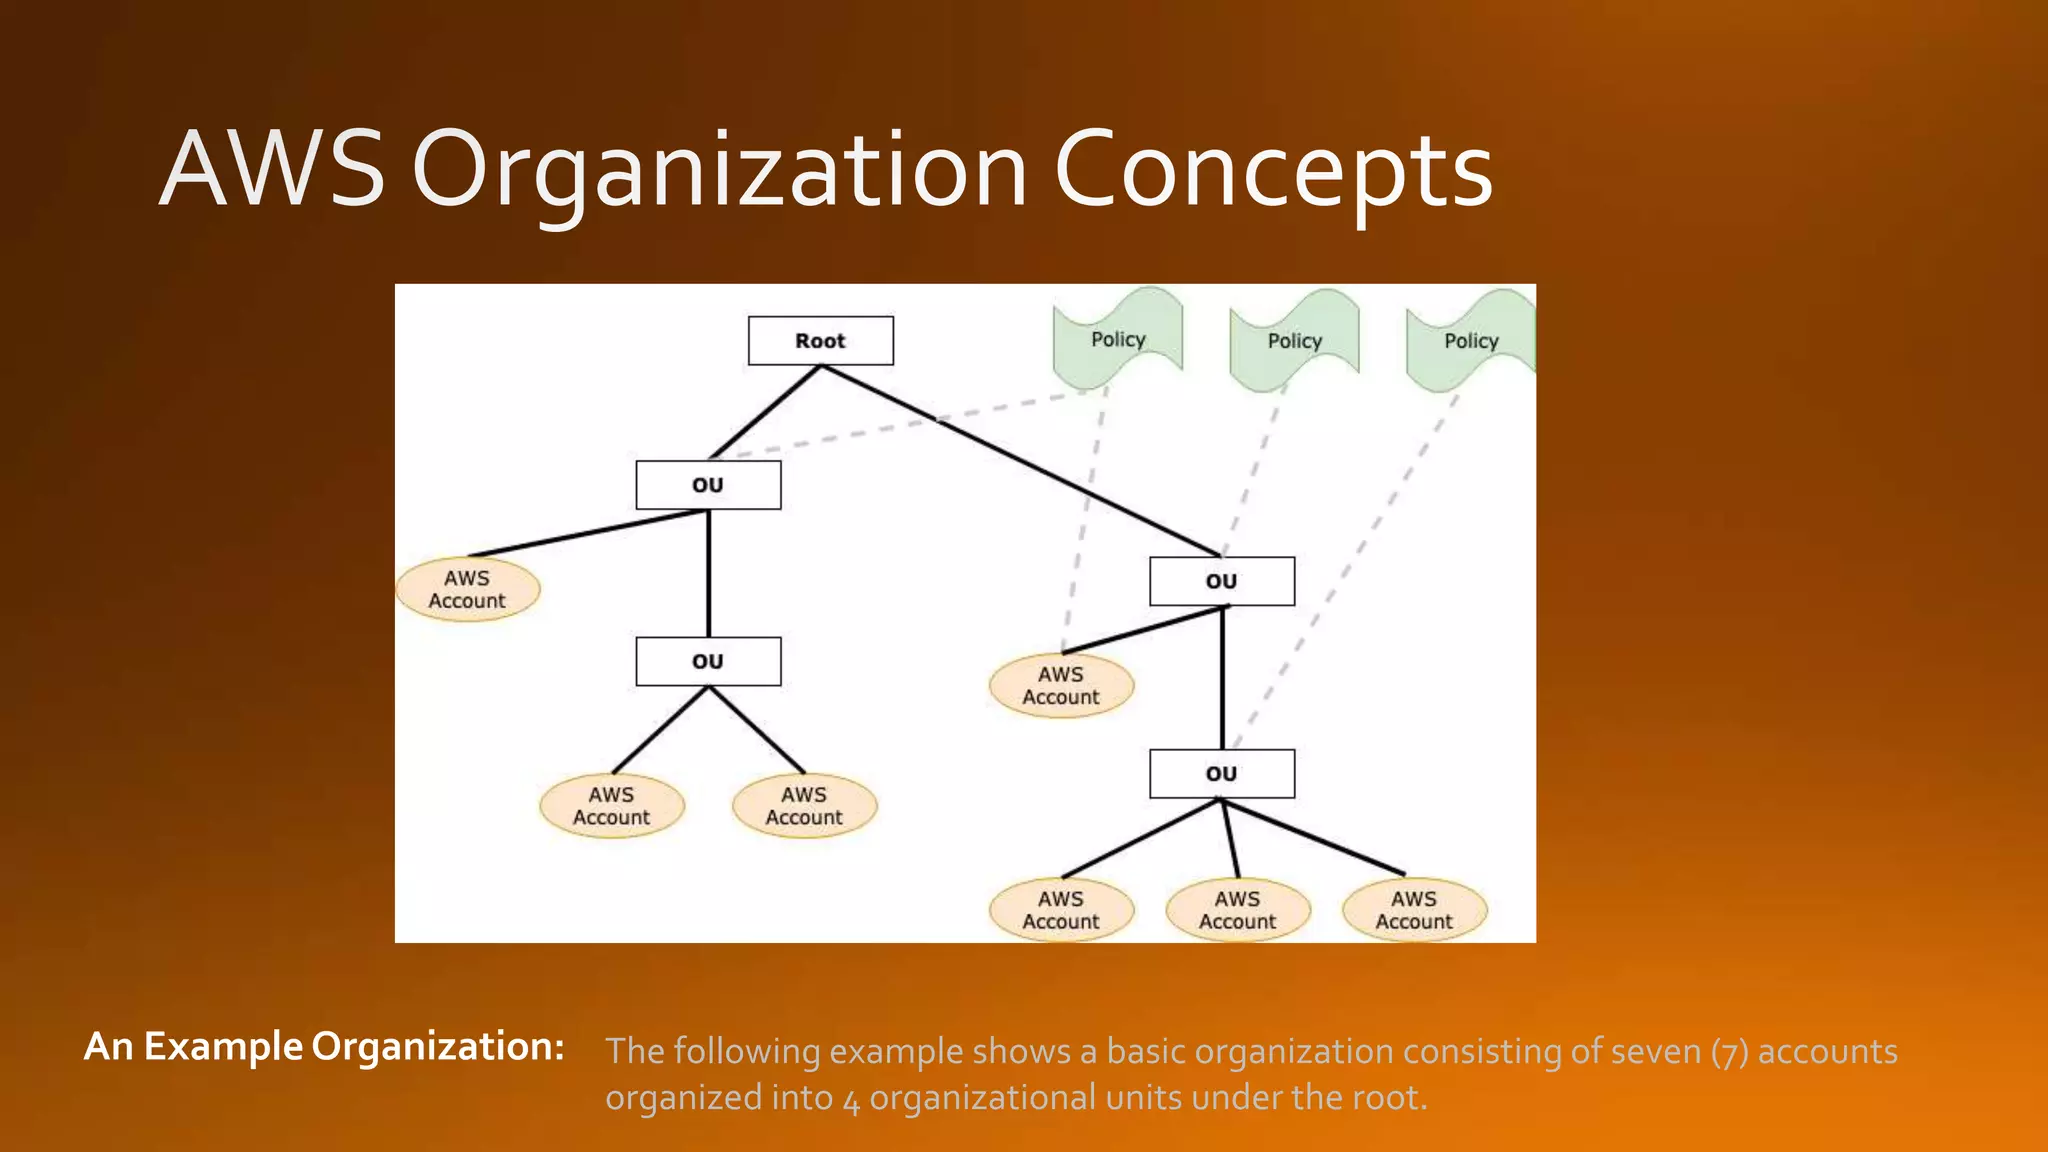
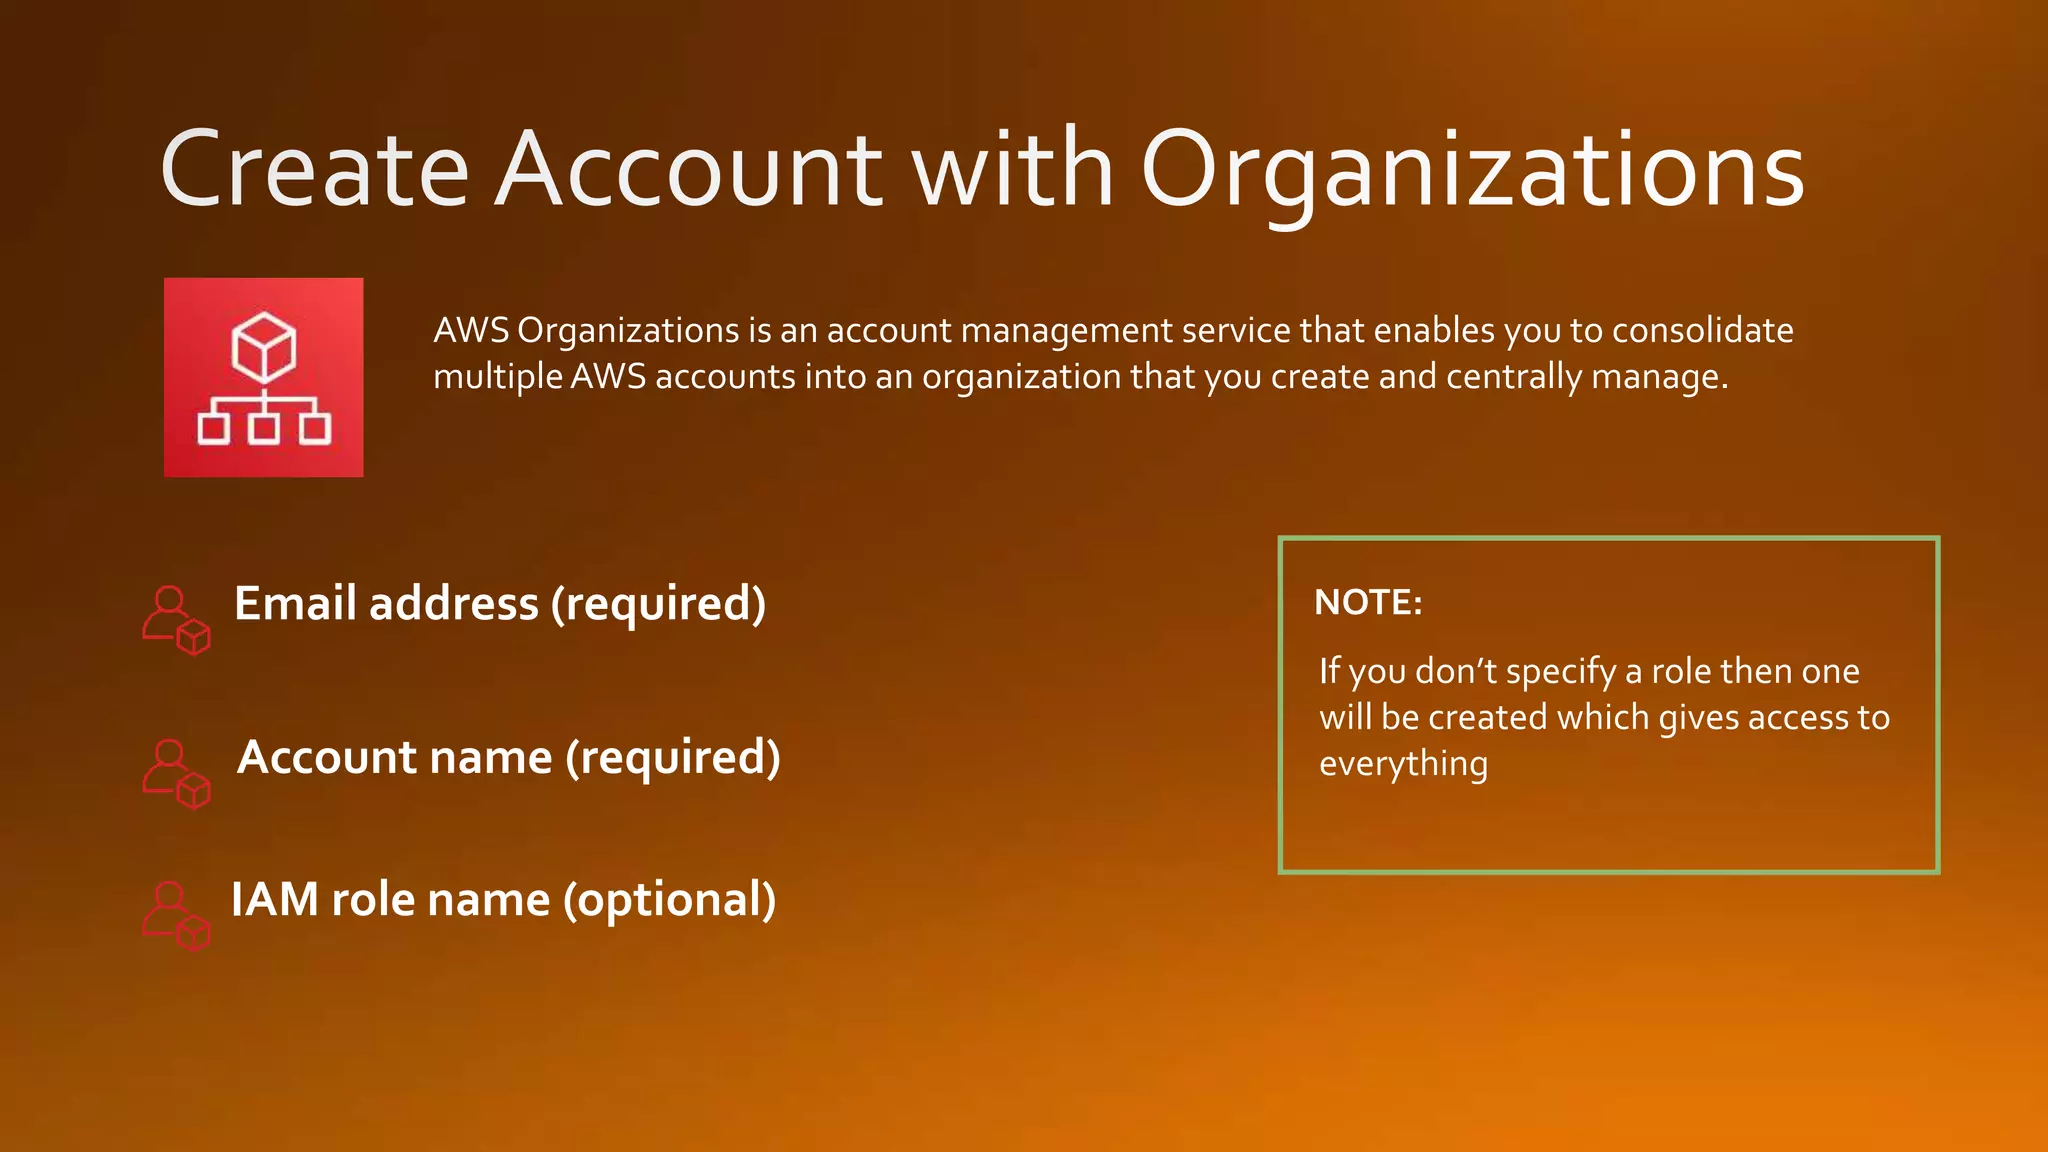
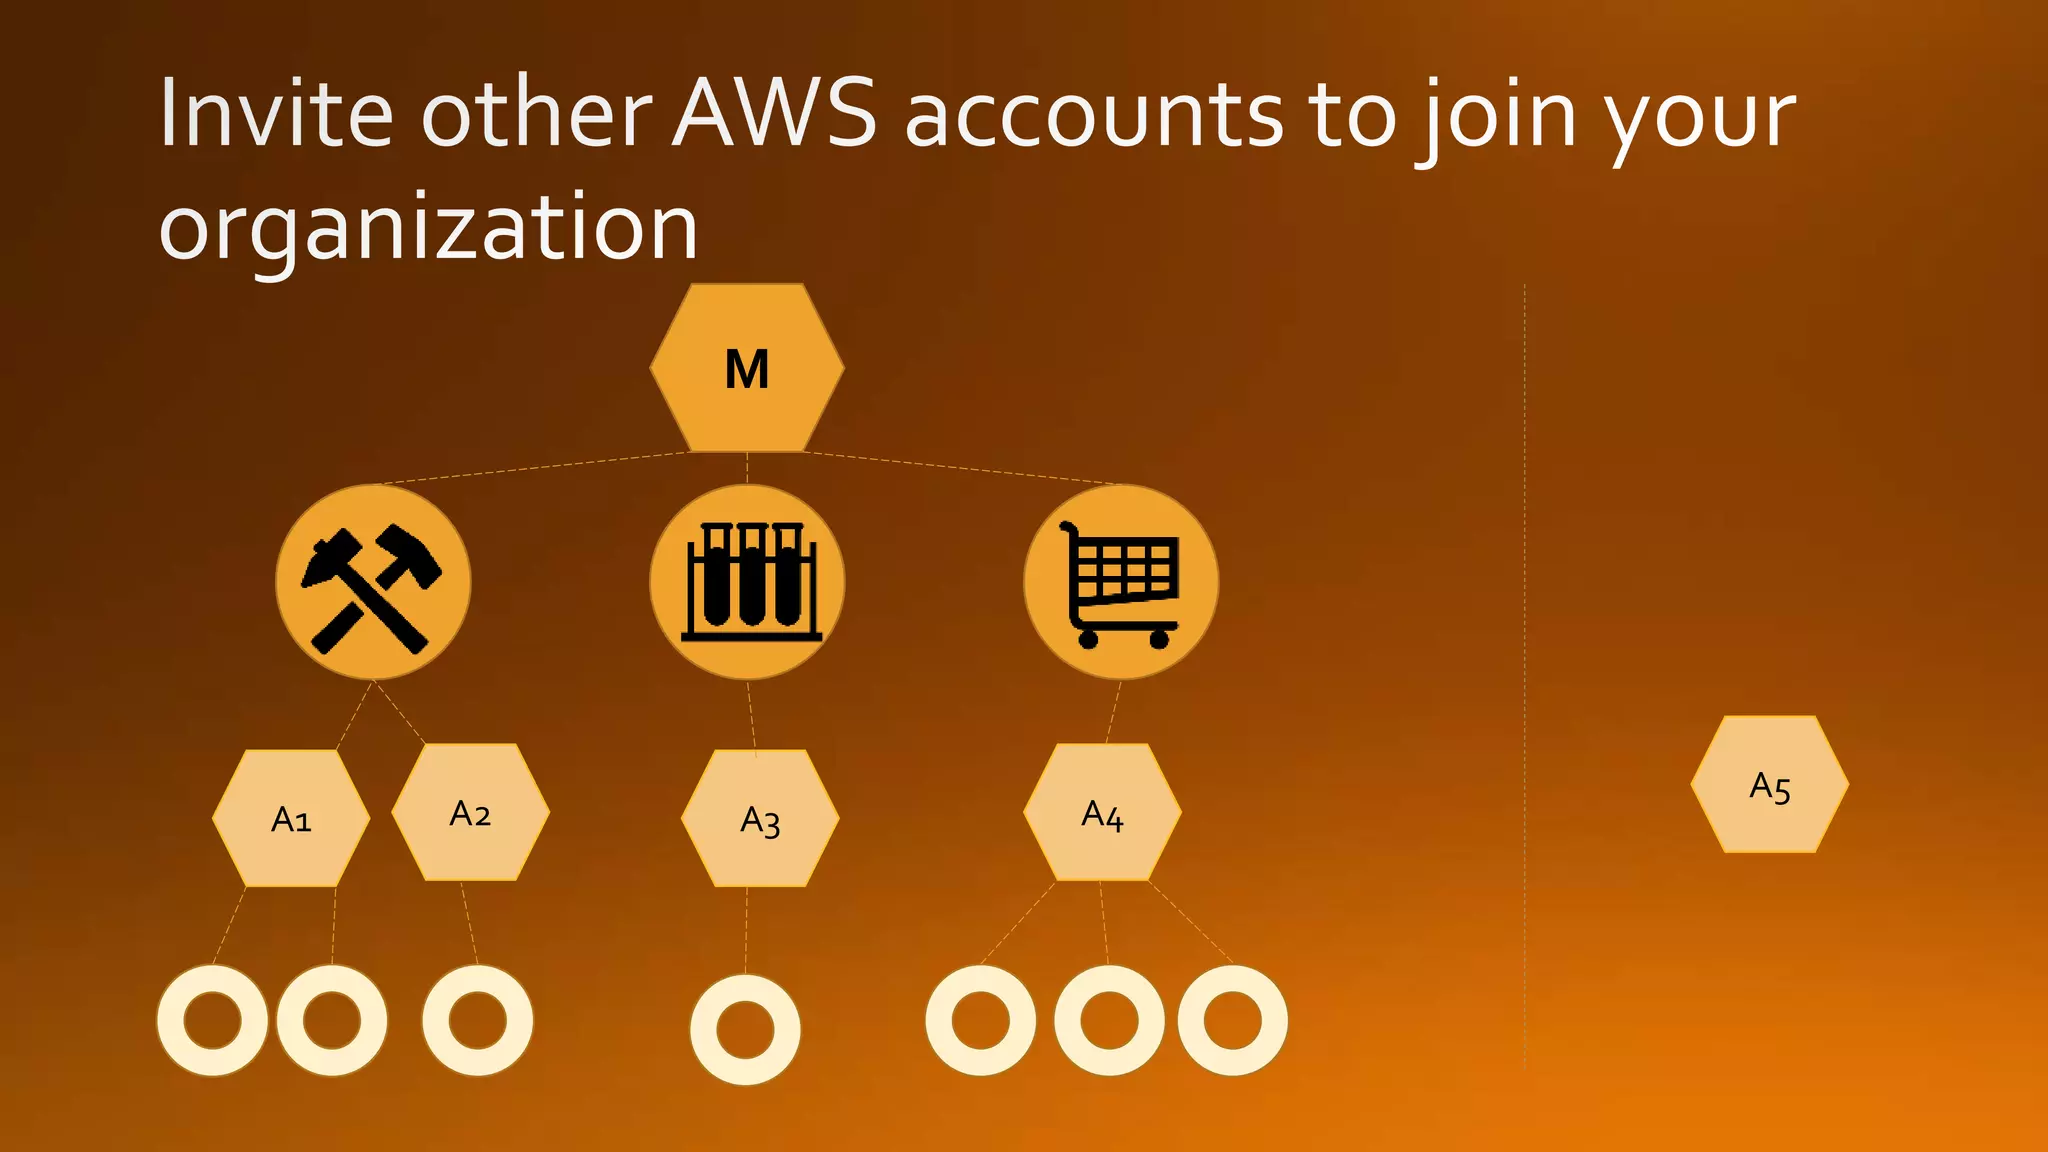
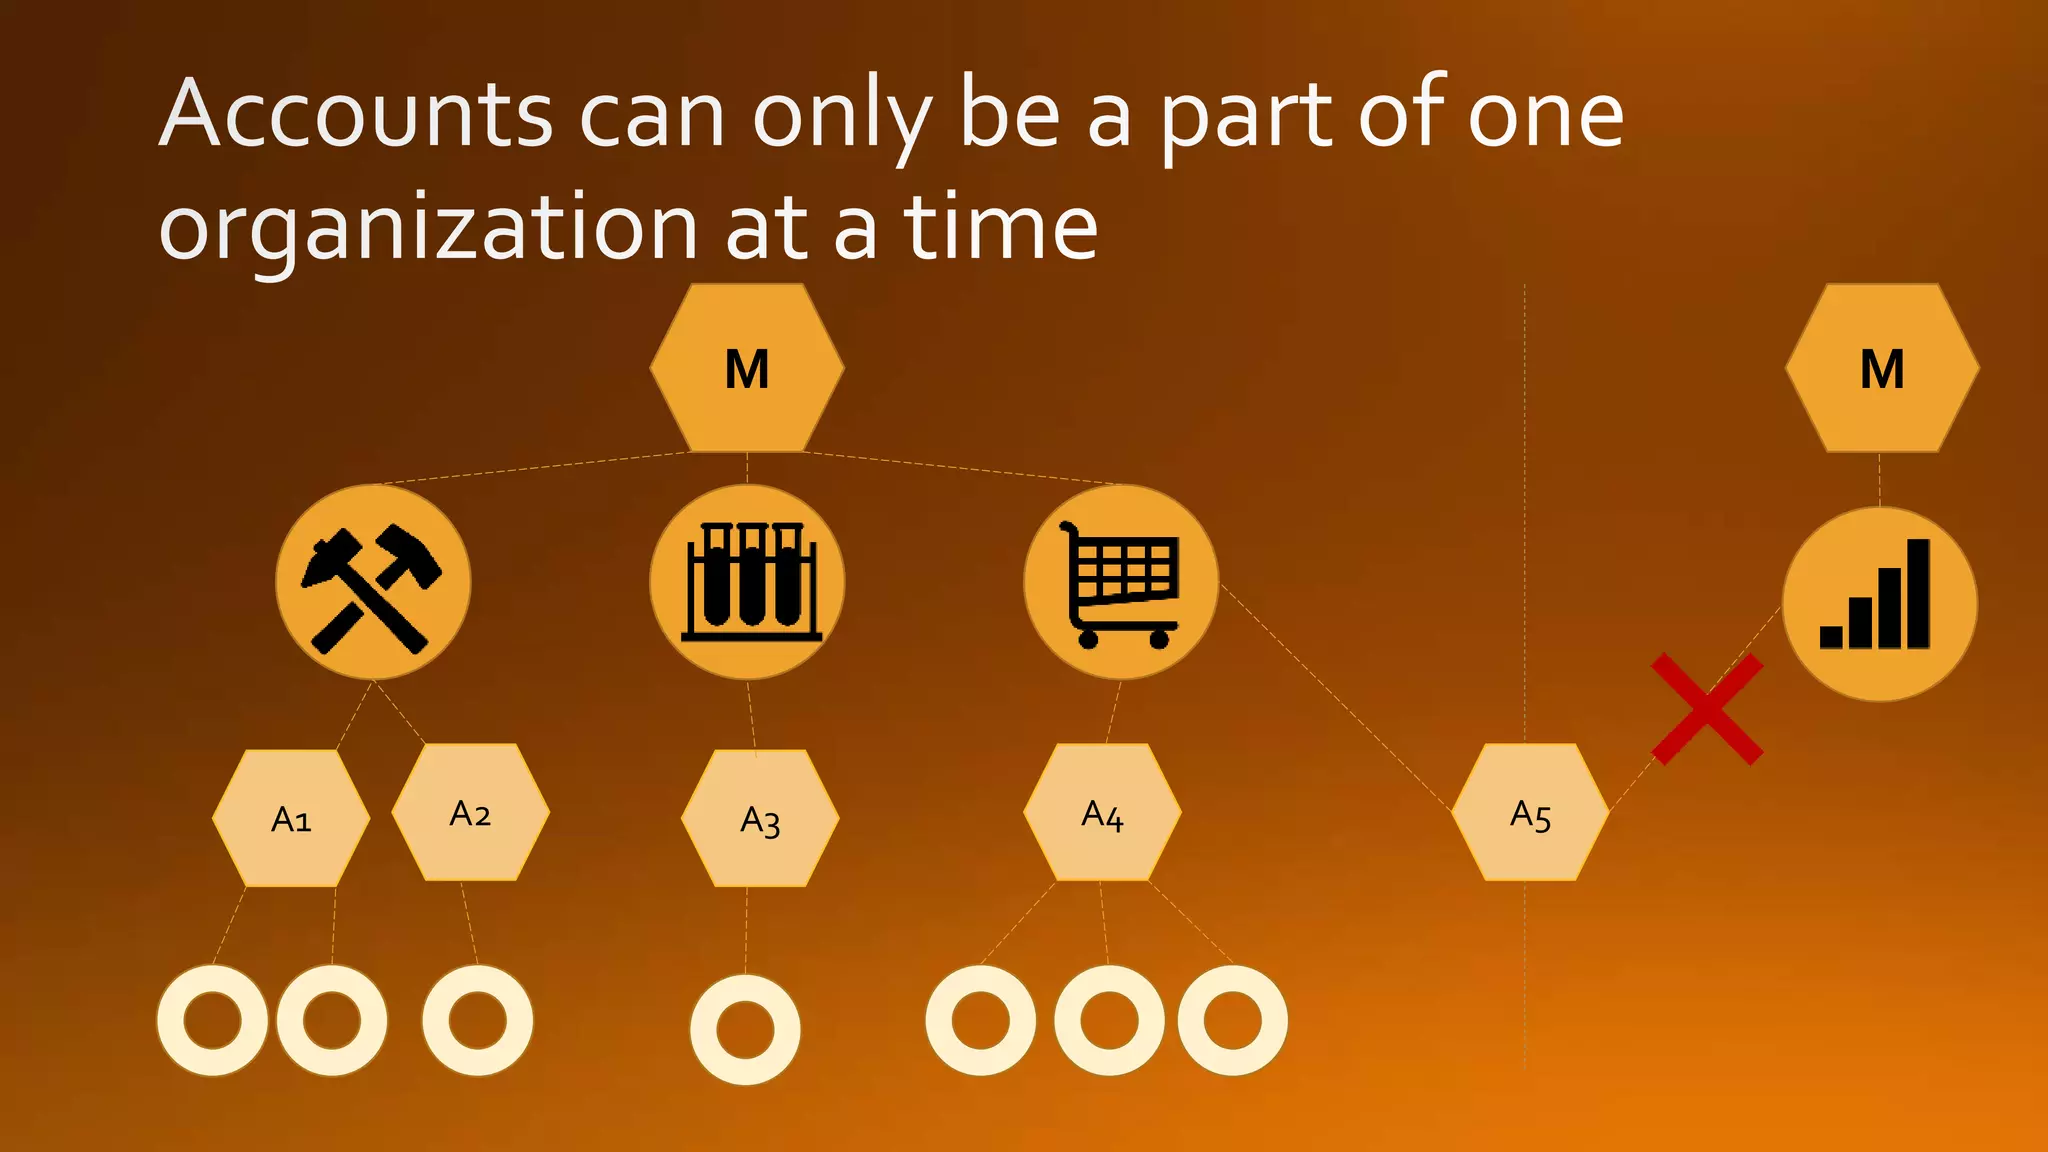
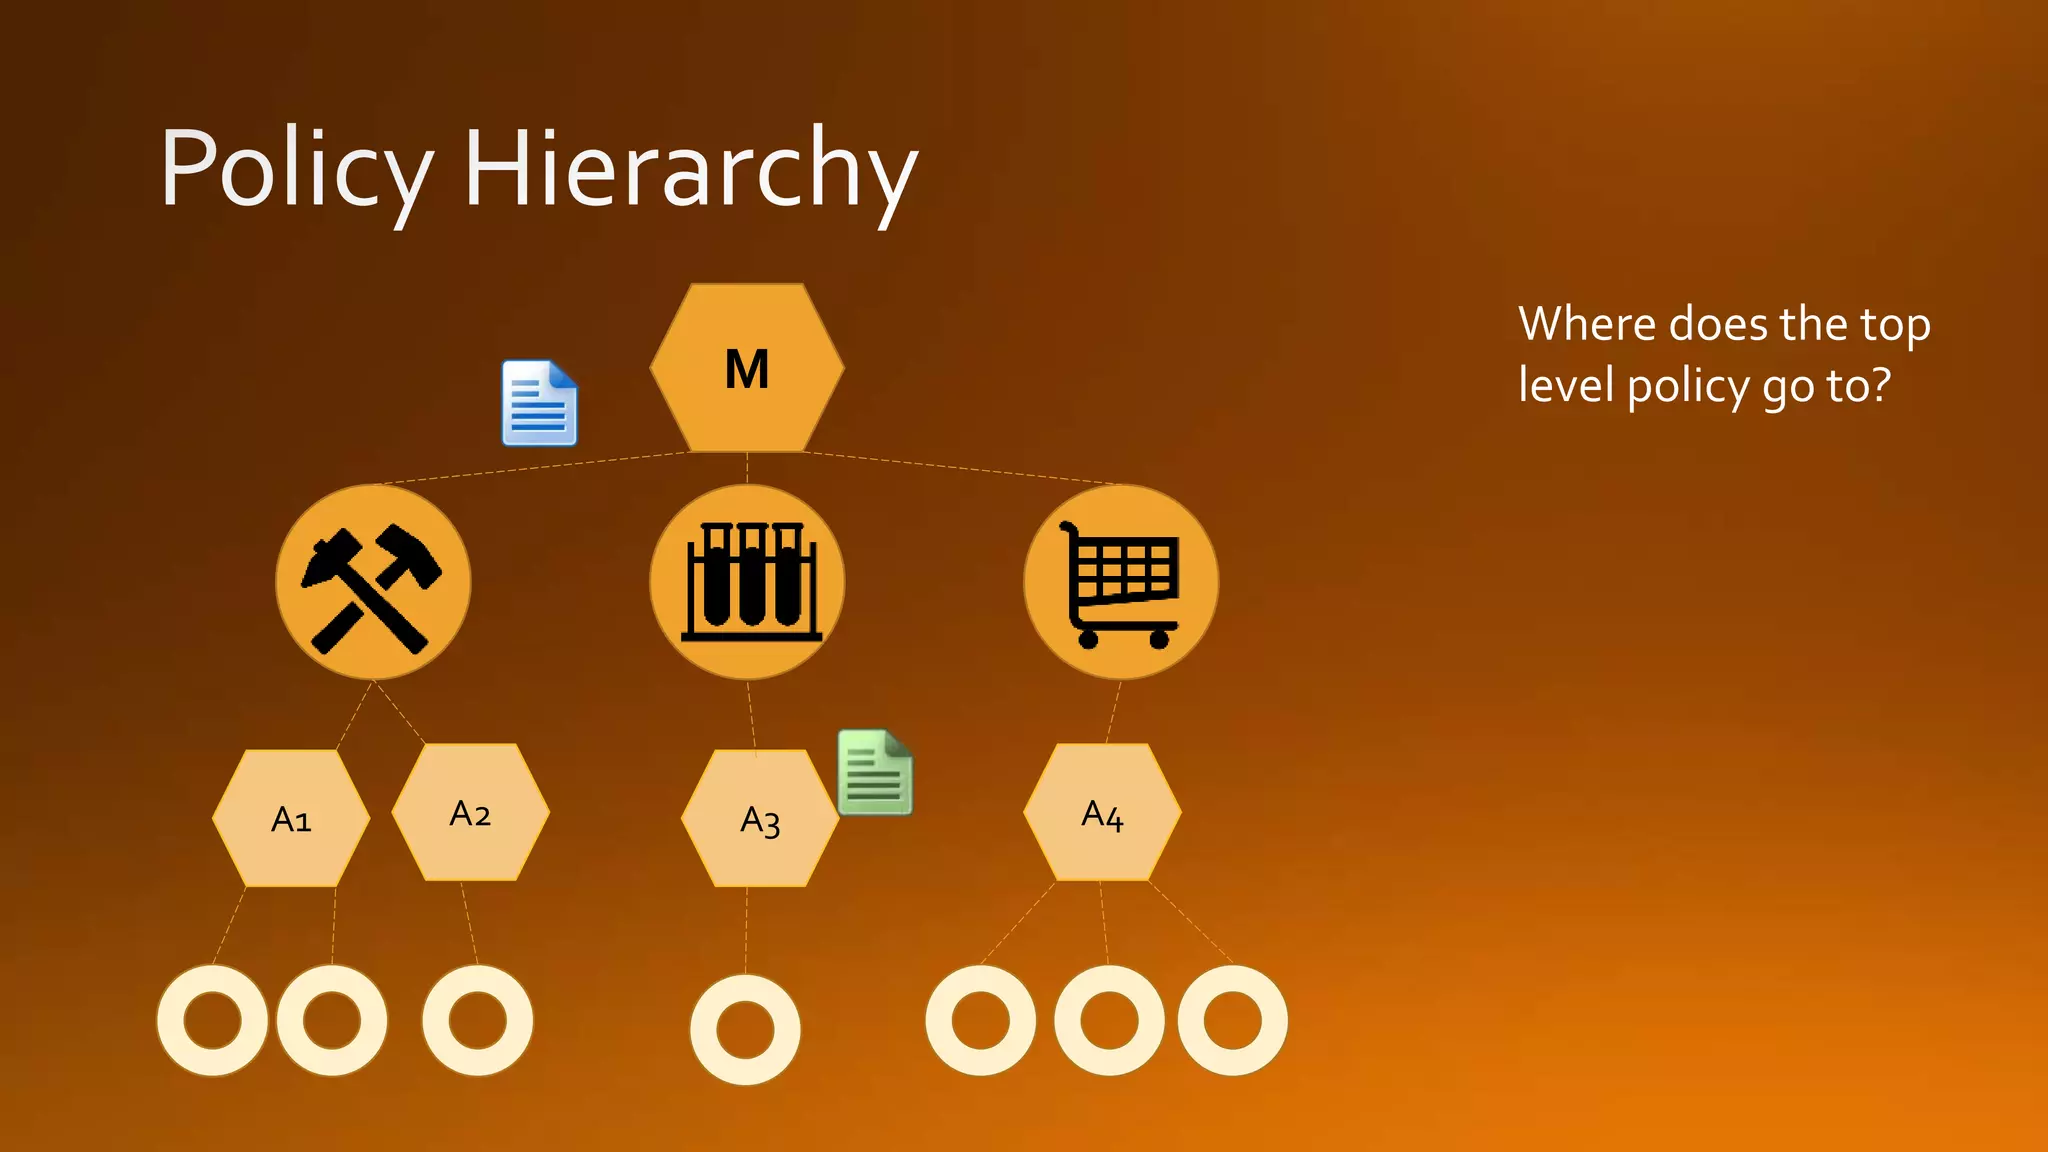
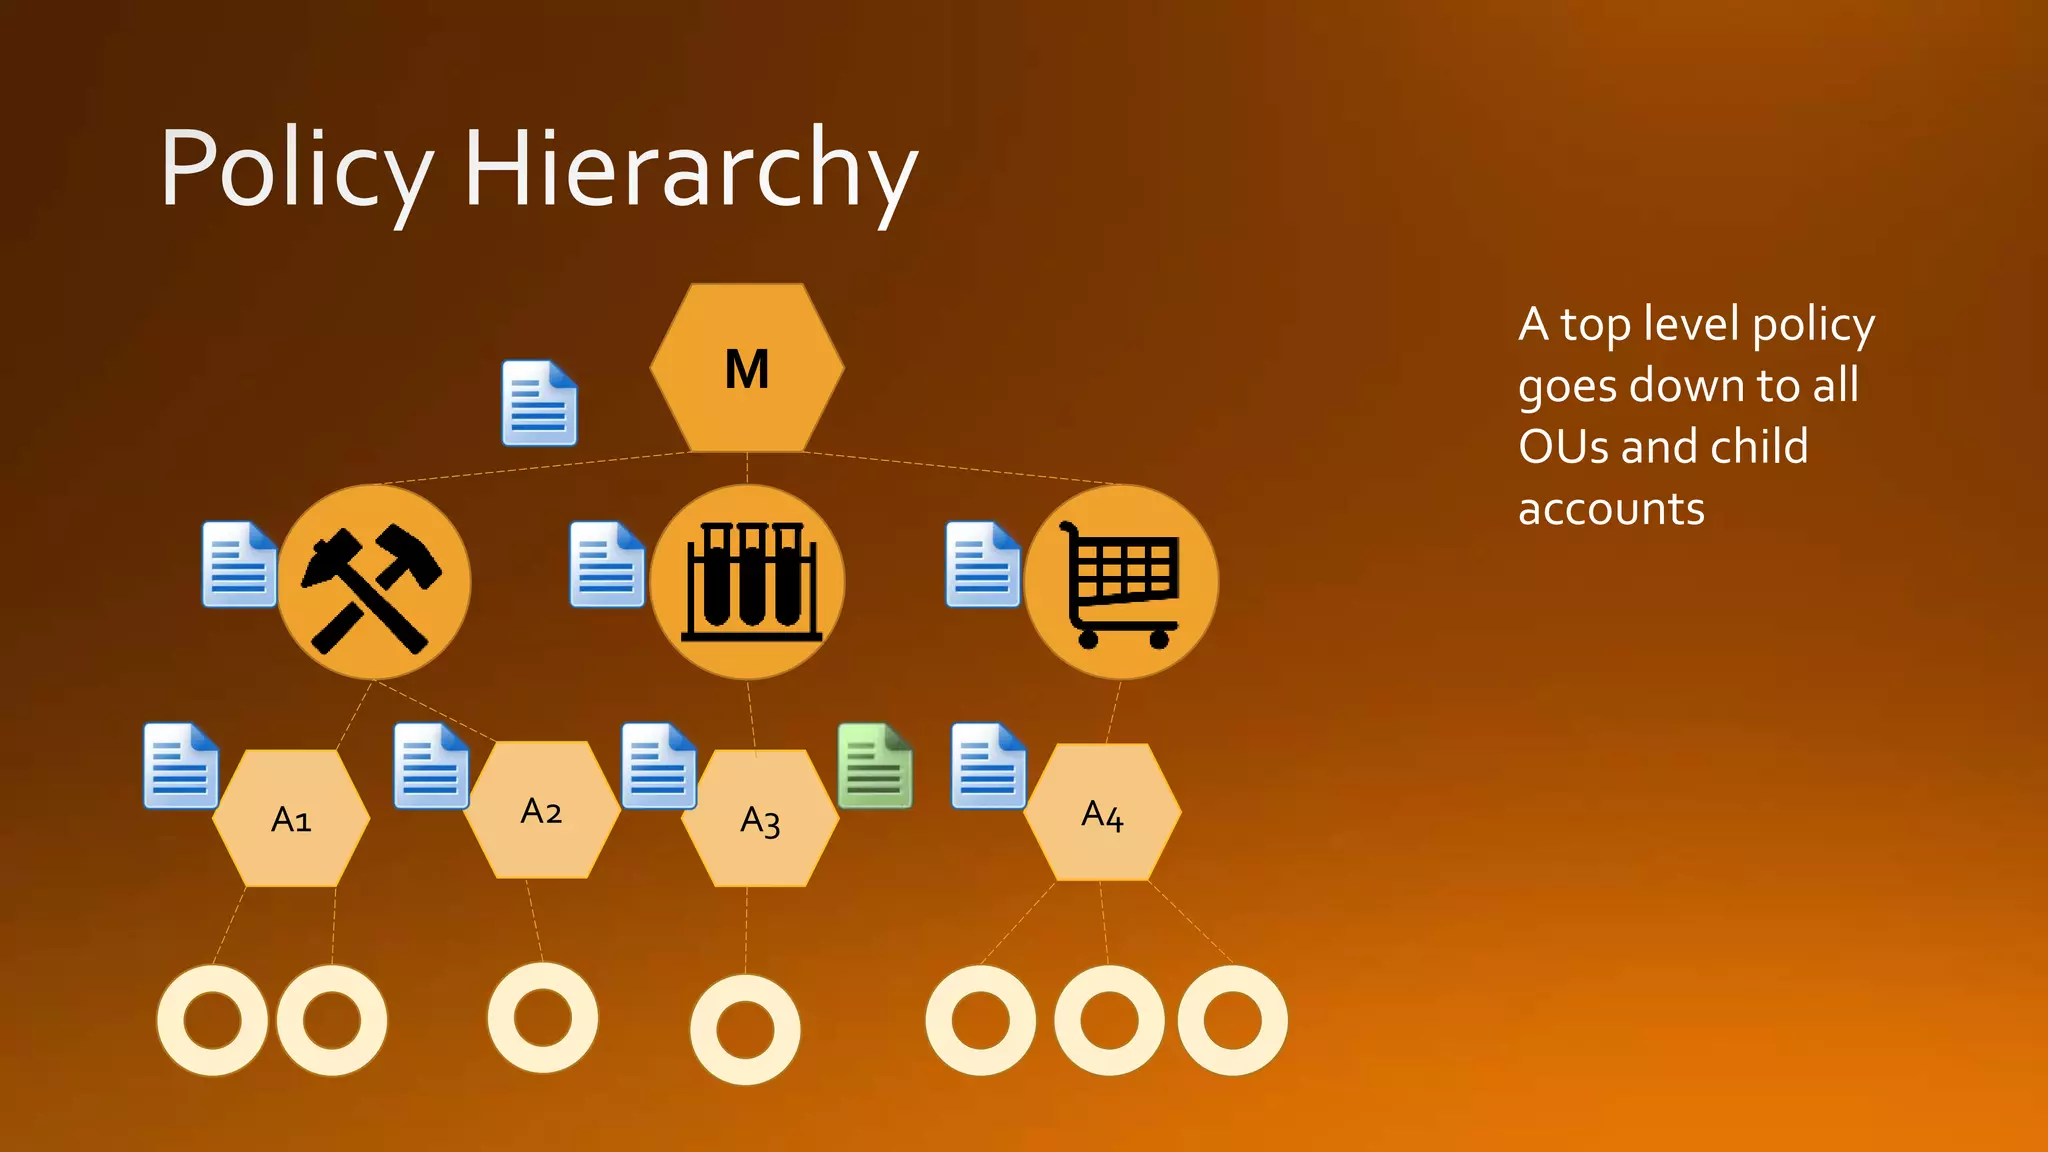
AWS Organizations allows you to consolidate multiple AWS accounts into an organization that you can centrally manage. You can organize accounts into organizational units (OUs) and apply different policies to each OU. When you create an organization, you can choose between billing mode, which only controls billing, and full-control mode, which allows for complete account management control.


![Coded Agents – with UiPath SDK + LangGraph [Virtual Hands-on Workshop]](https://cdn.slidesharecdn.com/ss_thumbnails/codedagentsdeck-251215155422-5497c599-thumbnail.jpg?width=640&height=640&fit=bounds)


