Download to read offline

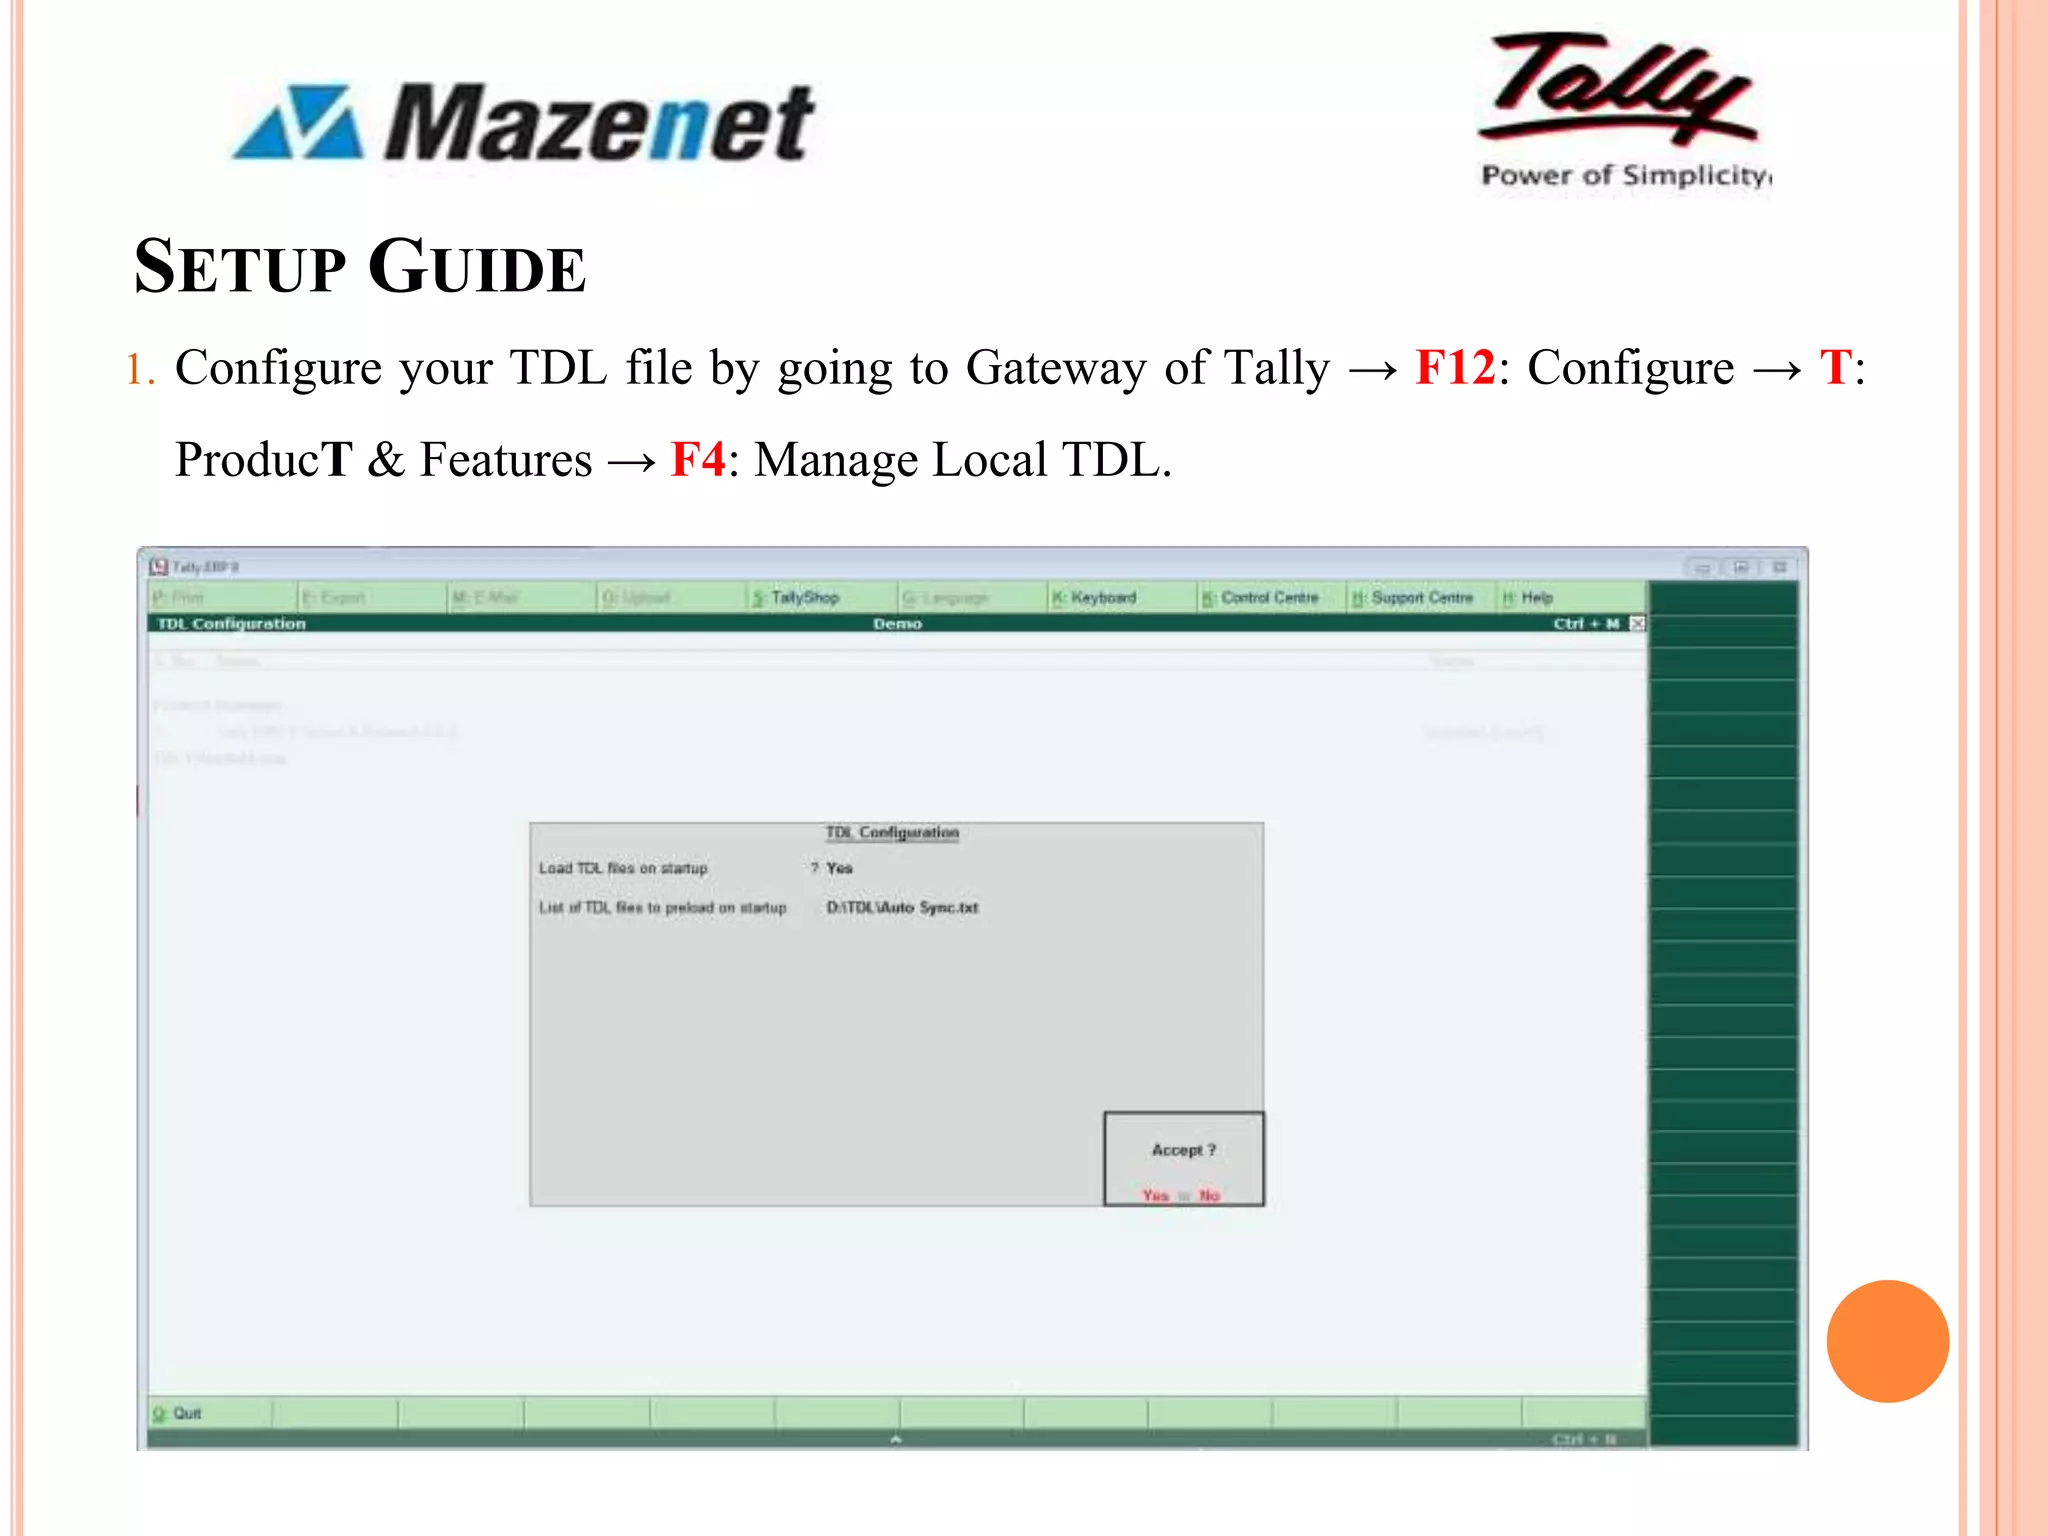
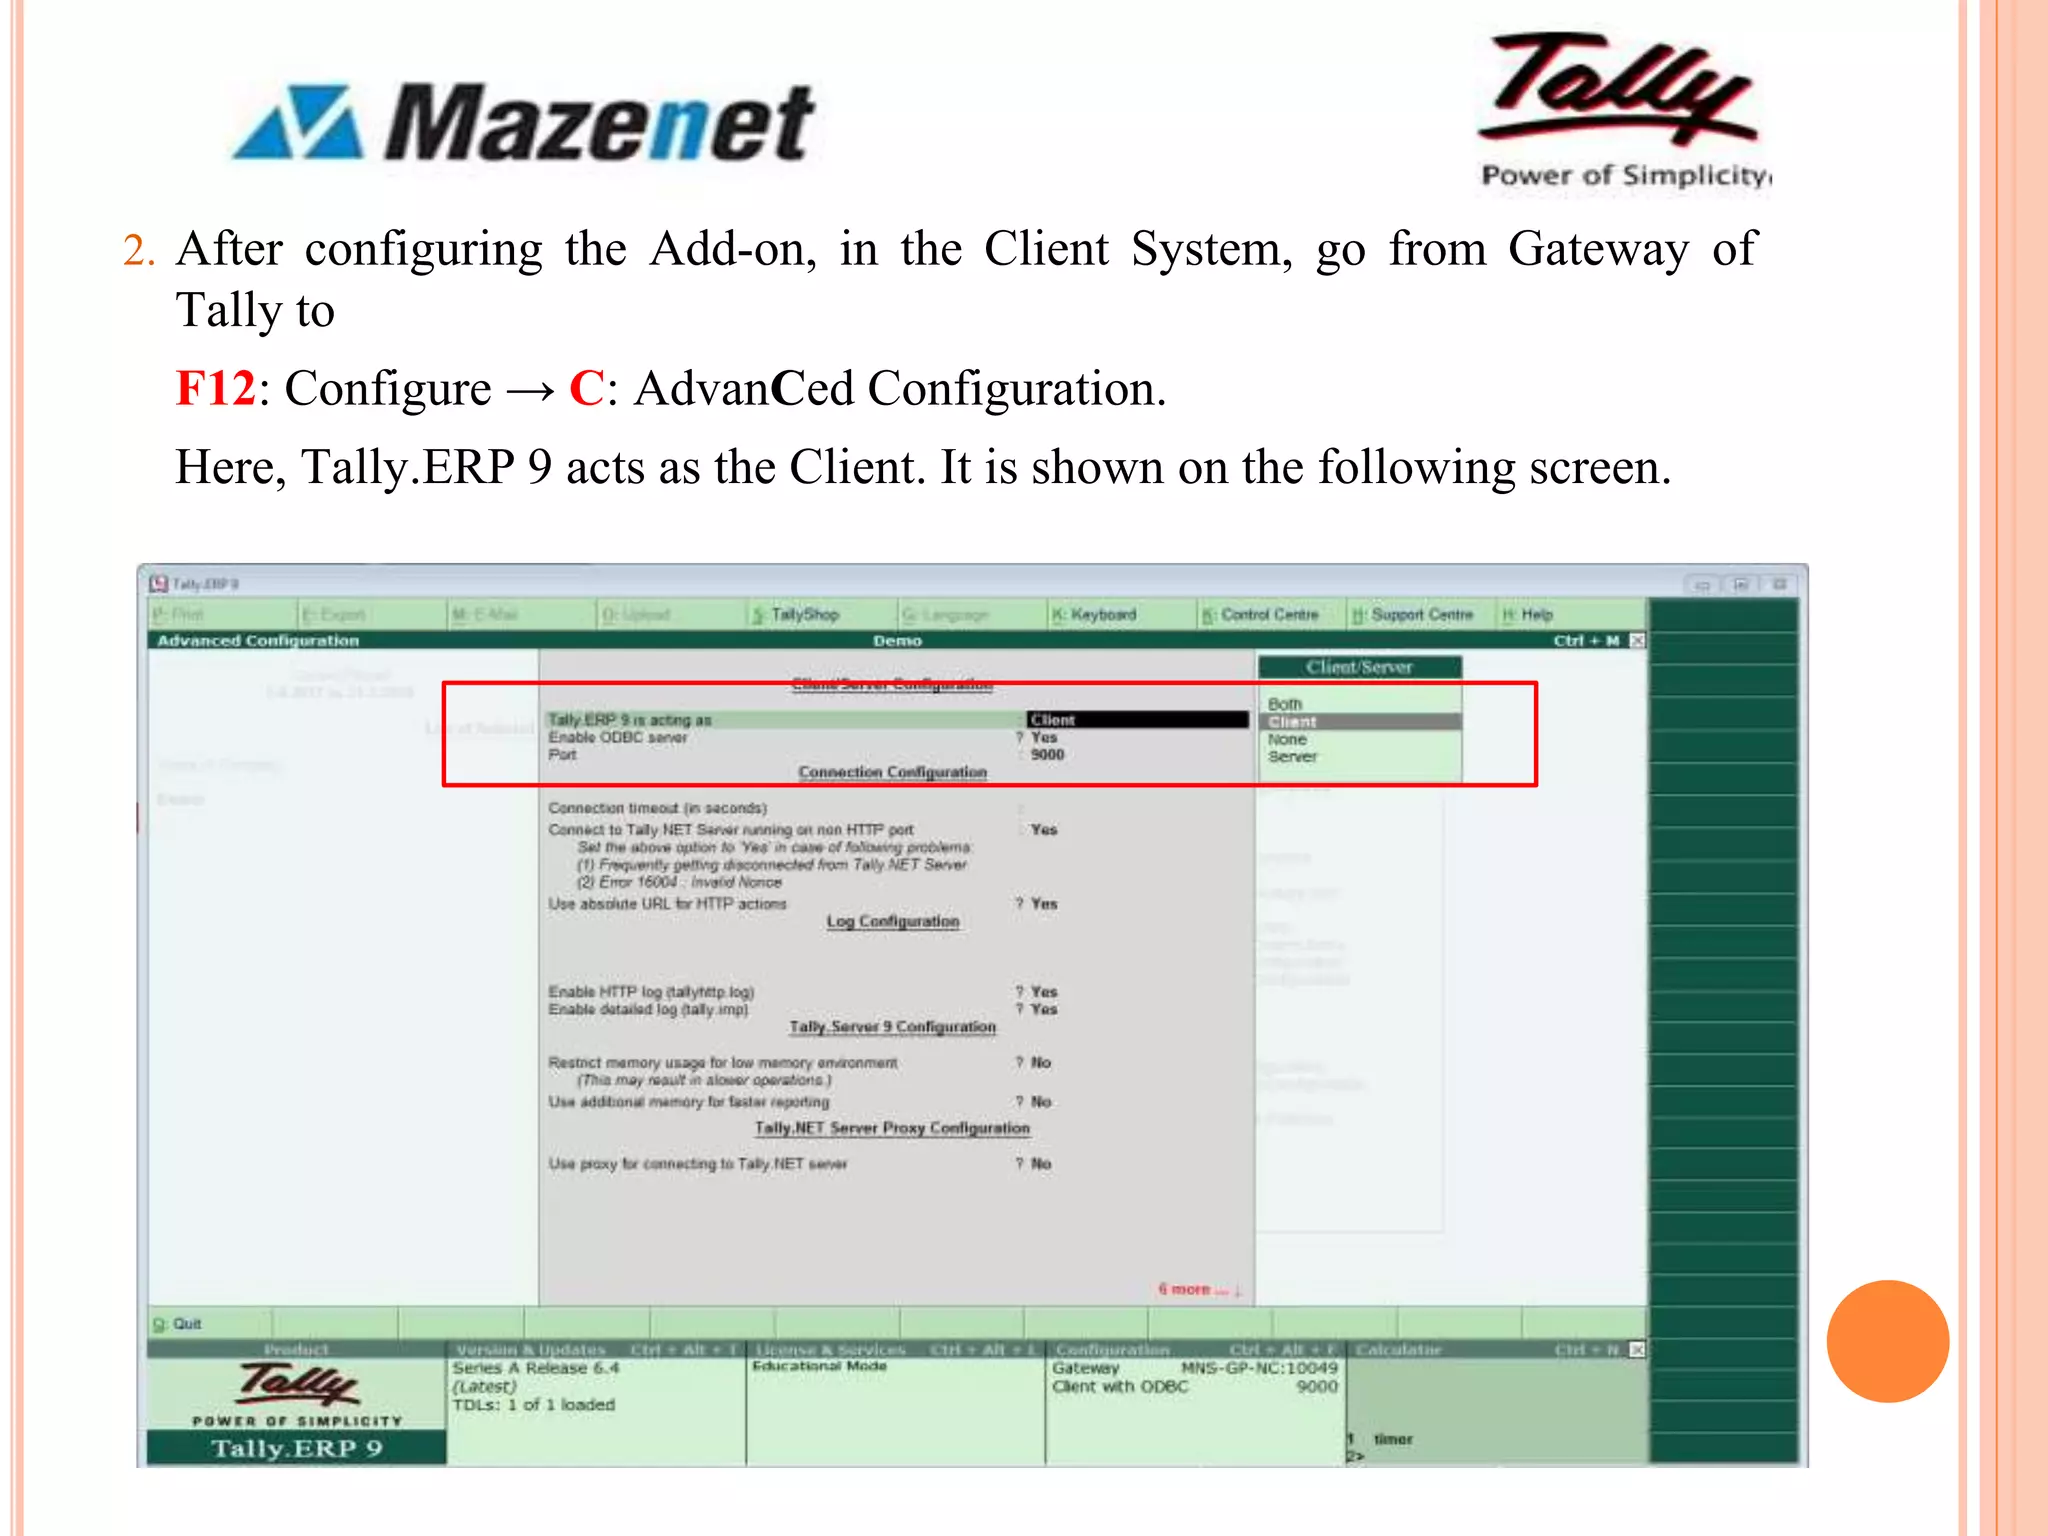
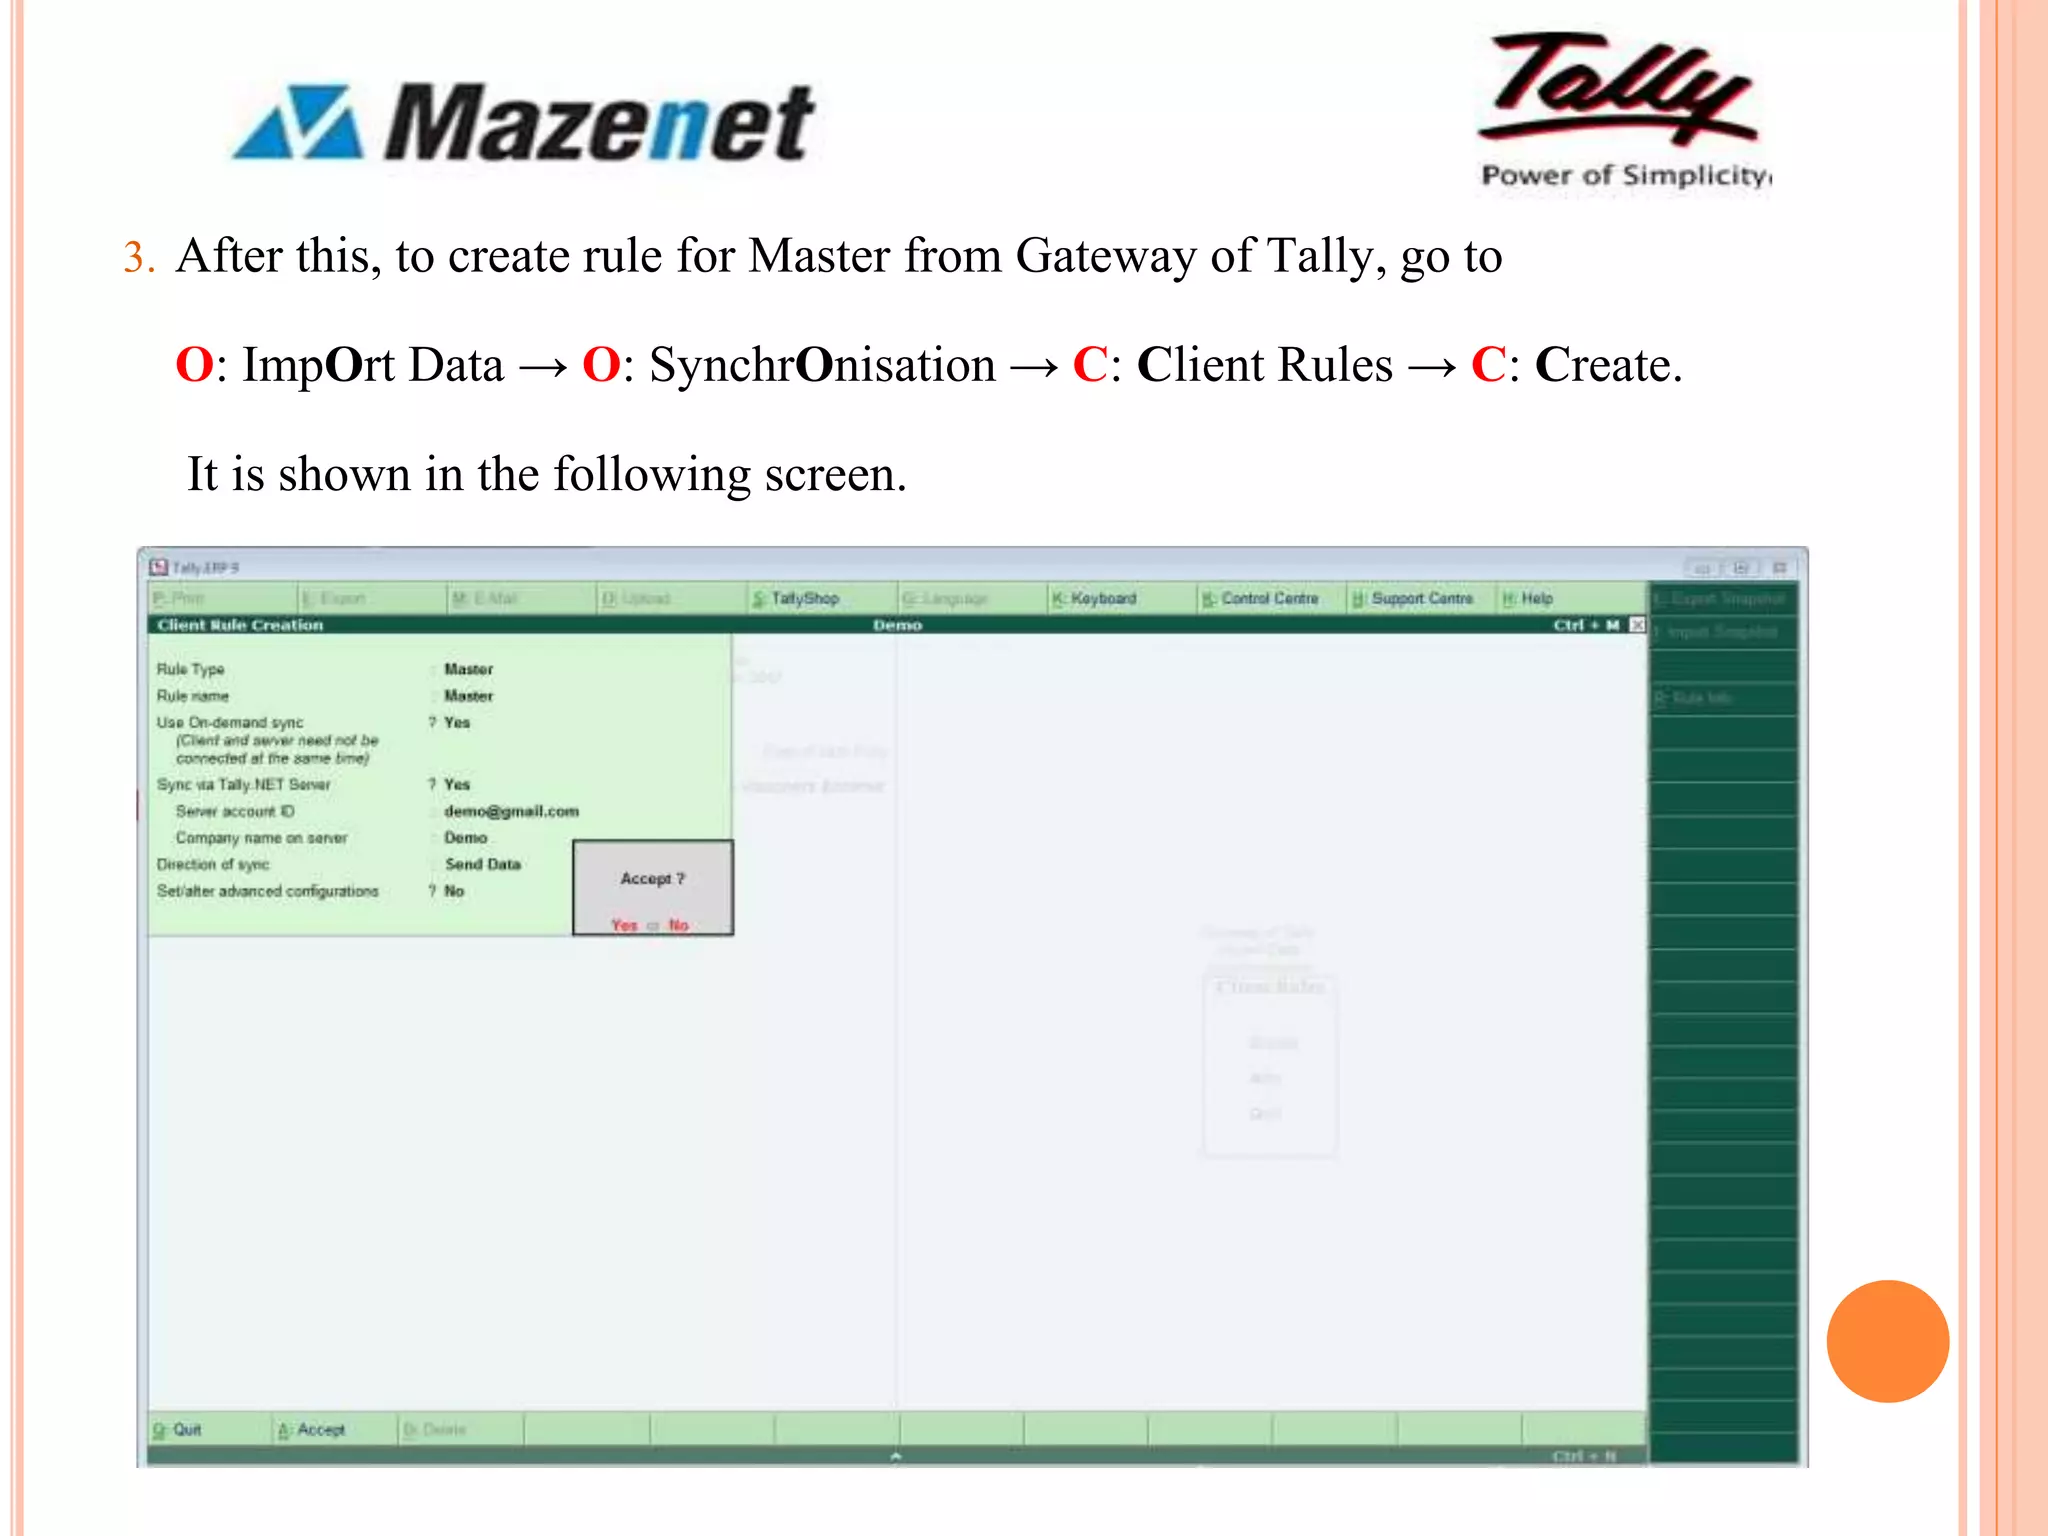
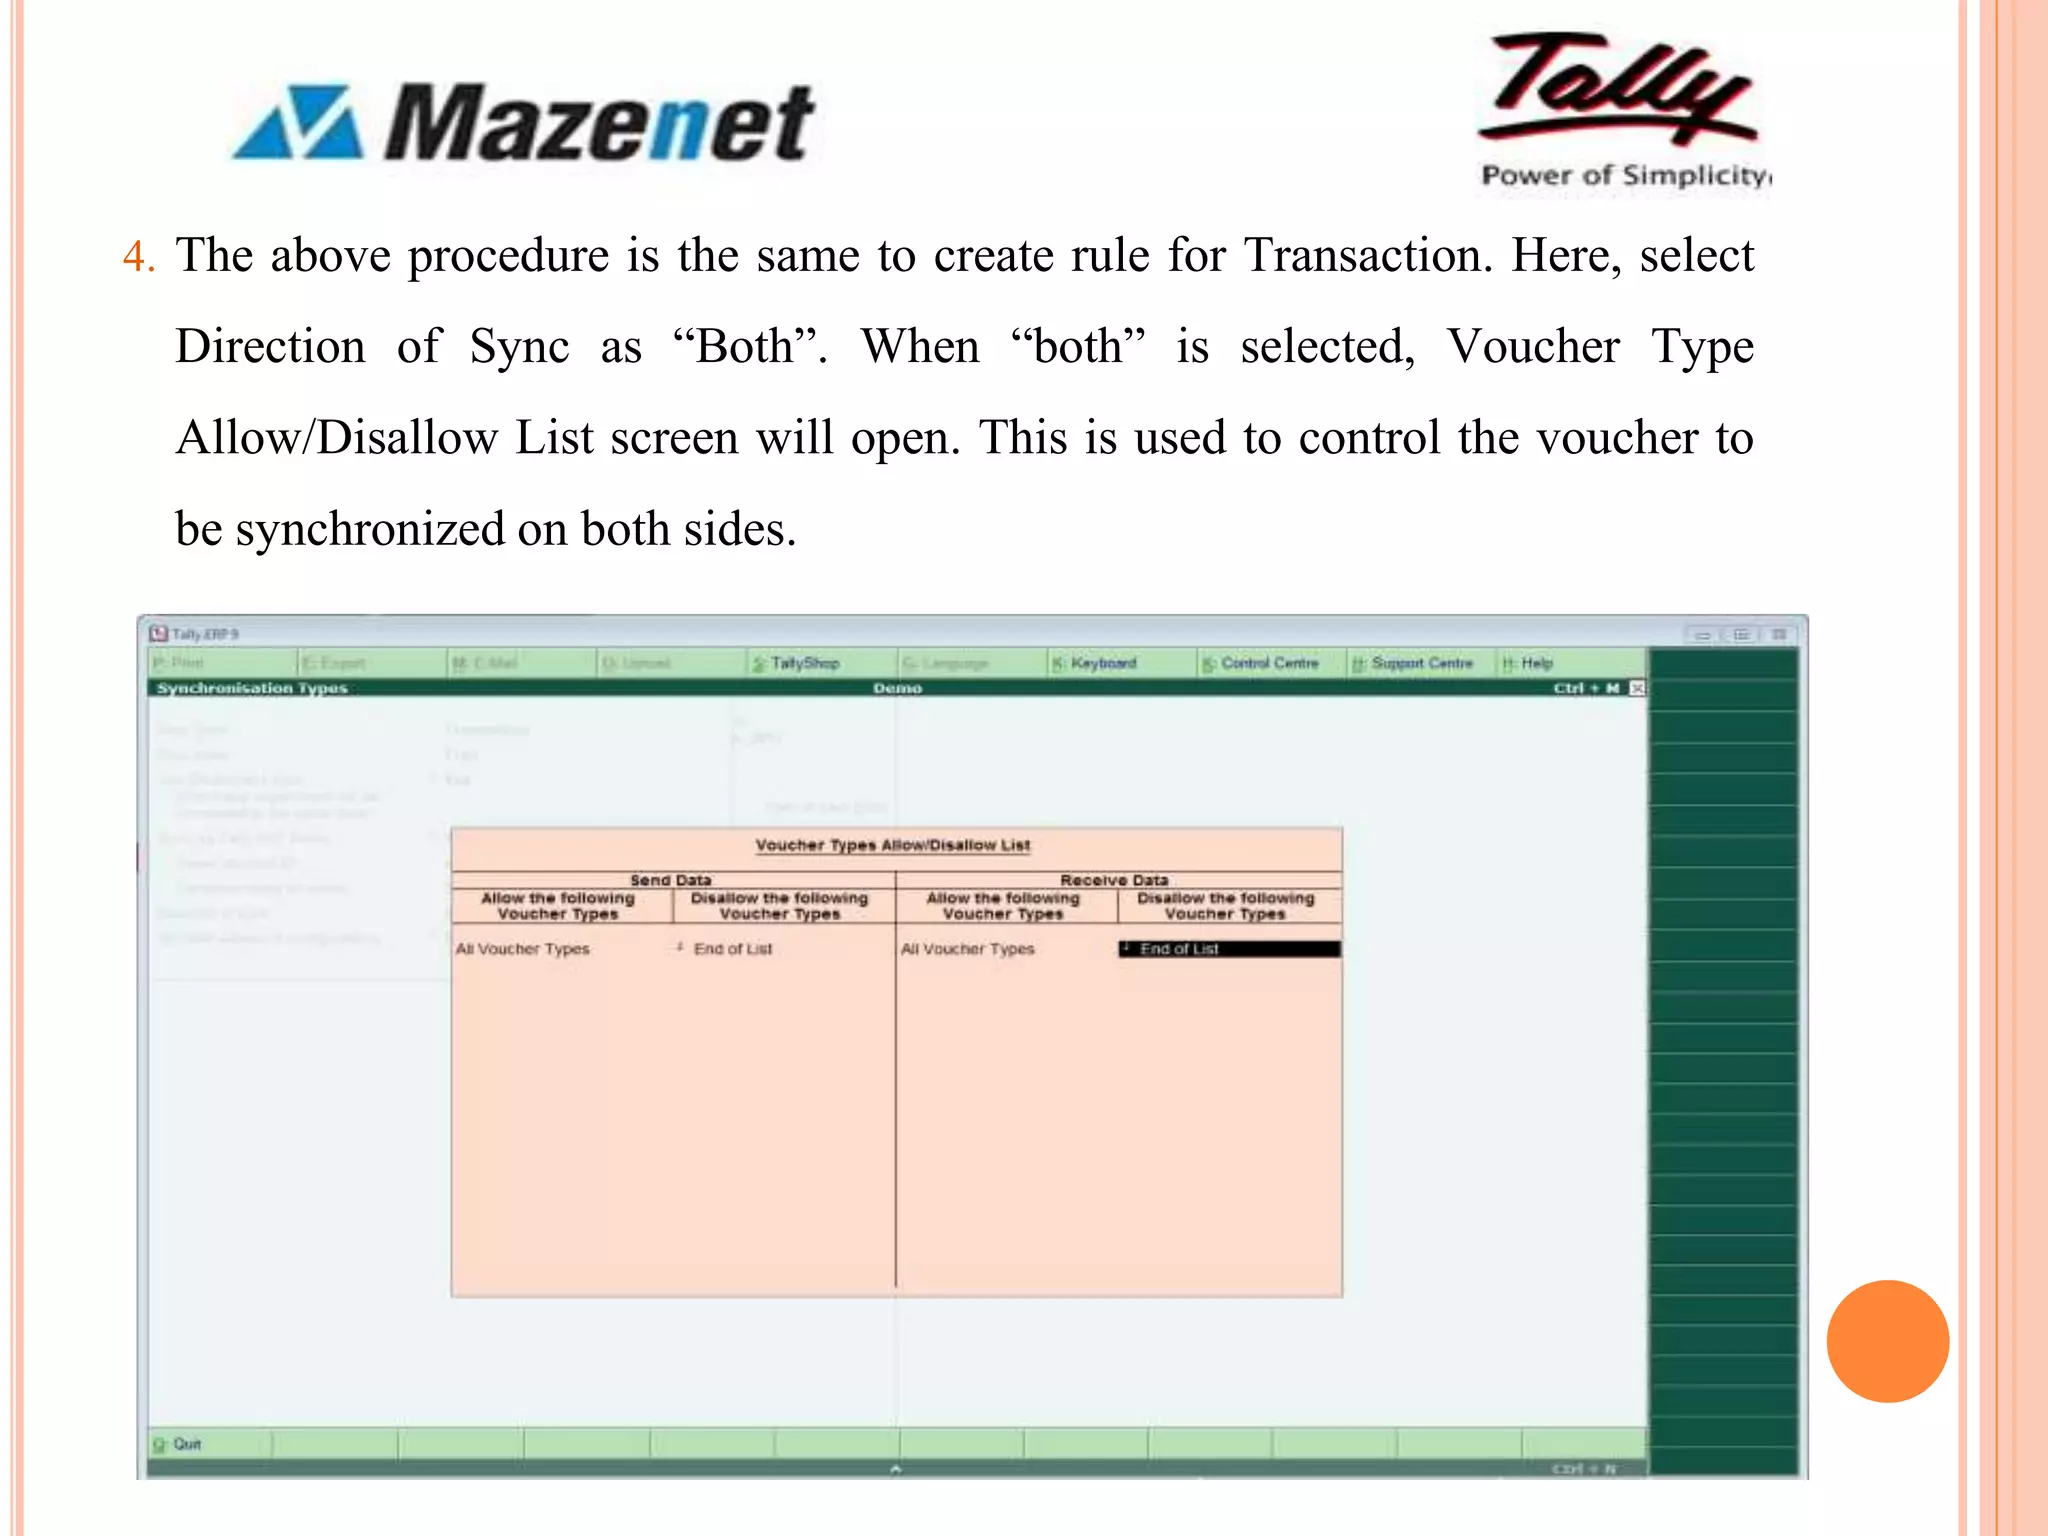
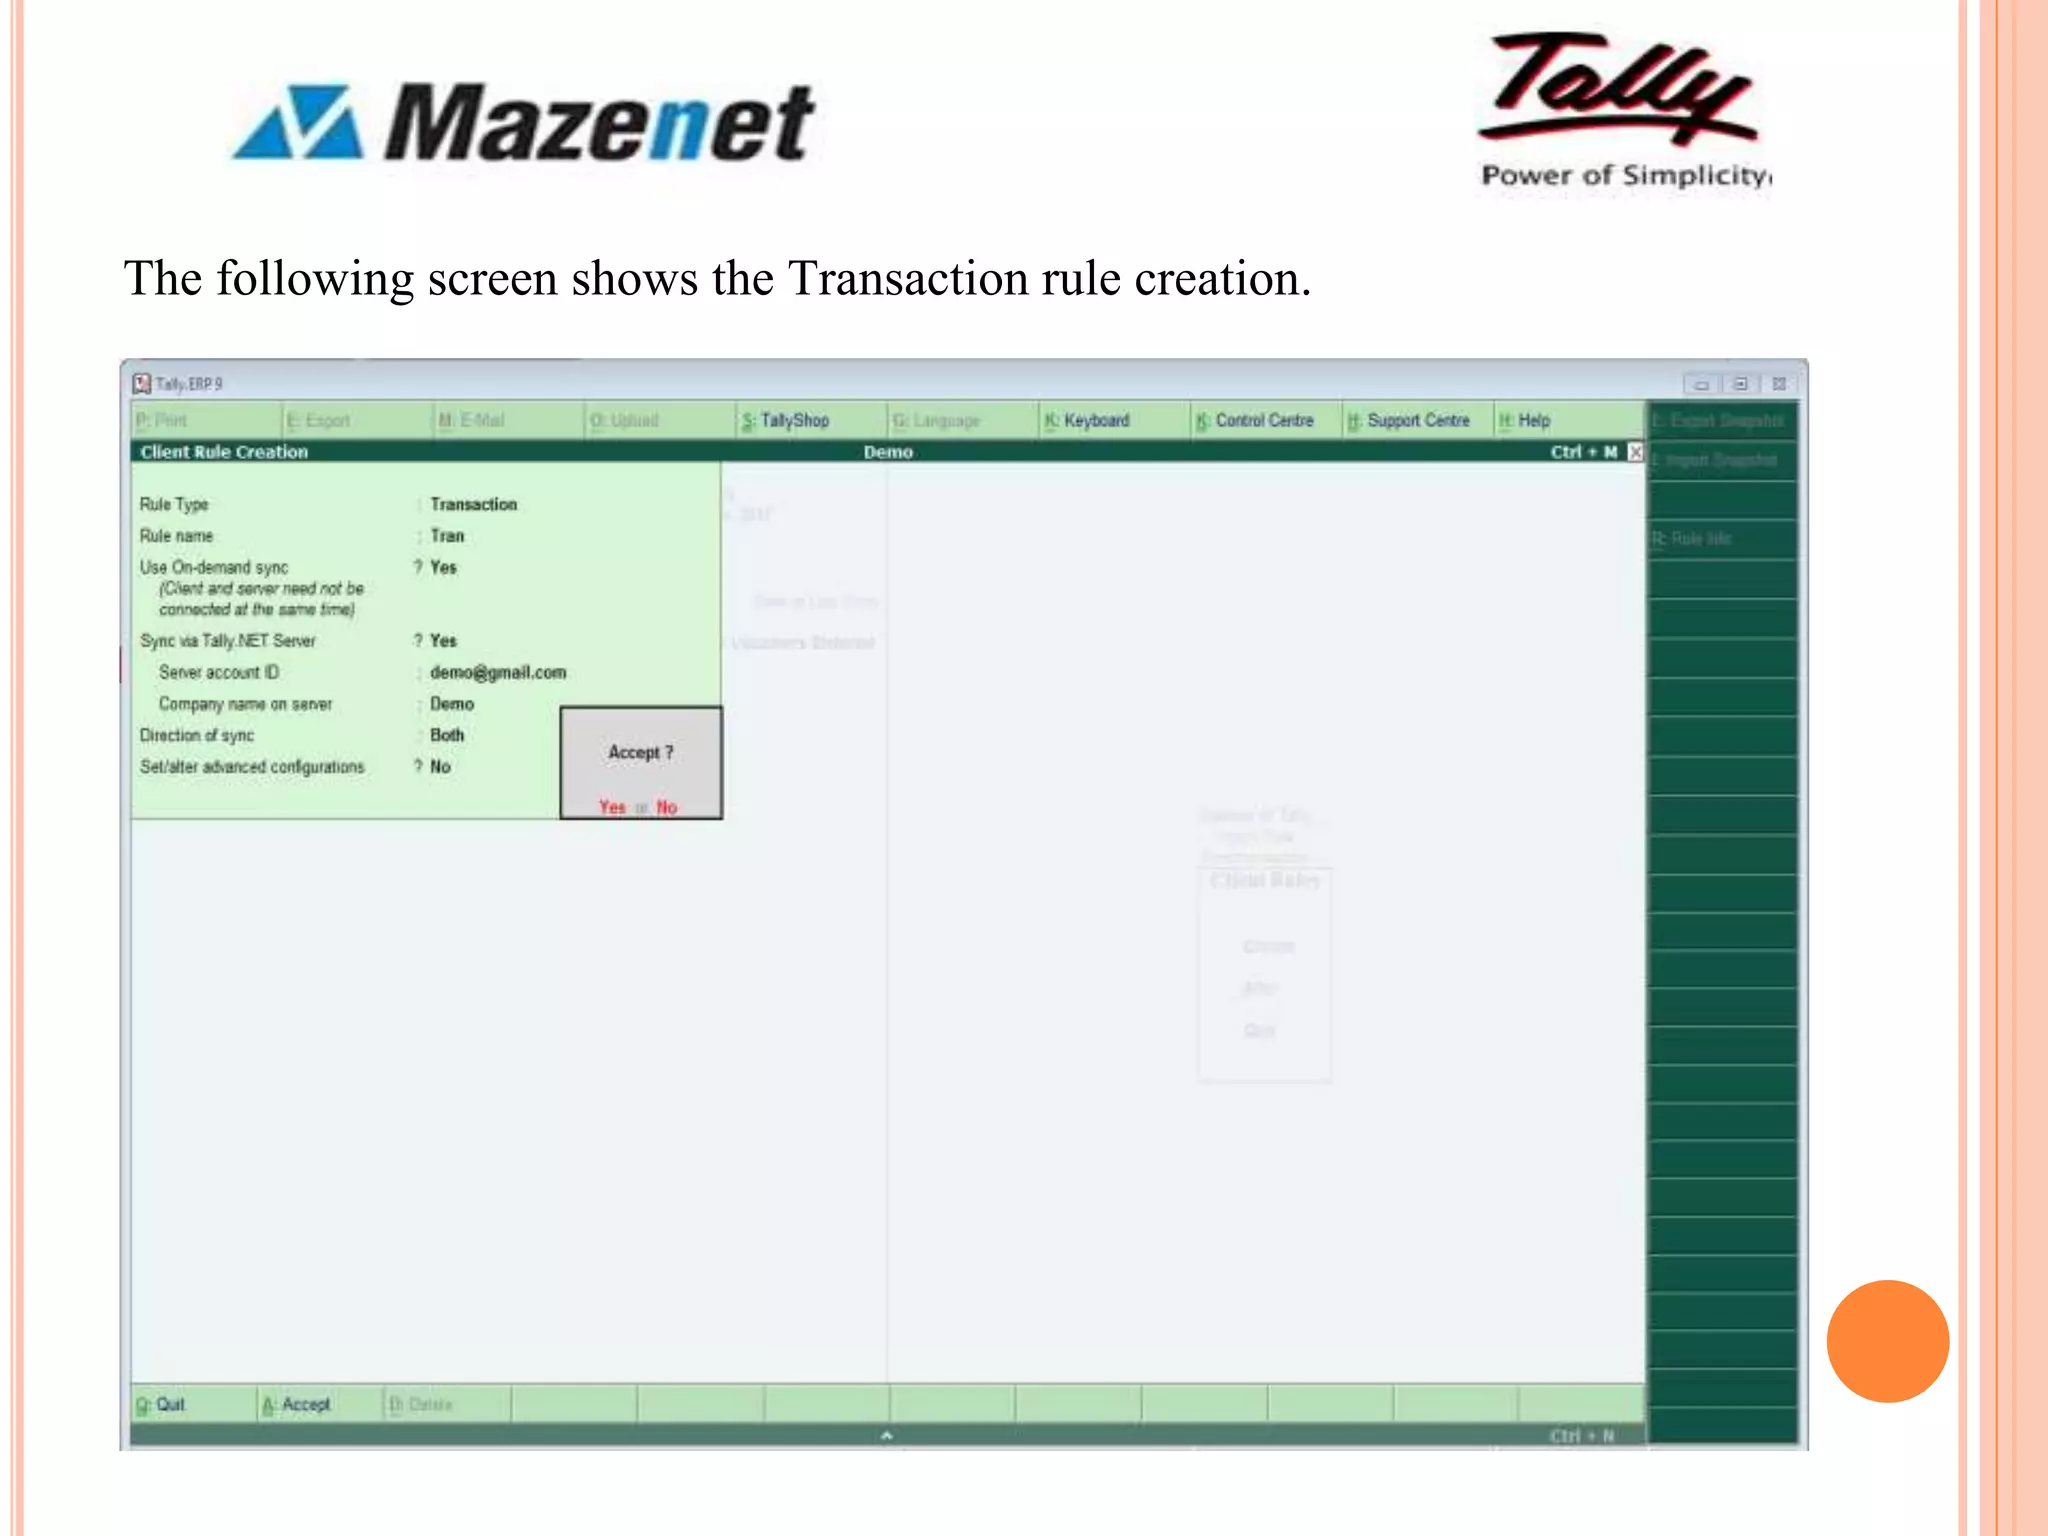
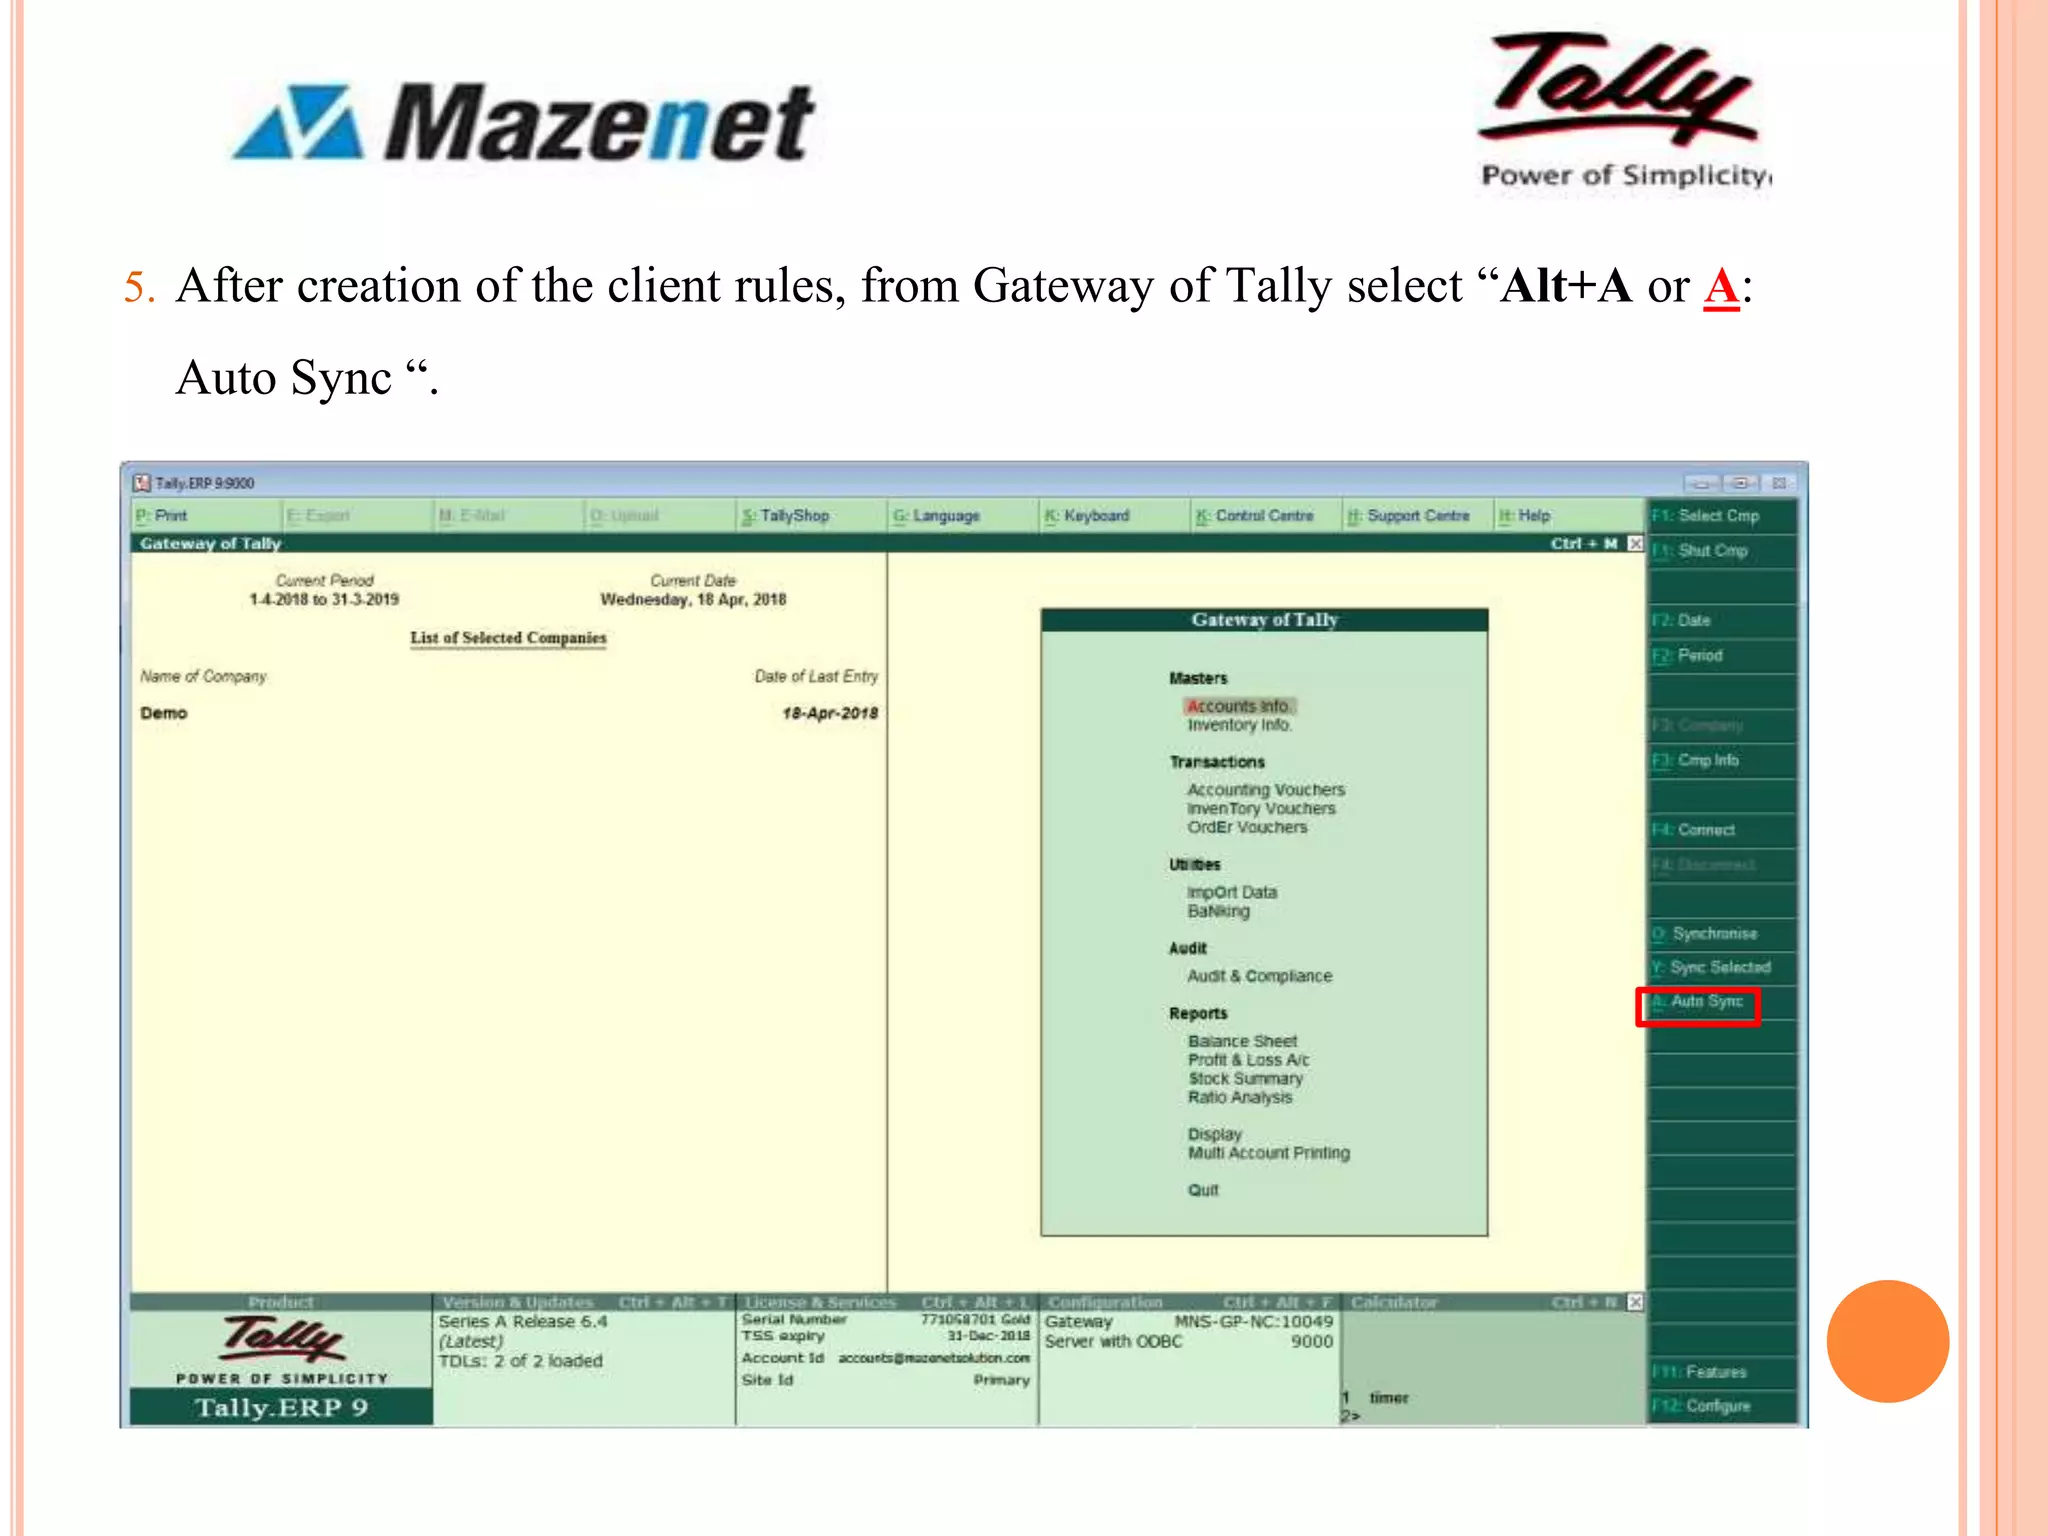
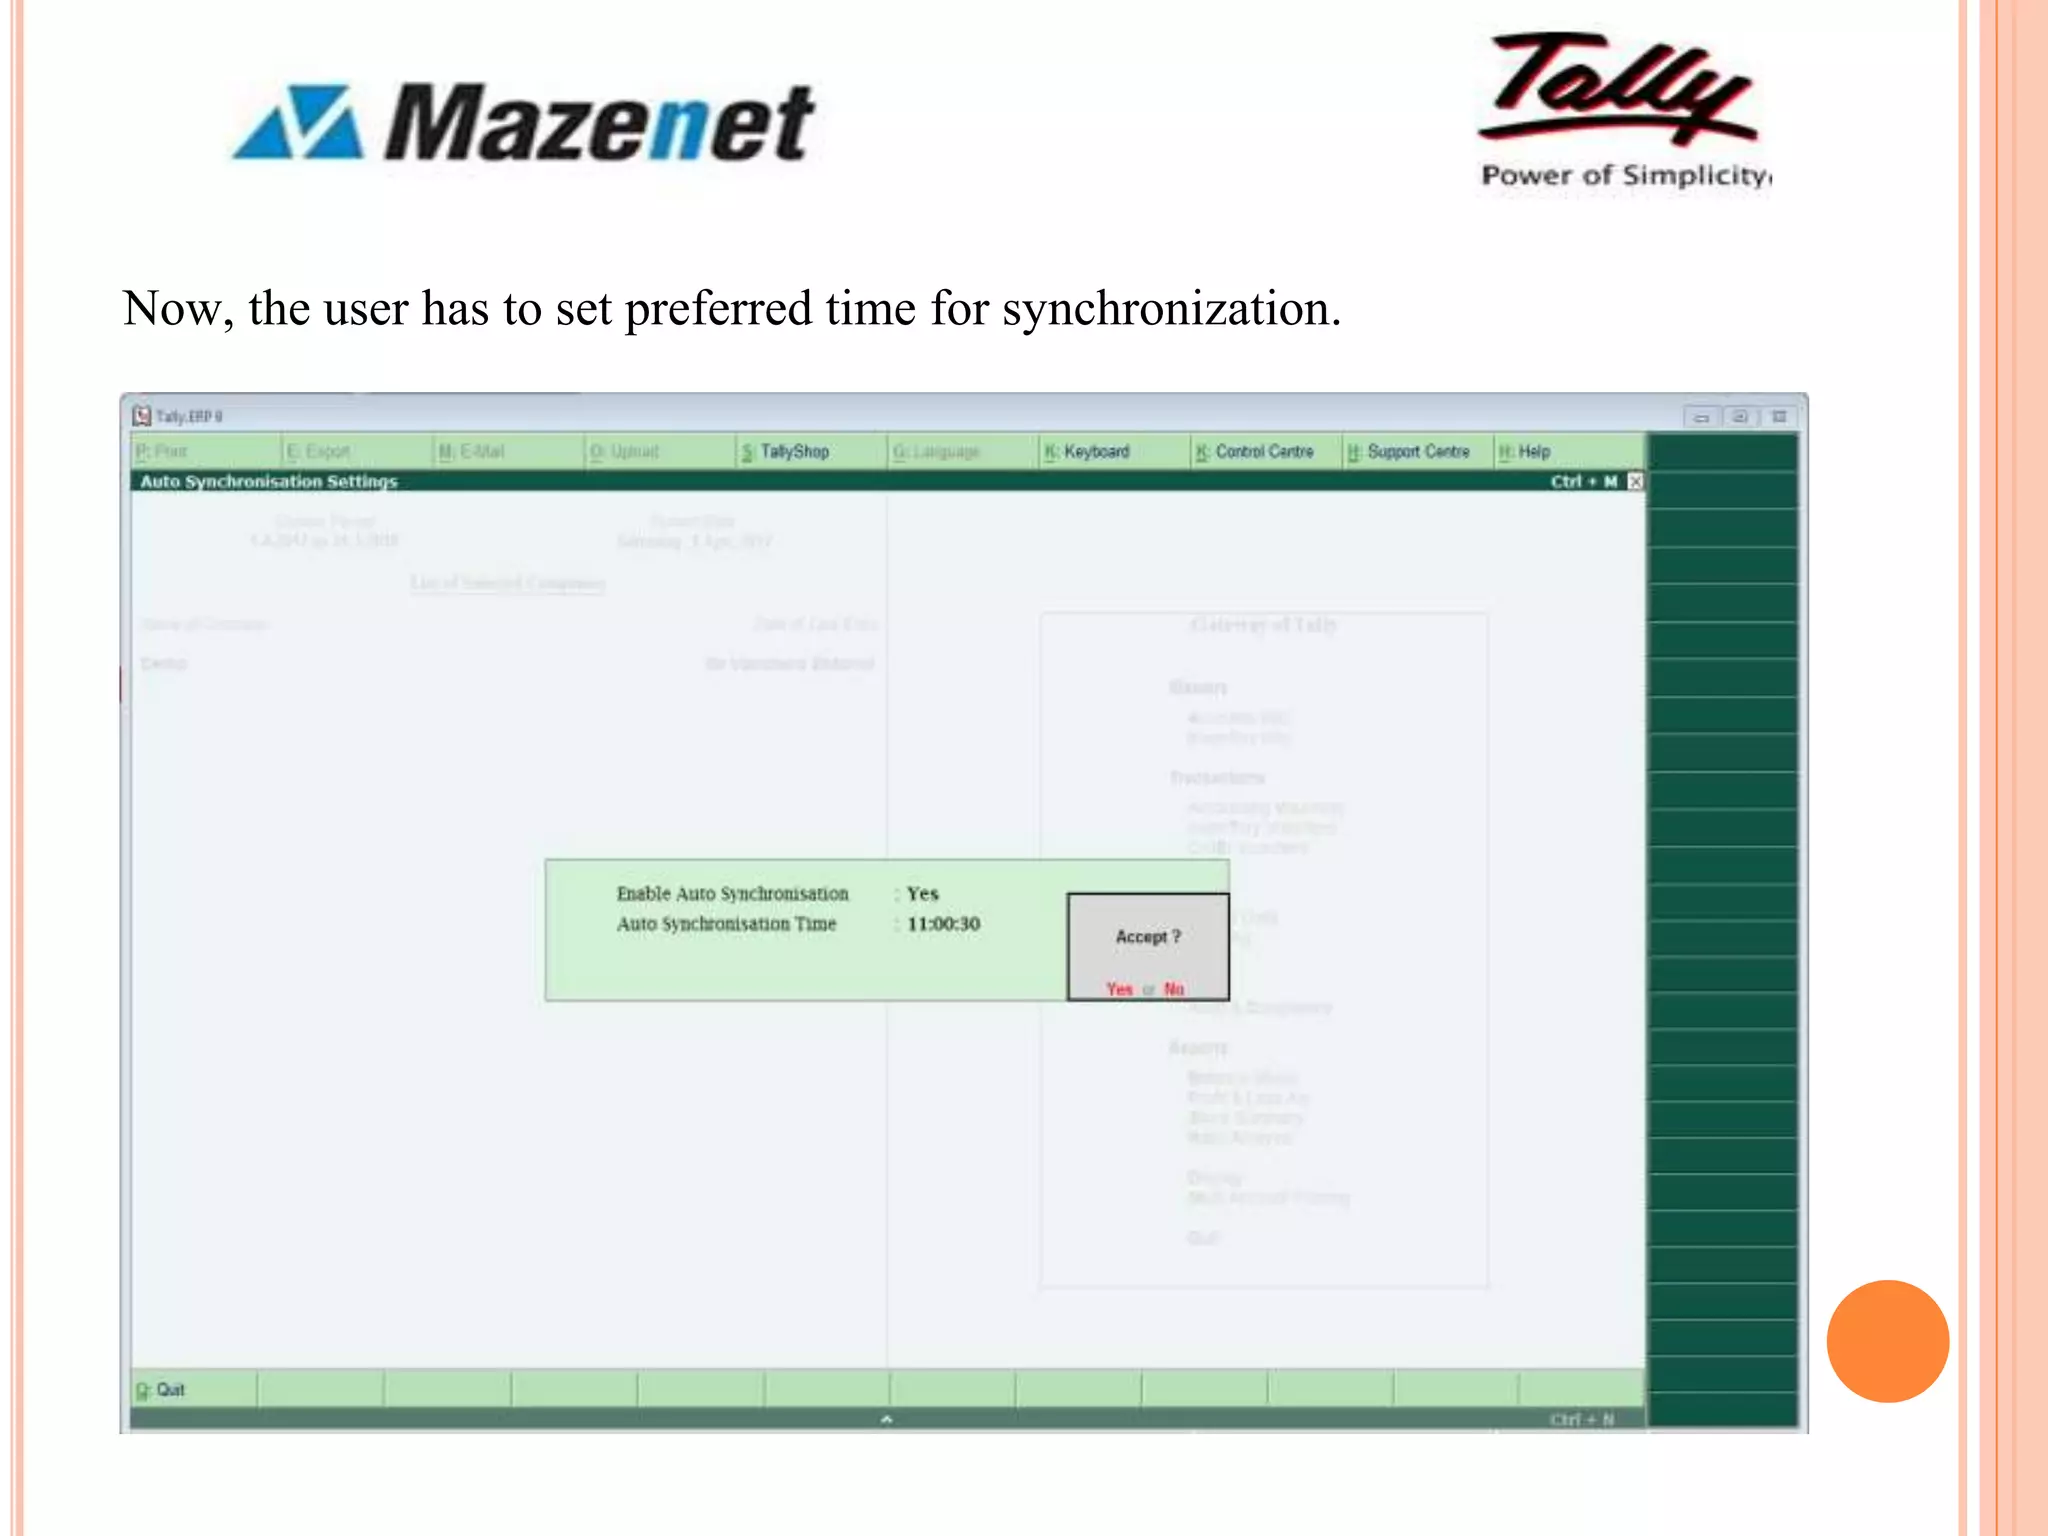
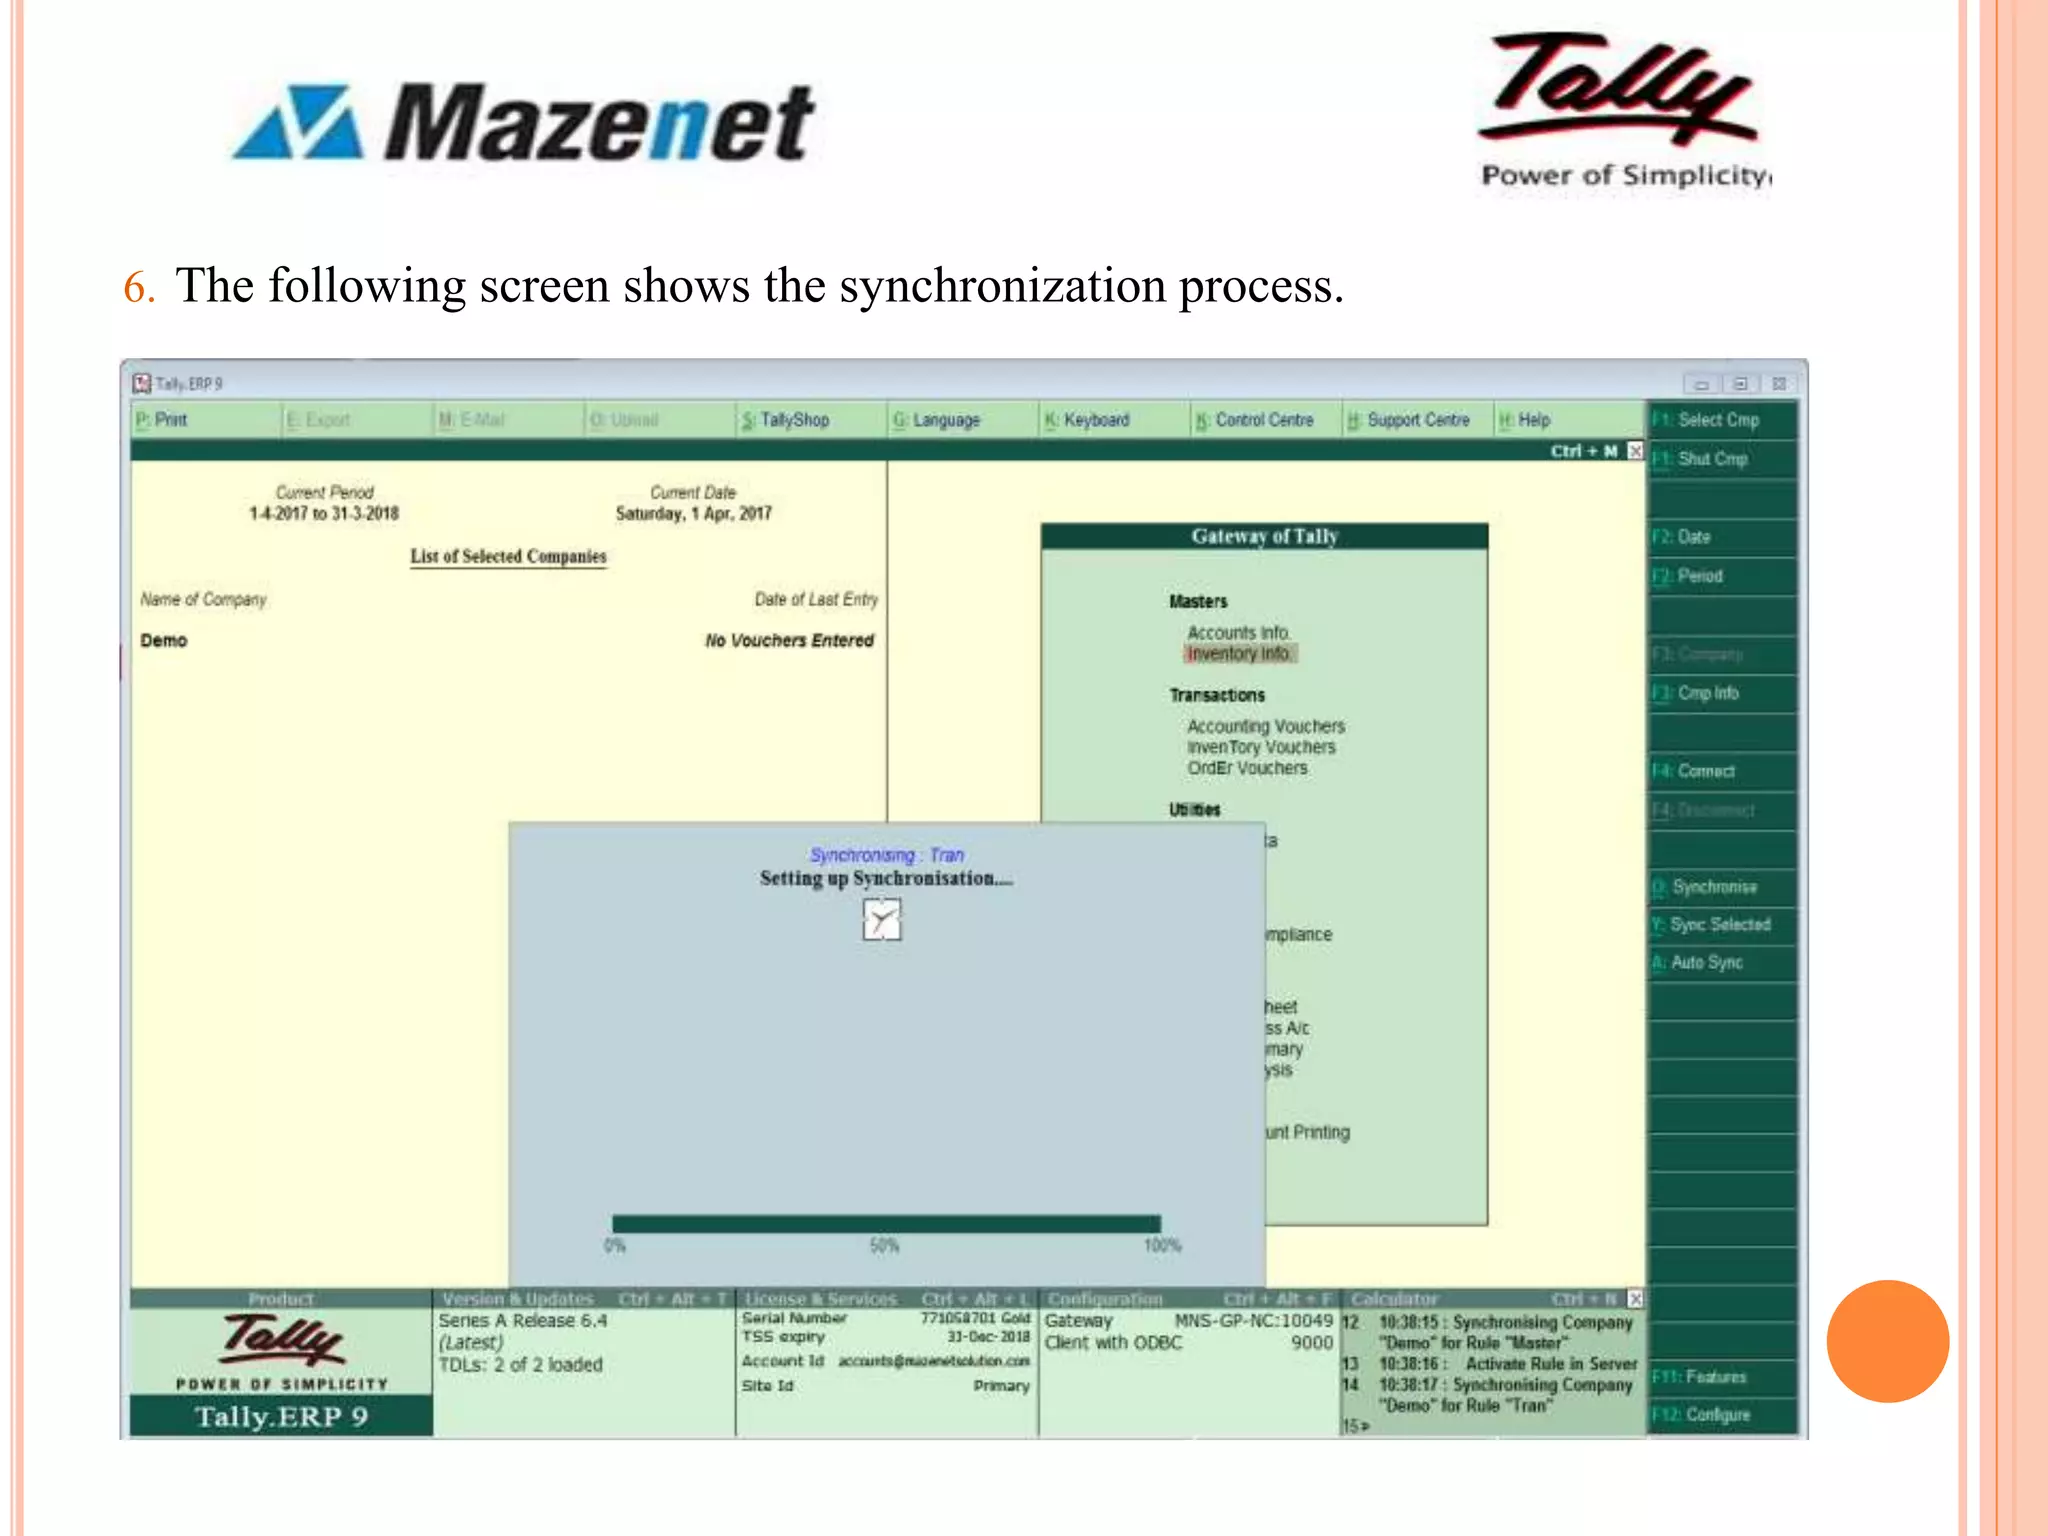
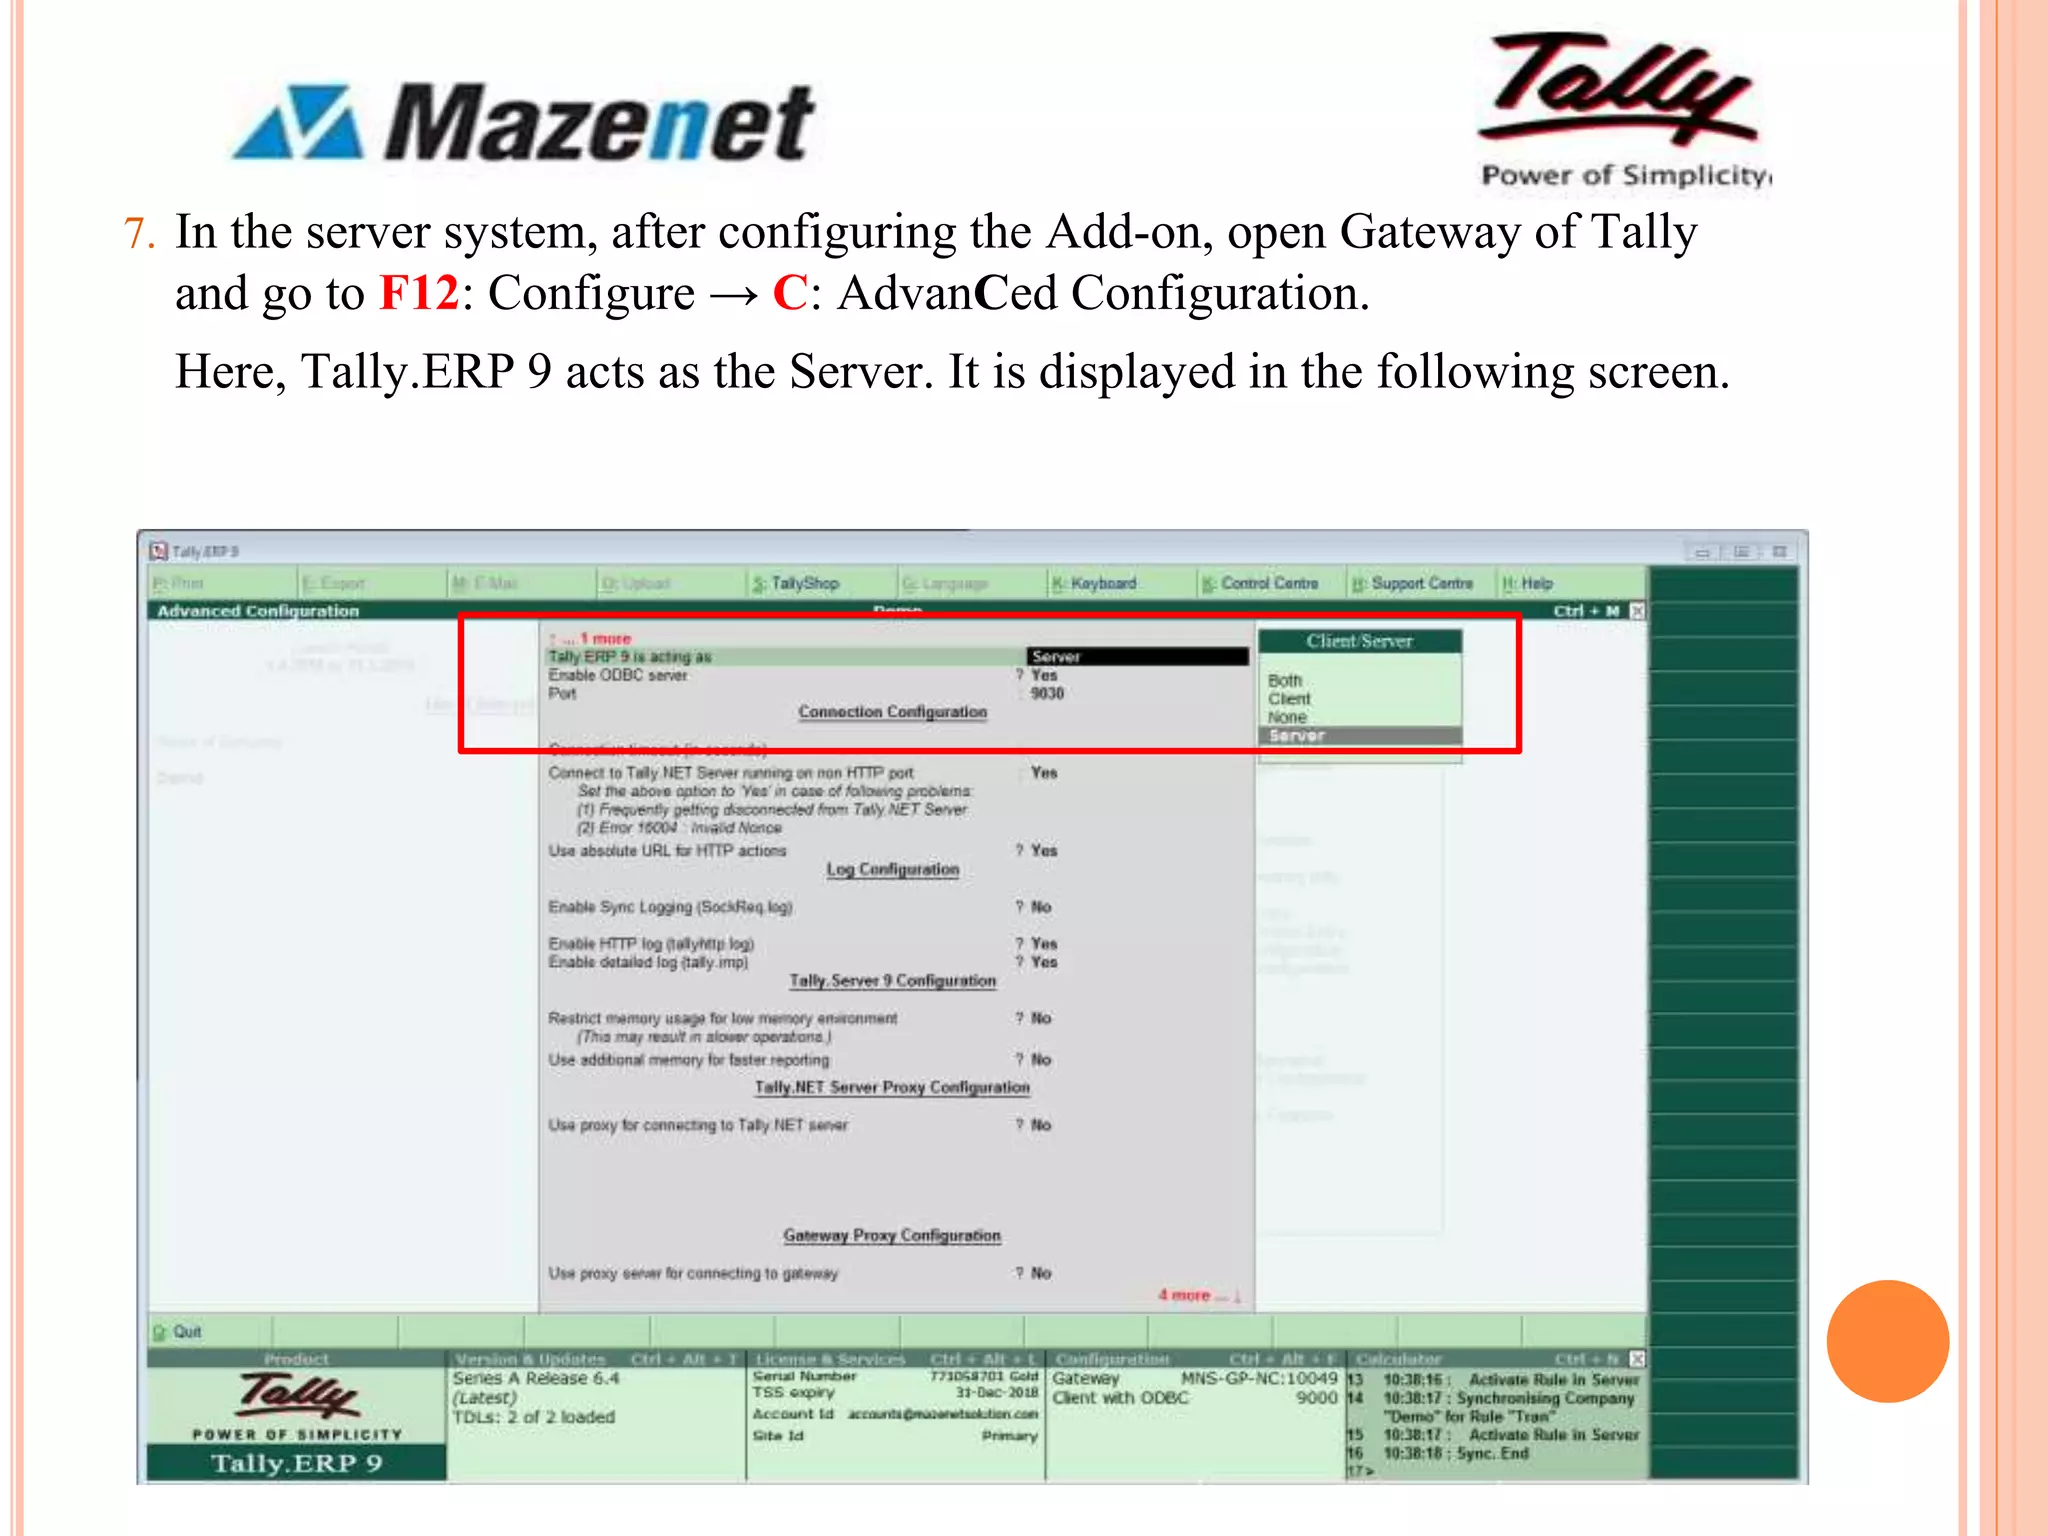
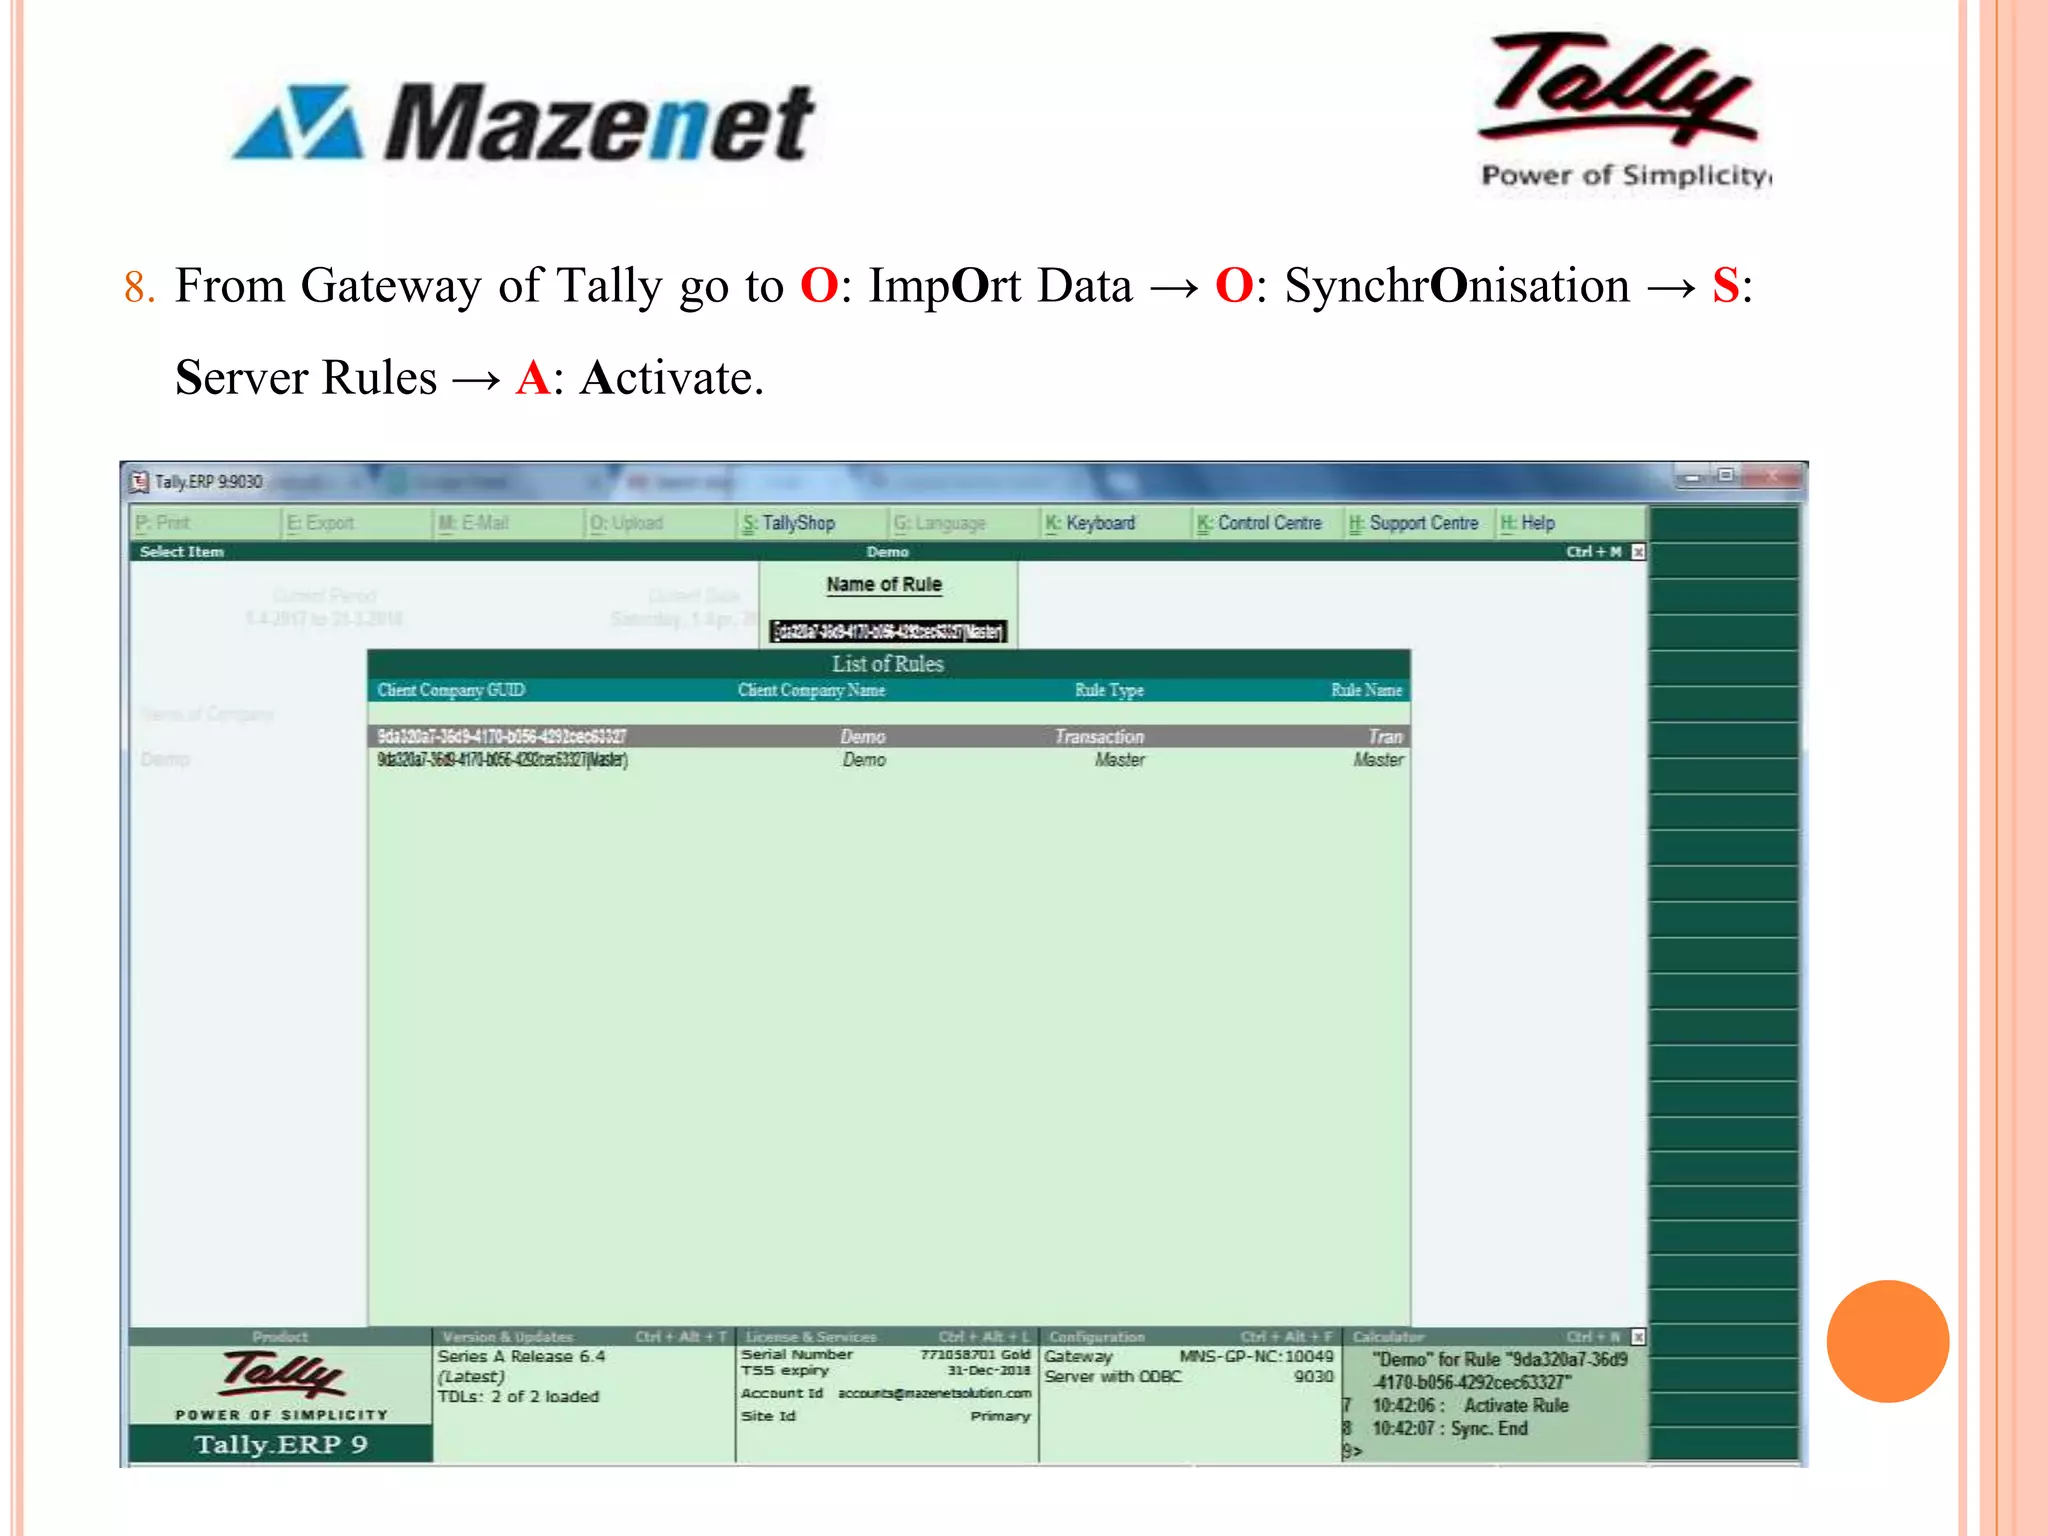
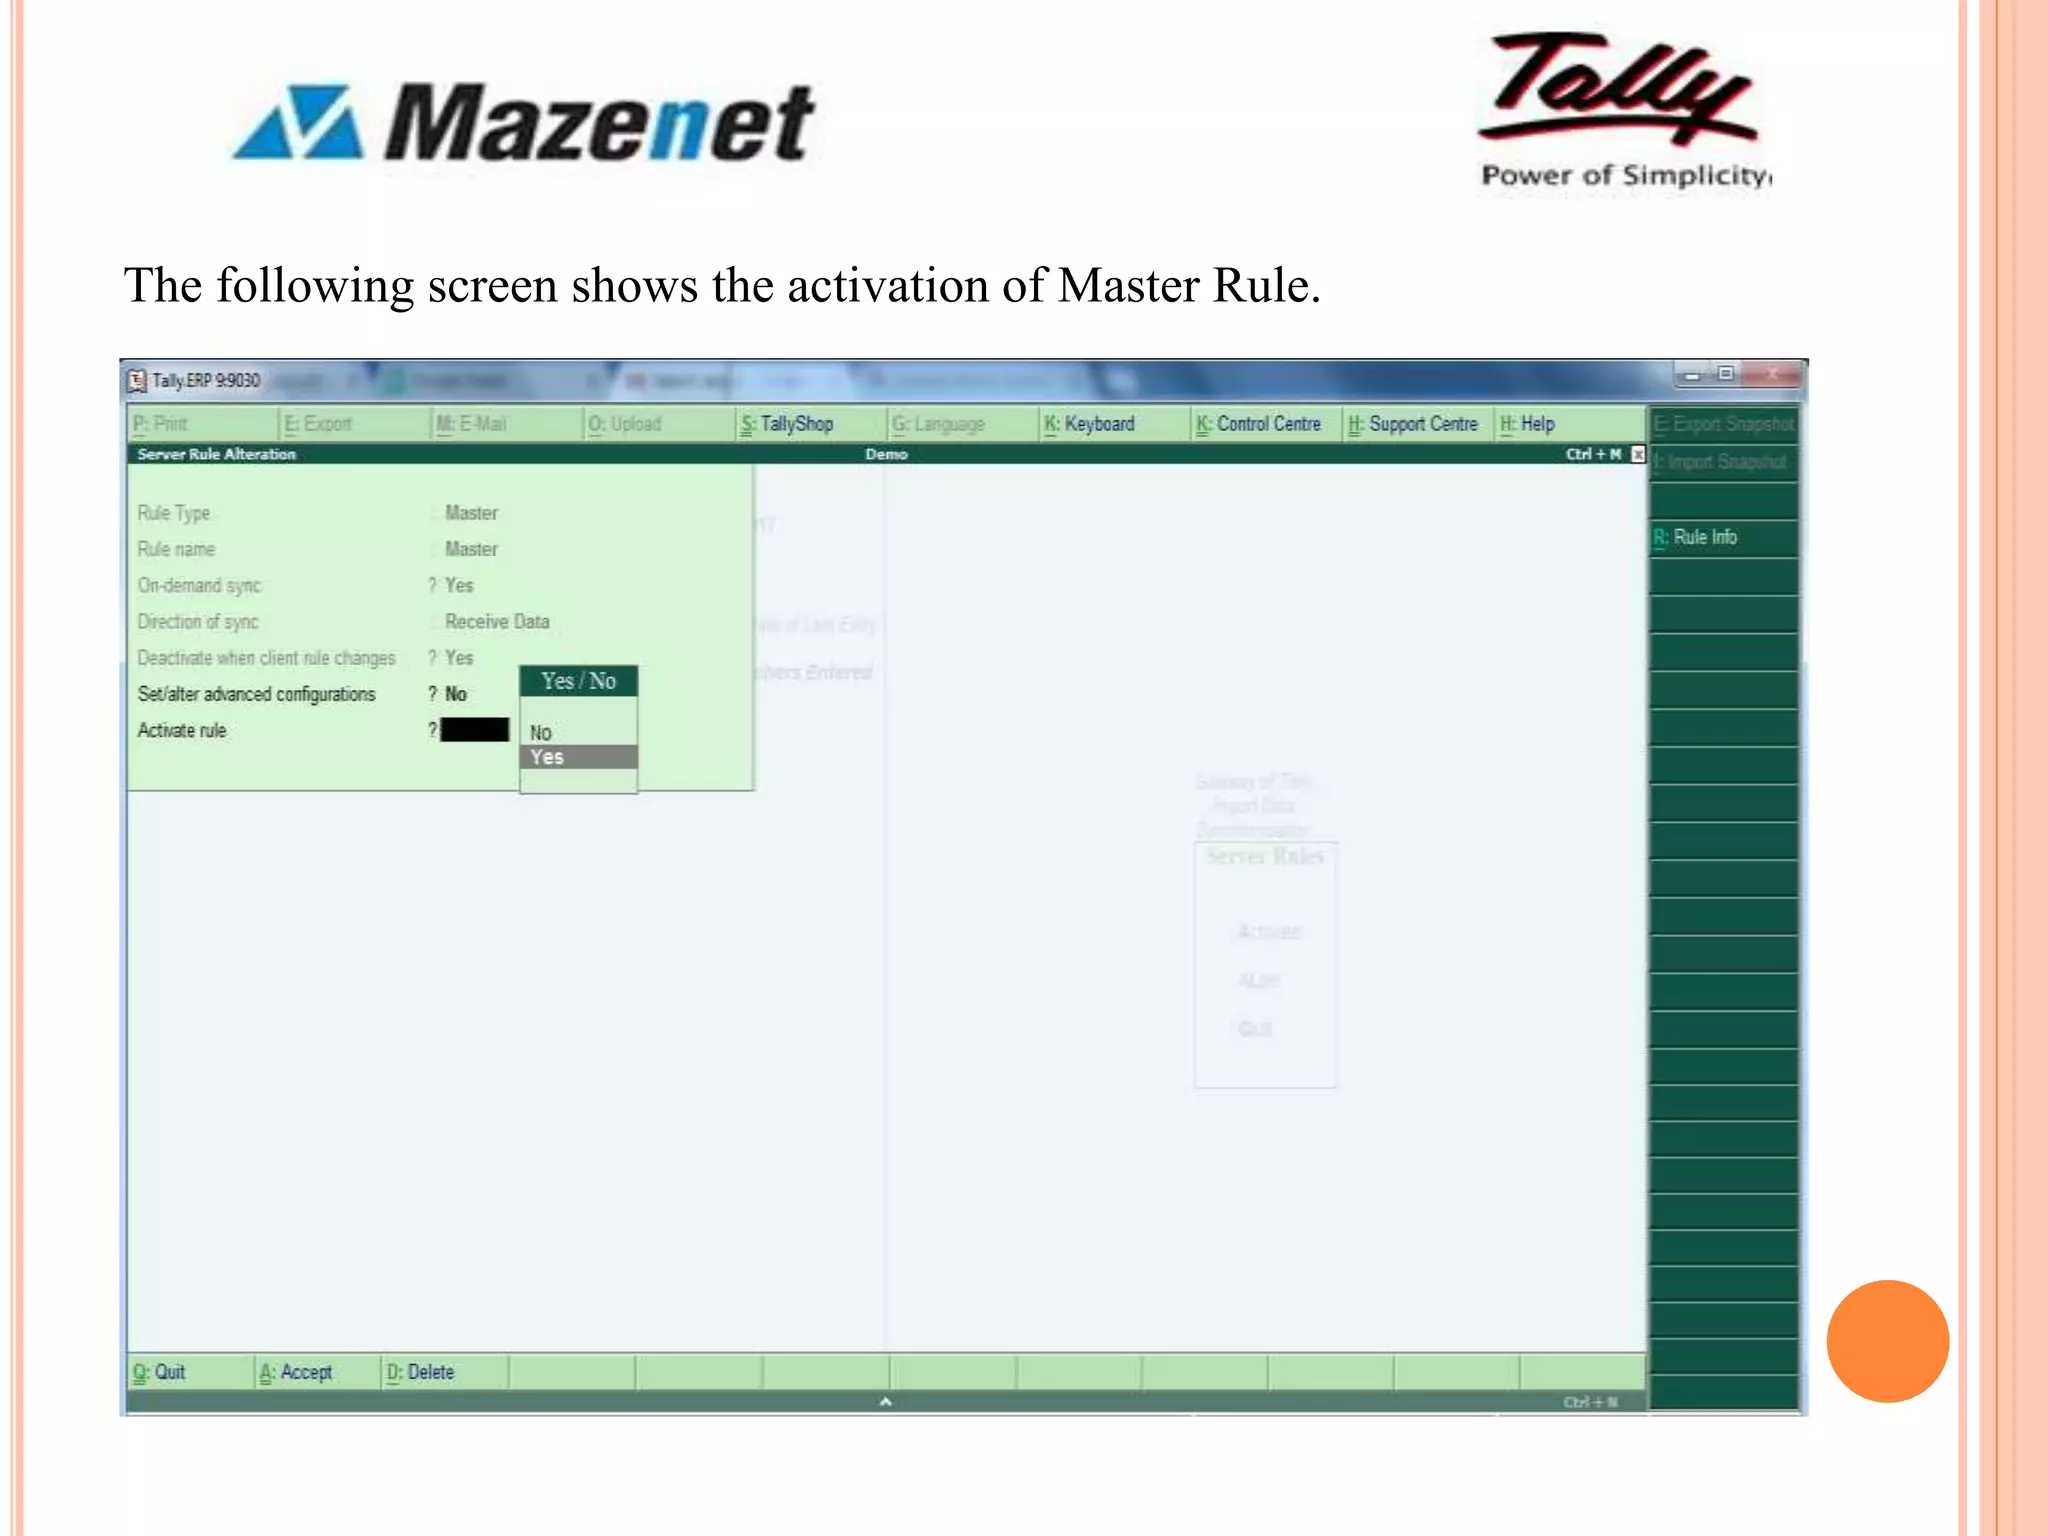

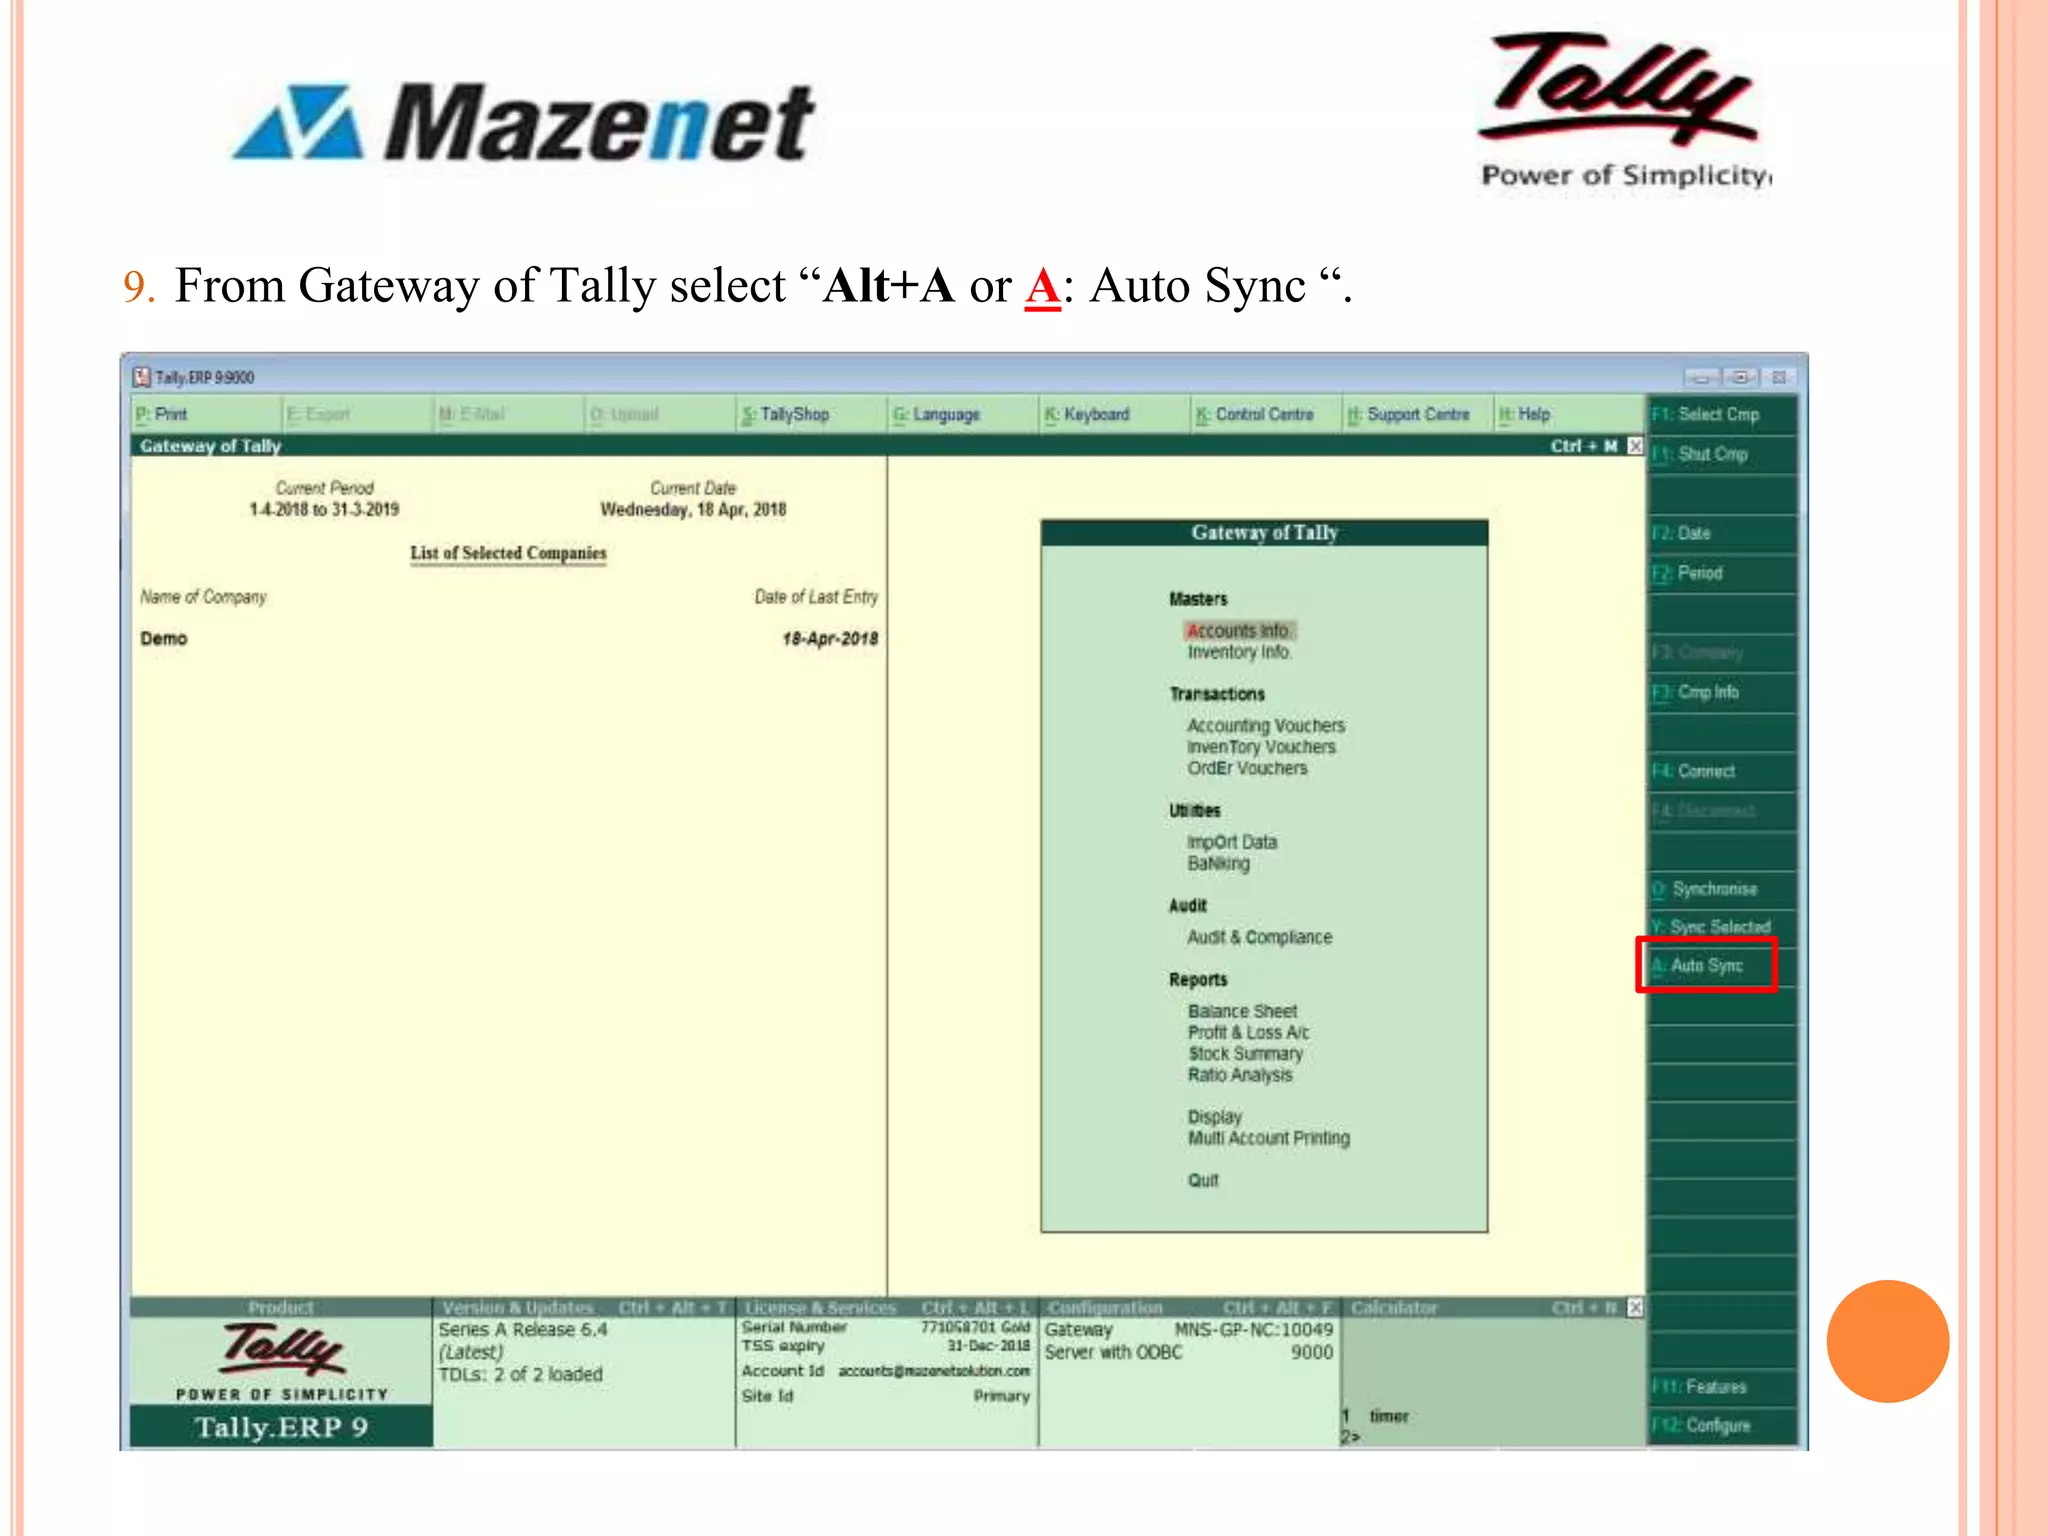
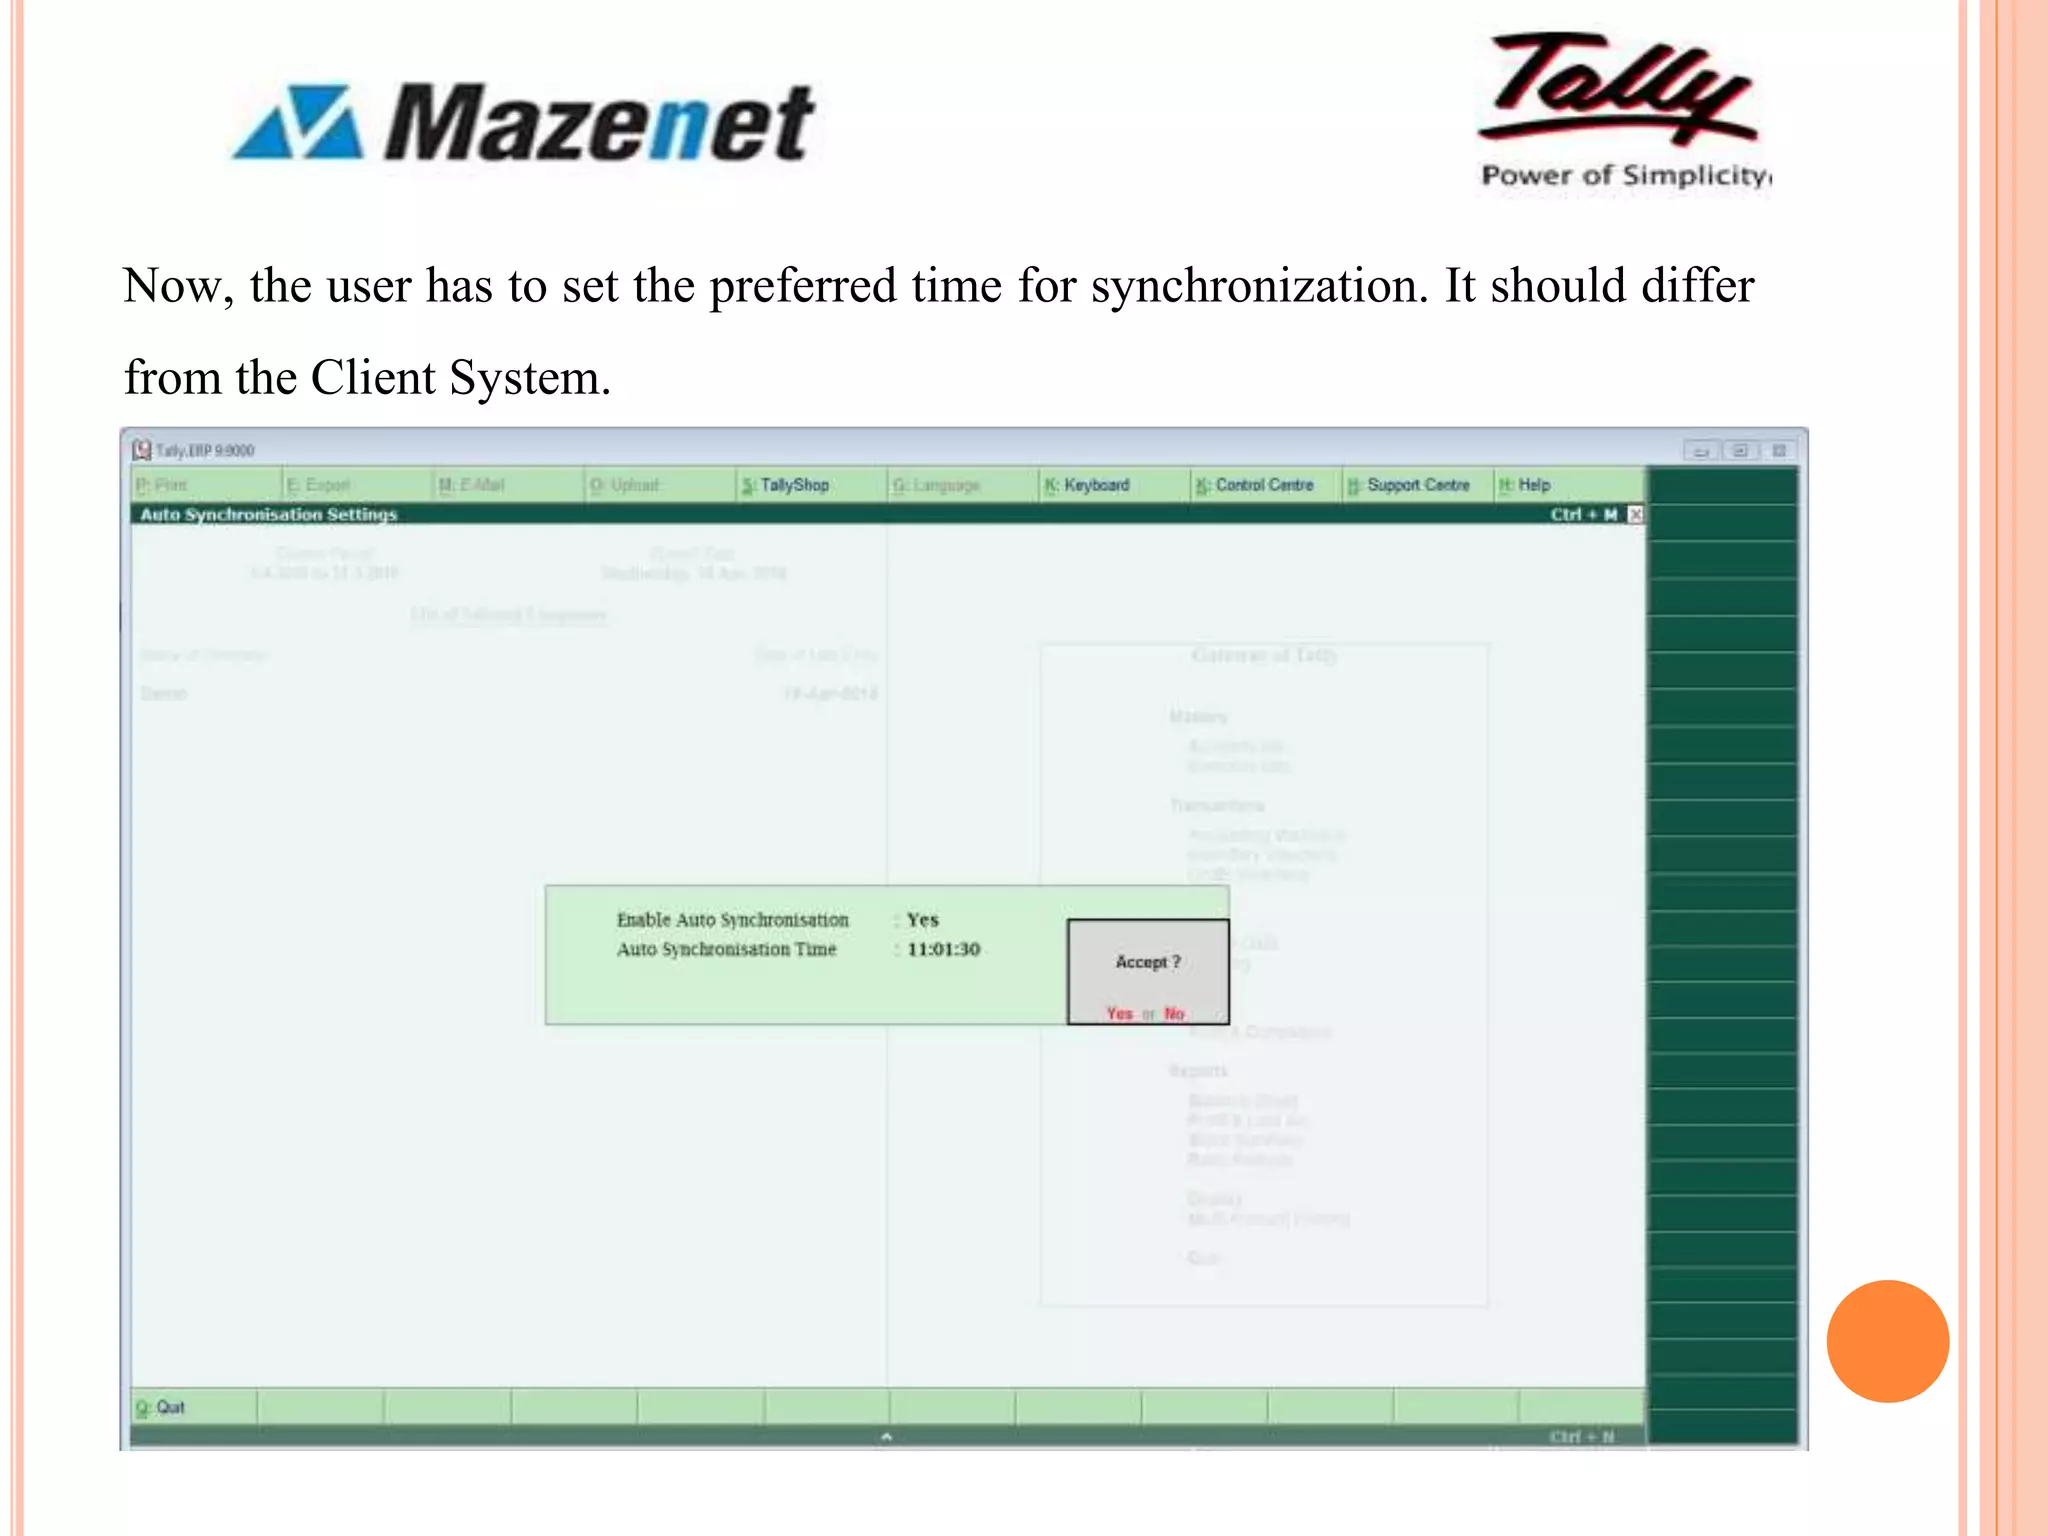
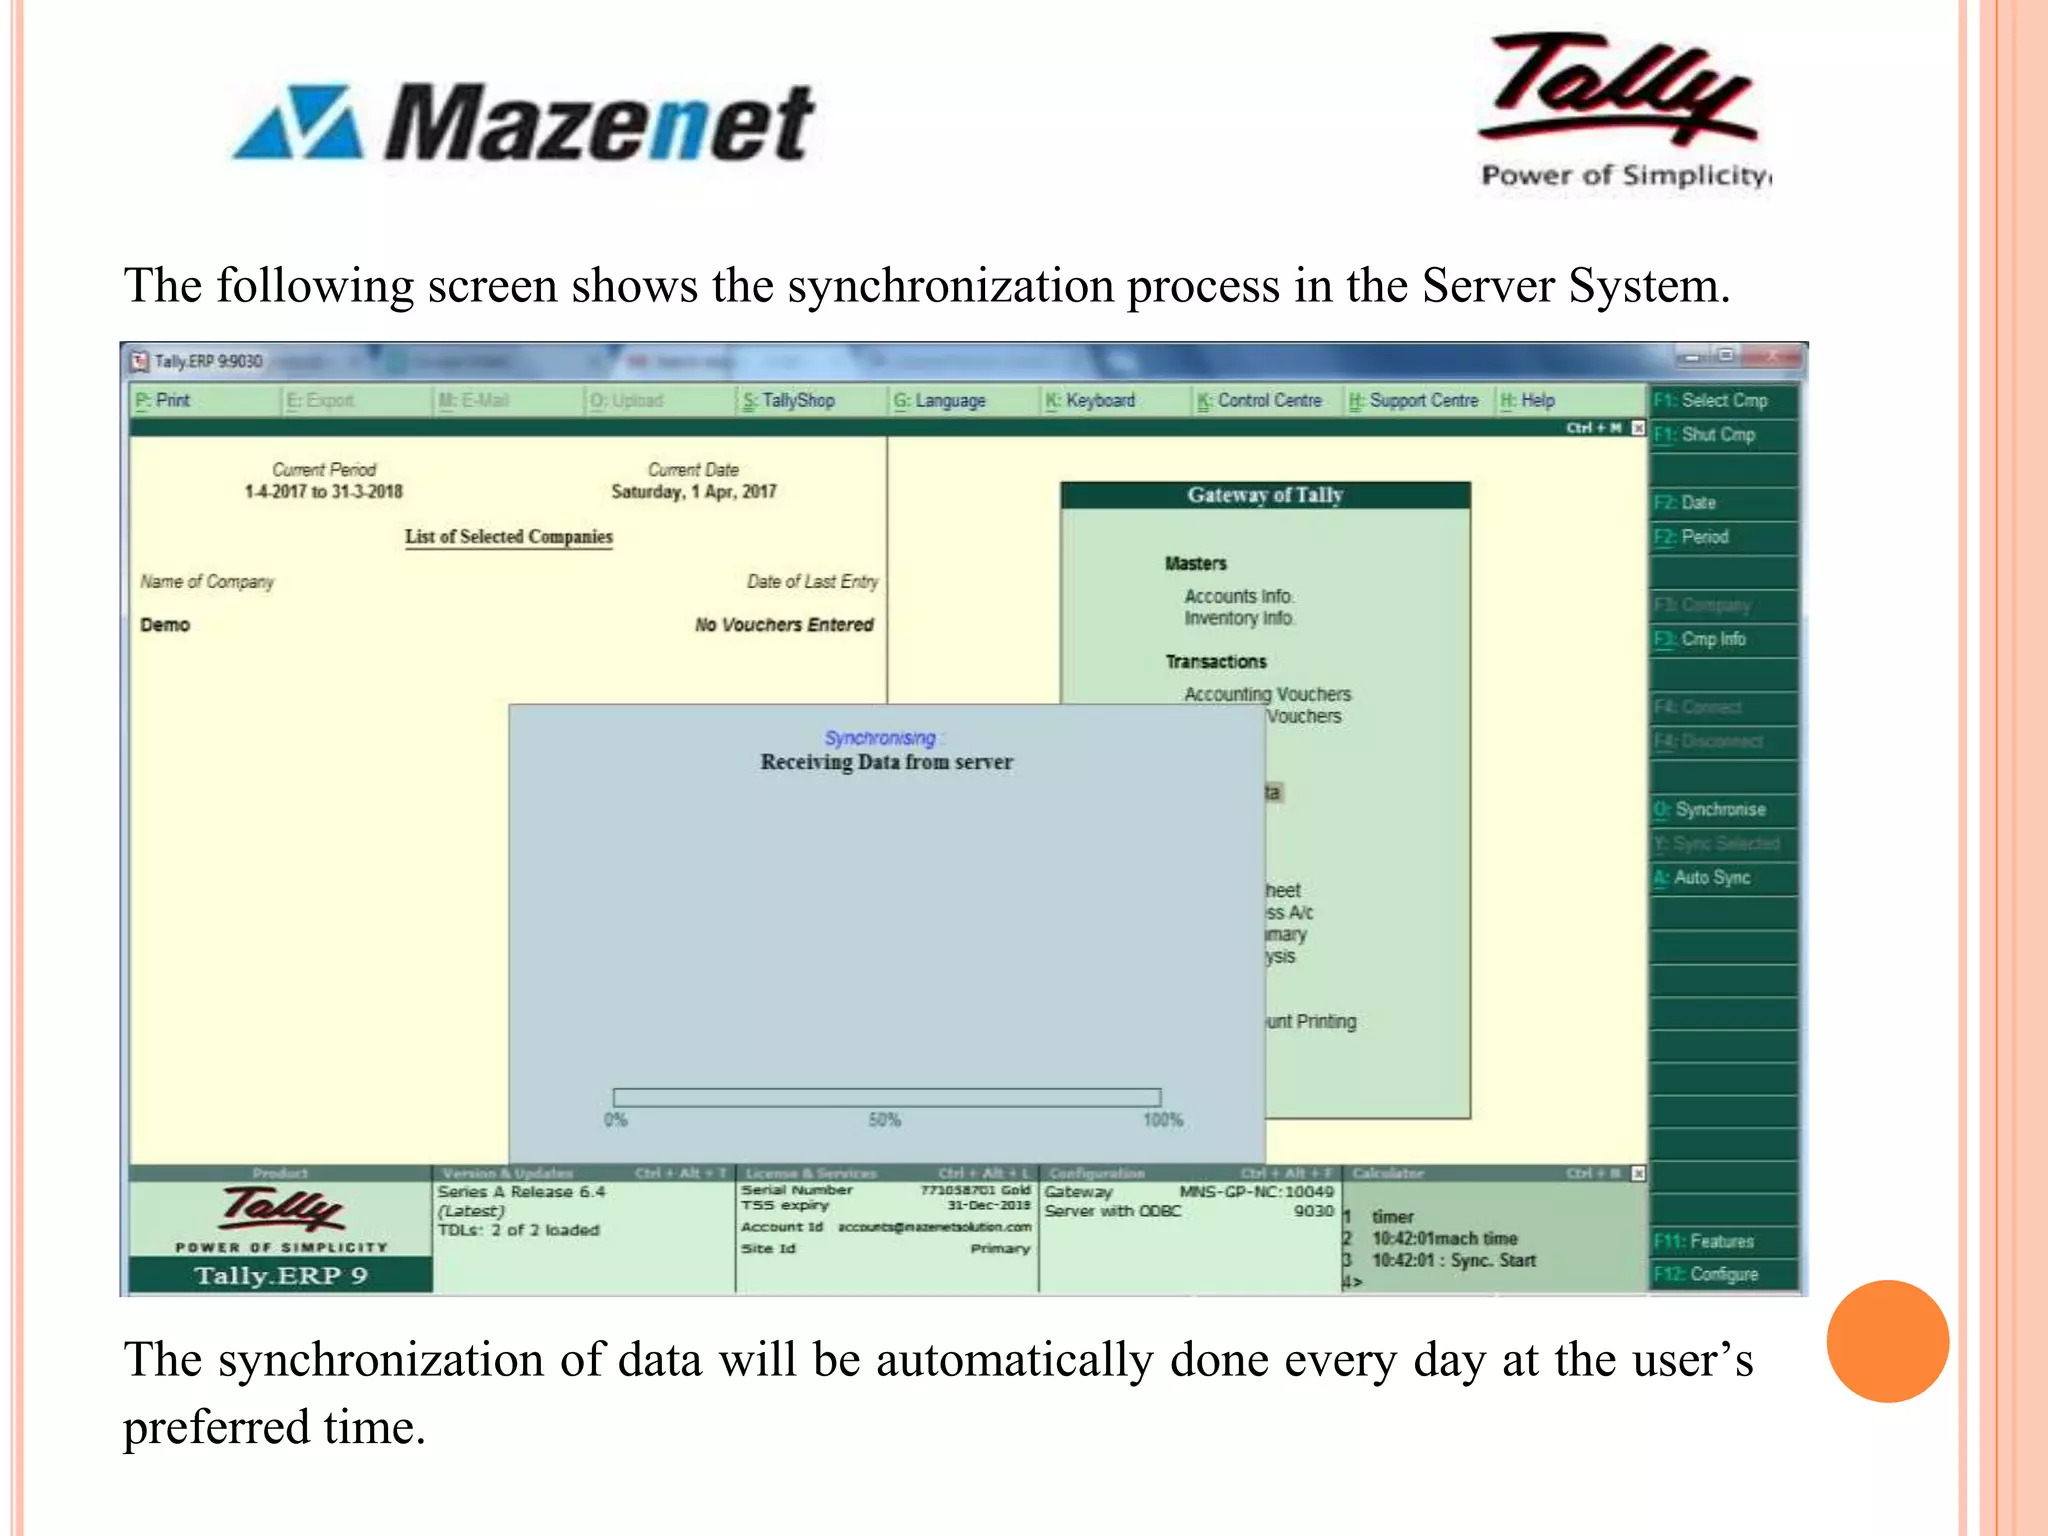


This document provides instructions for setting up automatic synchronization of Tally data between a client and server system on a defined schedule. It involves configuring the TDL file, creating master and transaction synchronization rules on both the client and server, and setting the preferred synchronization time on each system. Once configured, Tally will automatically synchronize data between the client and server machines at the scheduled times without any further user input.


