Download as PDF, PPTX


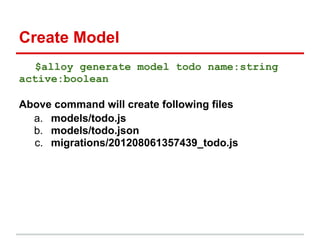


Alloy is a powerful MVC framework built on Node.js that is integrated with Titanium Studio to make Titanium development easier, faster, and more scalable. Key features of Alloy include separating UI and app logic through MVC, developing apps using XML and JSON, reusable widgets and templates, and built-in support for Backbone.js and Underscore.js. To get started with Alloy, developers can check the documentation, Google group, and Github page to learn how to set up a new Alloy project and generate models, controllers, and views.


![Titanium Workshop - [Sainté Mobile Days]](https://cdn.slidesharecdn.com/ss_thumbnails/smdworkshop-131125074244-phpapp01-thumbnail.jpg?width=640&height=640&fit=bounds)


