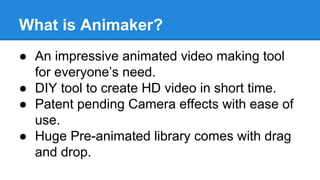
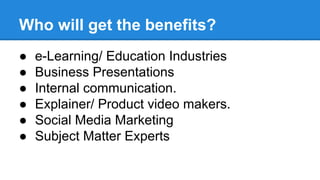
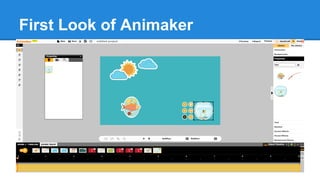
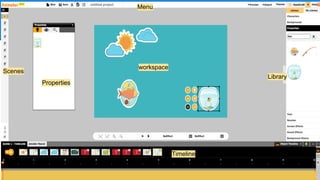
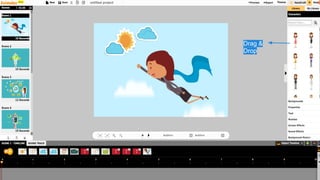
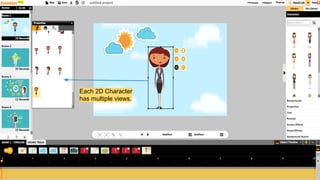
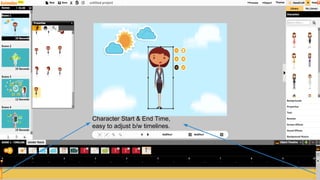
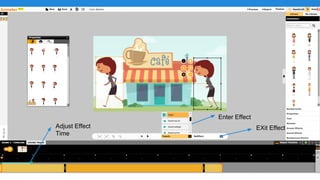
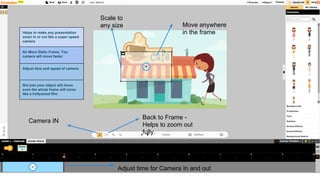
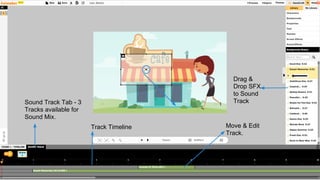
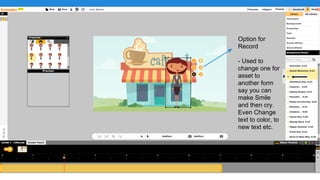
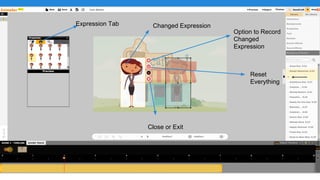
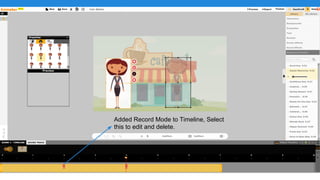
Animaker Tutorial 
By asw
What is Animaker? 
● An impressive animated video making tool 
for everyone’s need. 
● DIY tool to create HD video in short time. 
● Patent pending Camera effects with ease of 
use. 
● Huge Pre-animated library comes with drag 
and drop.
Who will get the benefits? 
● e-Learning/ Education Industries 
● Business Presentations 
● Internal communication. 
● Explainer/ Product video makers. 
● Social Media Marketing 
● Subject Matter Experts
First Look of Animaker
workspace 
Timeline 
Library 
Properties 
Menu 
Scenes
Drag & 
Drop
Each 2D Character 
has multiple views.
Character Start & End Time, 
easy to adjust b/w timelines.
Enter Effect 
Adjust Effect EXit Effect 
Time
Camera IN Back to Frame - 
Helps to zoom out 
fully. 
Helps to make any presentation 
zoom in or out like a super speed 
camera 
No More Static Frame, You 
camera will move faster 
Adjust time and speed of camera. 
Not just your object will move 
even the whole frame will move 
like a hollywood film. 
Move anywhere 
in the frame 
Scale to 
any size 
Adjust time for Camera In and out
Move start Time 
Move End Time 
New Position Option to Move 
Target
Sound Track Tab - 3 
Tracks available for 
Sound Mix. 
Drag & 
Drop SFX 
to Sound 
Track 
Move & Edit 
Track. 
Track Timeline
Option for 
Record 
- Used to 
change one for 
asset to 
another form 
say you can 
make Smile 
and then cry. 
Even Change 
text to color, to 
new text etc.
Expression Tab Changed Expression 
Option to Record 
Changed 
Expression 
Reset 
Everything 
Close or Exit
Added Record Mode to Timeline, Select 
this to edit and delete.
Video Tutorial from Animaker Site
My own Video in 2 MIns
Thank You 
● Tried few features of Animaker, will share 
you more in next presentation. 
● Follow me @TutorsTips

Animaker Tutorial : Steps to use Animaker for your Animted Project

  • 1.
  • 2.
    What is Animaker? ● An impressive animated video making tool for everyone’s need. ● DIY tool to create HD video in short time. ● Patent pending Camera effects with ease of use. ● Huge Pre-animated library comes with drag and drop.
  • 3.
    Who will getthe benefits? ● e-Learning/ Education Industries ● Business Presentations ● Internal communication. ● Explainer/ Product video makers. ● Social Media Marketing ● Subject Matter Experts
  • 4.
    First Look ofAnimaker
  • 5.
    workspace Timeline Library Properties Menu Scenes
  • 6.
  • 7.
    Each 2D Character has multiple views.
  • 8.
    Character Start &End Time, easy to adjust b/w timelines.
  • 9.
    Enter Effect AdjustEffect EXit Effect Time
  • 10.
    Camera IN Backto Frame - Helps to zoom out fully. Helps to make any presentation zoom in or out like a super speed camera No More Static Frame, You camera will move faster Adjust time and speed of camera. Not just your object will move even the whole frame will move like a hollywood film. Move anywhere in the frame Scale to any size Adjust time for Camera In and out
  • 11.
    Move start Time Move End Time New Position Option to Move Target
  • 12.
    Sound Track Tab- 3 Tracks available for Sound Mix. Drag & Drop SFX to Sound Track Move & Edit Track. Track Timeline
  • 13.
    Option for Record - Used to change one for asset to another form say you can make Smile and then cry. Even Change text to color, to new text etc.
  • 14.
    Expression Tab ChangedExpression Option to Record Changed Expression Reset Everything Close or Exit
  • 15.
    Added Record Modeto Timeline, Select this to edit and delete.
  • 16.
    Video Tutorial fromAnimaker Site
  • 17.
    My own Videoin 2 MIns
  • 18.
    Thank You ●Tried few features of Animaker, will share you more in next presentation. ● Follow me @TutorsTips