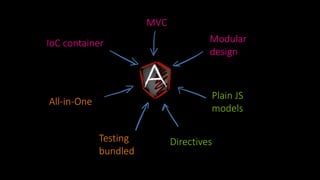
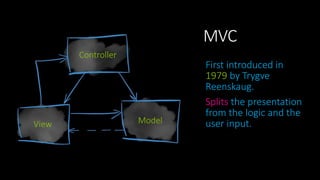
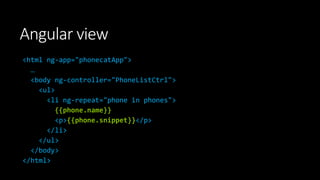
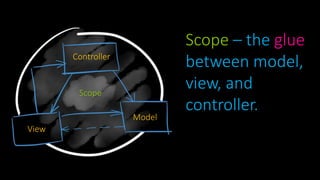
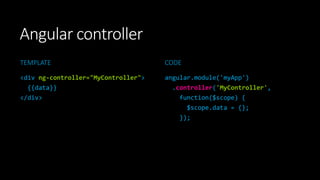
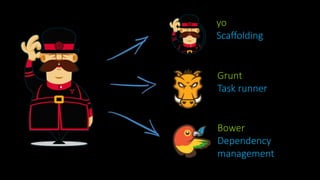
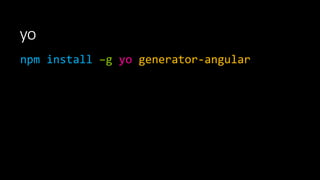
This document provides an introduction and overview of AngularJS including its main concepts such as MVC, dependency injection, directives, filters, data binding, routing and REST services. It also discusses Angular scaffolding tools like Yeoman and provides examples of building an Angular application including fetching data from REST APIs and implementing routing. The document contains an agenda with topics and code snippets for controllers, views, directives and services. It also includes exercises for practicing key AngularJS concepts like data binding, routing and consuming REST services.

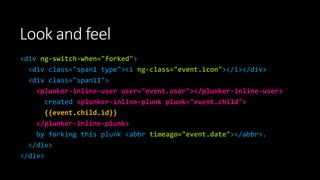
![Bootstrapping
TEMPLATE
<!doctype html>
<html lang="en" ng-app="myApp">
<head>
…
<script src="angular.js"></script>
<script src="app.js"></script>
</head>
<body>
…
</body>
</html>
CODE
angular.module('myApp', []);](https://image.slidesharecdn.com/100111-181121083038/85/Angular-Js-Basics-8-320.jpg)
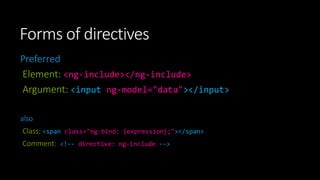
![ngRepeat
<ul>
<li ng-repeat="friend in friends">
[{{$index + 1}}] {{friend.name}} who is {{friend.age}}.
</li>
</ul>](https://image.slidesharecdn.com/100111-181121083038/85/Angular-Js-Basics-16-320.jpg)
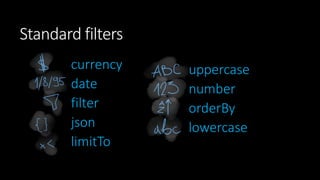
![Filter
<ul>
<li ng-repeat="friend in friends | filter:'query' ">
[{{$index + 1}}] {{friend.name}} who is {{friend.age}}.
</li>
</ul>](https://image.slidesharecdn.com/100111-181121083038/85/Angular-Js-Basics-17-320.jpg)

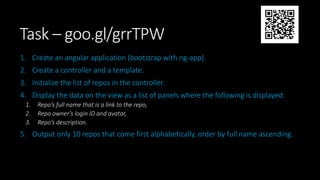


![Example of a provider usage
angular.module('myApp', [])
.config(function($filterProvider) {
$filterProvider.register('myFilter', MyFilter);
});](https://image.slidesharecdn.com/100111-181121083038/85/Angular-Js-Basics-46-320.jpg)