Downloaded 327 times

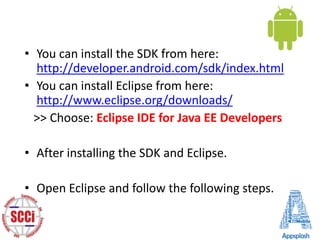
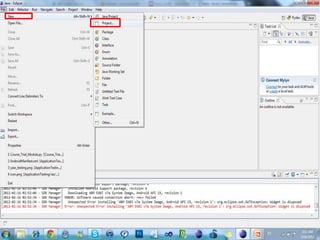
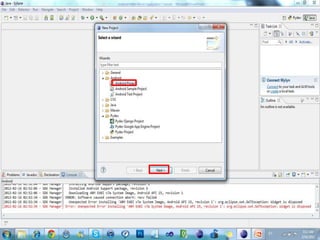
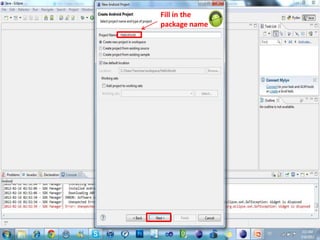
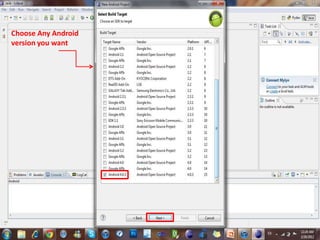
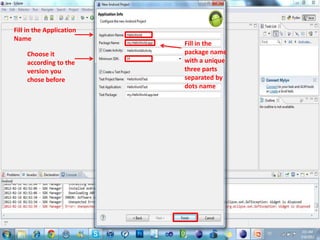
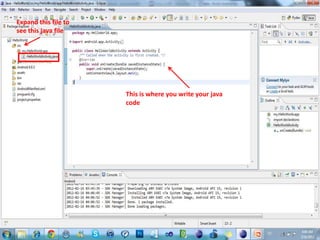
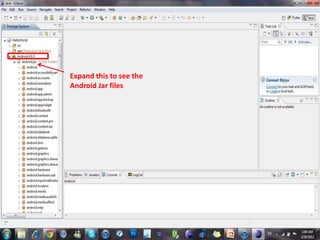
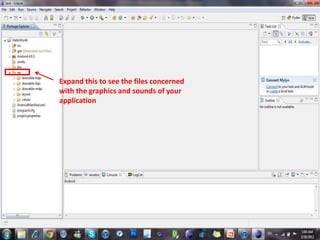
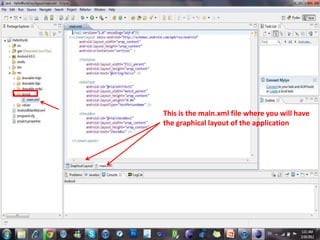
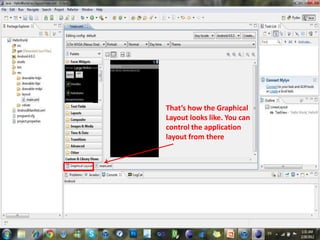
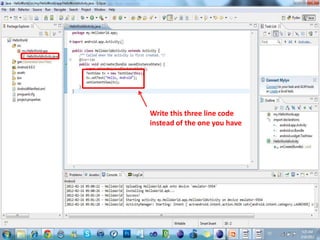
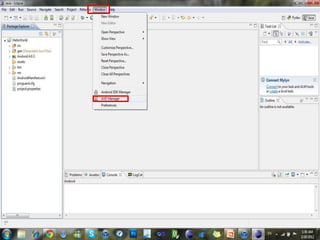
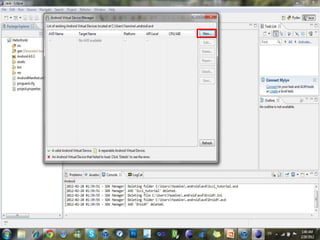
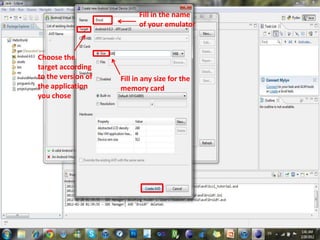
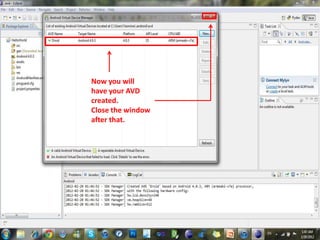
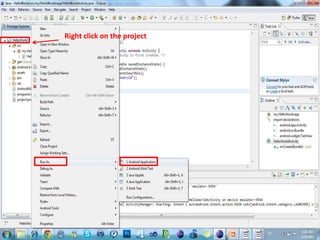
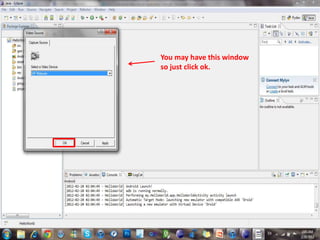
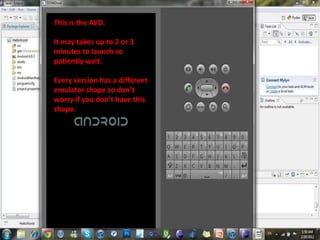
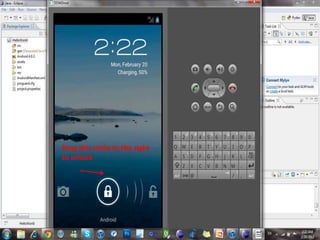
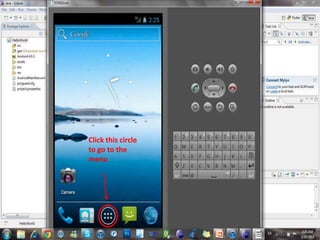
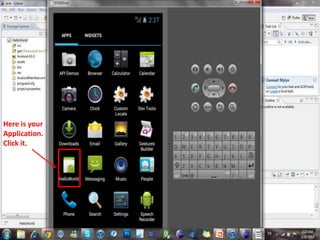
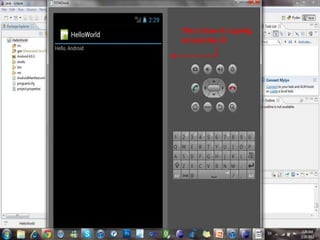


This tutorial document provides instructions on creating an Android application in Eclipse. It explains how to install the Android SDK and Eclipse, create an Android project in Eclipse, write "Hello World" code, create an Android Virtual Device emulator, and run the application on the emulator. The tutorial is intended for beginners and walks through each step to set up the development environment and build a simple app.


![[CCDD2013w] Coming to grips with deving for android by 蔡亦恒](https://cdn.slidesharecdn.com/ss_thumbnails/comingtogripswithdevingforandroid-130225111259-phpapp02-thumbnail.jpg?width=640&height=640&fit=bounds)


![[Android] Introduction to Android Programming](https://cdn.slidesharecdn.com/ss_thumbnails/trainingandroidlesson1-130304082558-phpapp02-thumbnail.jpg?width=640&height=640&fit=bounds)


