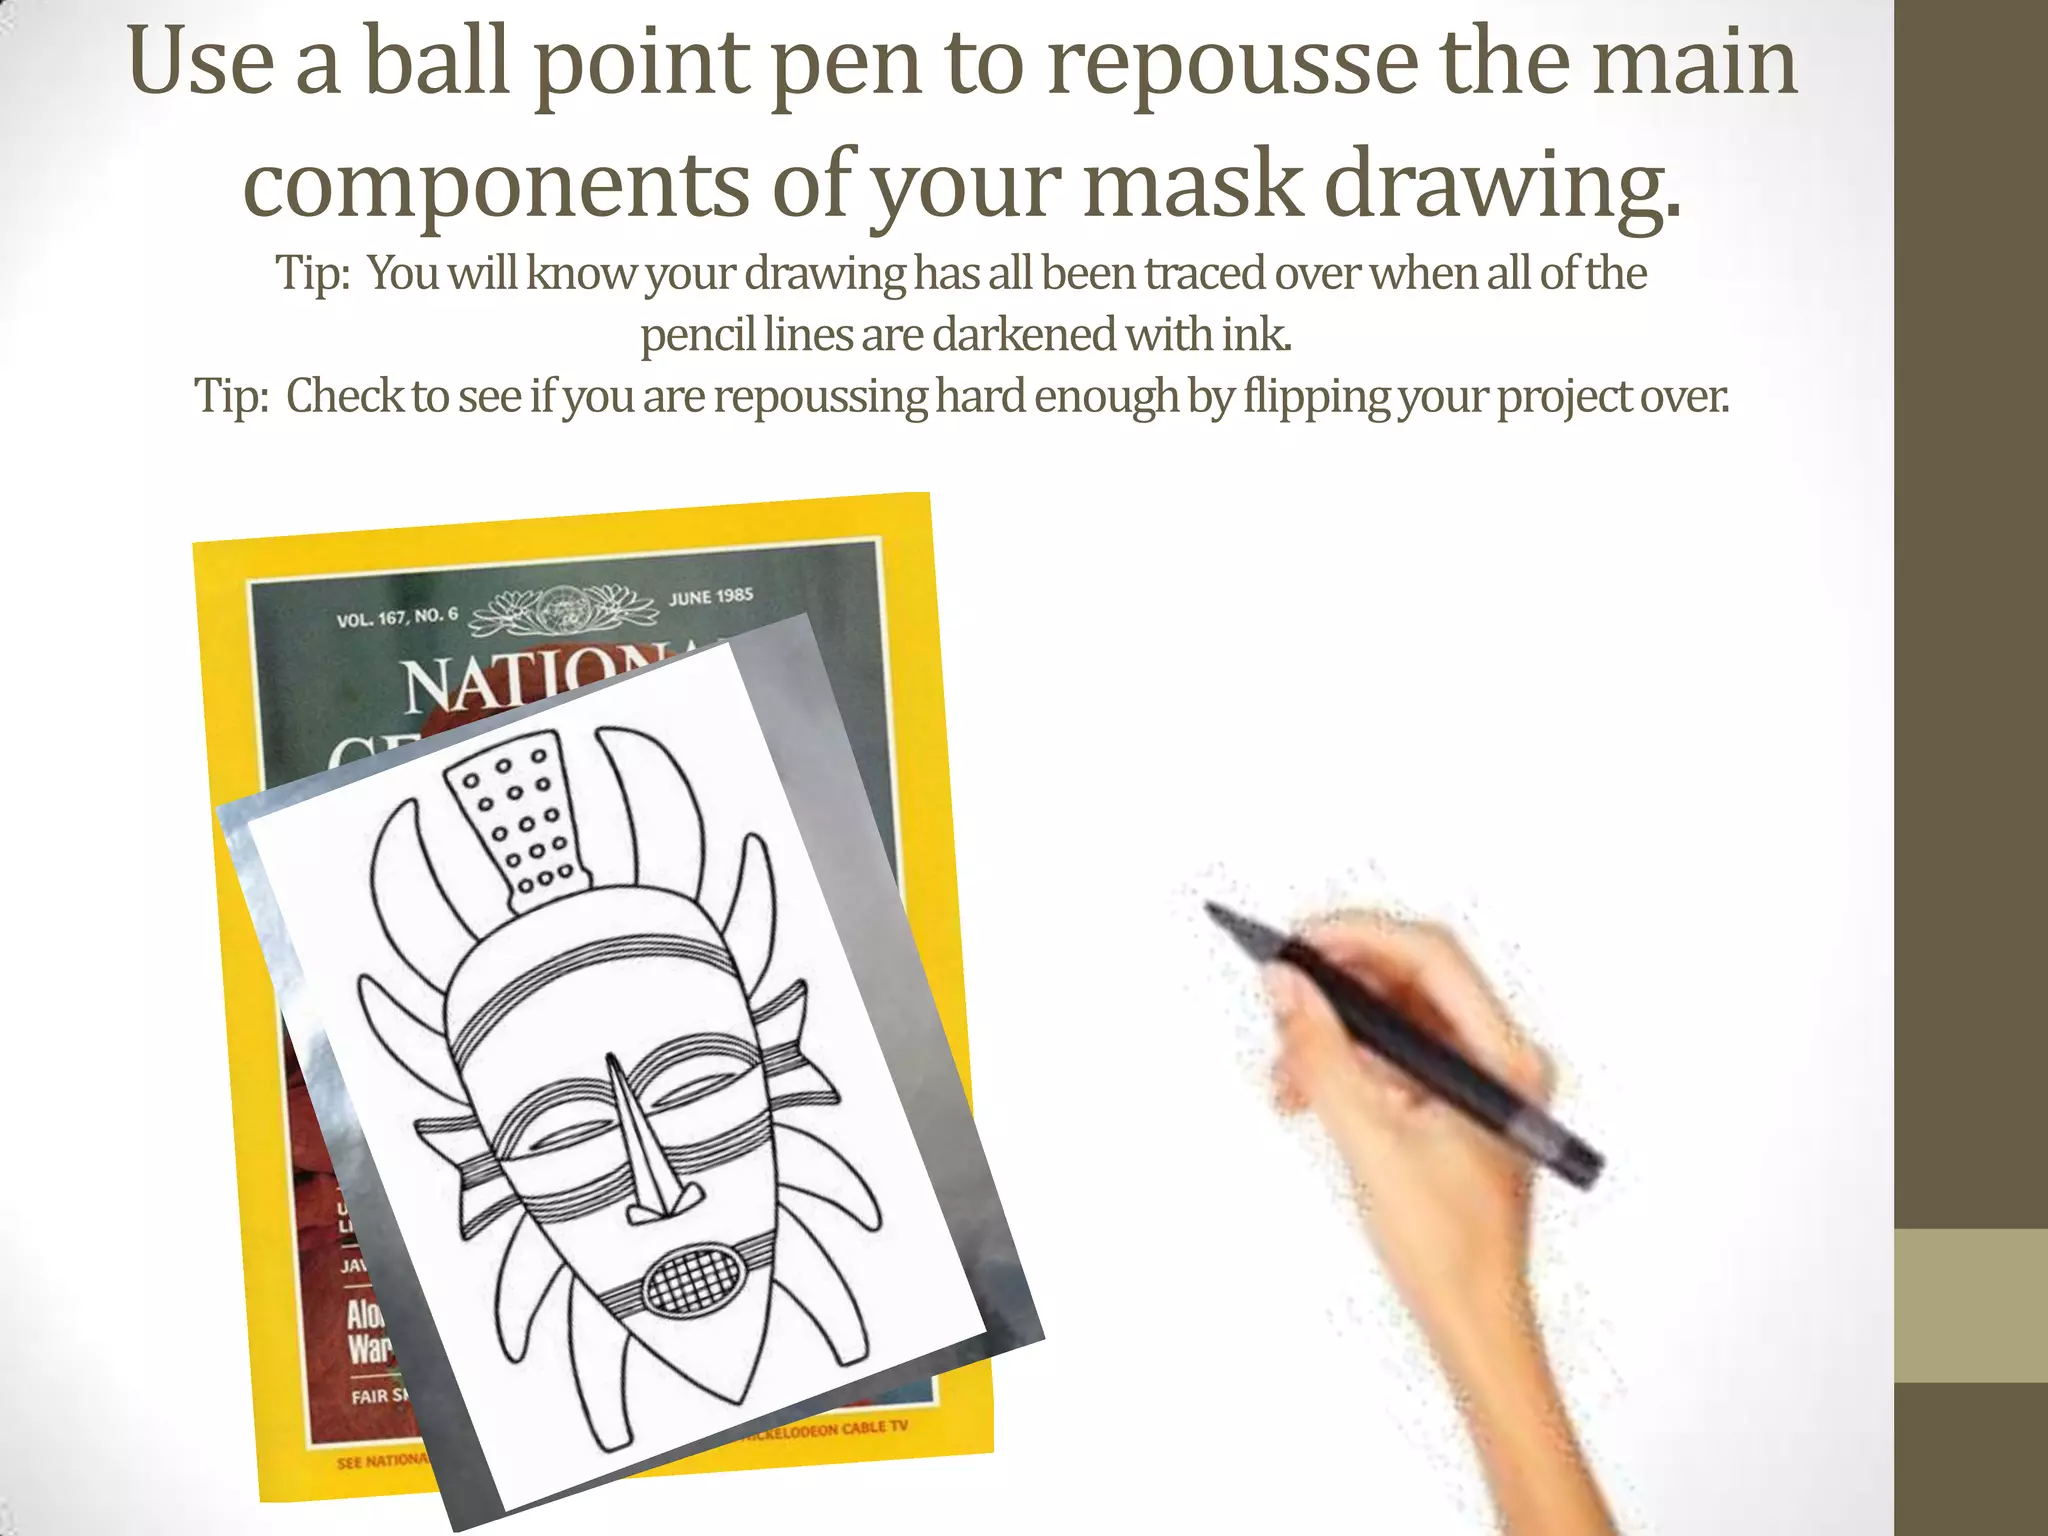
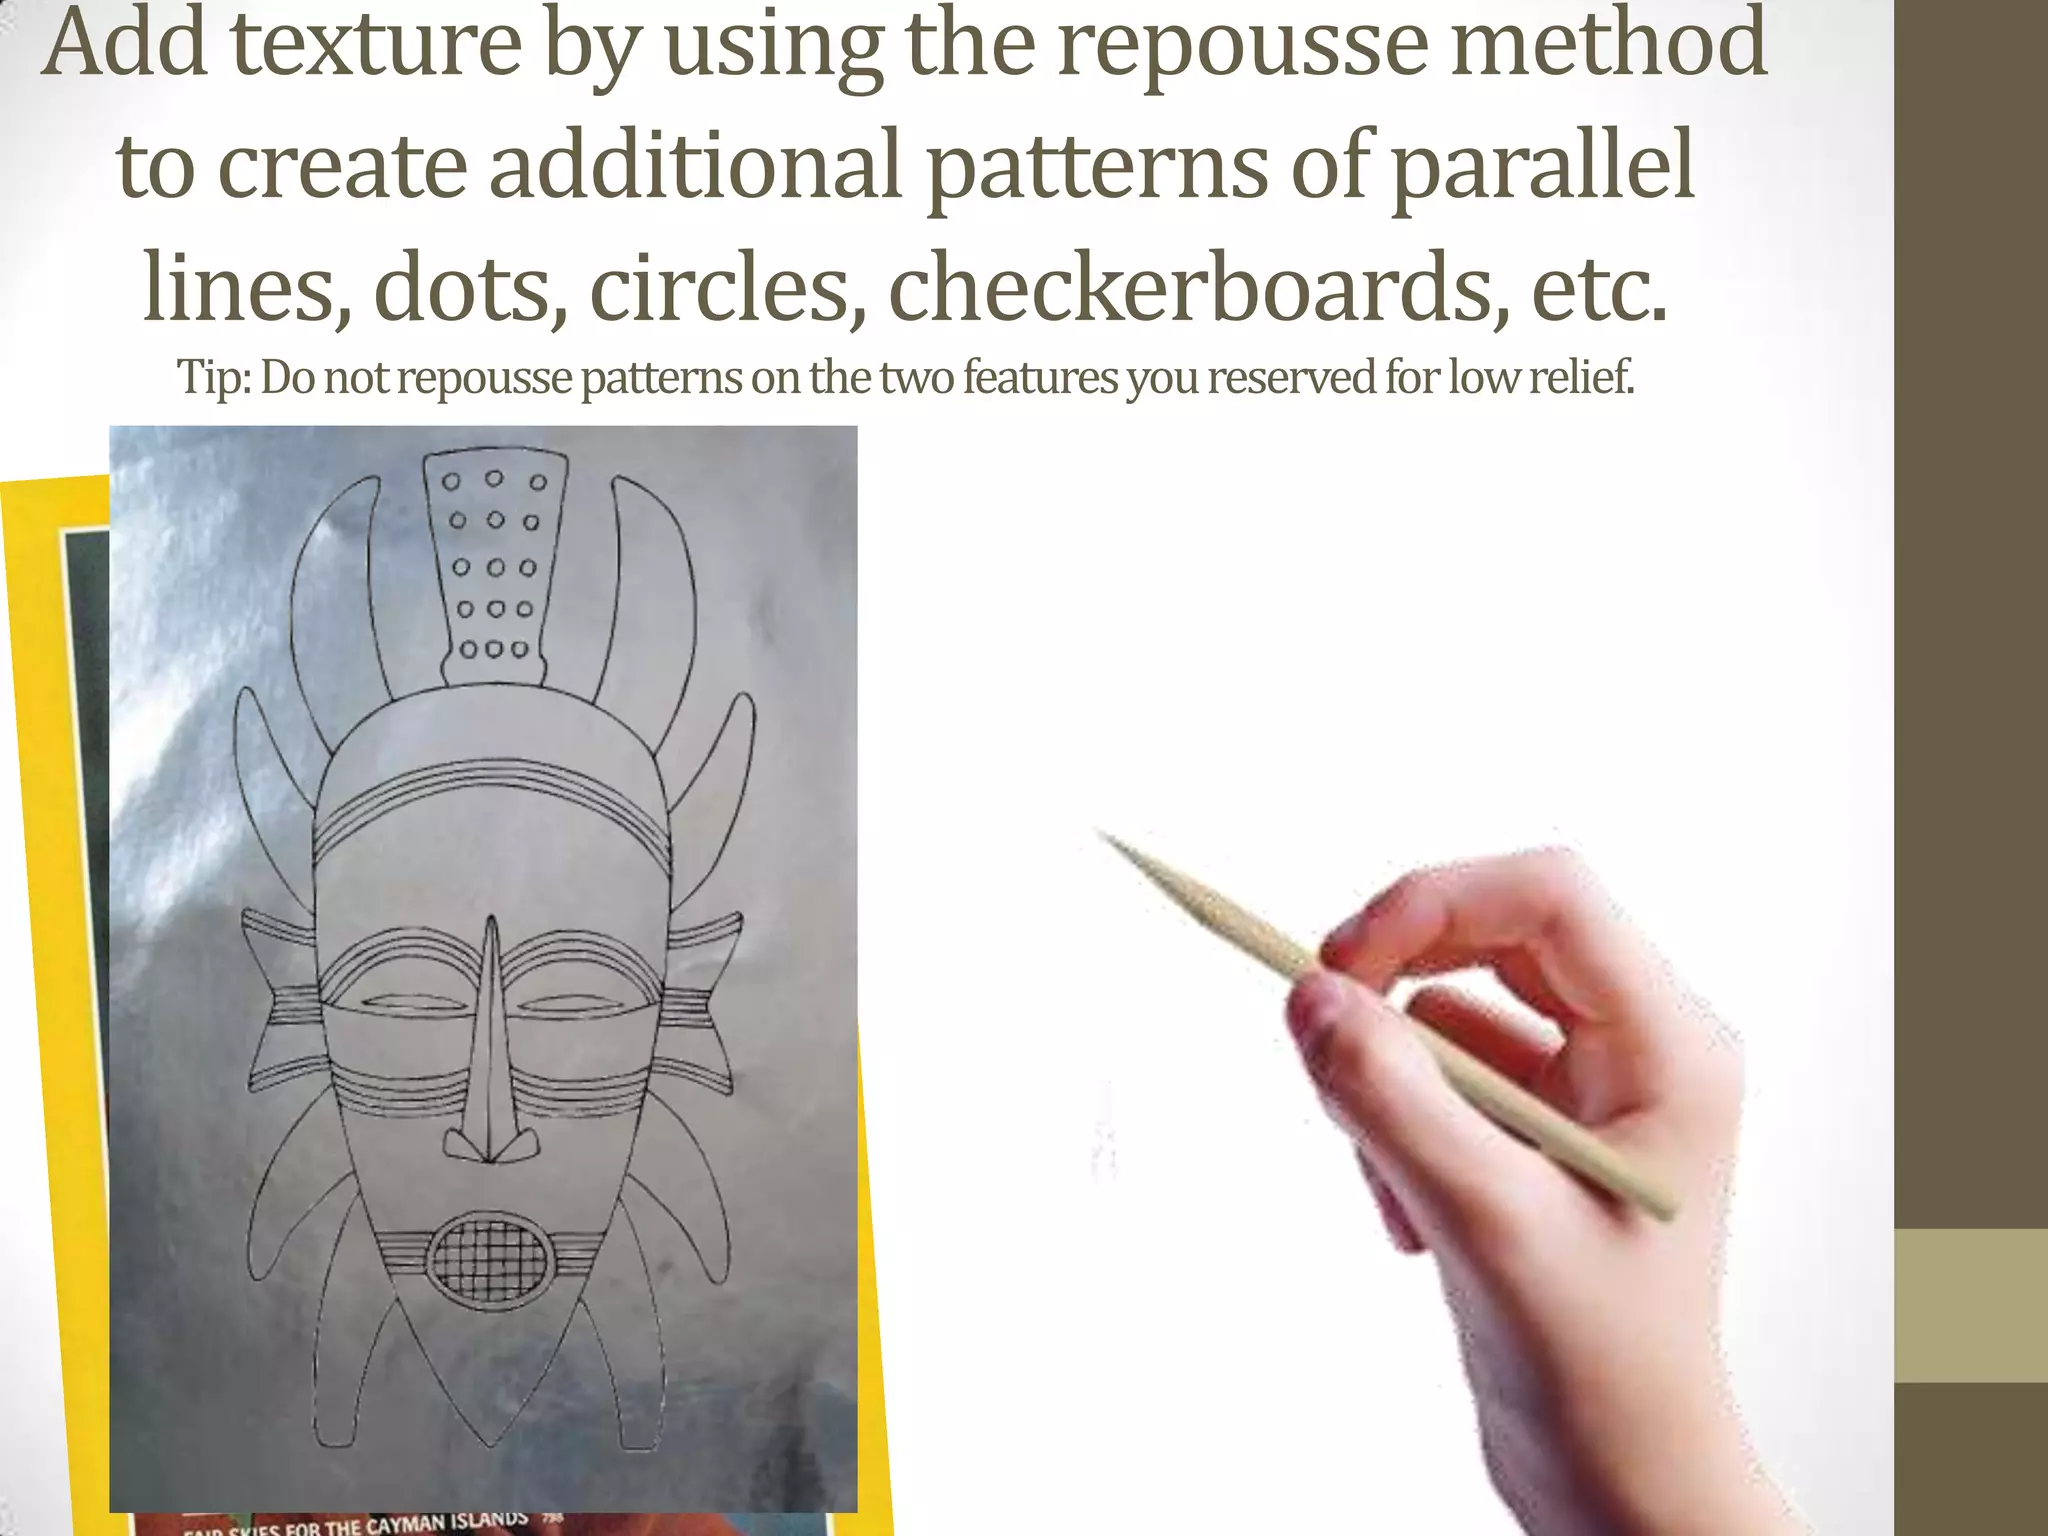
African Mask
Step-by-step Instructions
Position paper
vertically.

Write 3 things:
Name
Class
Table Color
Fold paper in half
vertically.
Fold Line
Draw half of an African-inspired
mask from the fold line.
African Mask Features:
• Simple
• Stylized
• Exaggerated facial
features (e.g., lips,
eyes, nose)
• Bold geometrical
patterns (e.g., square
and triangular
checkerboard grids,
parallel, zigzag, curved,
and spiral lines)
Window trace the other
half of your mask.
Open your drawing and make
sure your mask is symmetrical.
With masking tape, tape your drawing
over a piece of tooling foil.
Place a magazine under your tooling foil
so you have a soft surface to work on.
Use a ball point pen to repousse the main
components of your mask drawing.
Tip: You will know your drawing has all been traced over when all of the
pencil lines are darkened with ink.
Tip: Check to see if you are repoussinghard enough by flipping your project over.
Decide which features you will create a low relief on.
You must have at least two different areas.
Tip: Features should not have patterns repoussed on them.
Add texture by using the repousse method
to create additional patterns of parallel
lines, dots, circles, checkerboards, etc.
Tip: Do not repousse patterns on the two features you reserved for low relief.
Once all lines have been repoussed, remove
the drawing from the tooling foil by
carefully peeling off the masking tape.
Decide which features you will create a low relief on.
To create a low relief, apply pressure to the stylus and
rub the area several times to stretch the metal.
When complete, brush a thin coat of Indian
ink over the mask. Allow the ink to nestle
into the crevices of your mask.

When dry, rub the mask with steel wool for
an antique effect.
Add color with Sharpie
markers where desired.
Tip: Make sure you color your mask symmetrically.
Mount your artwork onto a piece of black
construction paper and adorn with raffia, etc.
Tip: Make sure your adornments are placed symmetrically.

raffia
Write 3 things on the
back of your project:
Name
Class
Table Color
Grade yourself using the
African mask project rubric.

African mask

  • 1.
  • 2.
    Position paper vertically. Write 3things: Name Class Table Color
  • 3.
    Fold paper inhalf vertically.
  • 4.
    Fold Line Draw halfof an African-inspired mask from the fold line.
  • 5.
    African Mask Features: •Simple • Stylized • Exaggerated facial features (e.g., lips, eyes, nose) • Bold geometrical patterns (e.g., square and triangular checkerboard grids, parallel, zigzag, curved, and spiral lines)
  • 6.
    Window trace theother half of your mask.
  • 7.
    Open your drawingand make sure your mask is symmetrical.
  • 8.
    With masking tape,tape your drawing over a piece of tooling foil.
  • 9.
    Place a magazineunder your tooling foil so you have a soft surface to work on.
  • 10.
    Use a ballpoint pen to repousse the main components of your mask drawing. Tip: You will know your drawing has all been traced over when all of the pencil lines are darkened with ink. Tip: Check to see if you are repoussinghard enough by flipping your project over.
  • 11.
    Decide which featuresyou will create a low relief on. You must have at least two different areas. Tip: Features should not have patterns repoussed on them.
  • 12.
    Add texture byusing the repousse method to create additional patterns of parallel lines, dots, circles, checkerboards, etc. Tip: Do not repousse patterns on the two features you reserved for low relief.
  • 13.
    Once all lineshave been repoussed, remove the drawing from the tooling foil by carefully peeling off the masking tape.
  • 14.
    Decide which featuresyou will create a low relief on. To create a low relief, apply pressure to the stylus and rub the area several times to stretch the metal.
  • 15.
    When complete, brusha thin coat of Indian ink over the mask. Allow the ink to nestle into the crevices of your mask. When dry, rub the mask with steel wool for an antique effect.
  • 16.
    Add color withSharpie markers where desired. Tip: Make sure you color your mask symmetrically.
  • 17.
    Mount your artworkonto a piece of black construction paper and adorn with raffia, etc. Tip: Make sure your adornments are placed symmetrically. raffia
  • 18.
    Write 3 thingson the back of your project: Name Class Table Color
  • 19.
    Grade yourself usingthe African mask project rubric.