Downloaded 100 times
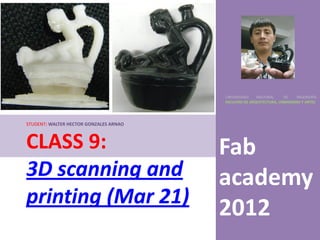
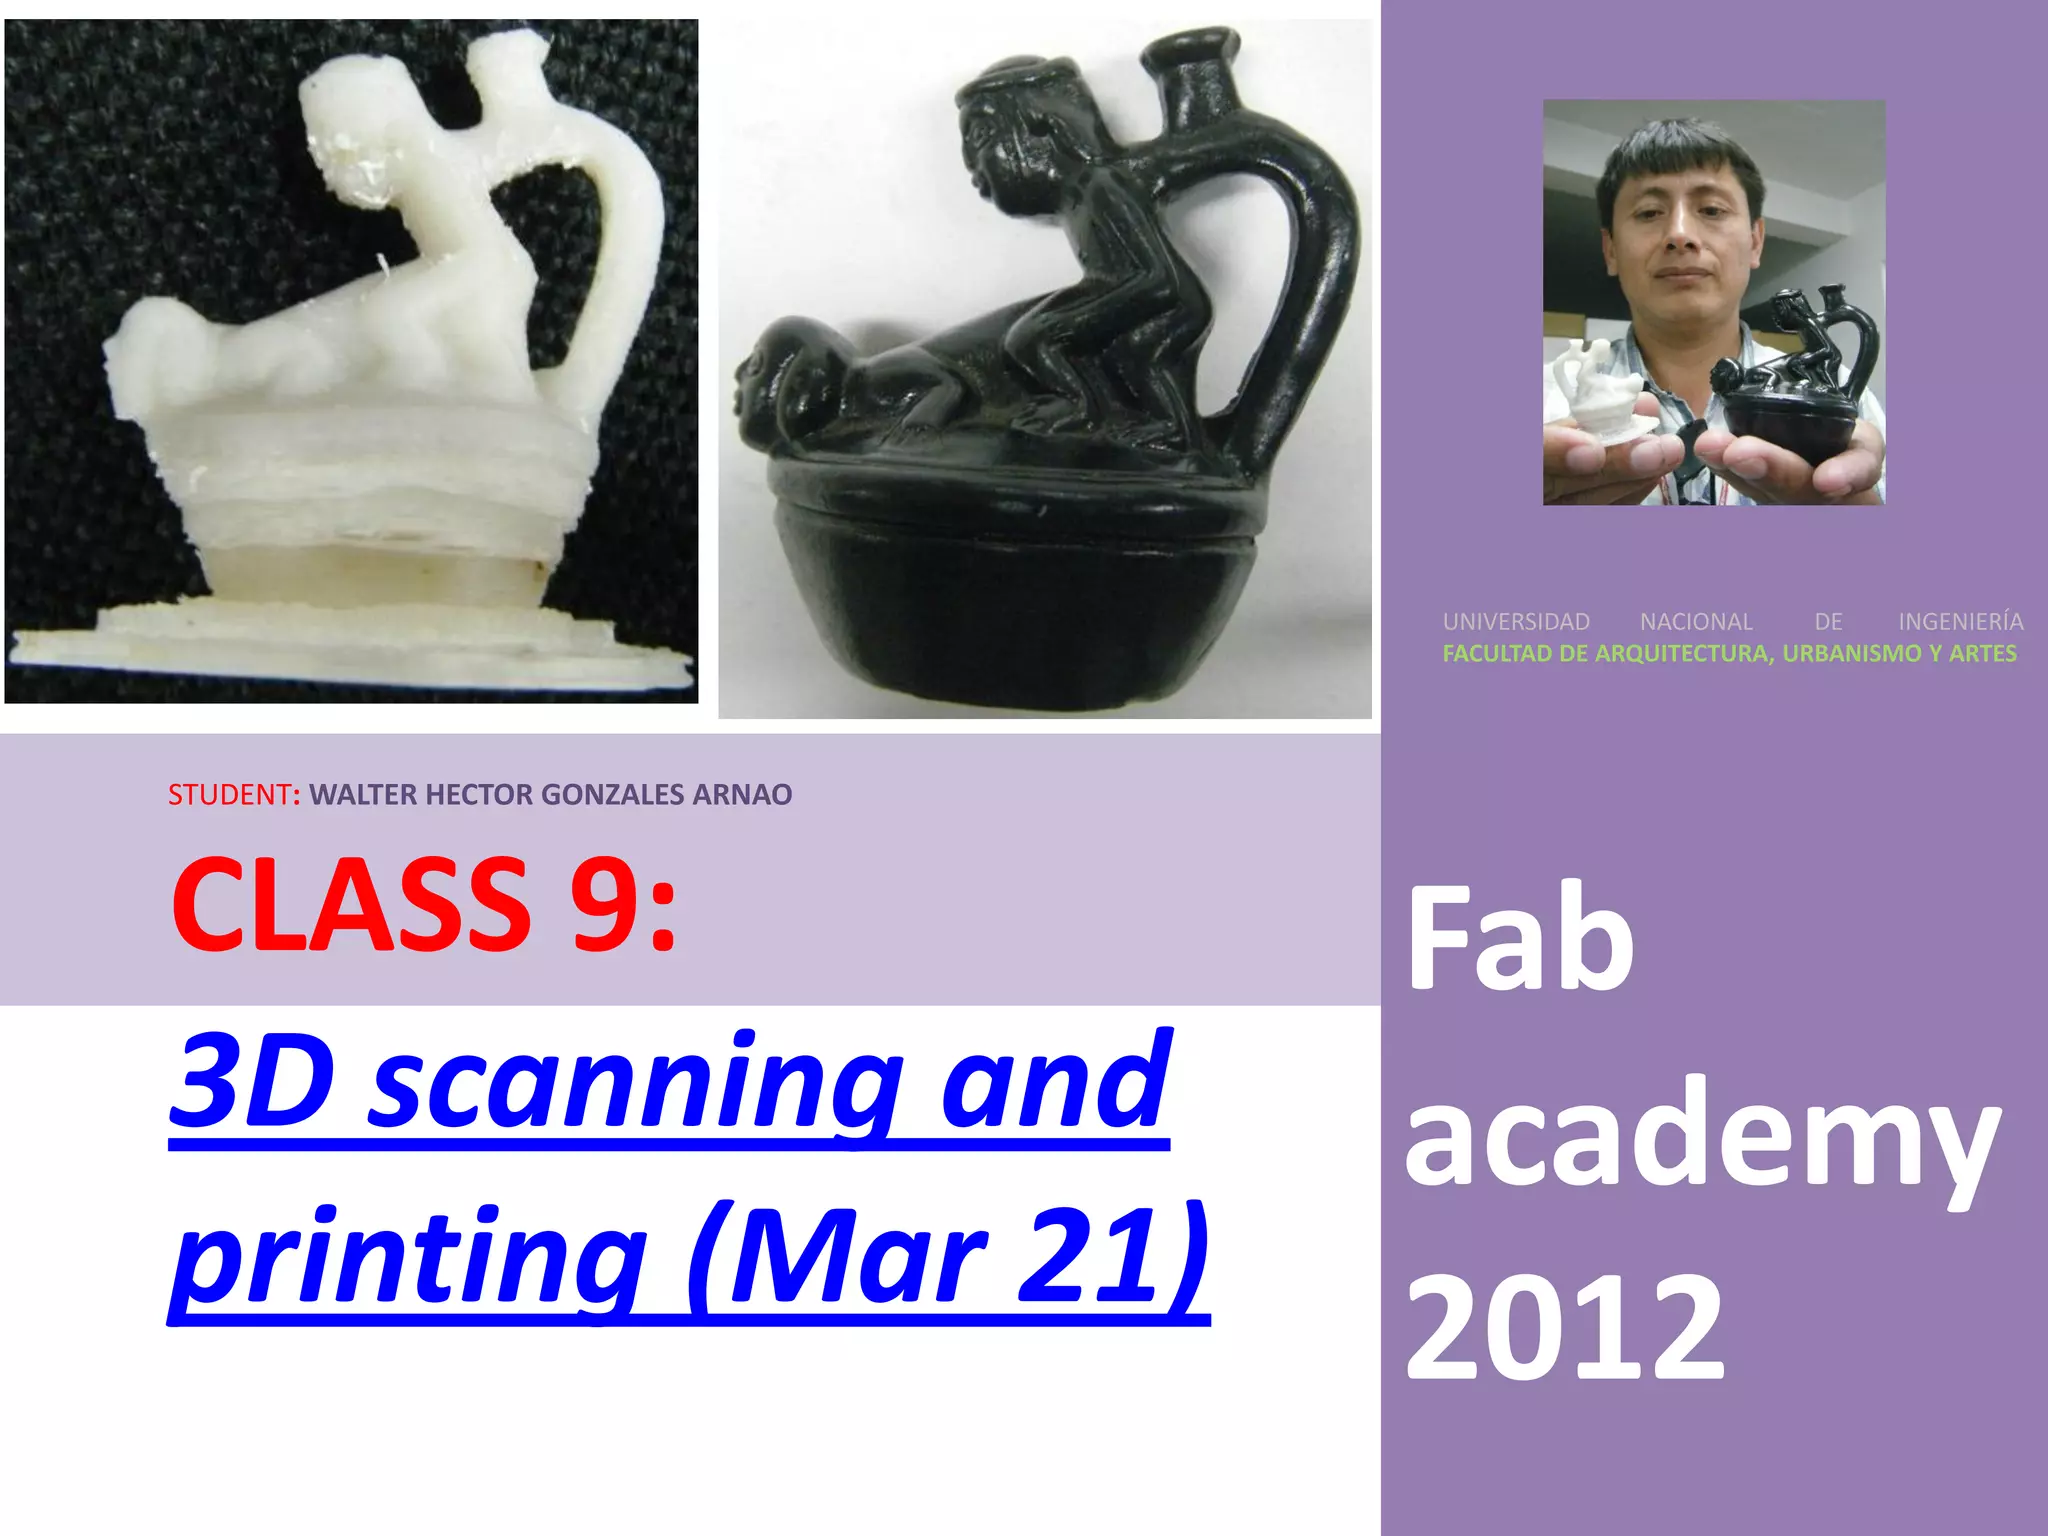
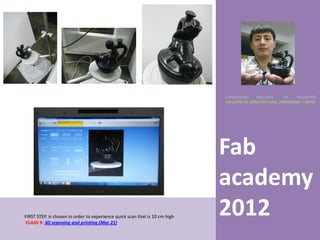

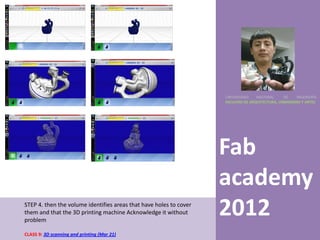
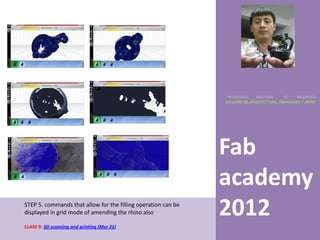
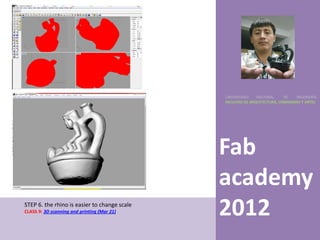
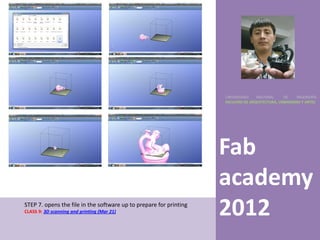
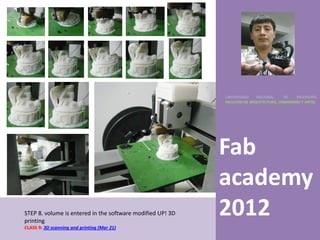
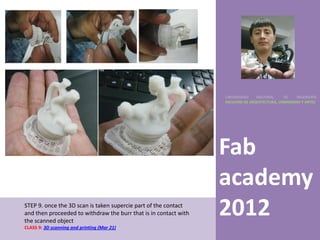
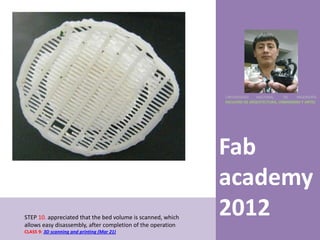
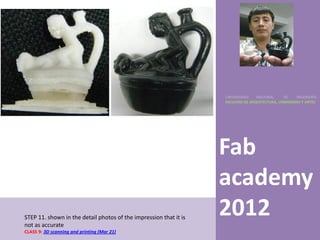
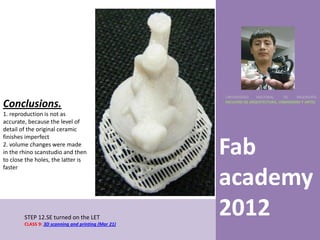

This document outlines the 11 steps of 3D scanning and printing a small ceramic object: 1) A quick 10cm scan is performed 2) The scanner takes pictures as it revolves around the object 3) Scanning software is used to create a 3D volume file 4) The software identifies and covers any holes in the scan 5) Commands allow filling and editing in Rhino software 6) Scale can be adjusted easier in Rhino 7) The file is opened in print preparation software 8) The volume is inputted into a 3D printer for printing 9) The printed piece is removed from the print bed 10) The high-quality bed scan allows easy part removal


![MECHNICAL TECHNOLOGY [Autosaved].pptx pdf](https://cdn.slidesharecdn.com/ss_thumbnails/mechnicaltechnologyautosaved-240623114707-6da2d7b1-thumbnail.jpg?width=640&height=640&fit=bounds)


