This document provides guidelines for applying casts and splints, including:
1) Inspecting the extremity for injuries before application and checking neurovascular status after;
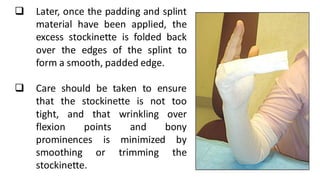
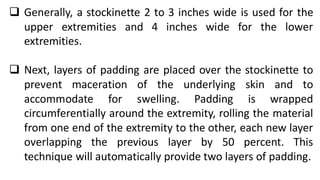
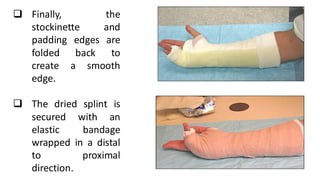
2) Using stockinette, padding, and splint material like plaster or fiberglass layered and molded to the extremity;
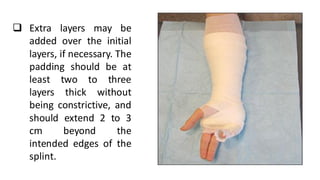
3) Ensuring proper padding and positioning of joints during application.