Download to read offline
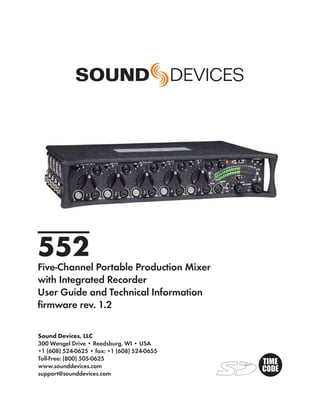


The document is a user guide for the Sound Devices 552 five-channel portable production mixer and integrated recorder. It provides descriptions of the mixer's front panel controls and connectors, rear panel connectors, setup menu features, and specifications. The guide includes details on input and output setup, metering, headphone monitoring, powering, recording, and linking multiple mixers.