Download to read offline


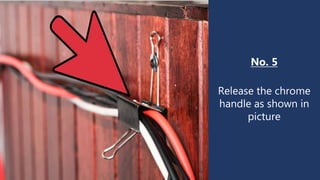
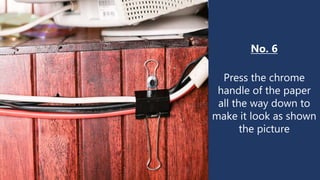

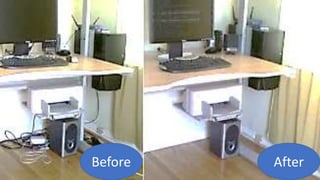

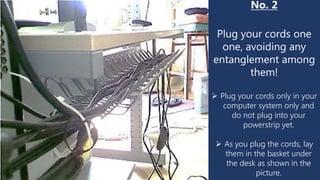
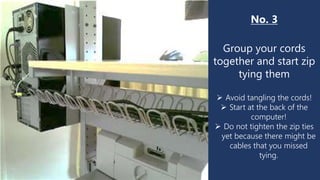
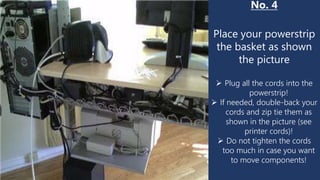


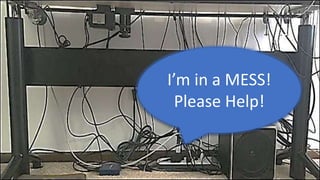
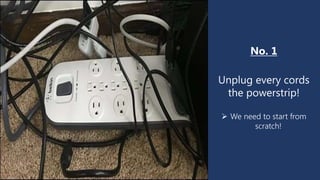
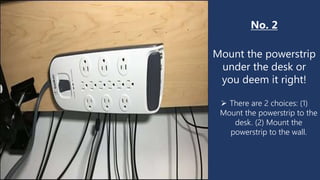
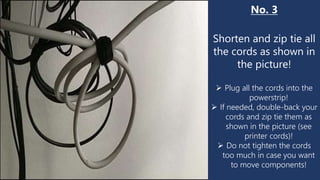
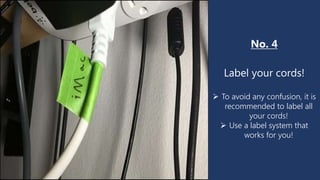


The document provides methods for organizing and managing cords and cables to achieve a clutter-free workspace. It outlines steps such as selecting appropriate paper clips, untangling cords, using zip ties, and labeling cords for easy identification. Images are included to illustrate the processes, and all accessories mentioned can be found on an accompanying blog.
![Performing Computer Operations [Autosaved].pptx](https://cdn.slidesharecdn.com/ss_thumbnails/performingcomputeroperationsautosaved-230213131335-0c4b802d-thumbnail.jpg?width=640&height=640&fit=bounds)


