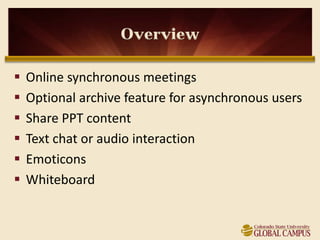
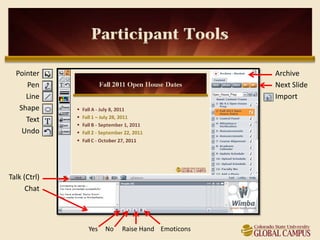
Live Classroom in Blackboard allows for:
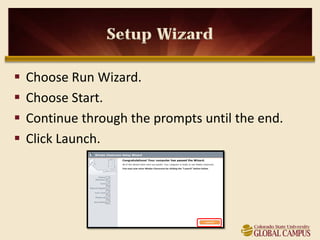
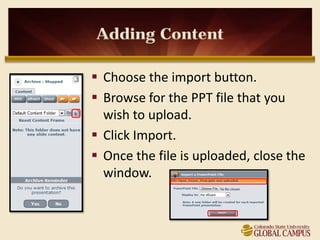
1) Online synchronous meetings with optional archives for asynchronous users, where participants can share presentations, chat, and use audio;
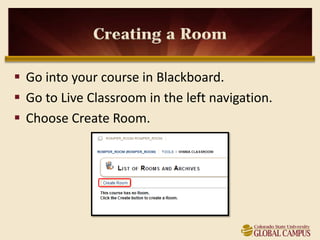
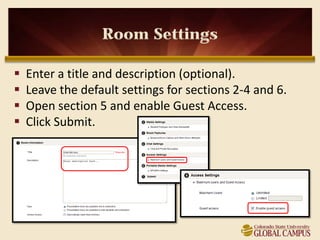
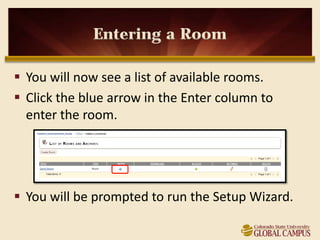
2) Instructors to create rooms and enable guest access in the room settings;
3) Participants to enter rooms, add presentations, record archives of the sessions, and use tools like chat, emoticons, and raising hands during sessions.


![Getting Started with Apache Spark: Big Data Made Simple [Free Meetup]](https://cdn.slidesharecdn.com/ss_thumbnails/apachesparkgettingstarted-260203175547-8361bcc3-thumbnail.jpg?width=640&height=640&fit=bounds)


