Downloaded 46 times
![10-5 Copyright © Oracle Corporation, 2001. All rights reserved.
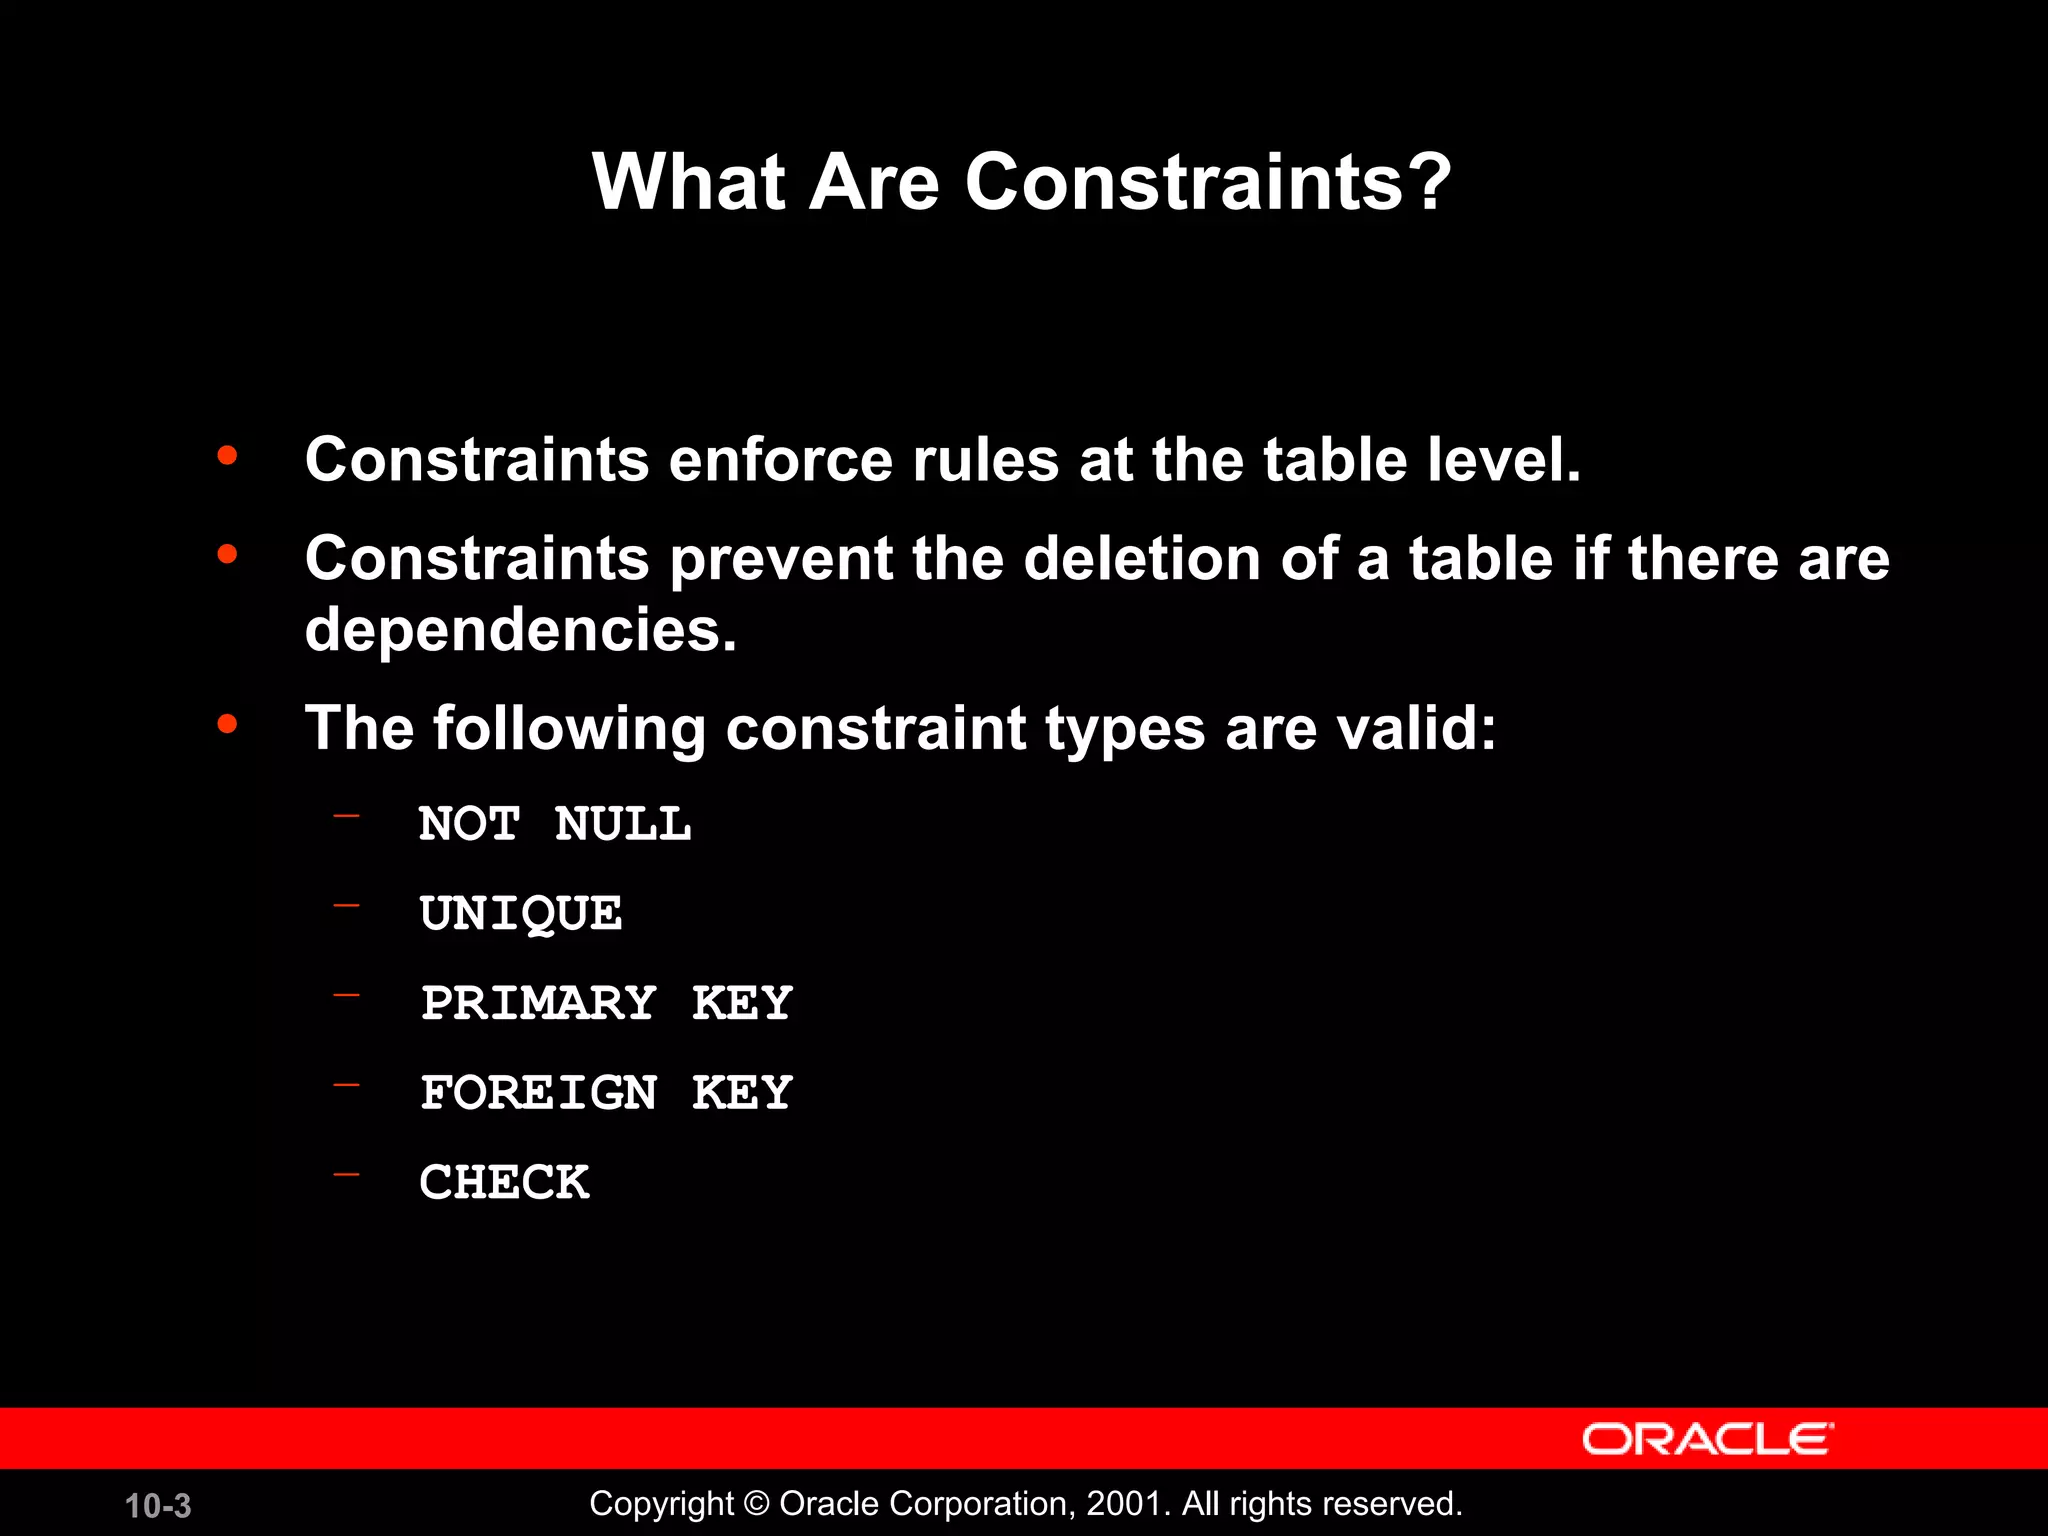
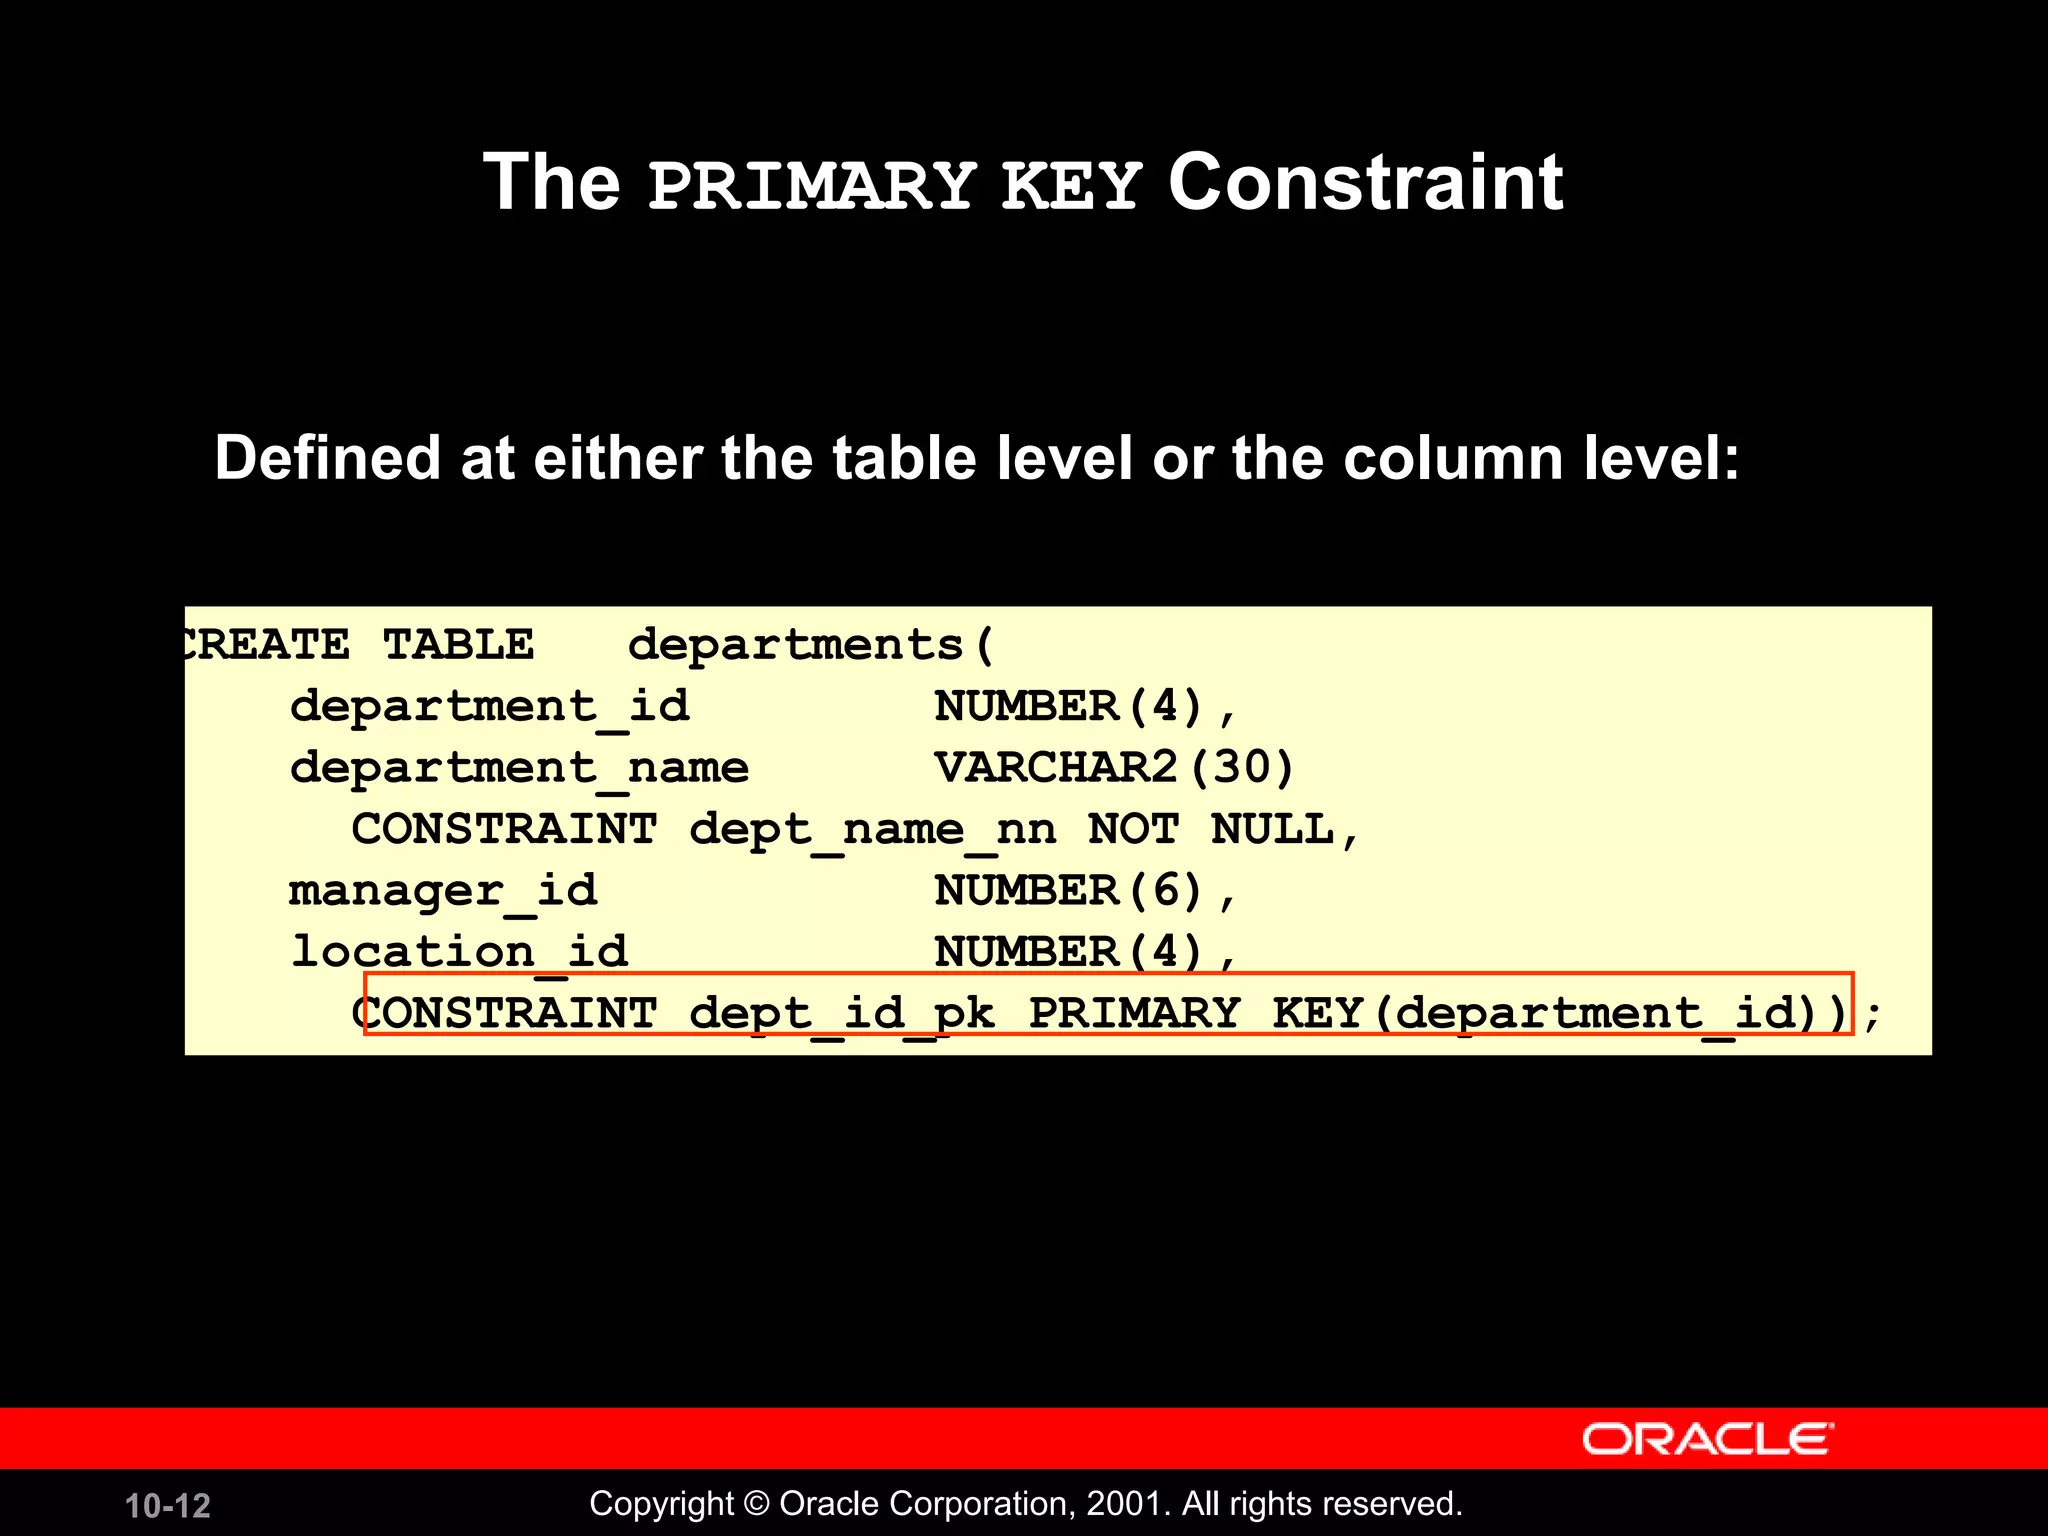
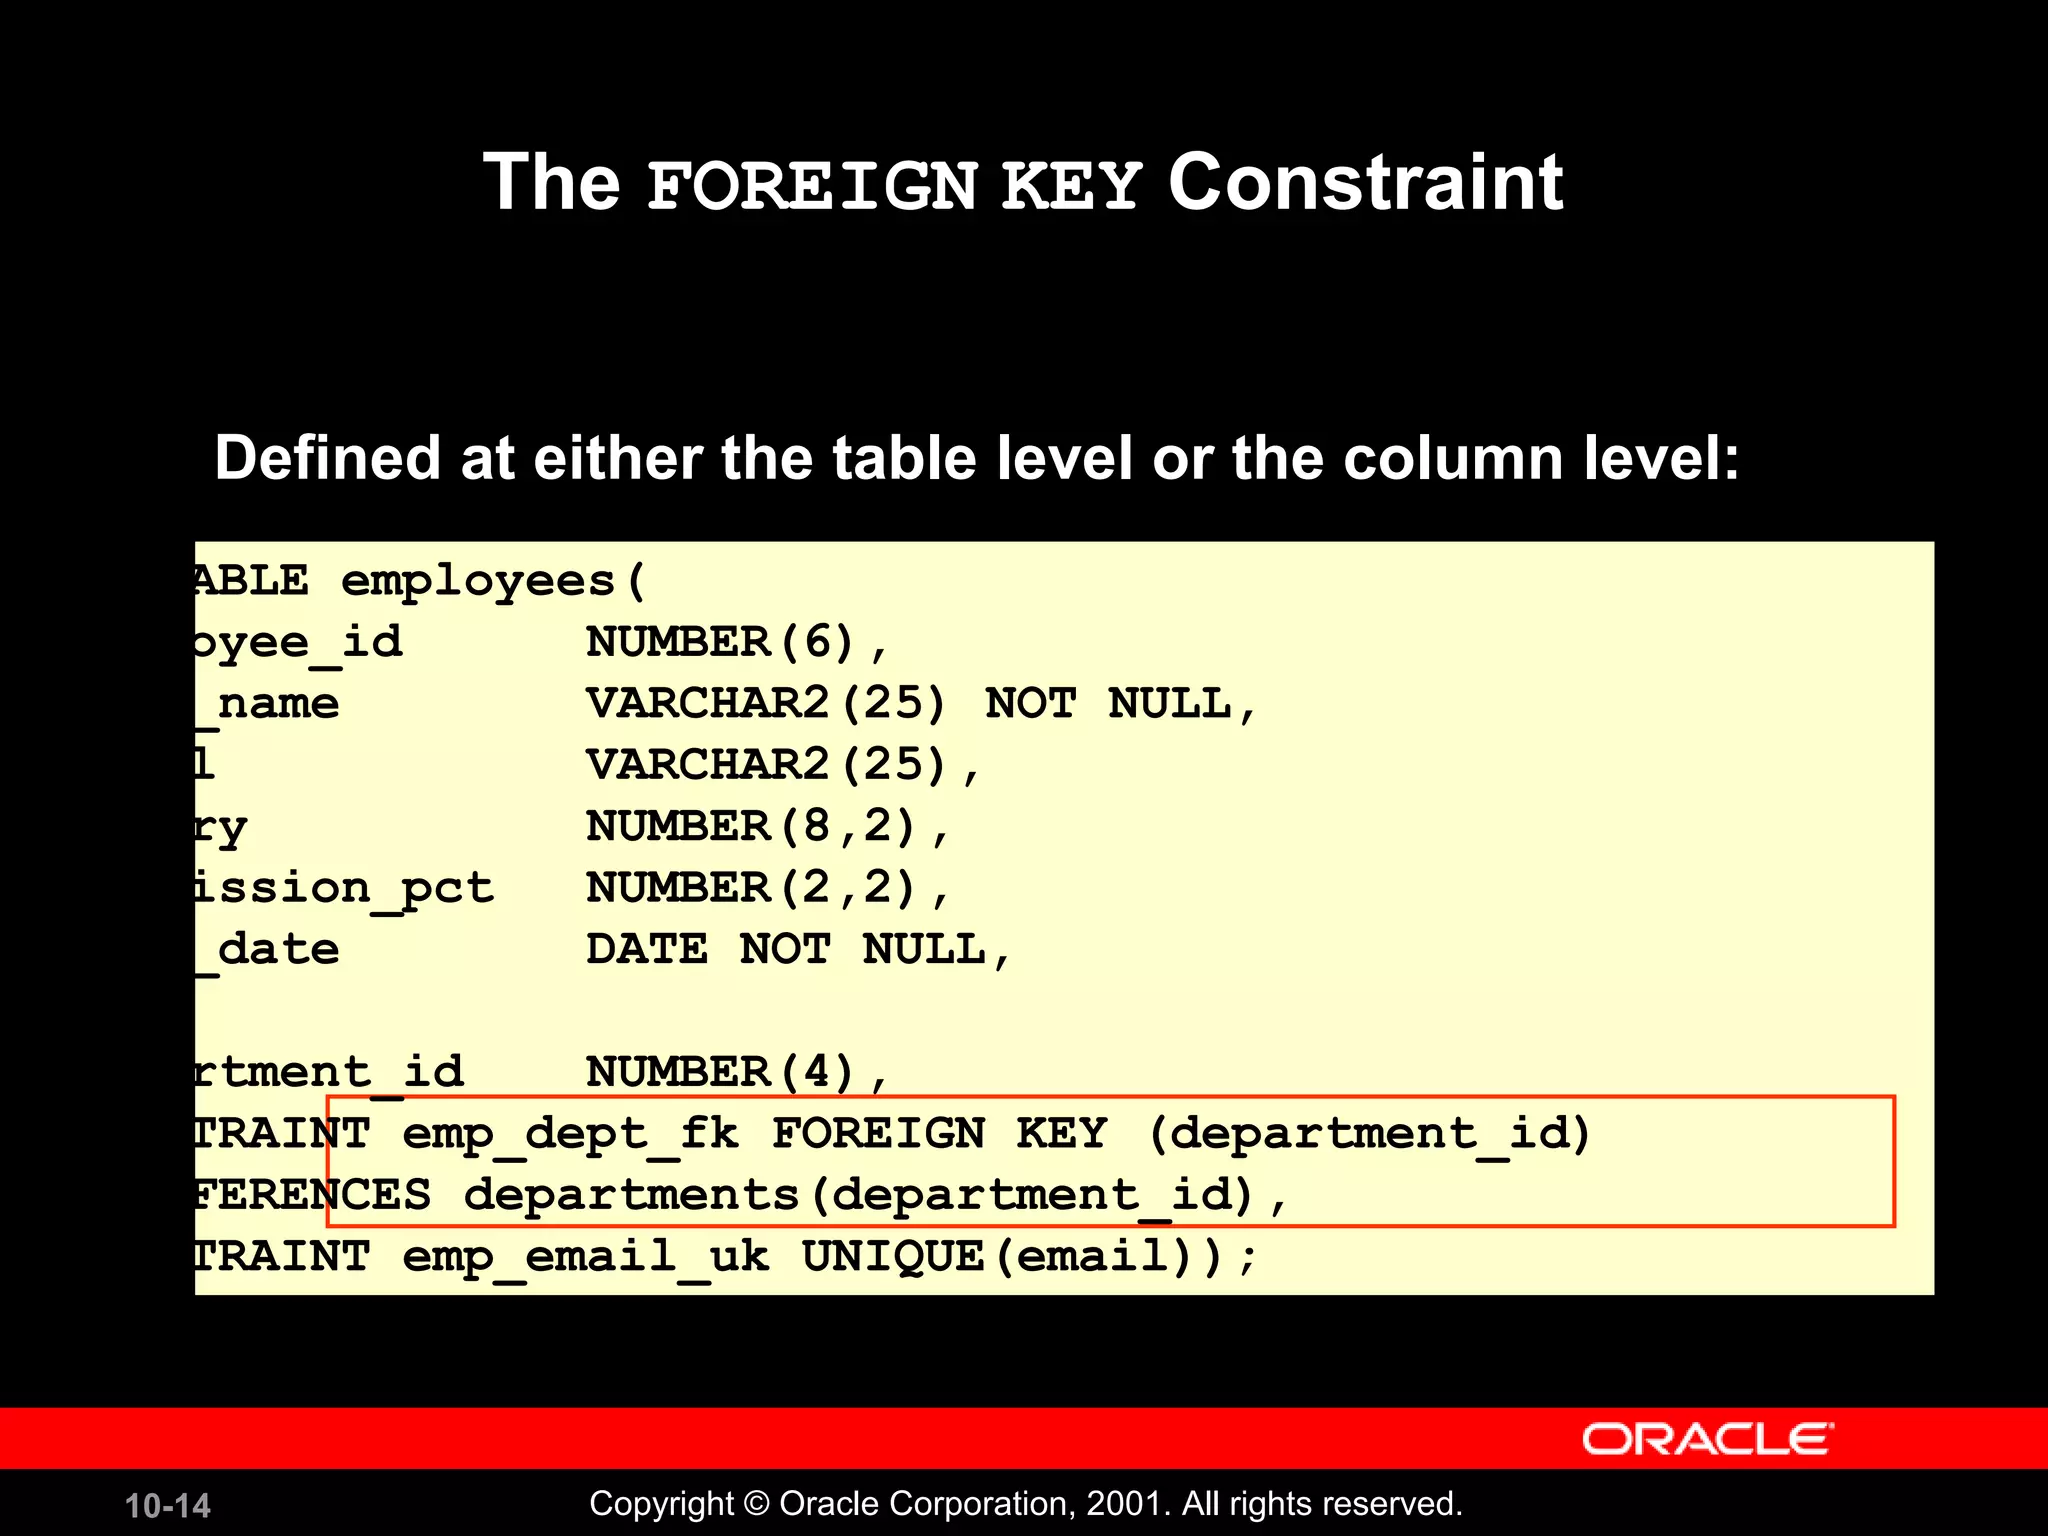
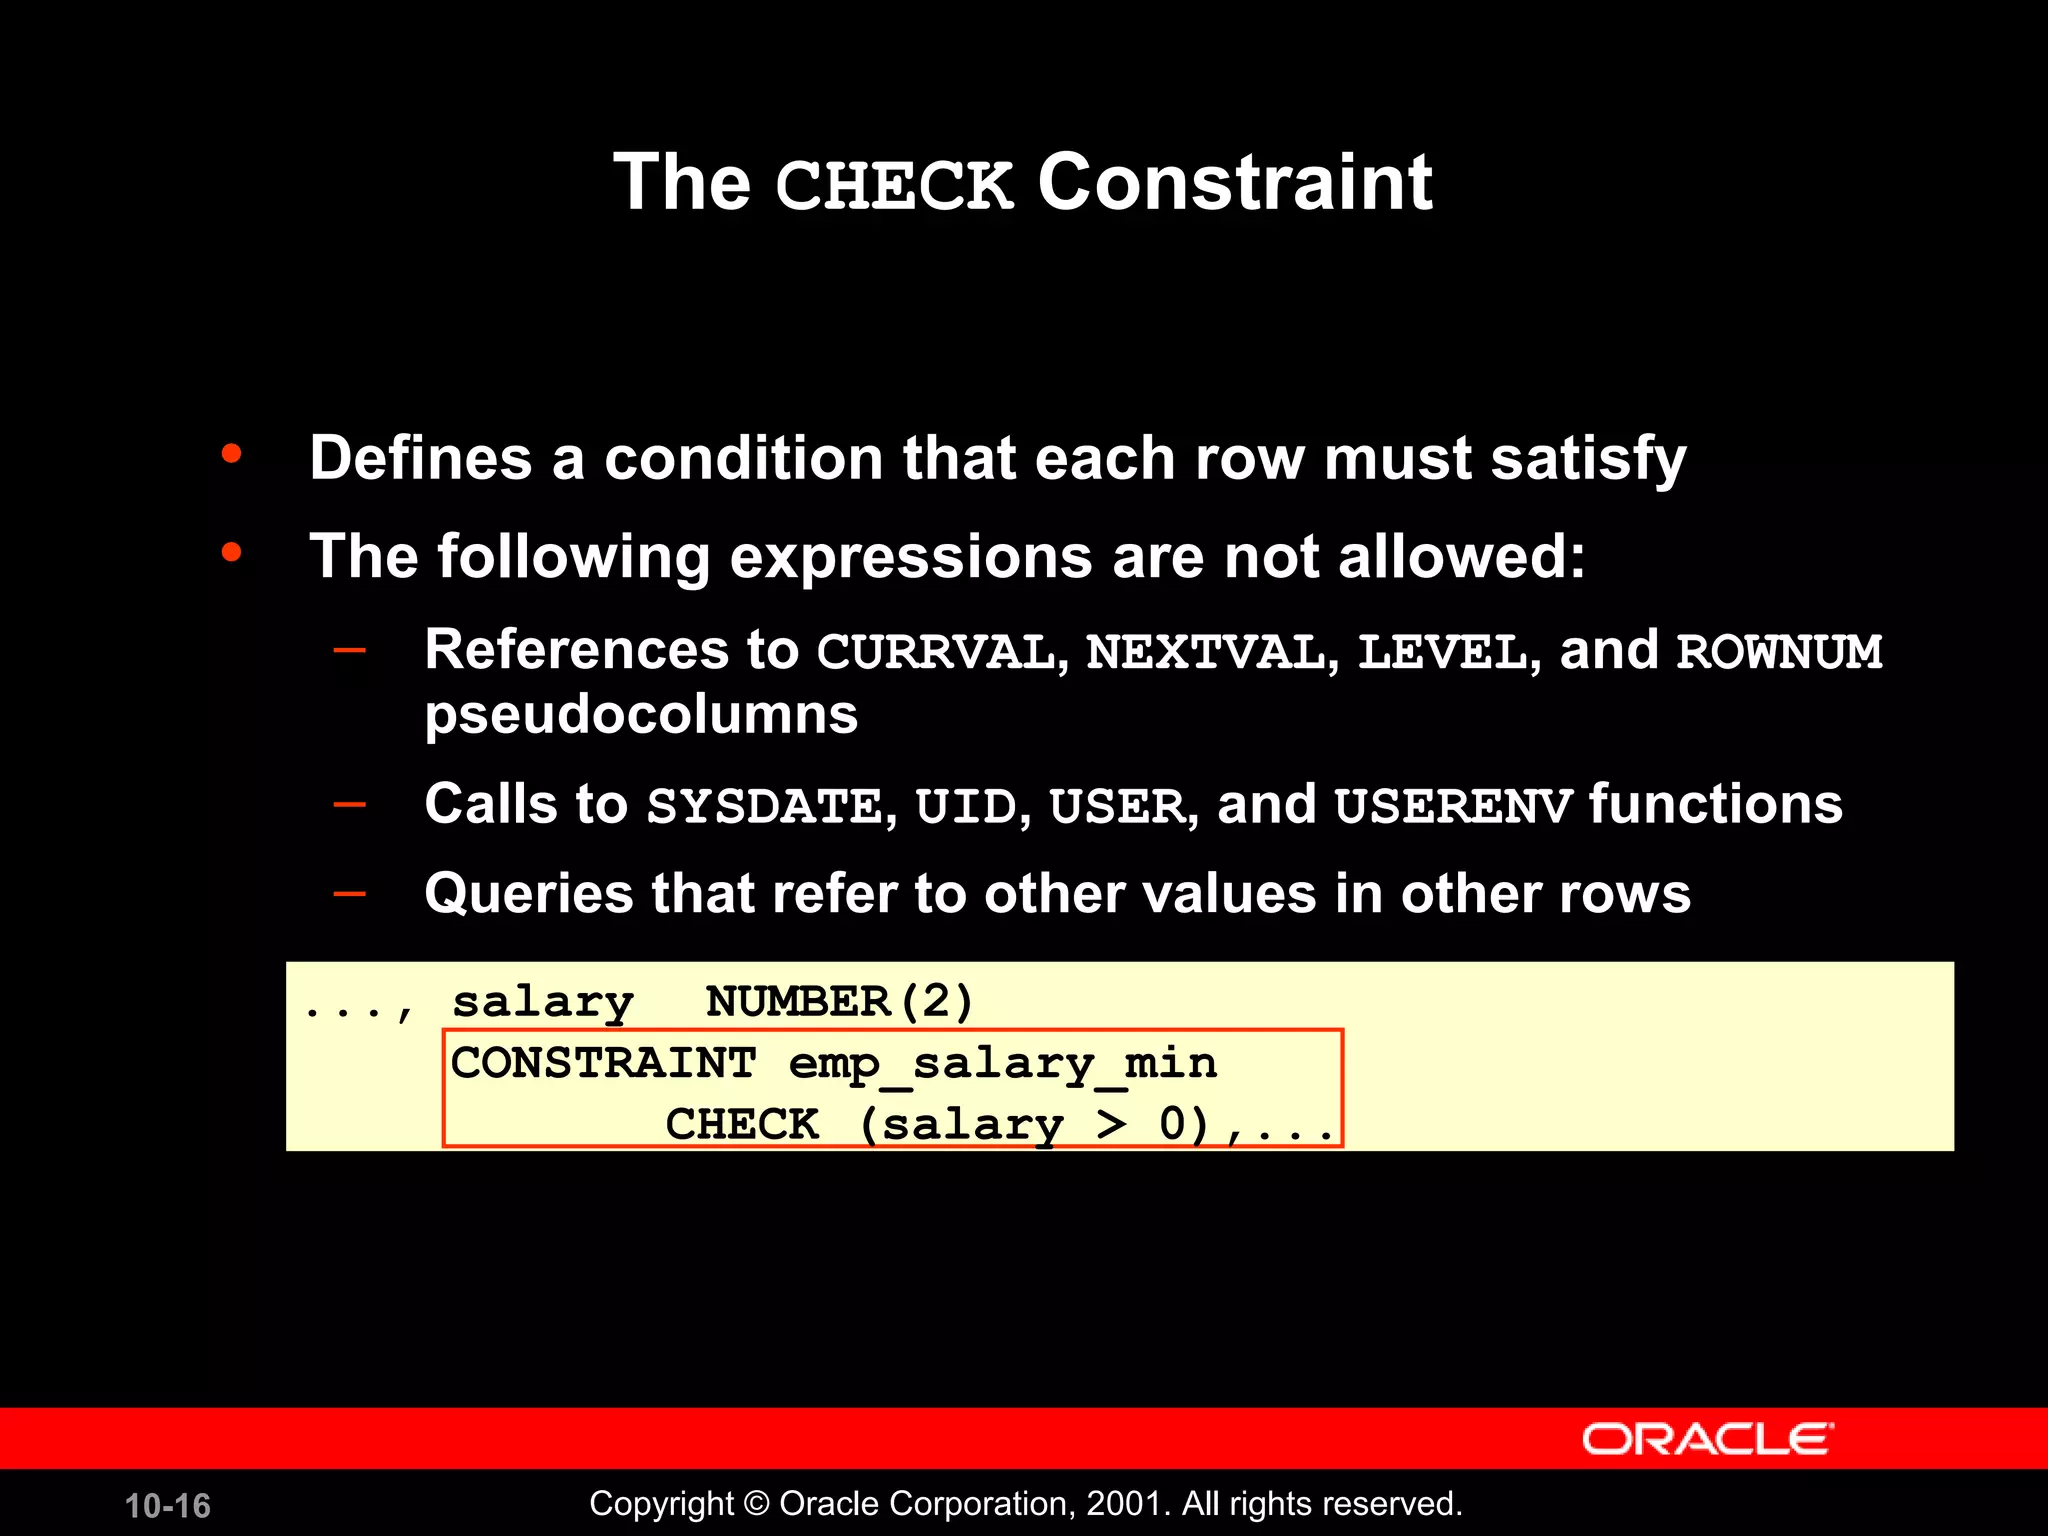
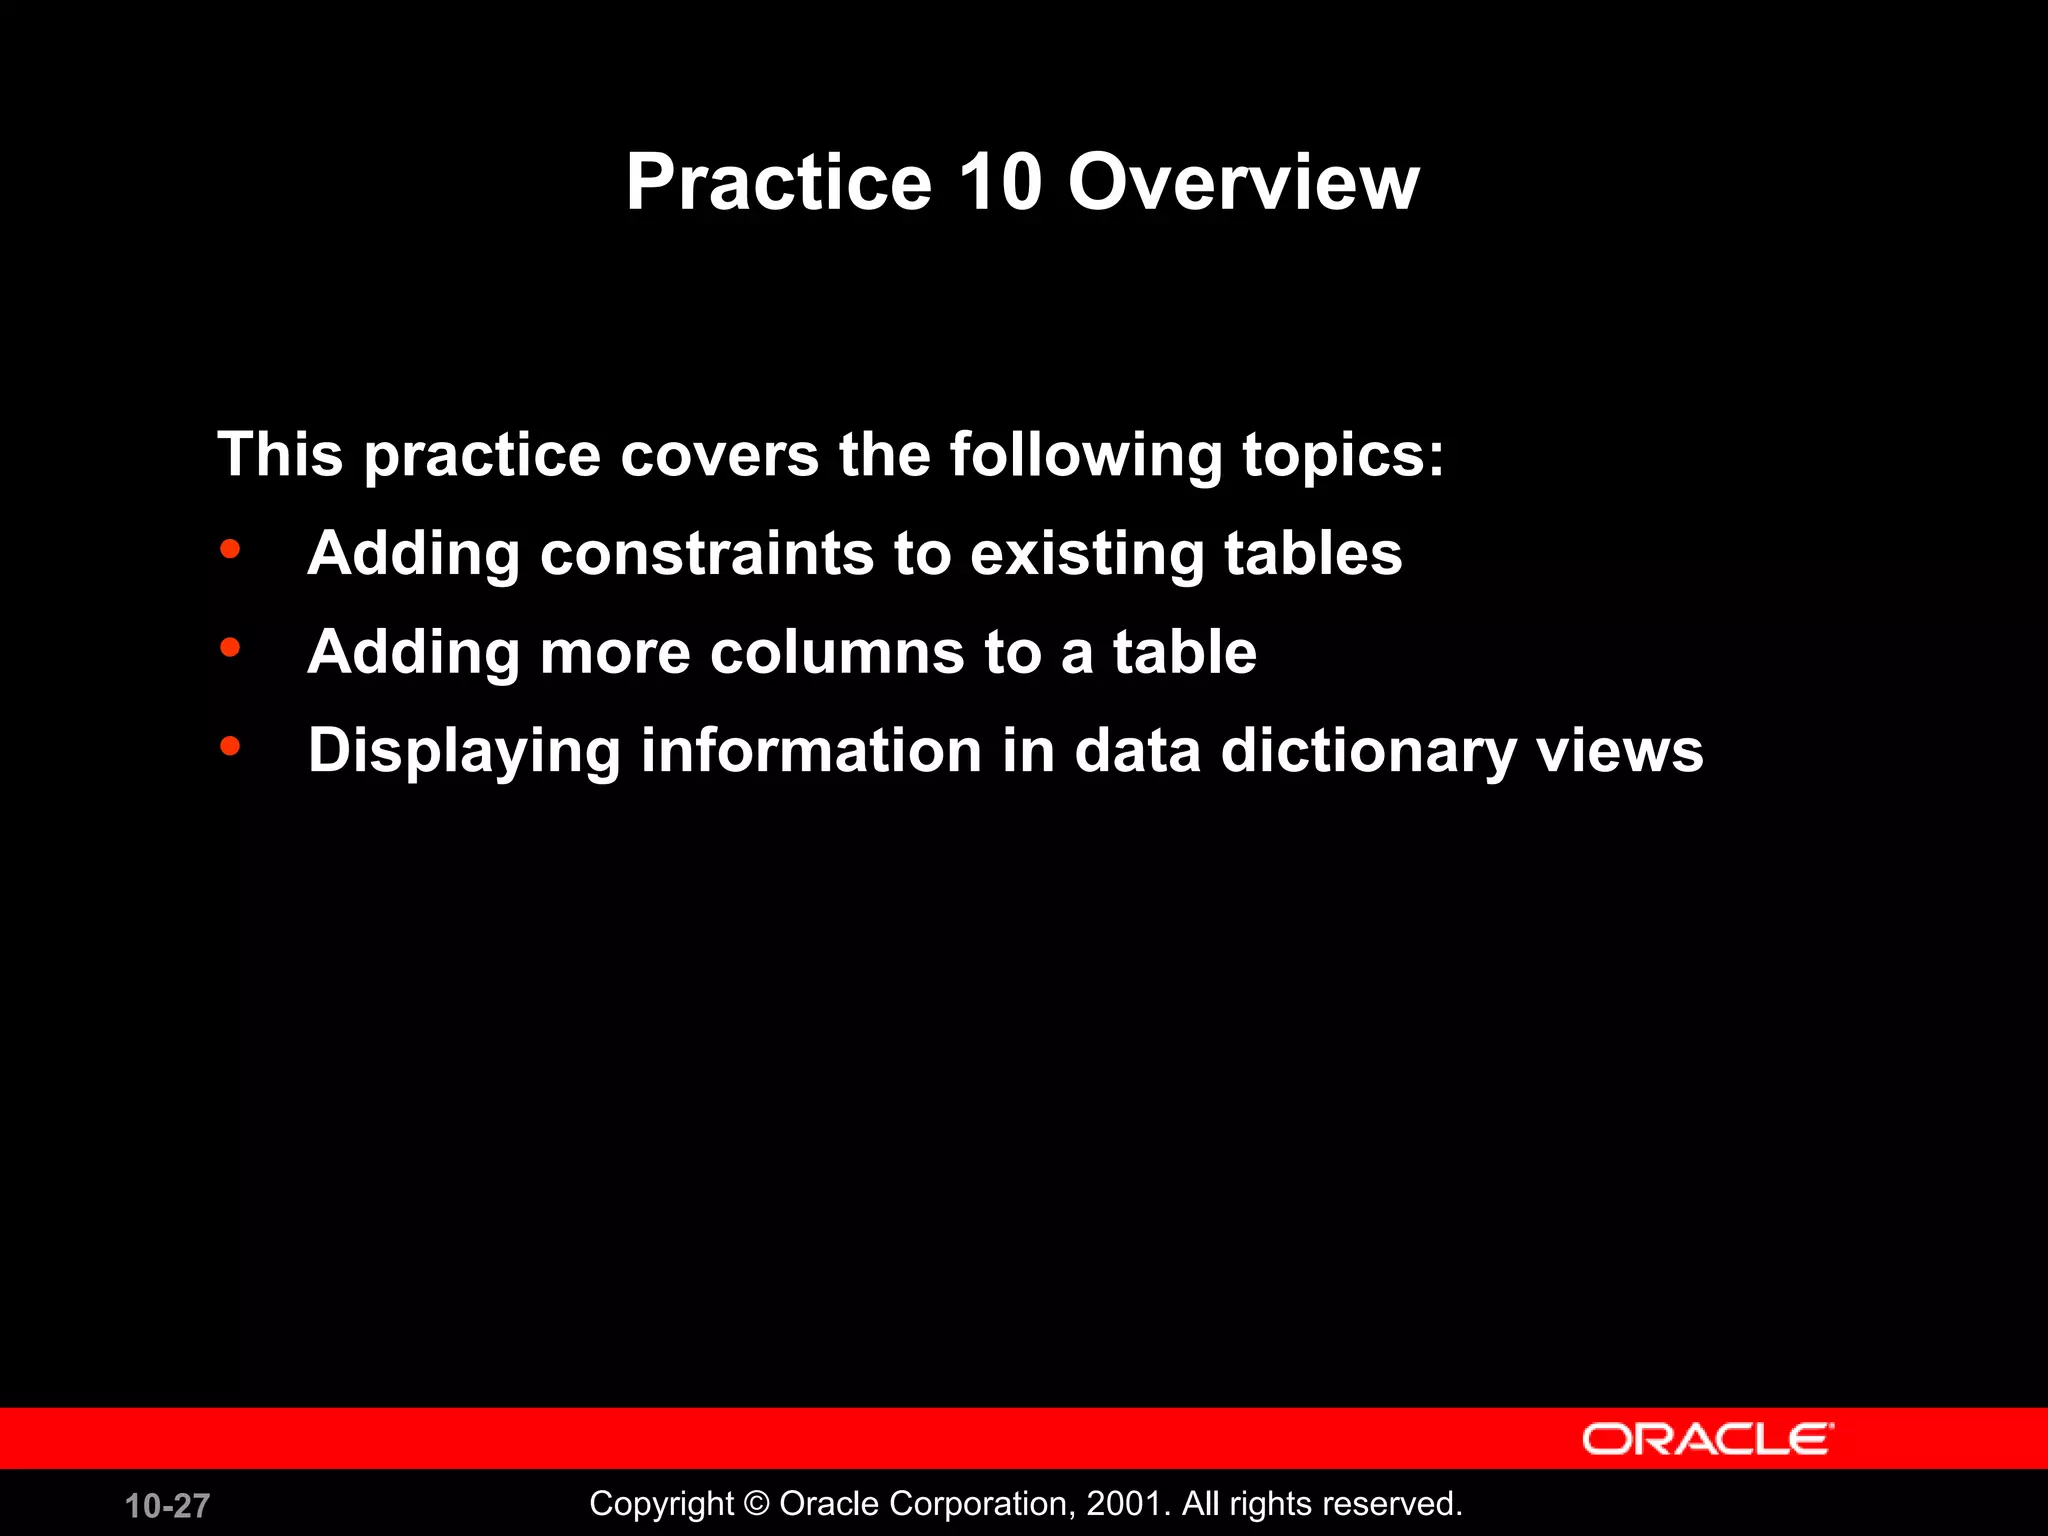
Defining Constraints
CREATE TABLE [schema.]table
(column datatype [DEFAULT expr]
[column_constraint],
...
[table_constraint][,...]);
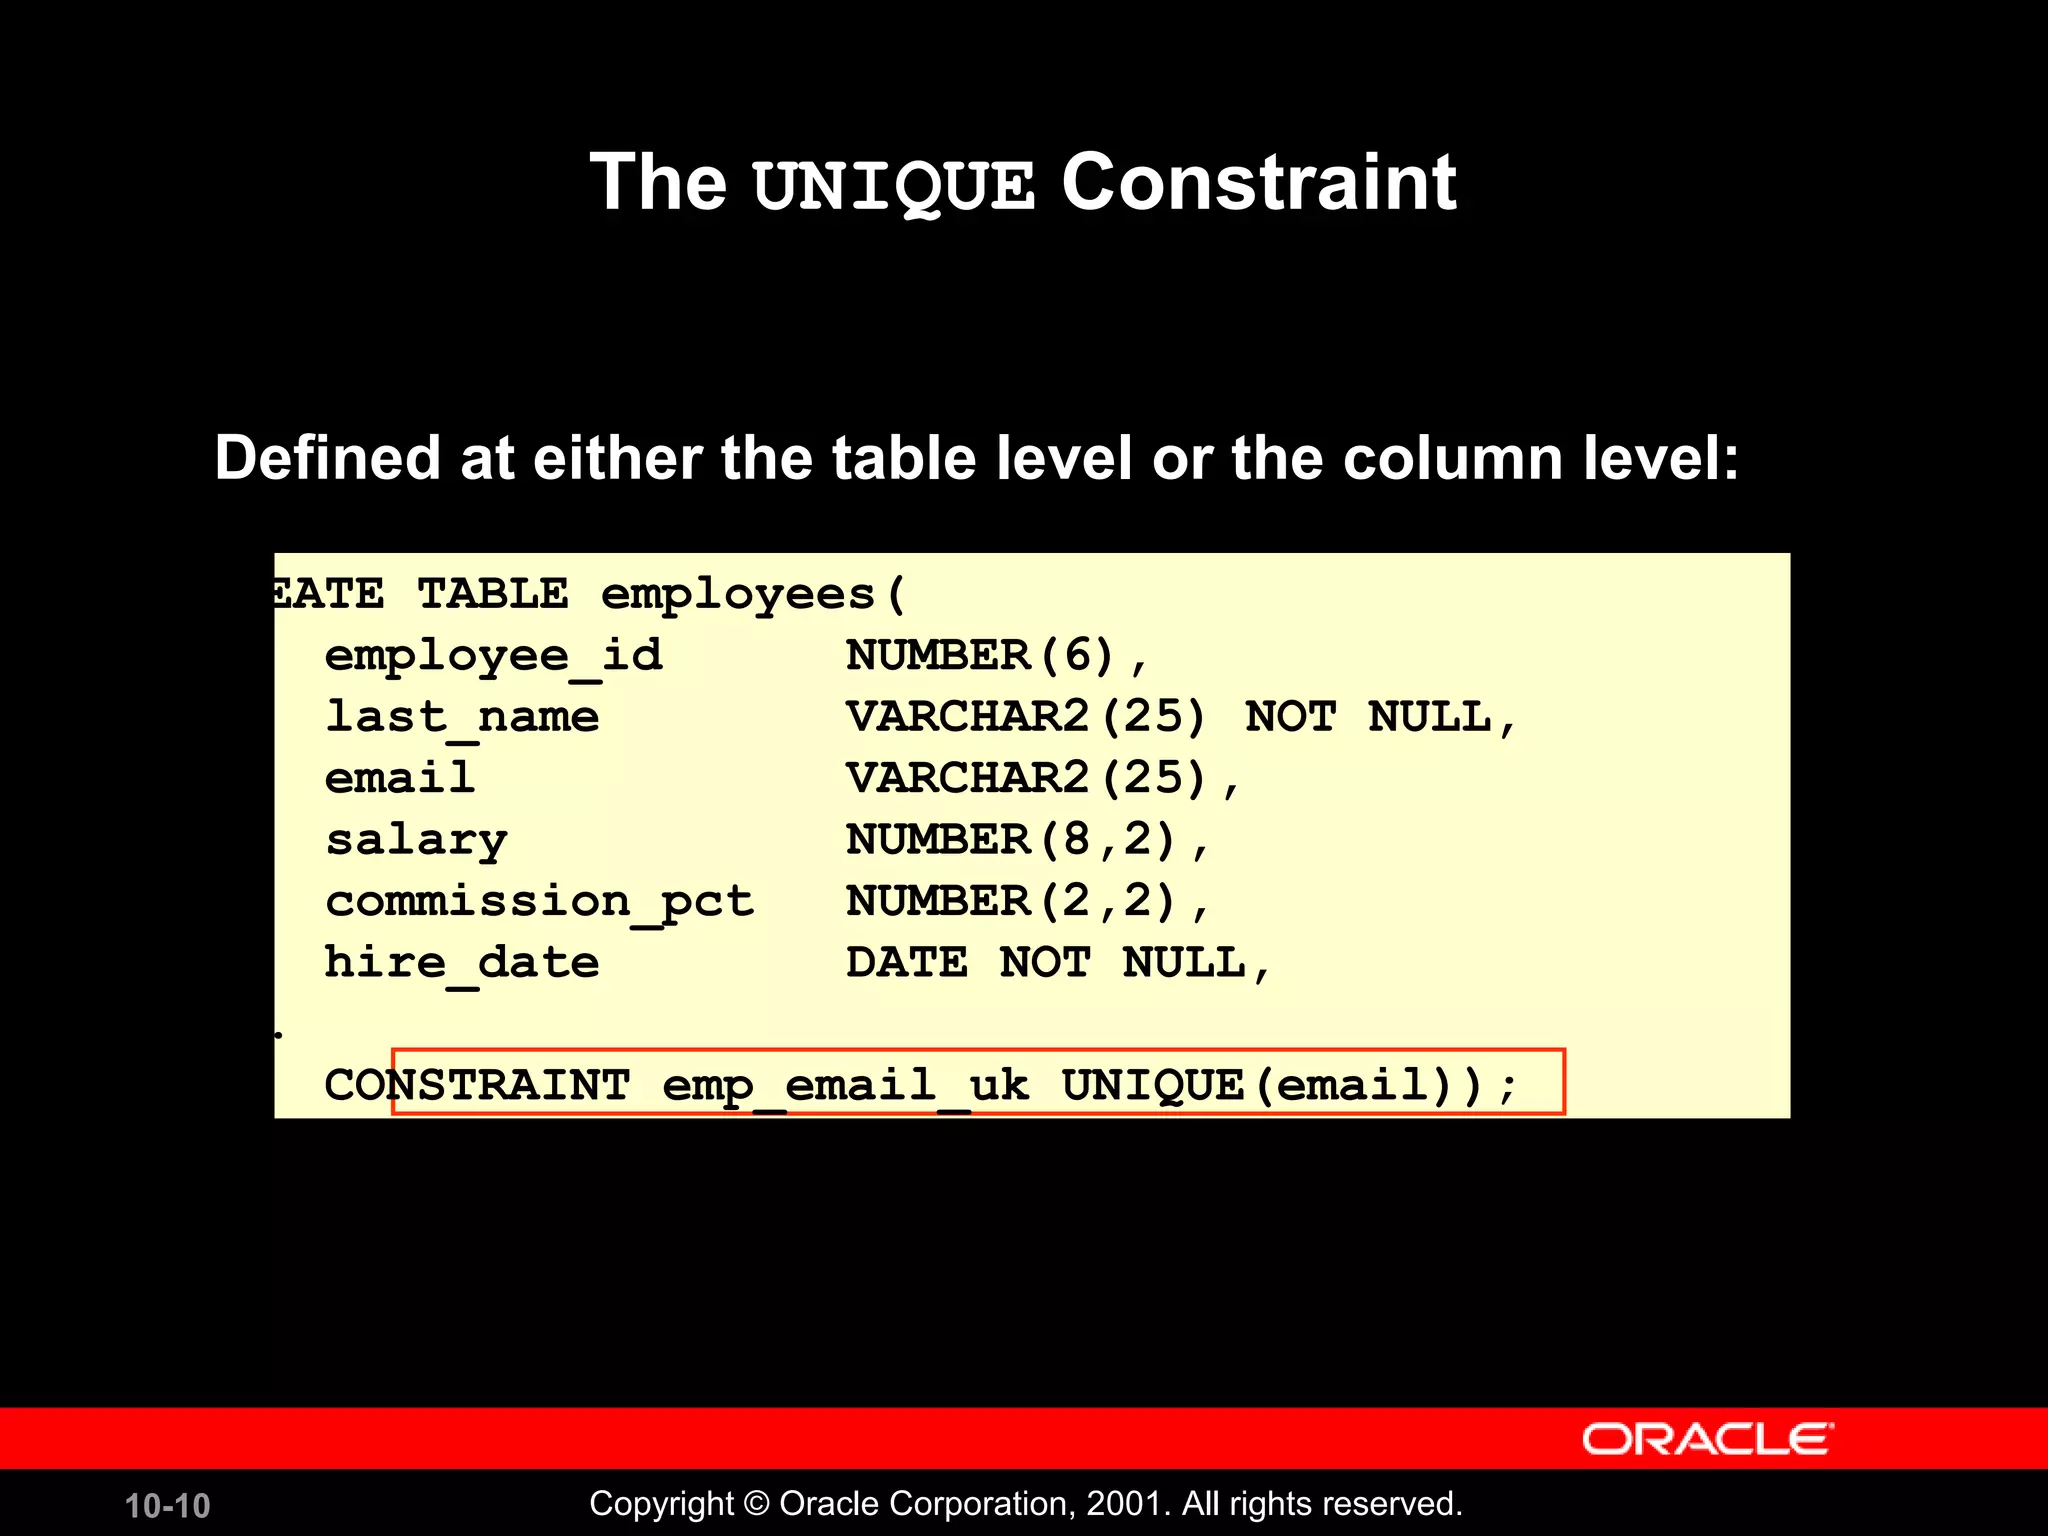
CREATE TABLE employees(
employee_id NUMBER(6),
first_name VARCHAR2(20),
...
job_id VARCHAR2(10) NOT NULL,
CONSTRAINT emp_emp_id_pk
PRIMARY KEY (EMPLOYEE_ID));](https://image.slidesharecdn.com/les10-160101191852/75/Including-Constraints-Oracle-Data-base-5-2048.jpg)
![10-6 Copyright © Oracle Corporation, 2001. All rights reserved.
Defining Constraints
• Column constraint level
• Table constraint level
column [CONSTRAINT constraint_name] constraint_type,column [CONSTRAINT constraint_name] constraint_type,
column,...
[CONSTRAINT constraint_name] constraint_type
(column, ...),
column,...
[CONSTRAINT constraint_name] constraint_type
(column, ...),](https://image.slidesharecdn.com/les10-160101191852/75/Including-Constraints-Oracle-Data-base-6-2048.jpg)


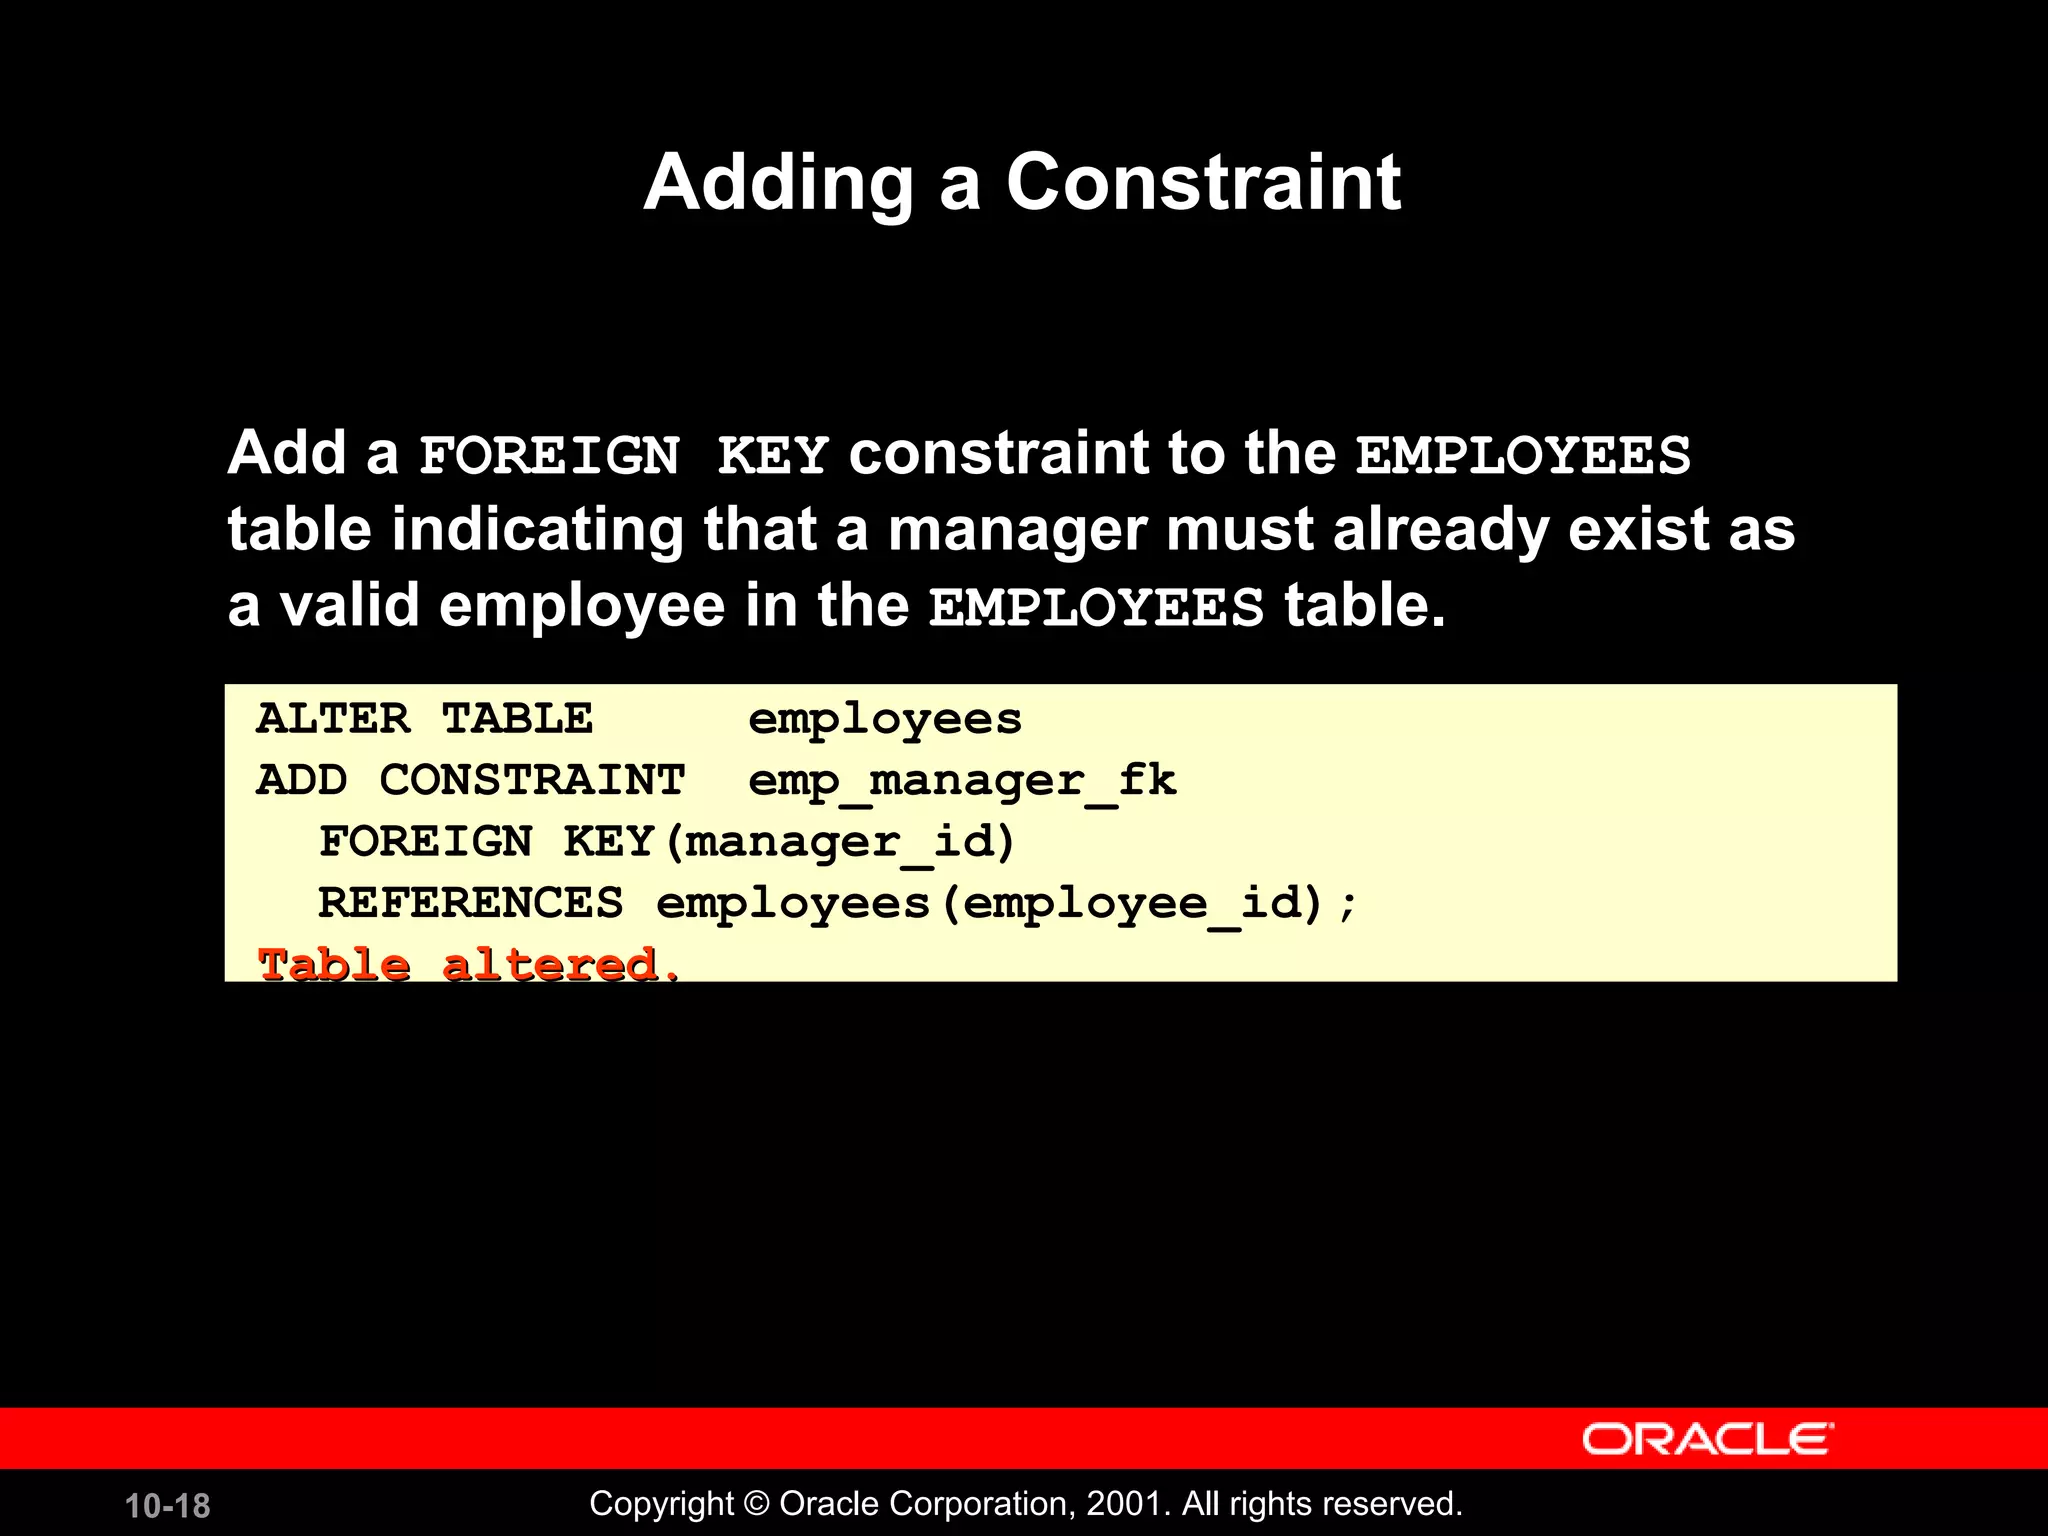
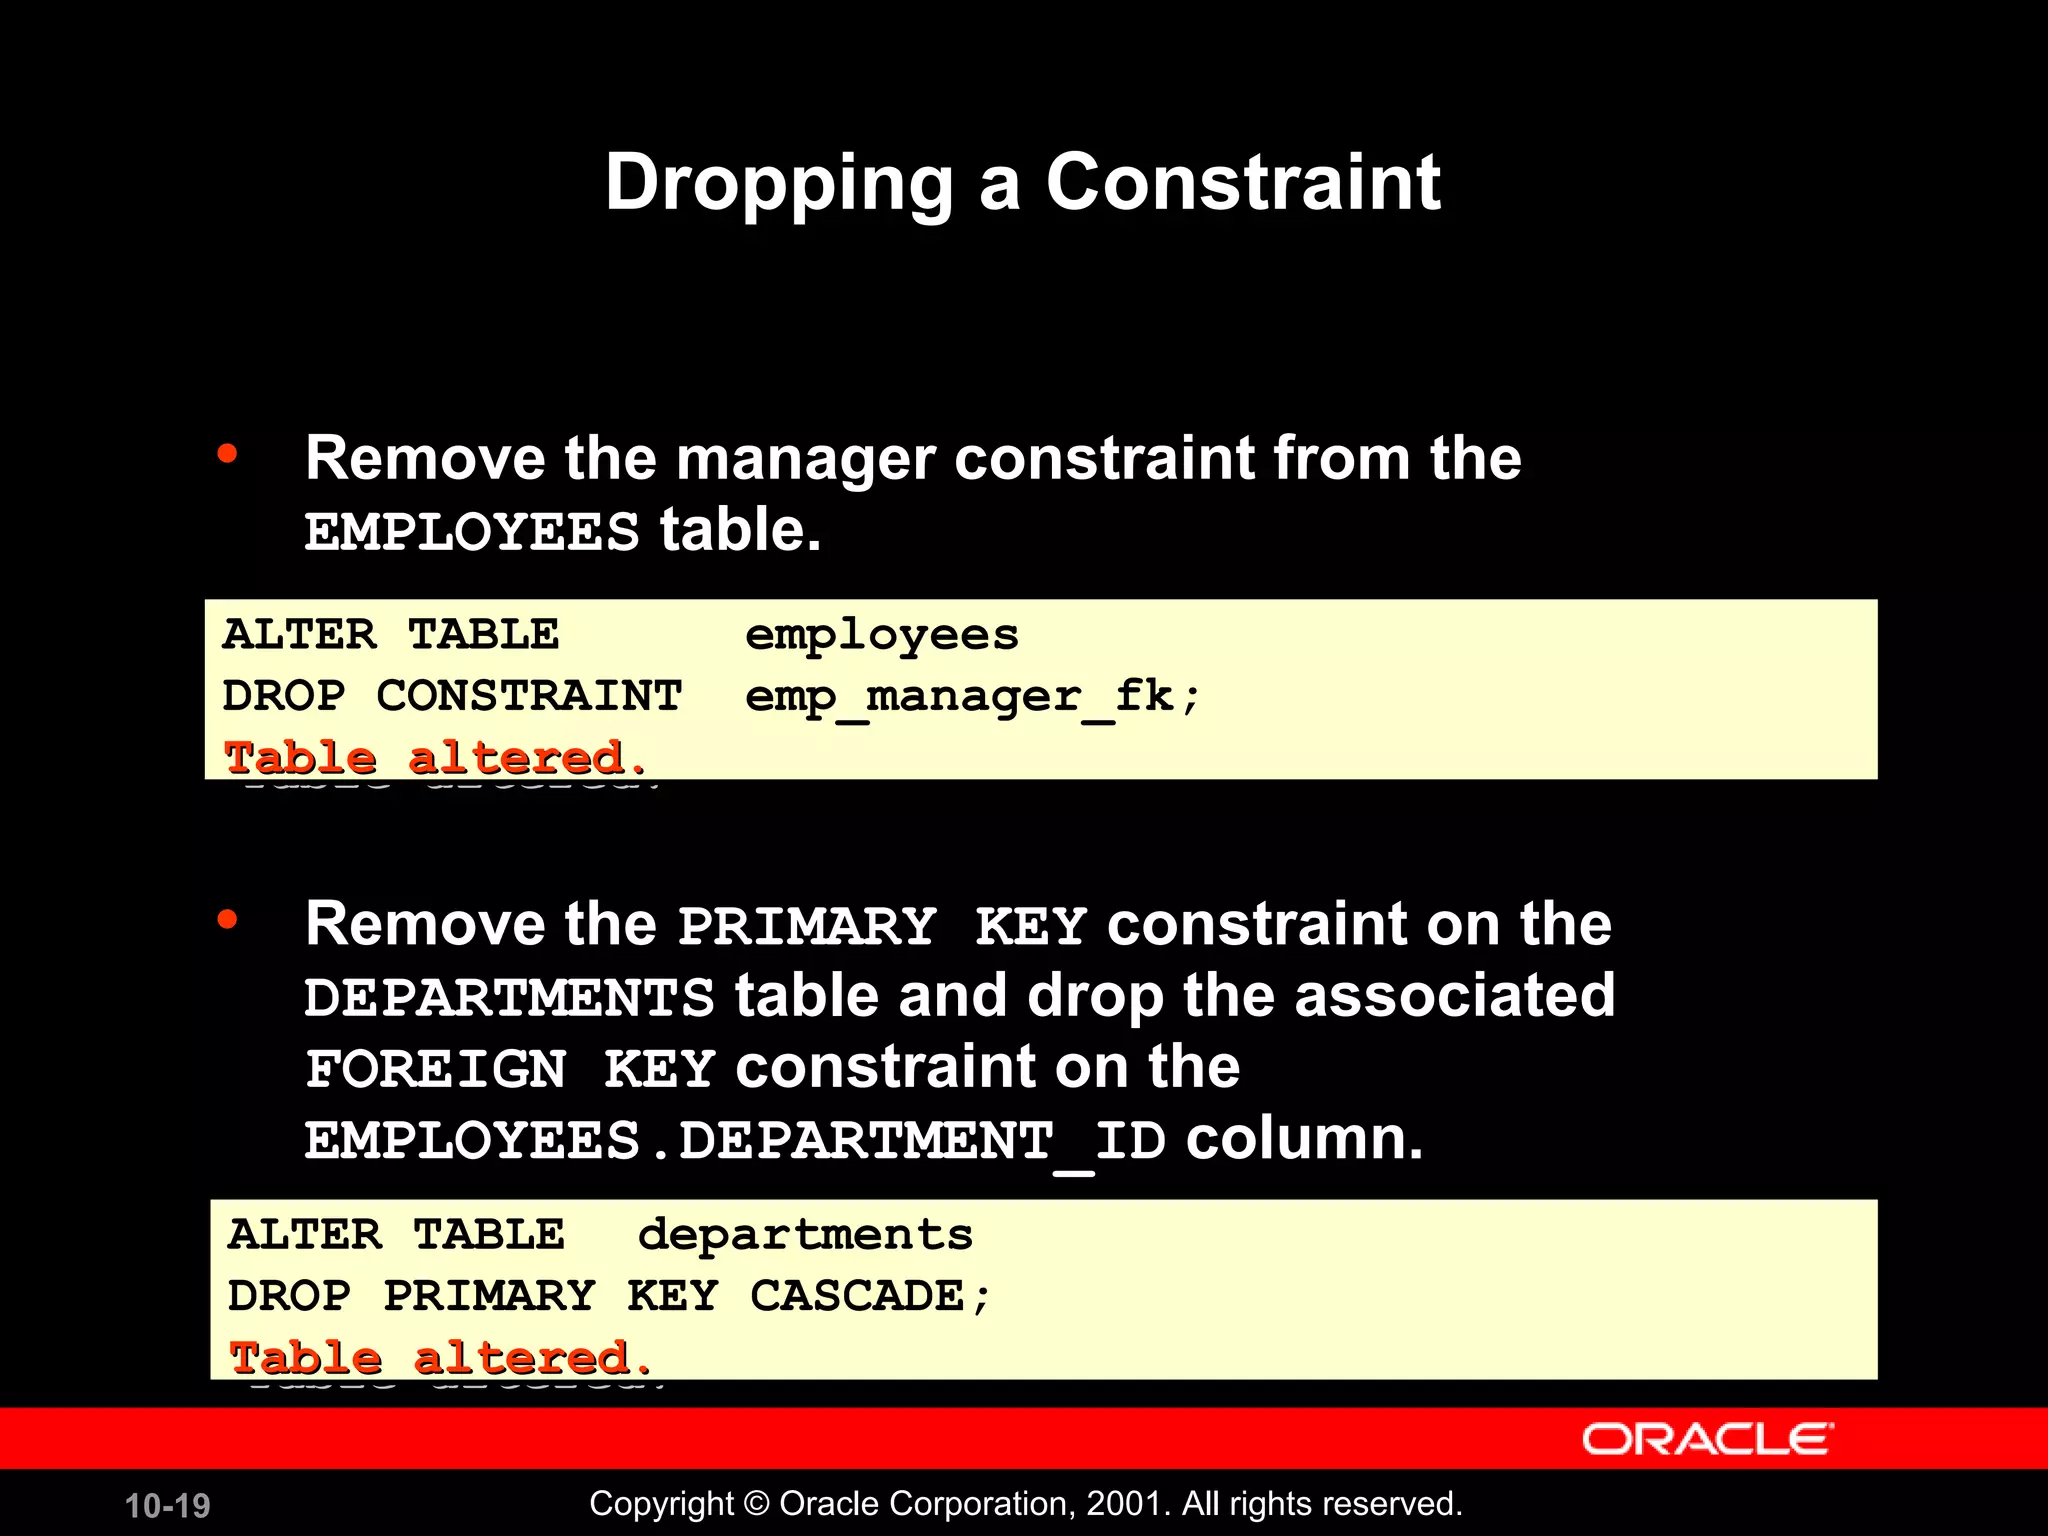
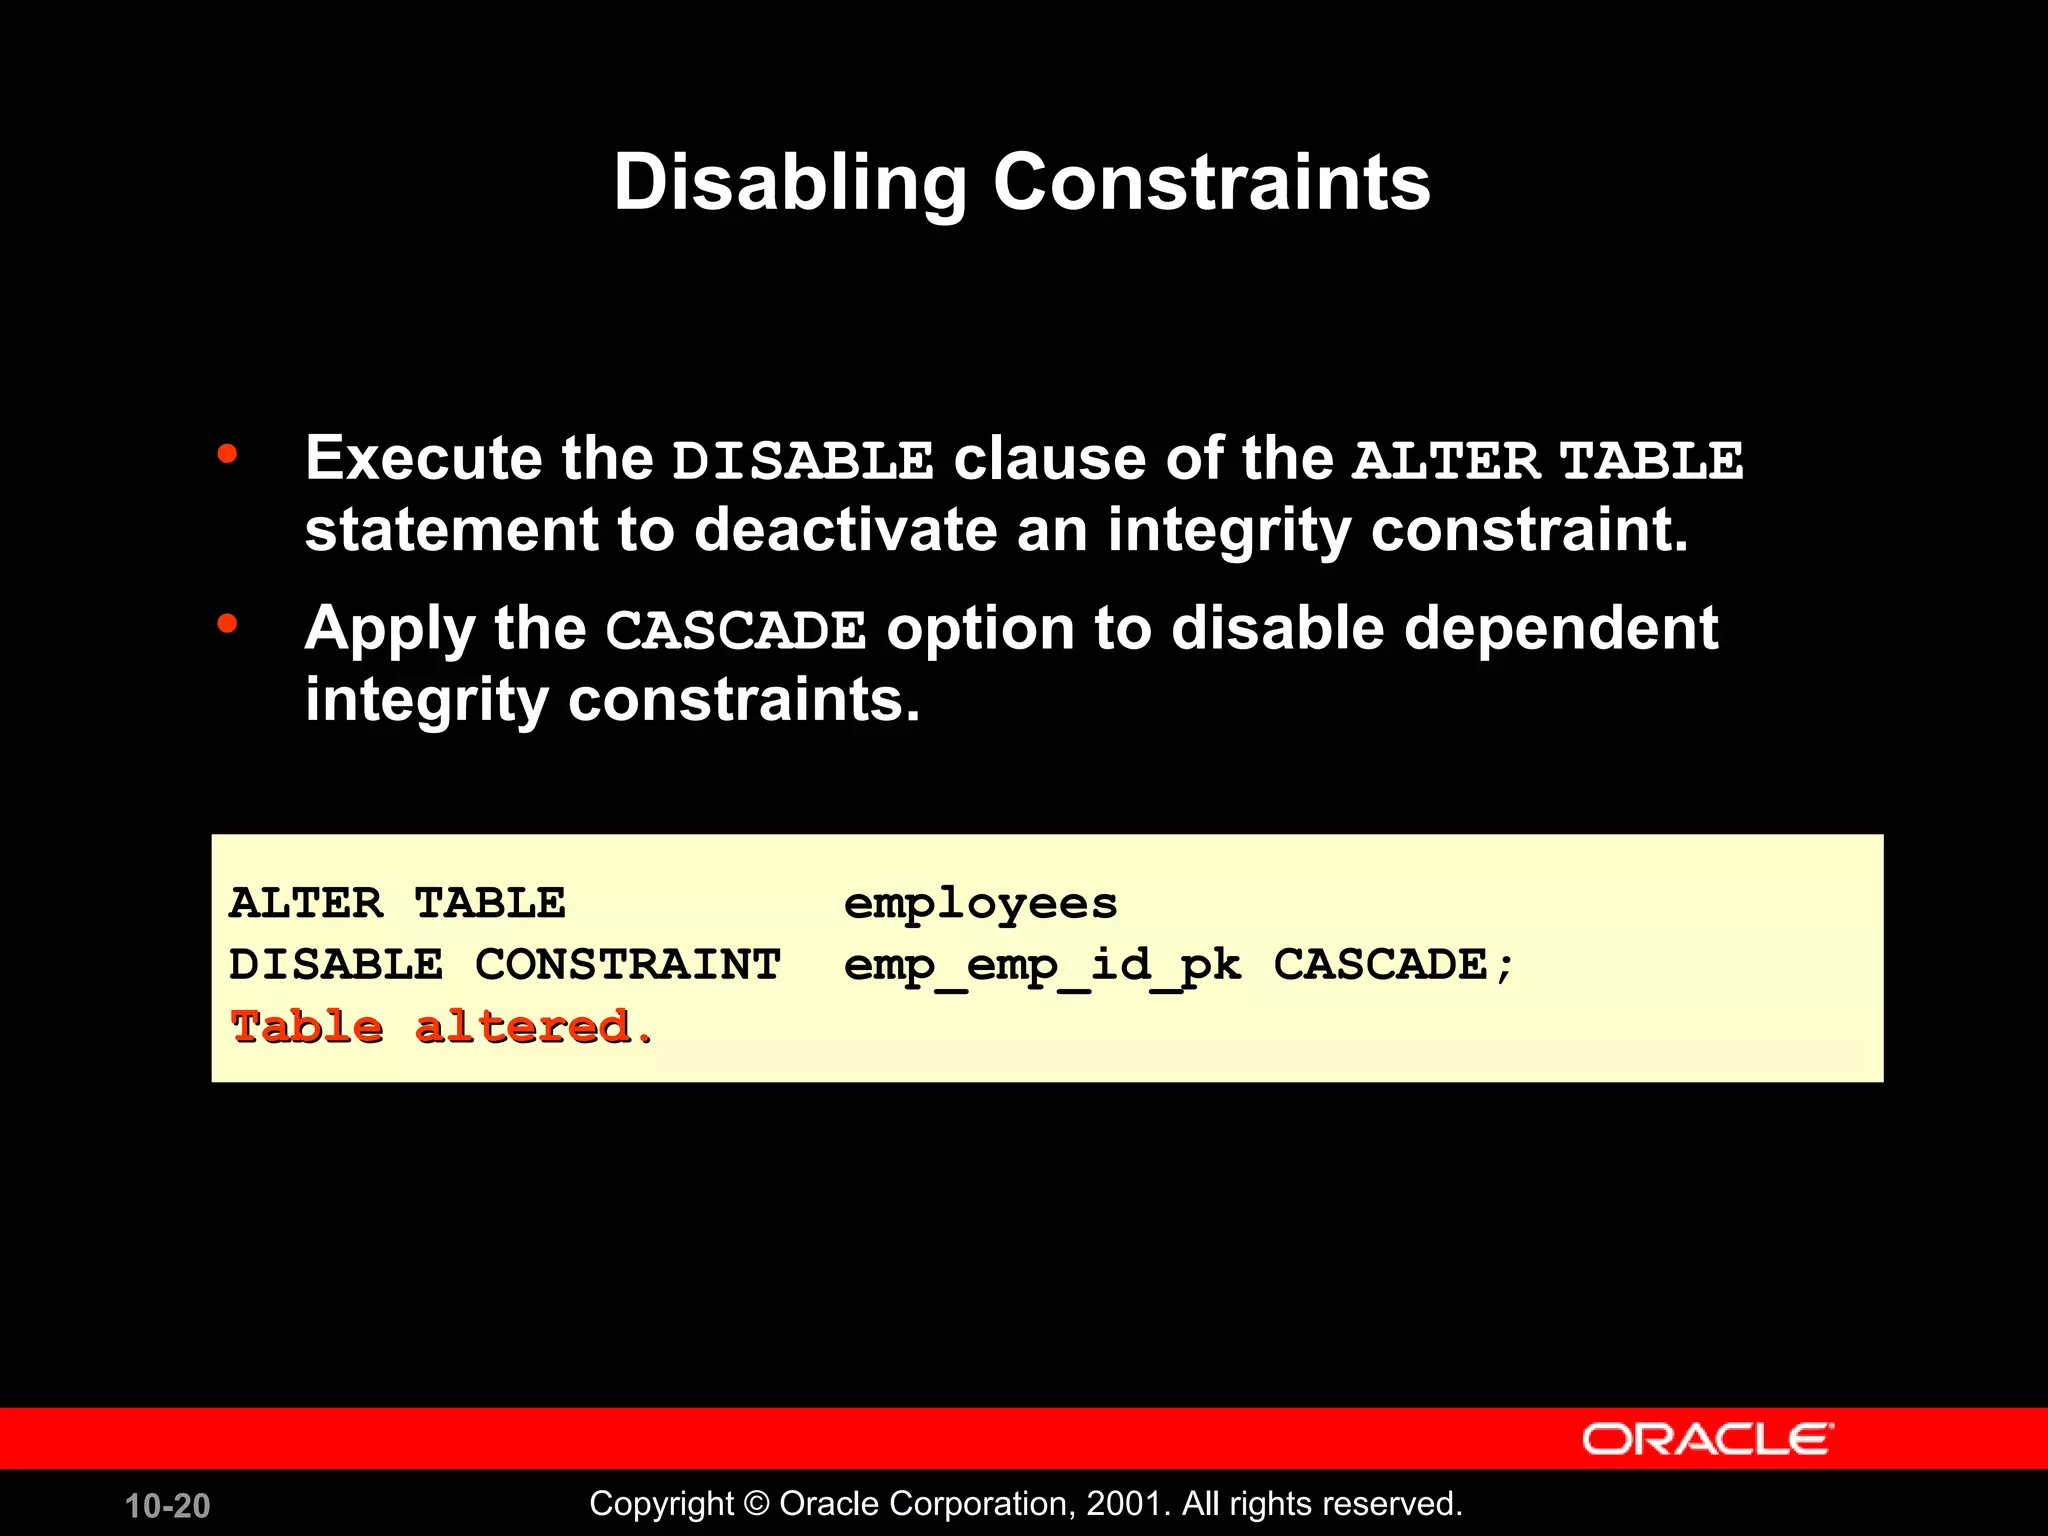
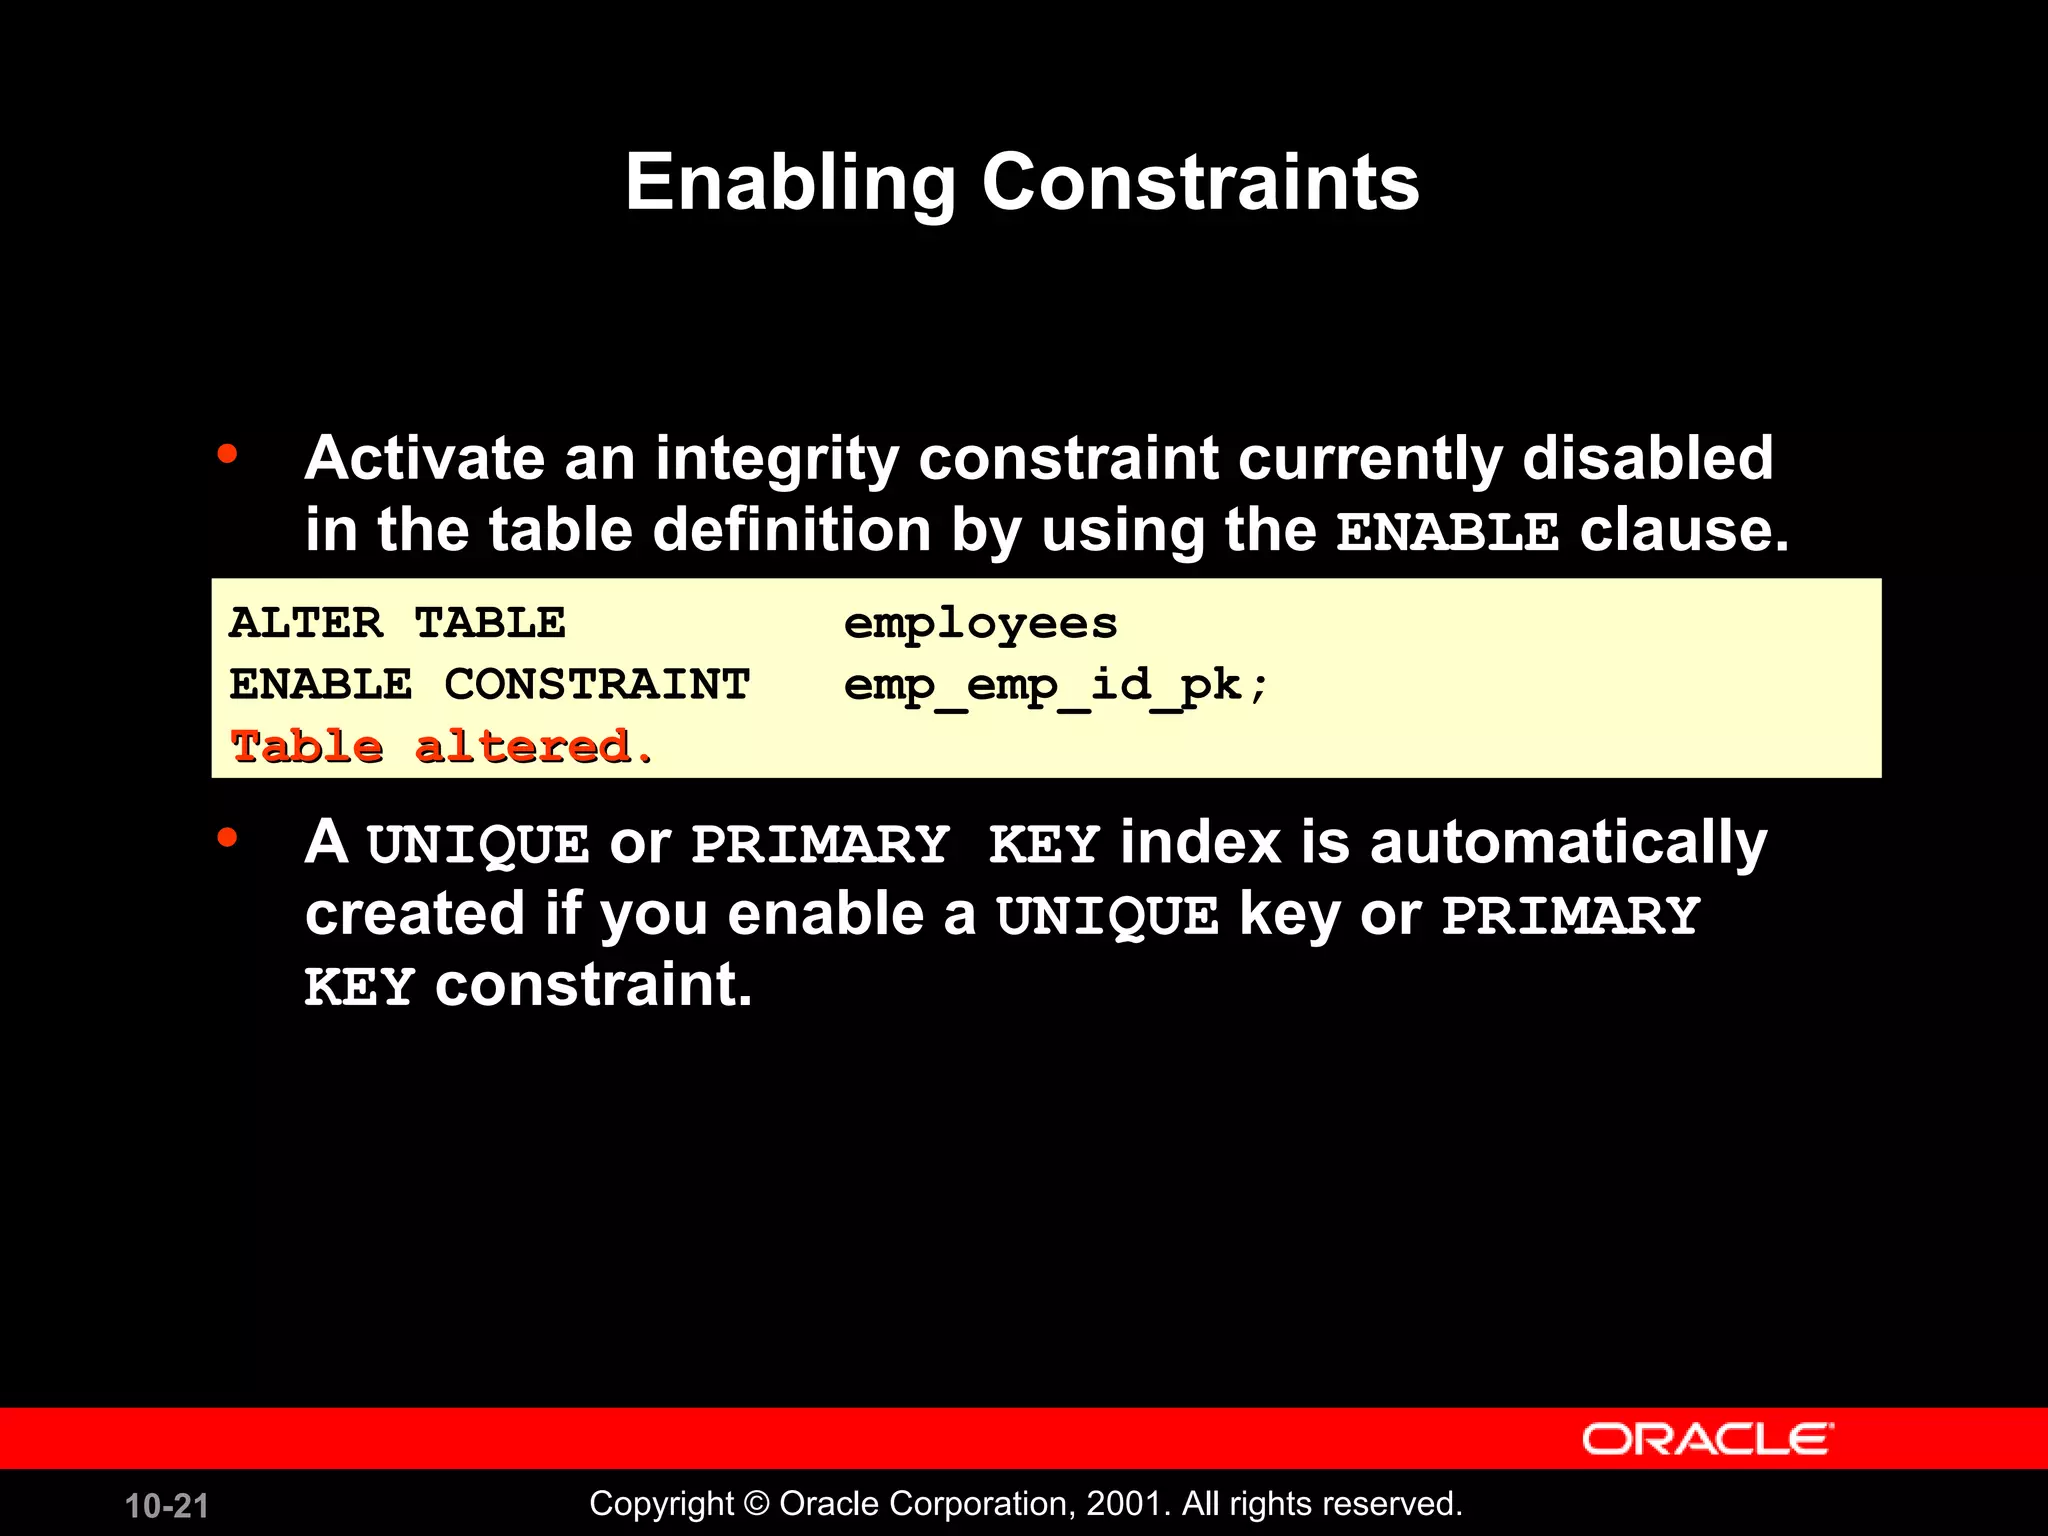
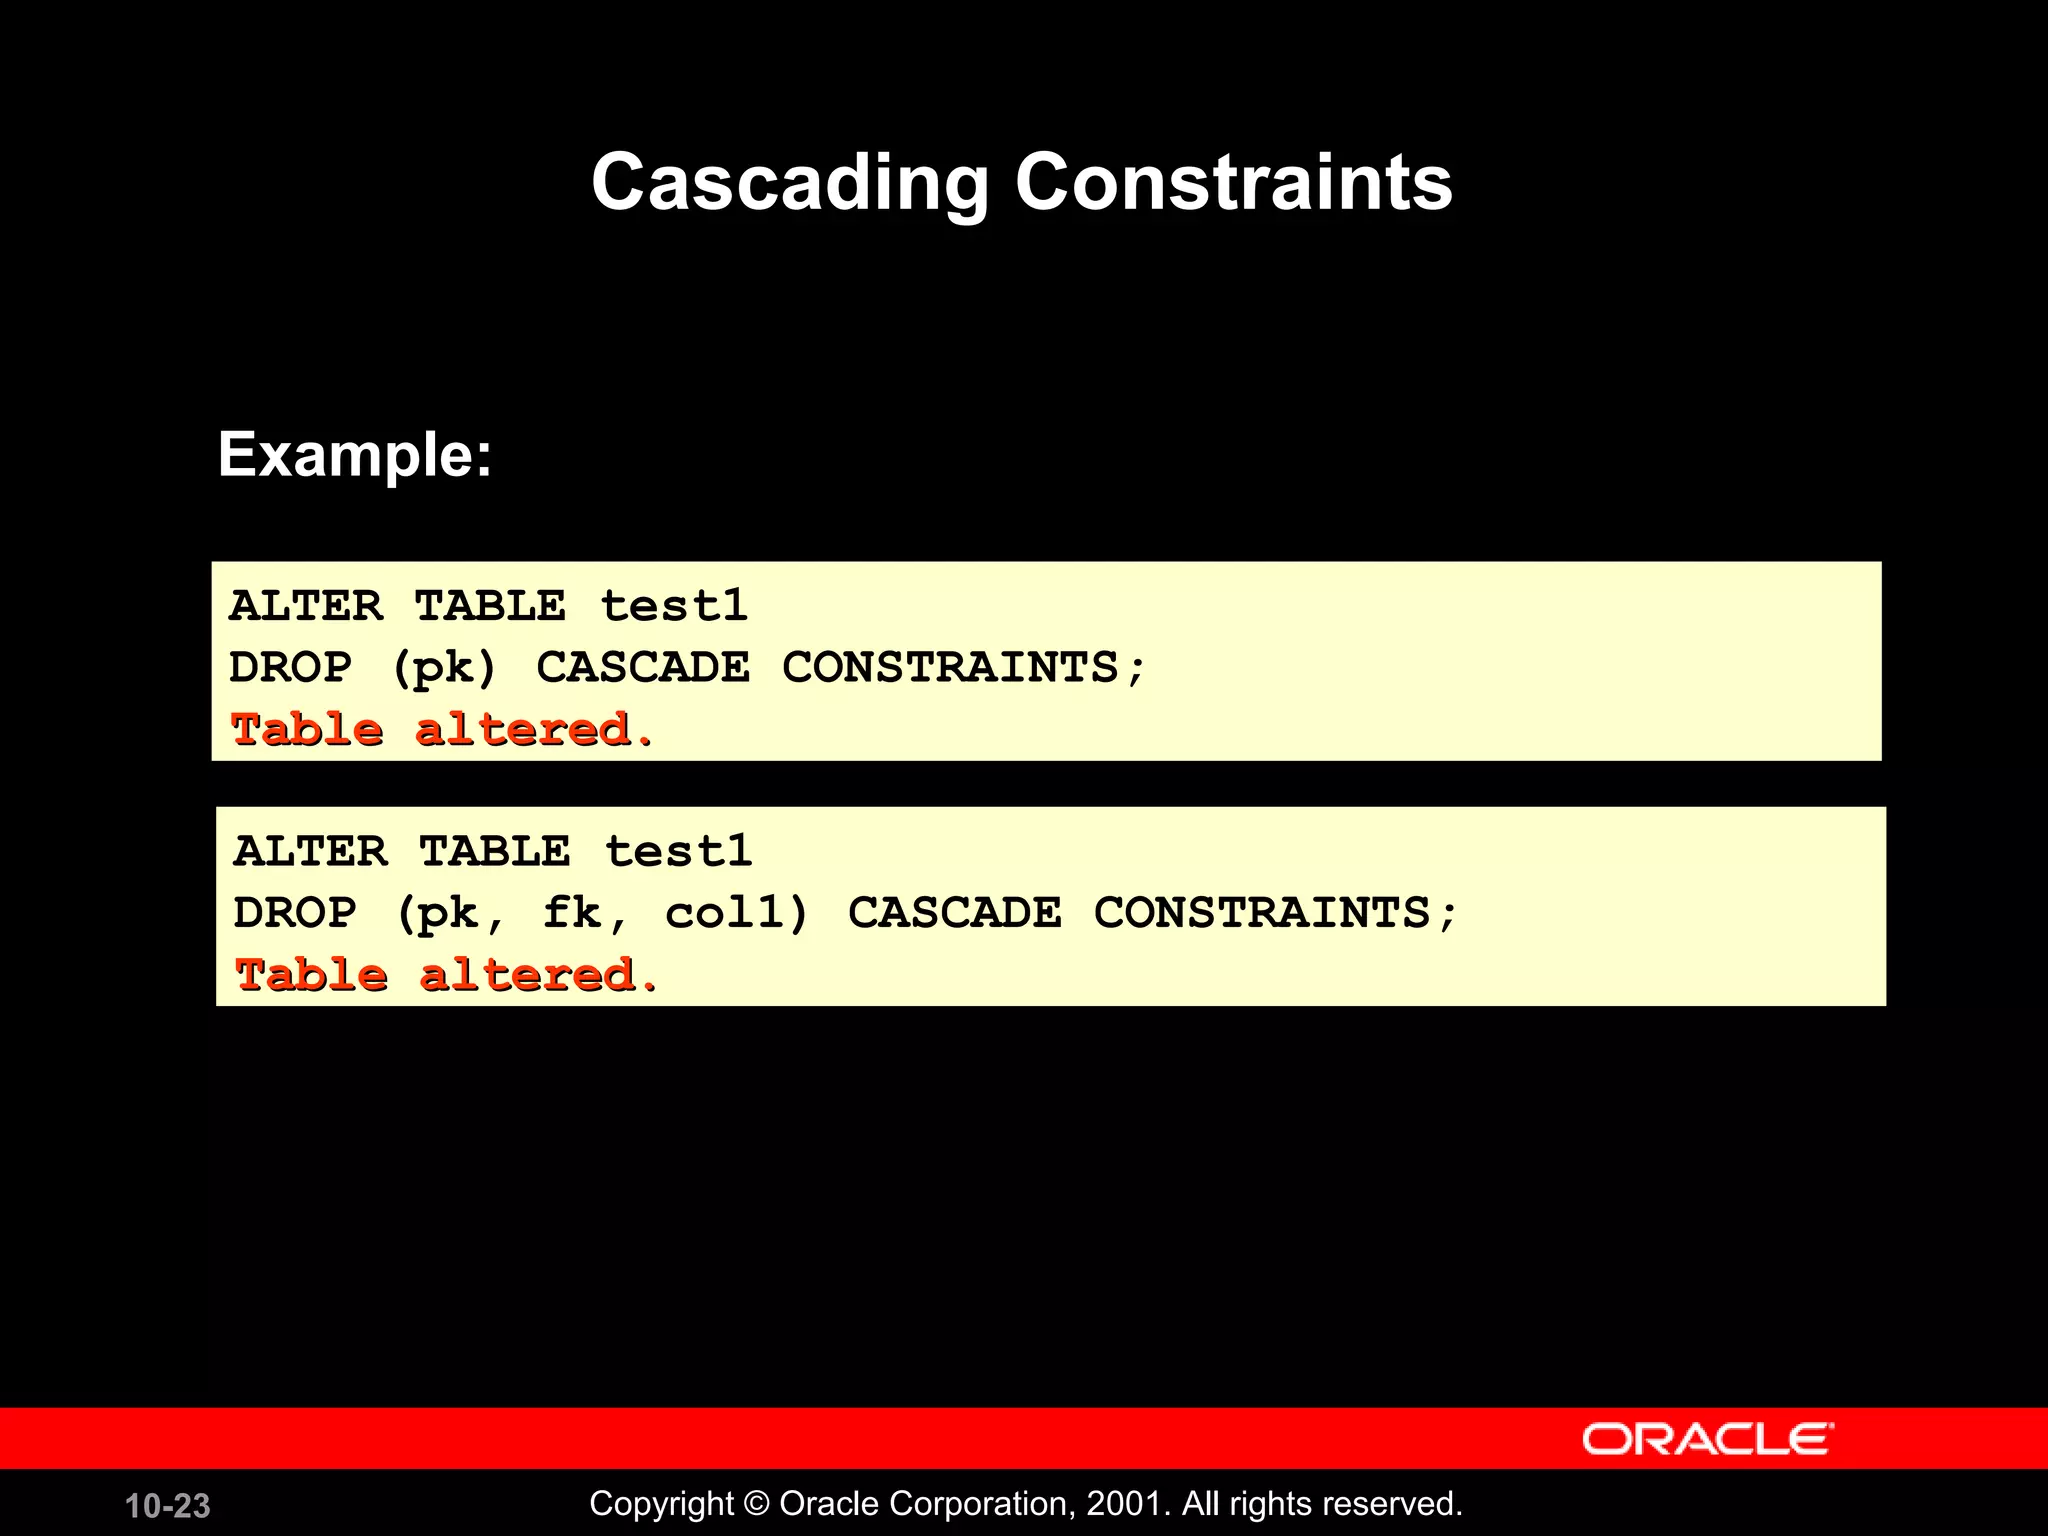
![10-17 Copyright © Oracle Corporation, 2001. All rights reserved.
Adding a Constraint Syntax
Use the ALTER TABLE statement to:
• Add or drop a constraint, but not modify its
structure
• Enable or disable constraints
• Add a NOT NULL constraint by using the MODIFY
clause
ALTER TABLE table
ADD [CONSTRAINT constraint] type (column);
ALTER TABLE table
ADD [CONSTRAINT constraint] type (column);](https://image.slidesharecdn.com/les10-160101191852/75/Including-Constraints-Oracle-Data-base-17-2048.jpg)
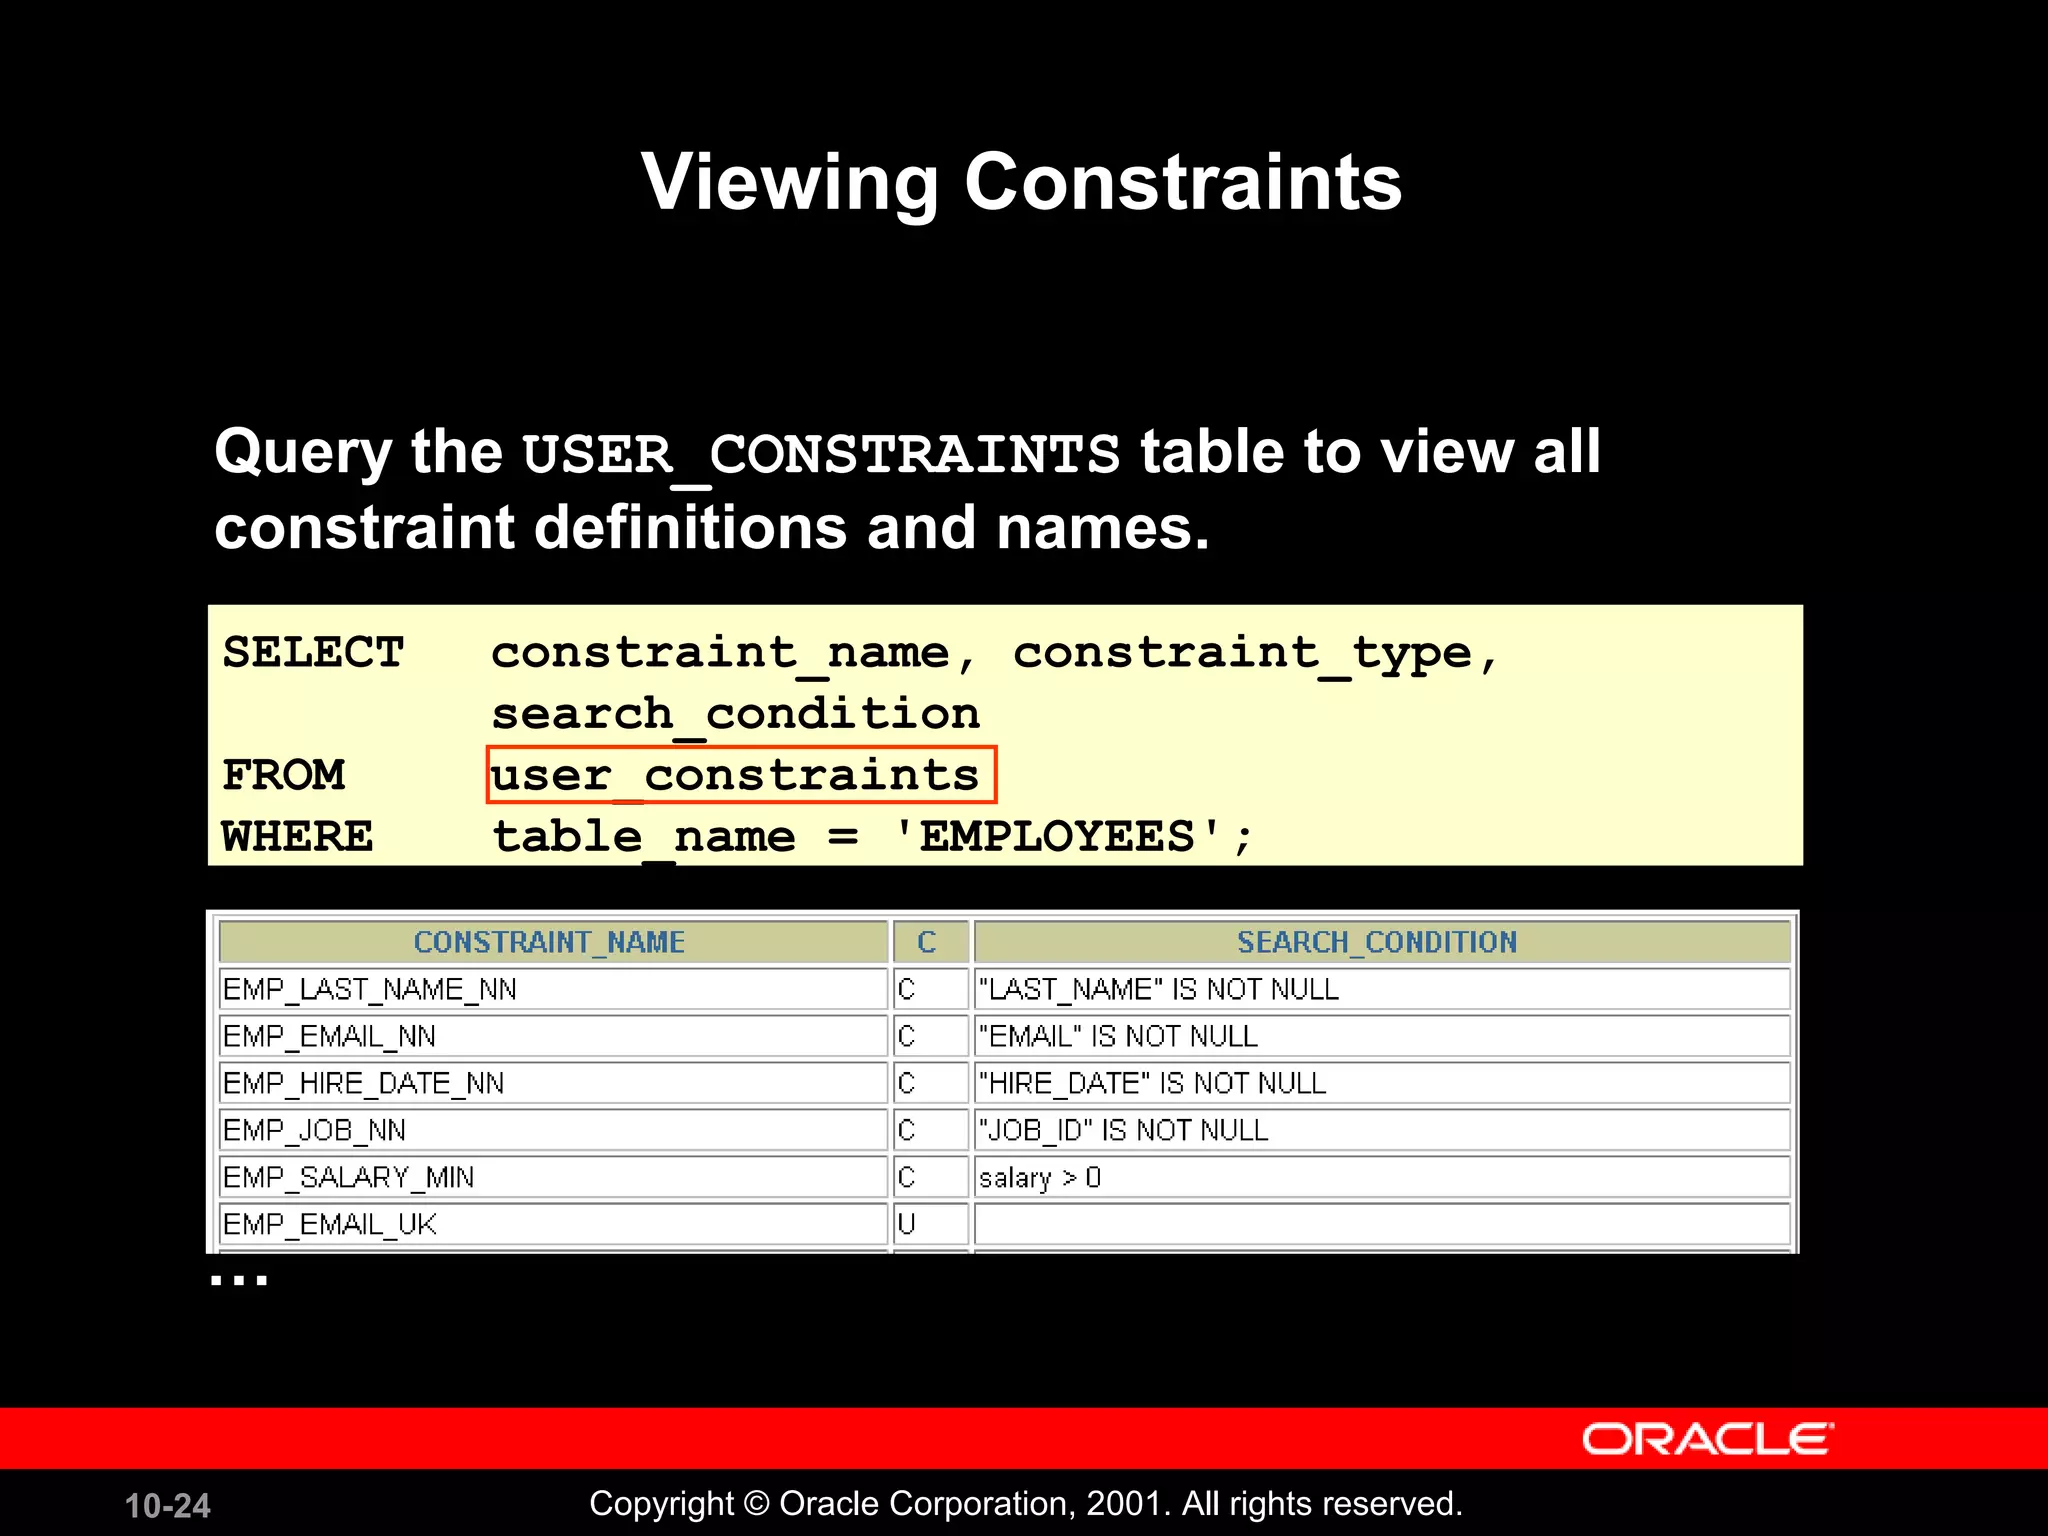
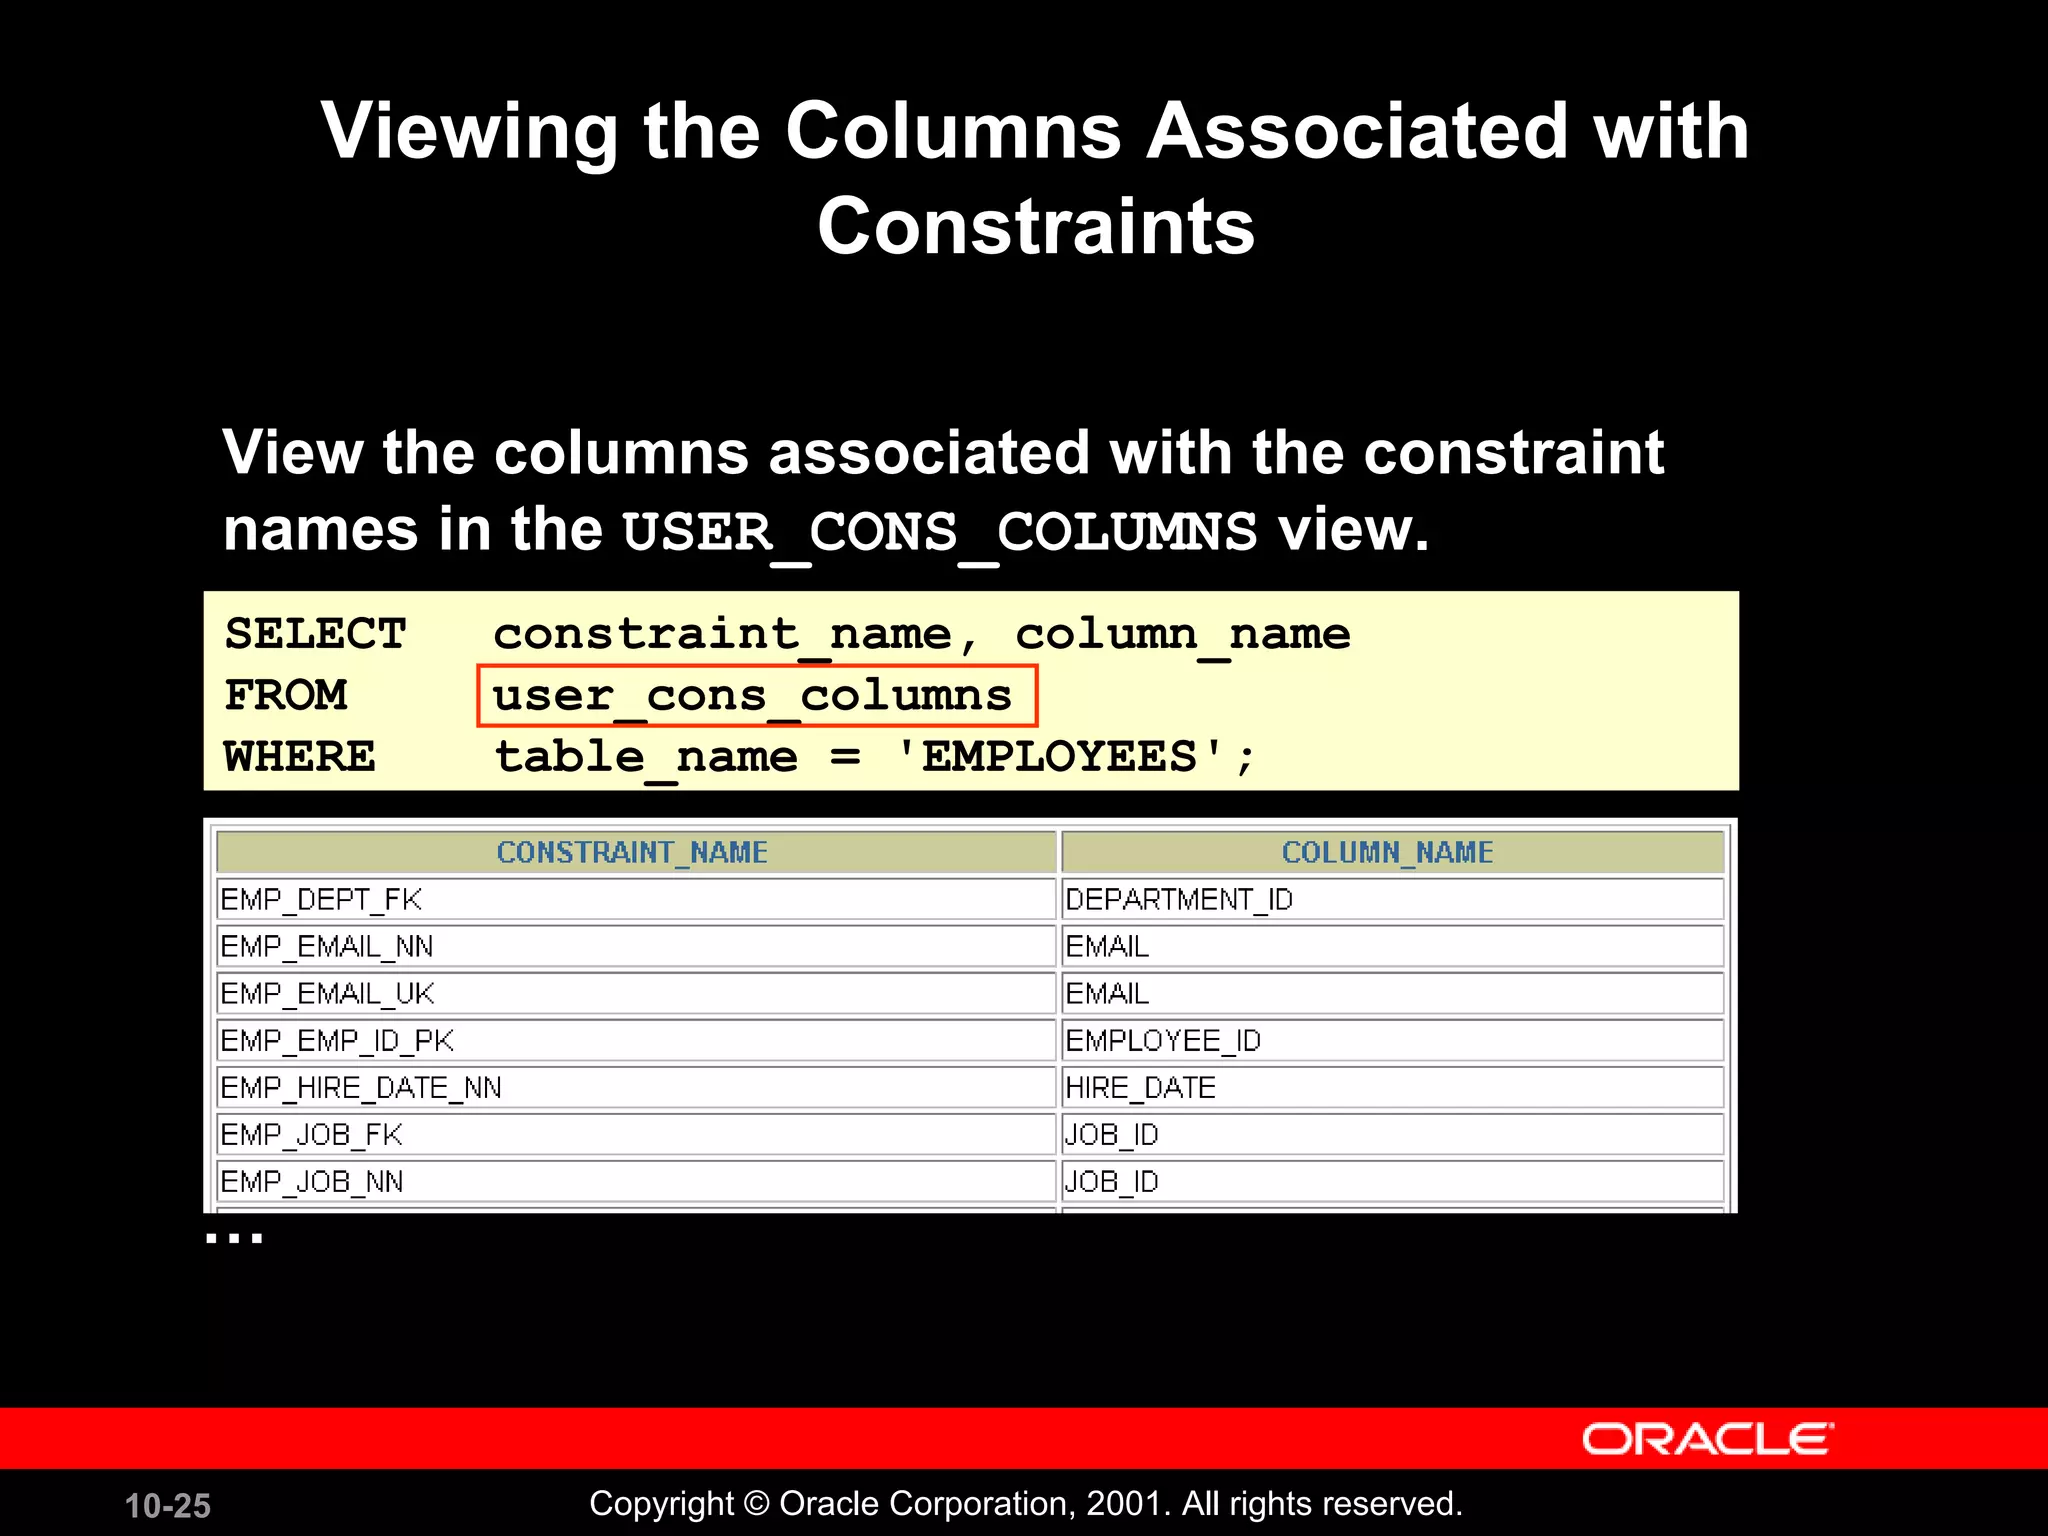
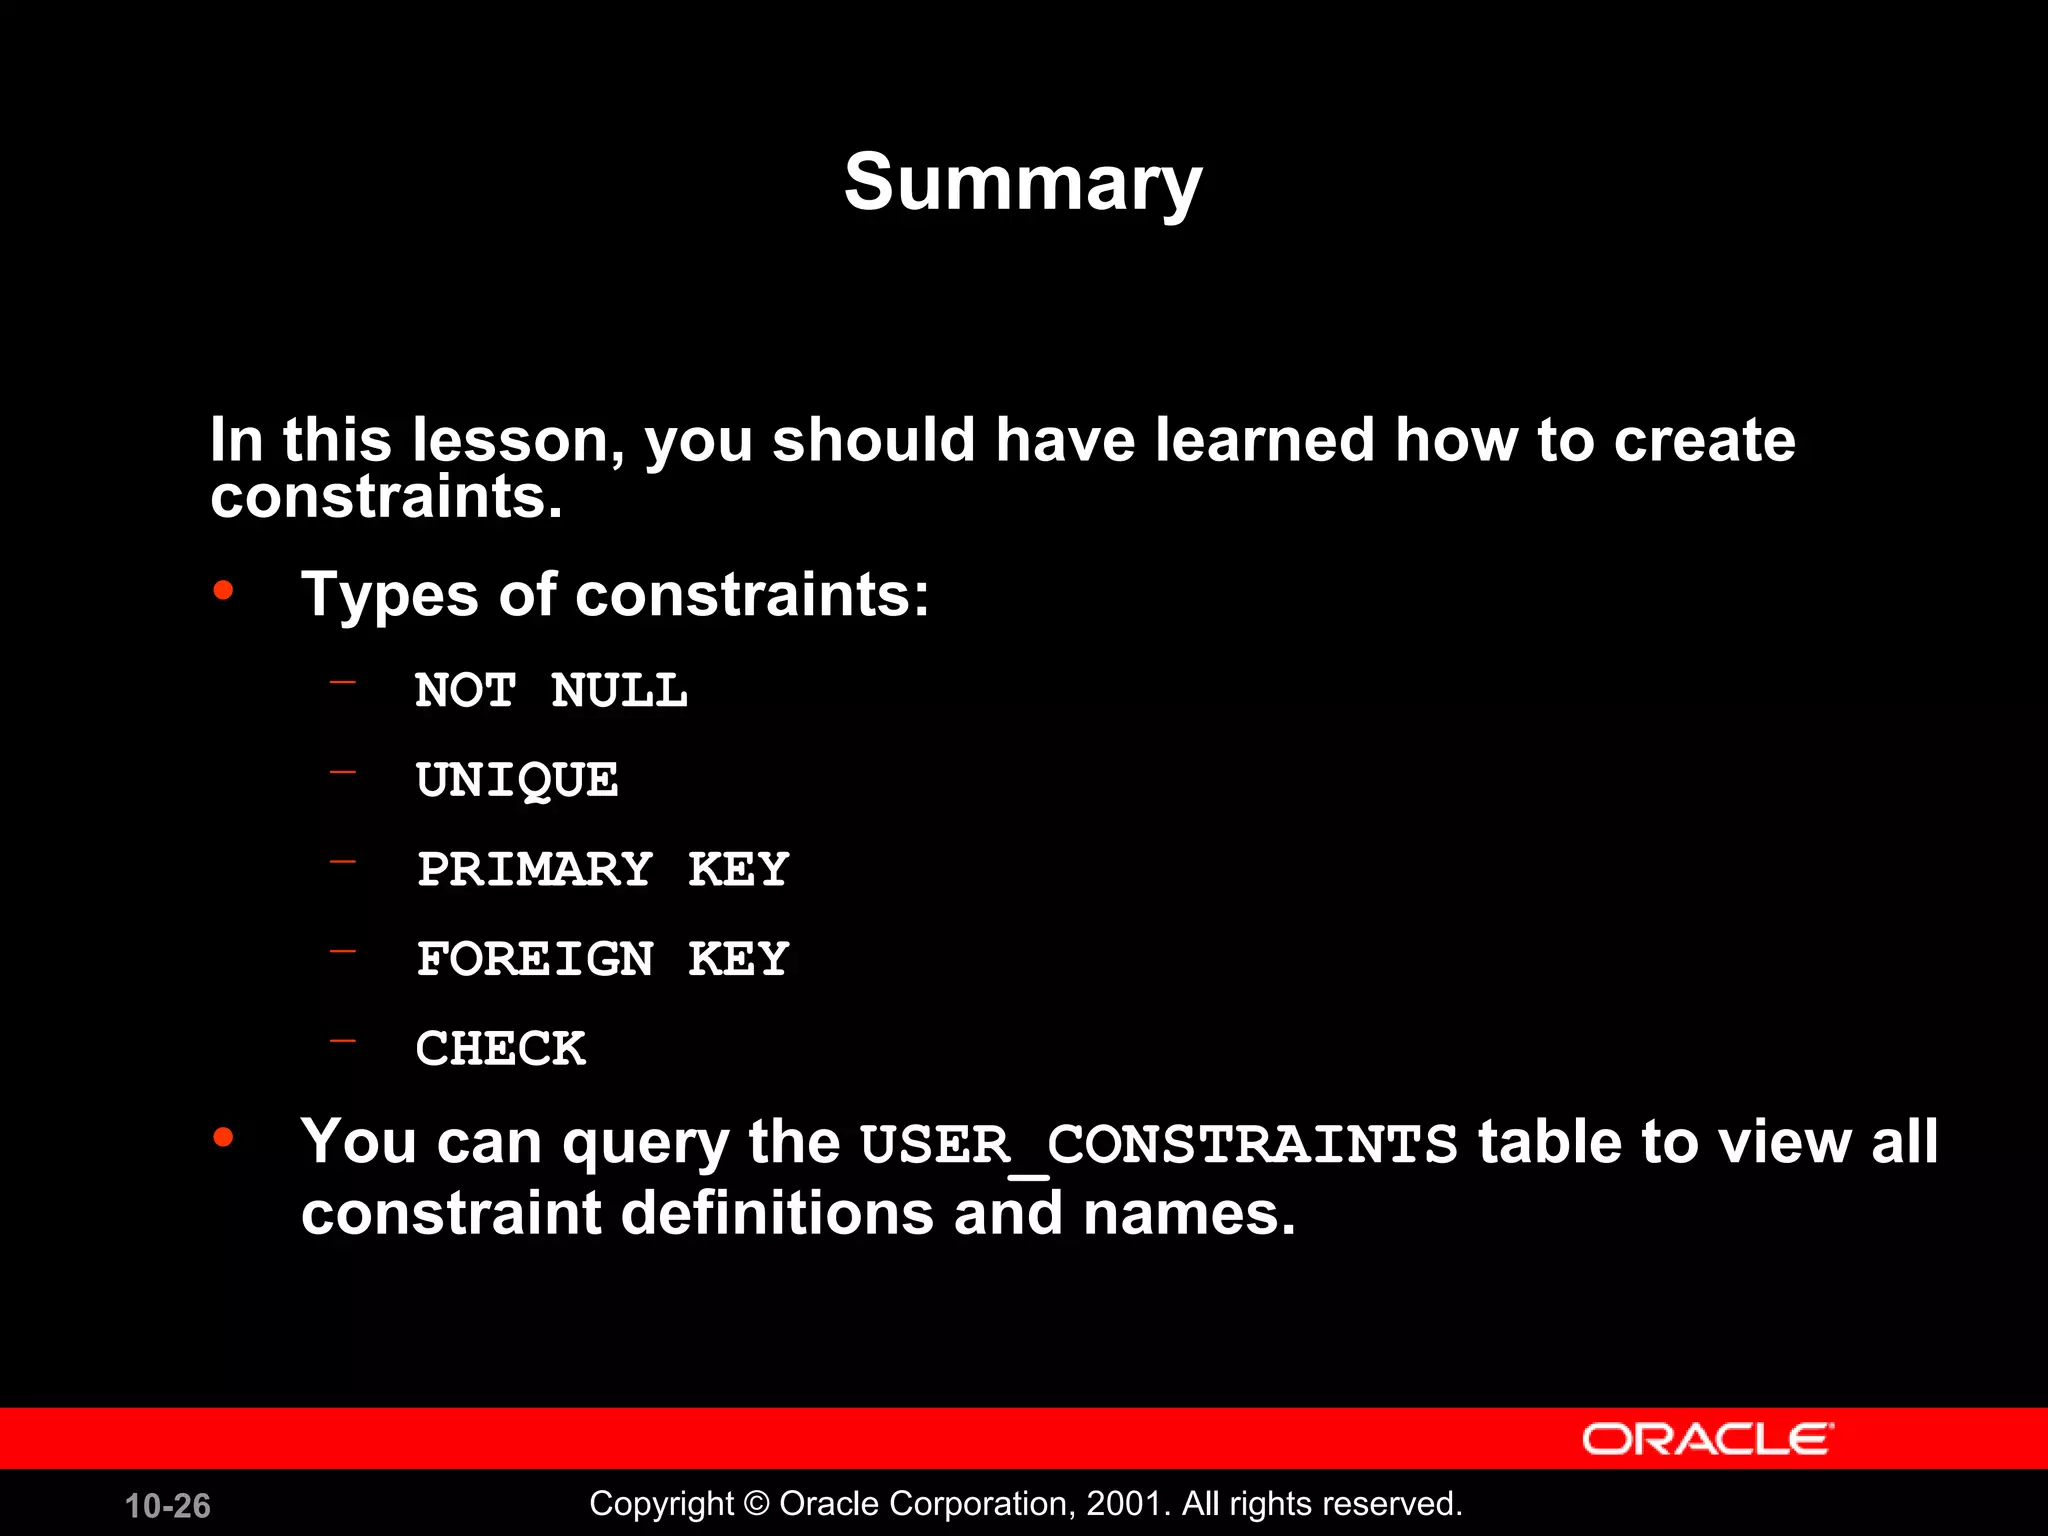


This document outlines the concept and creation of constraints in database tables, including types such as not null, unique, primary key, foreign key, and check. It details guidelines for defining, adding, dropping, enabling, and disabling constraints, along with examples of SQL commands to manage them. Additionally, it covers how to view constraints and their definitions in the data dictionary.


![Les11[1]Including Constraints](https://cdn.slidesharecdn.com/ss_thumbnails/les111-220214151534-thumbnail.jpg?width=640&height=640&fit=bounds)


![Coded Agents – with UiPath SDK + LangGraph [Virtual Hands-on Workshop]](https://cdn.slidesharecdn.com/ss_thumbnails/codedagentsdeck-251215155422-5497c599-thumbnail.jpg?width=640&height=640&fit=bounds)


