More Related Content
More from Daniel Downs (20)
Matte
- 1. Home : Adobe : Photoshop : Transparency : GIF : Matte
How to Eliminate the Lines Around a Transparent GIF in
Photoshop
Sometimes when you make a transparent GIF and place it in an
environment with a background colour (e.g. on a web page) you find that
an ugly border appears around the image. The example on the right
shows a transparent image placed on a purple background. As you can
see there is a thin but nasty edge to the image.
This happens because the edges of the image need to gently transition
into the background colour. In this example Photoshop has assumed
that the background will be white, so it has faded the edges towards
white. To fix the problem you need to tell Photoshop to fade the colour
towards the actual background that you will be using.
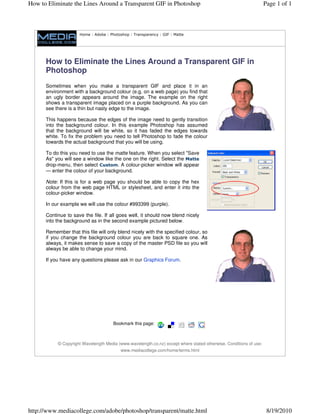
To do this you need to use the matte feature. When you select "Save
As" you will see a window like the one on the right. Select the Matte
drop-menu, then select Custom. A colour-picker window will appear
— enter the colour of your background.
Note: If this is for a web page you should be able to copy the hex
colour from the web page HTML or stylesheet, and enter it into the
colour-picker window.
In our example we will use the colour #993399 (purple).
Continue to save the file. If all goes well, it should now blend nicely
into the background as in the second example pictured below.
Remember that this file will only blend nicely with the specified colour, so
if you change the background colour you are back to square one. As
always, it makes sense to save a copy of the master PSD file so you will
always be able to change your mind.
If you have any questions please ask in our Graphics Forum.
Bookmark this page:
© Copyright Wavelength Media (www.wavelength.co.nz) except where stated otherwise. Conditions of use:
www.mediacollege.com/home/terms.html
Page 1 of 1How to Eliminate the Lines Around a Transparent GIF in Photoshop
8/19/2010http://www.mediacollege.com/adobe/photoshop/transparent/matte.html